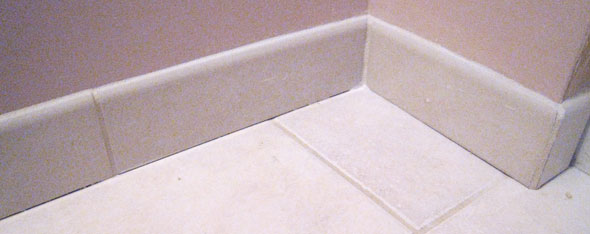
I’m really excited to announce that my bathroom is completely tiled and grouted! And I’m pretty pleased with the results. I’ll use this post to give you a sneak peak of the finished product and also share how I grouted the bullnose.

Applying Grout to Bullnose
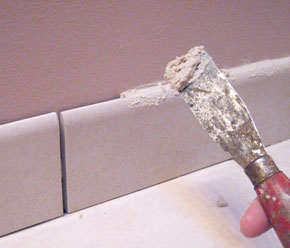
Grouting the bullnose was a little different than grouting regular tile. The grout float is a little too awkward for the initial application. Instead, I used a putty knife. There’s a couple things to keep in mind if you apply grout in this manner:
- Be sure to fill the joint completely with grout
- Take care not to scratch any of the tile
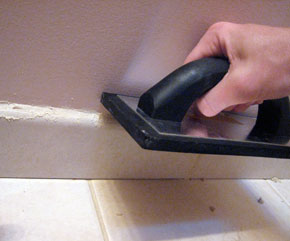
Load up the very edge of your putty knife and work it into the gap. Make sure to push the grout completely into the joint. Follow up with the grout float and pack the grout in place.


Clean up the grout just the same as floor tile- with a slightly damp sponge and smooth sweeping motions. Go over the wall and tile face to remove any excess.
Grouting Inside Corners
The only real challenge came from the inside corners. These corners are too tight for even a small putty knife. I suggest an alternate tool- your finger. Work it in place and then wet your finger to smooth it out.

What do you think? How am I doing?


I used caulk, instead of grout where it meets drywall. It’s not an exact match in colour, even though it’s from the same manufacturer. You could probably stick the grout in a bag with a hole, and squeeze it out too, I’ve don’t that with mortar.
When I renovated my shower, I used a grout caulk that was the same color and type (sanded) in the vertical corner joints-was easy to work with, looked the same as the’regular’ grout…