
It’s time for another Pro-Follow, and regular readers will recognize this as part of our ongoing series for building an in-law addition. We’re back with the guys from Luciano Cristofaro Contractors. You’ve already met Victor, and today we’re spending time with Victor’s brother Carlos as he pours a set of concrete stairs.
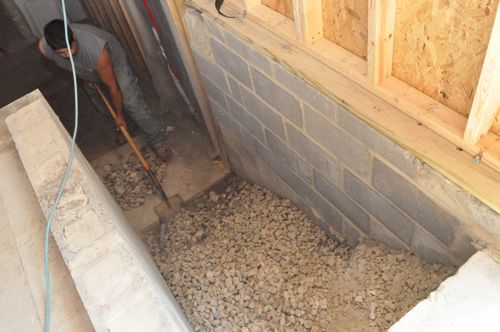
The opening for these stairs was cut out from the existing garage slab and dug with the backhoe during excavation. The block walls are new, and they were completed in a similar fashion as the rest of the foundation. After that the guys added backfill and dumped in some stone.
Step 1: Spread Stone
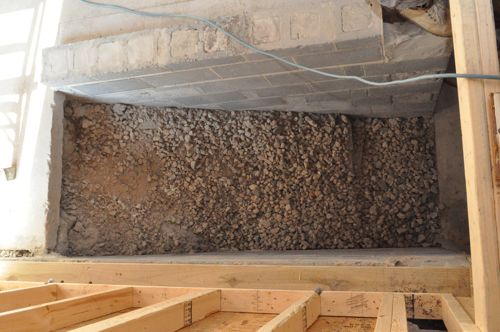
Carlos started by spreading out the bed of #2 stone.
Step 2: Measure and Layout Stairs
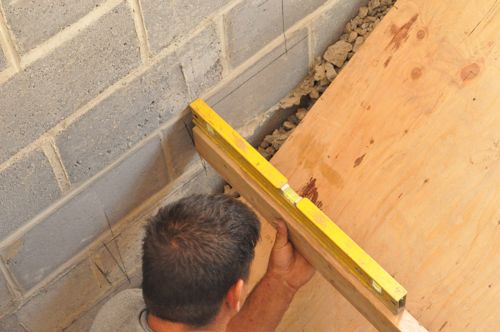
Using a 2′ level, Carlos began measuring out the stairs on the block wall. These stairs will measure 7-3/4″ (riser) x 11″ (tread) with a 1″ nosing. The nosing is important because it provides more room for the tread without elongating the stairs.
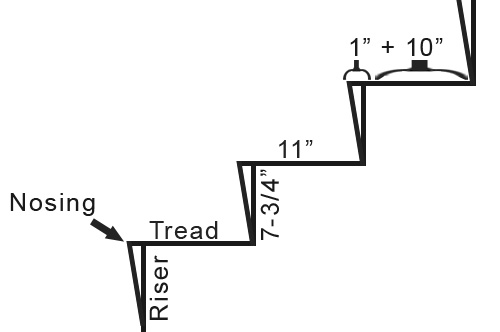
Pro-Tip: Stair risers must measure between 7 and 7-3/4″ high, and stair treads must measure between 10 and 11-1/4″ deep to comply with local code. Todd from Home Construction Improvement has a handy stair stringer calculator to help calculate stair measurements.
Pro-Talk: Stair risers are sometimes referred to as toe-kicks.


After mapping out the stairs on the right side, Carlos transferred the measurements to the left side.
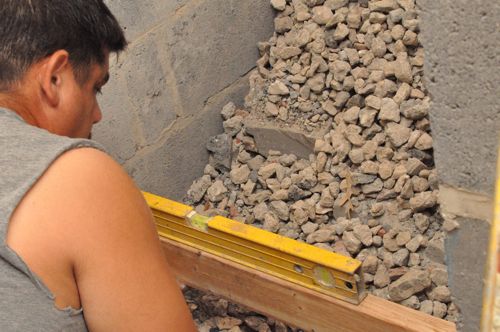
Using a straight 2×4, a level and a square, Carlos made sure that all markings were consistent between each side.
Pro-Tip: These stairs will be indoors and are completely flat. If you’re pouring concrete stairs outside, incorporate a slight downward slope so that water will run off the stairs.
The top-most step is shorter than the rest, and that’s because Steve’s crew will be framing the floor, bringing that step up to the appropriate height.

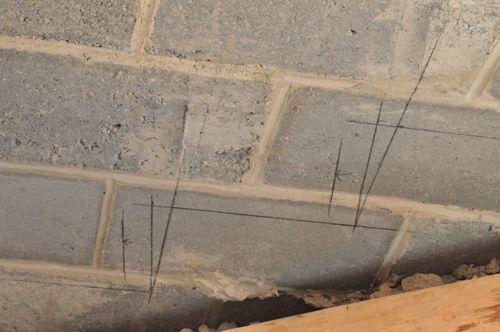
Here’s a look at the finished layout for the stairs. The lines indicated with small arrows are parallel to the risers (offset 1-1/2″) and show where to mount the support blocks that will hold the forms in place.
Step 3: Build Forms
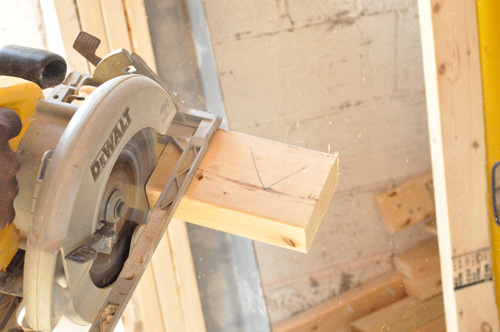
Carlos used a circular saw to rip a 2 x 10 down to 7-3/4″ tall. He made the cut at a 45° angle, because then it’ll be easier to work his trowel into the corner of the each step.

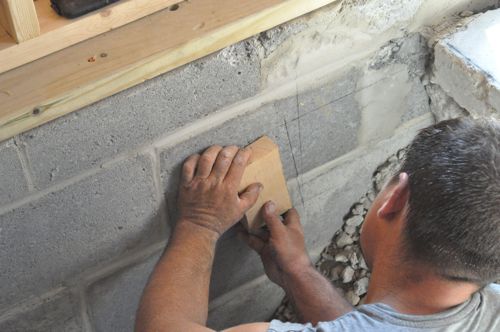
One of the guys also cut ~6″ blocks that will serve as the supports for the forms.
Step 4: Anchor Support Blocks
Carlos used concrete screws to attach the supports to the block wall.


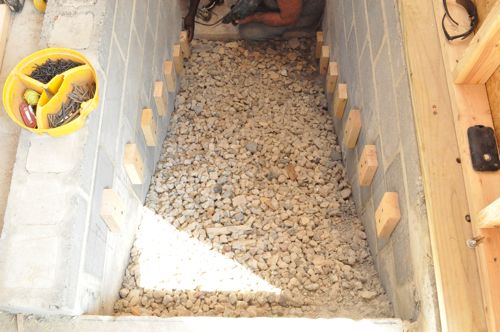
Step 5: Secure Stair Forms
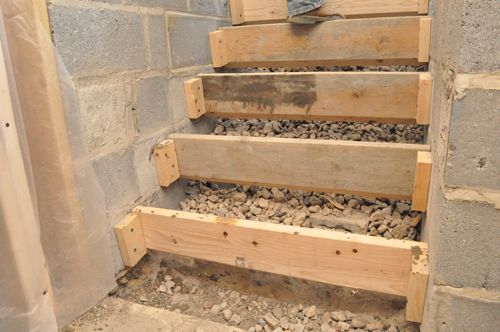
Next, Carlos and his crew attached the forms to the support blocks, checking that each form was completely level.
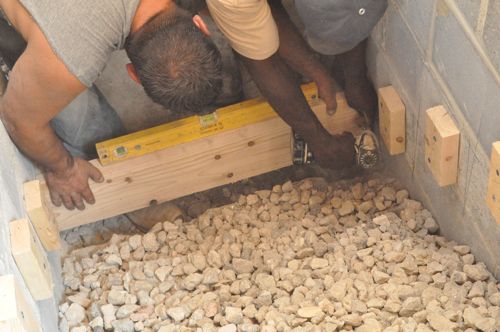
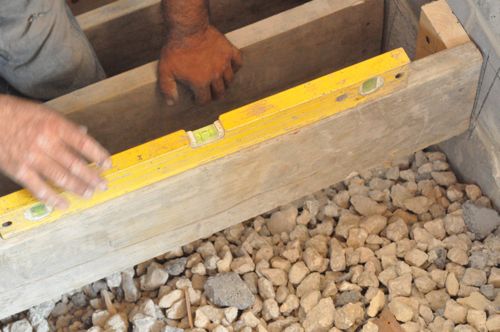
The guys also made sure there was about 4″ of clearance between the stone and the bottom of the forms.
Step 6: Rebar
Rebar is short for reinforcing bar, and is very important for many concrete applications. It’s not necessary for these stairs because there are concrete footers underneath the block walls and a the bottom of the steps. These stairs aren’t going anyway. However, if these stairs were positioned on unsupported ground, rebar would be very important.
Step 7: Mist Forms
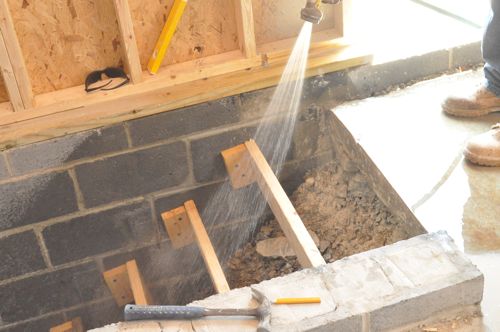
Using a hose, the guys sprayed down the forms, walls, and rock to prevent the concrete from drying too fast.
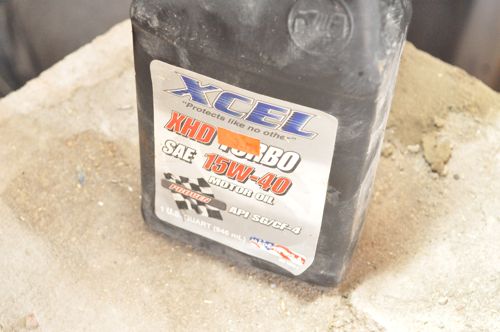
Pro-Tip: Rubbing motor oil (or even cooking spray) over the forms helps prevent the concrete from sticking when it comes time to remove them.
Step 8: Pour Concrete
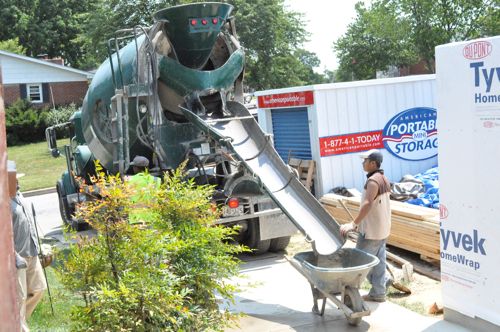
For this job, Carlos estimated needing about 2 yards of concrete, and they added retardant to prevent the concrete from drying too fast.
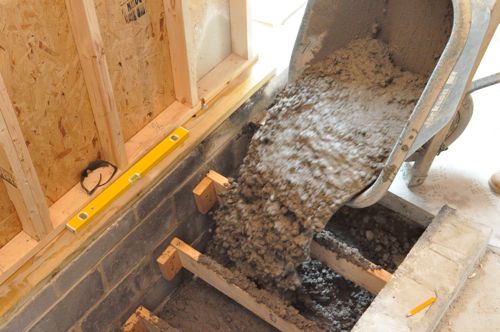
After each wheelbarrow of concrete, one of the guys would use a shovel to work the concrete around, eliminating voids.
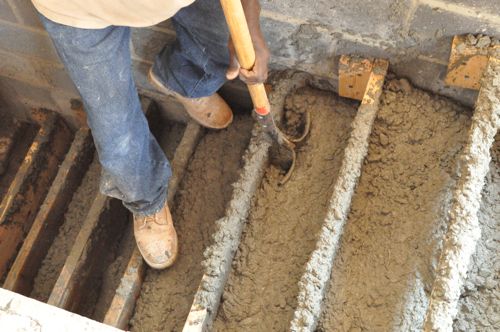
Step 9: Strike Off Concrete
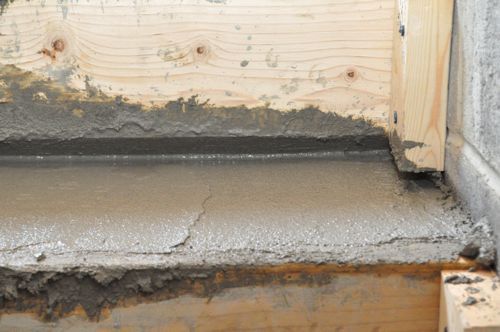
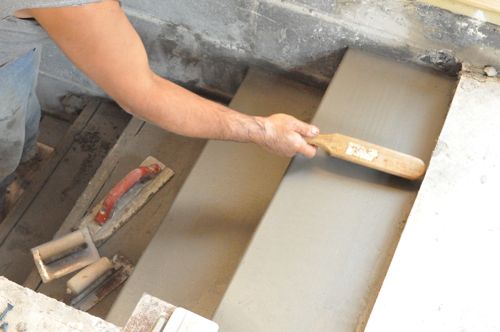
When all the concrete was poured, Carlos began using a magnesium float to strike off the concrete to create a relatively smooth surface.
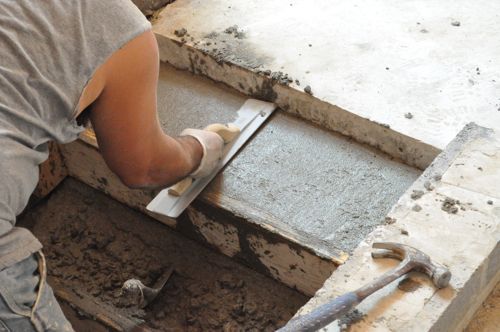
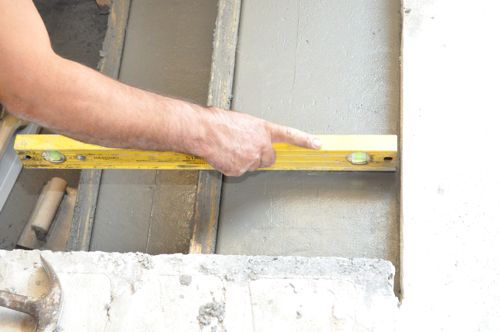
He also checked that each step was perfectly level.
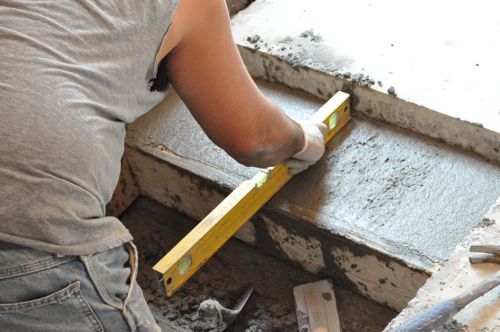
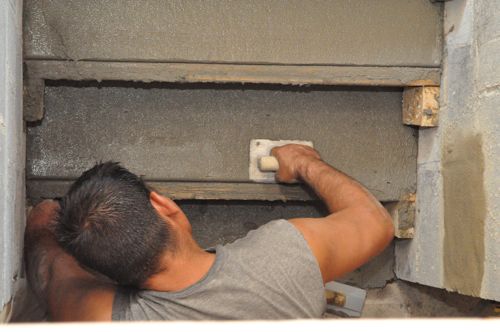
Here’s a picture of Carlos working the float underneath one of the forms. Carlos would also use a hammer to lightly bang on the forms to eliminate air bubbles.

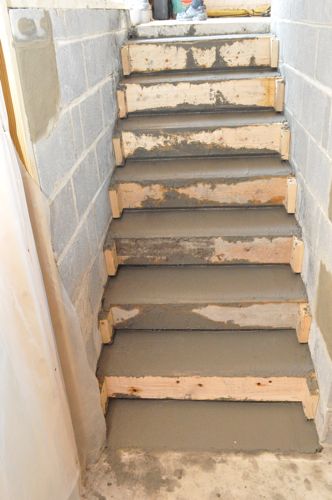
Step 10: Cut the Edge
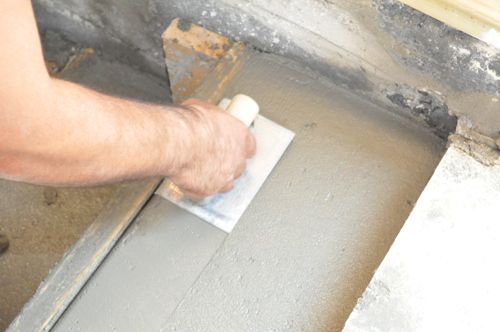
After about 25 minutes, Carlos repeated the process of smoothing the concrete and checking for level.

He also used an edger to bevel the edge of each step.
Step 11: Remove Forms
After about an hour, the concrete was hard enough to remove the forms.


Step 12: Finish the Concrete
Next, Carlos would check each step for level again and run the edger along the corner. After that, he used another float to finish the stair riser.

Small, dried bits of concrete were easy to scrape away or work into the surface of the concrete.

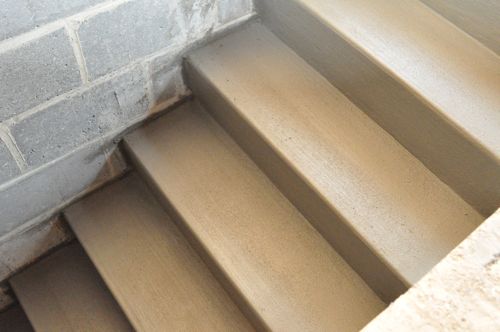
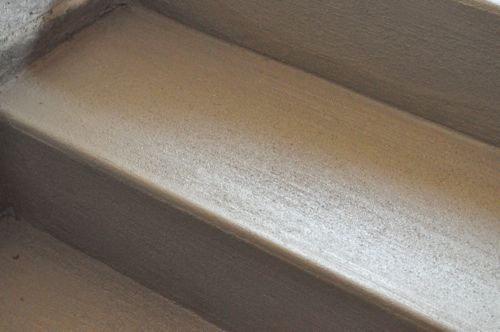
Lastly, Carlos used a foxtail brush to finish off each step and create some texture.
Pro-Tip: Concrete can become very slippery when wet. For that reason, many concrete finishes create some kind of texture to provide better traction.
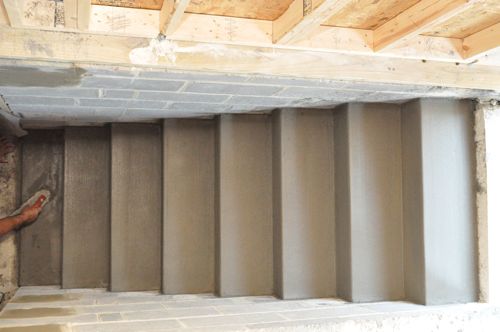
Finished
Here’s a look at the finished stairs. They look great and should be useable within 24 hours.


Diesel works as a decent form release agent as well. Can dress a bunch of forms in a hurry using a pressurized garden sprayer. Great looking stairs.
Good tip Jeff, and if it works as well, cheaper too.
This is fascinating to me. I have no idea how to work with concrete. We will be having a new sidewalk added in the next couple of days. I’ll have to pay attention to the guys working to see how it’s done.
It was really cool to see the stairs come together.
Great piece. The pictures do not show, nor do you describe, how did Carlos work on the stairs multiple times without standing on them?
Like Joe mentioned, he stood on the forms until the concrete was hard enough that he could put down a small piece of plywood to stand on. Good question.
Wow, Carlos did a great job. I know just enough about concrete to know that I would never try to pour my own stairs if I wanted them to look good. Carlos looks like a real pro. I want to know the answer to Icarus’ question, too. How did he work on the tops stairs without standing on the bottom stairs?
He stood on a piece of plywood and the forms, you can see them if you look closely in some of the pictures. He worked from the top down and then left another way, presumably.
Carlos has done a lot of stairs, and it shows. Joe’s right that he stood on the form and eventually a piece of plywood, and he used a different exit to leave the last time.
Amazing job well done
Why concrete and not wood?
I think since it was surrounded by concrete and concrete block (which are full of moisture), they choose to pour the stairs to prevent rotting down the line.
I wonder where they got the idea that local code requires stairs to be at least 7 inch risers and a maximum 11 1/4″ deep treads…
that’s not IBC or IRC
Hi Charles. You’re mistaken on this one. Sections R311.7.5.1 and R311.7.5.2 of the 2012 IRC lay out the requirements for stair treads and risers, and these stairs comply with the code.
Have some steps that have some deterioration on the risers. Interestingly, these steps had some sort of heating element placed under them when poured ( a long time ago) to allow thawing of ice. Anyone ever hear of that?
I know warmly yours makes an electric mat for exterior use. I think Rob over at A Concord Carpenter used it on his own place. Activated by thermostat. For commercial projects we use pex in the slab and circulate warm water or antifreeze. A recent metal foundry job circulates all the waste heat from the blast furnace to an exterior slab. Dead of winter that slab is dry and ice free.