
Thank you so much for joining us at One Project Closer for this tutorial on How To Replace Brake Pads On a Car. This post is sponsored by the Home Depot Prospective Campaign. Post may also contain affiliate links. Opinions (and typos) are 100% our own, and we appreciate you supporting our site in order to continue to provide free content to our readers. Professional auto mechanics may have a different way of completing this project – this advice does not replace common sense or the need to consult a professional. DIY at your own risk.
Let’s face it. Most of us DIY because it keeps the bank account in check. Sure, there is also the satisfaction of a tangible job well done, but at the end of the day, saving money feels good. Changing brake pads in a car is one of those tasks that seems more daunting than it actually is. However, with the right tools and a couple of hours you can save yourself a good chunk of change (estimates for front brake pad replacements are around $200) by doing it yourself. For those of you wanting to go the extra mile and also replace the rotors be sure to read our recent article on replacing brake rotors as well. It’s chock full of great information that will familiarize you with this project, even if you only plan on replacing the brake pads.
DIY Brake Pad Replacement
Project Time: 1 hour
Cost: $50 (premium brake pads from my local auto supplier)
Difficulty Level: Moderate
Materials List:
- Premium Brake Pads (yes, they are worth the money. They definitely last longer and also will come with new clips)
- Brake caliper grease
- Brake cleaner
Tools Needed:
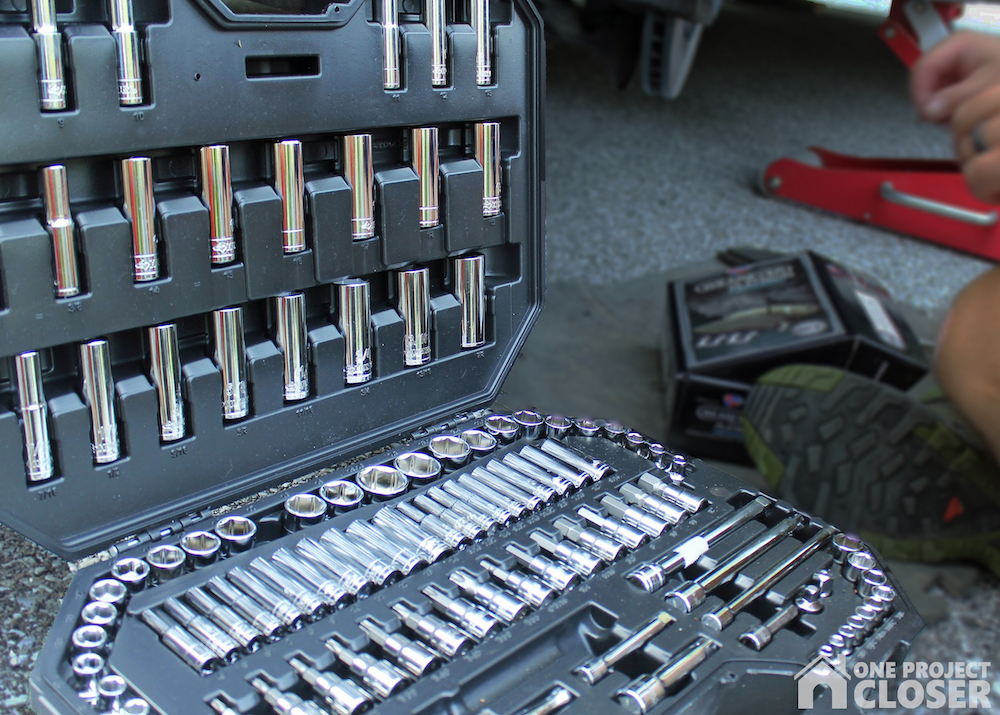
- Husky Mechanics 125 Piece 3/8″ and 1/4″ Drive Set
- 3/8″ drive torque wrench (optional)
- Flathead screwdriver
- C-clamp
- Car jack and jack stands
Be sure to check out our amazing Home Depot Coupons before you buy to save yourself some money!
STEP ONE
Turn the wheel you’ll be working on to face outward to allow easier access to the brake caliper bolts and then safely jack up the car and remove the wheel. The process for jacking up the car is covered in more detail in our article on rotating tires. Also, take the time to remove or loosen the brake fluid reservoir cap under the hood of the car. This is usually tucked up against the firewall inside the engine bay.
STEP TWO
For this project, I used the Husky Mechanics 125 Piece 3/8″ and 1/4″ Drive Set. This set has just about everything you could need to complete most mechanical tasks in the garage and around the house. It comes with SAE and metric regular and deep sockets. It also has 24 bit sockets, which include SAE hex, metric hex, and torx. The torx bits could be especially handy if you do attempt a brake pad replacement on your vehicle as many vehicles have torx head bolts on the calipers.
There are tons of full sets on the market out there, but two features really make this one stand out. Husky mechanics tools are backed by a no-questions-asked lifetime warranty. If you break one for any reason, simply return it to Home Depot (even without a receipt) and they will replace it free of charge! In addition to the awesome warranty, the ratcheting action on the wrenches is ultra-fine, like 2.5°. If you’ve ever tried wrenching in a tight space you’ll know what a welcome feature this is.
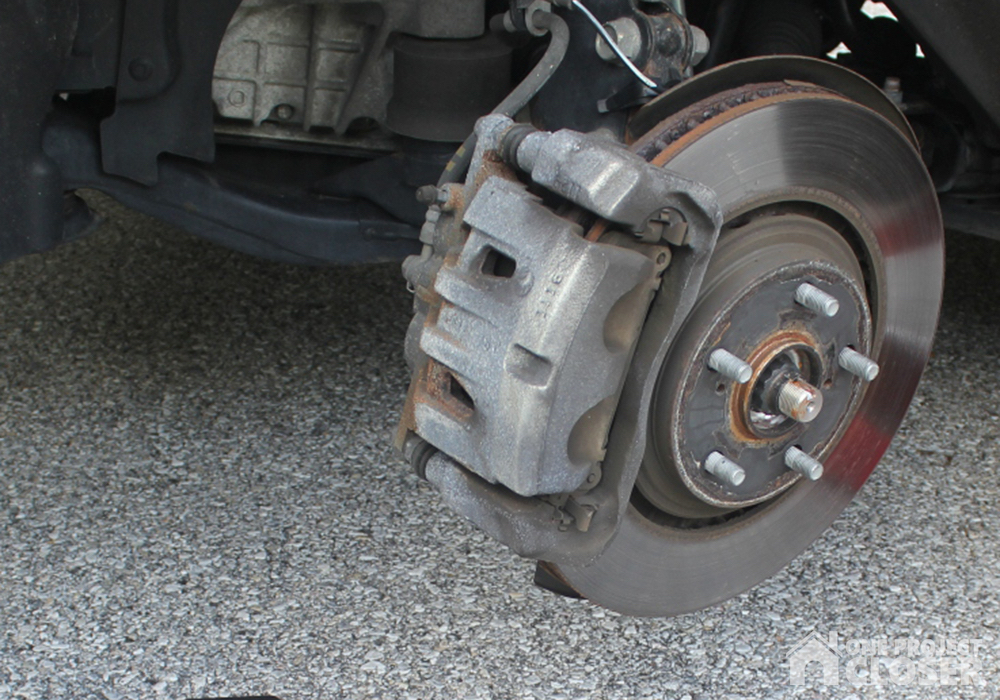
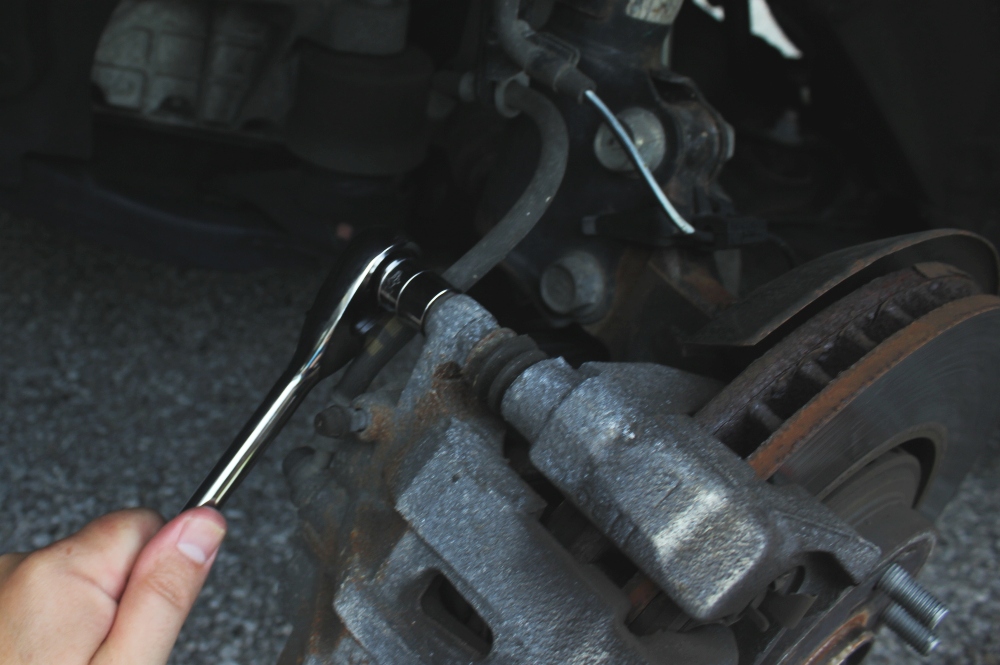
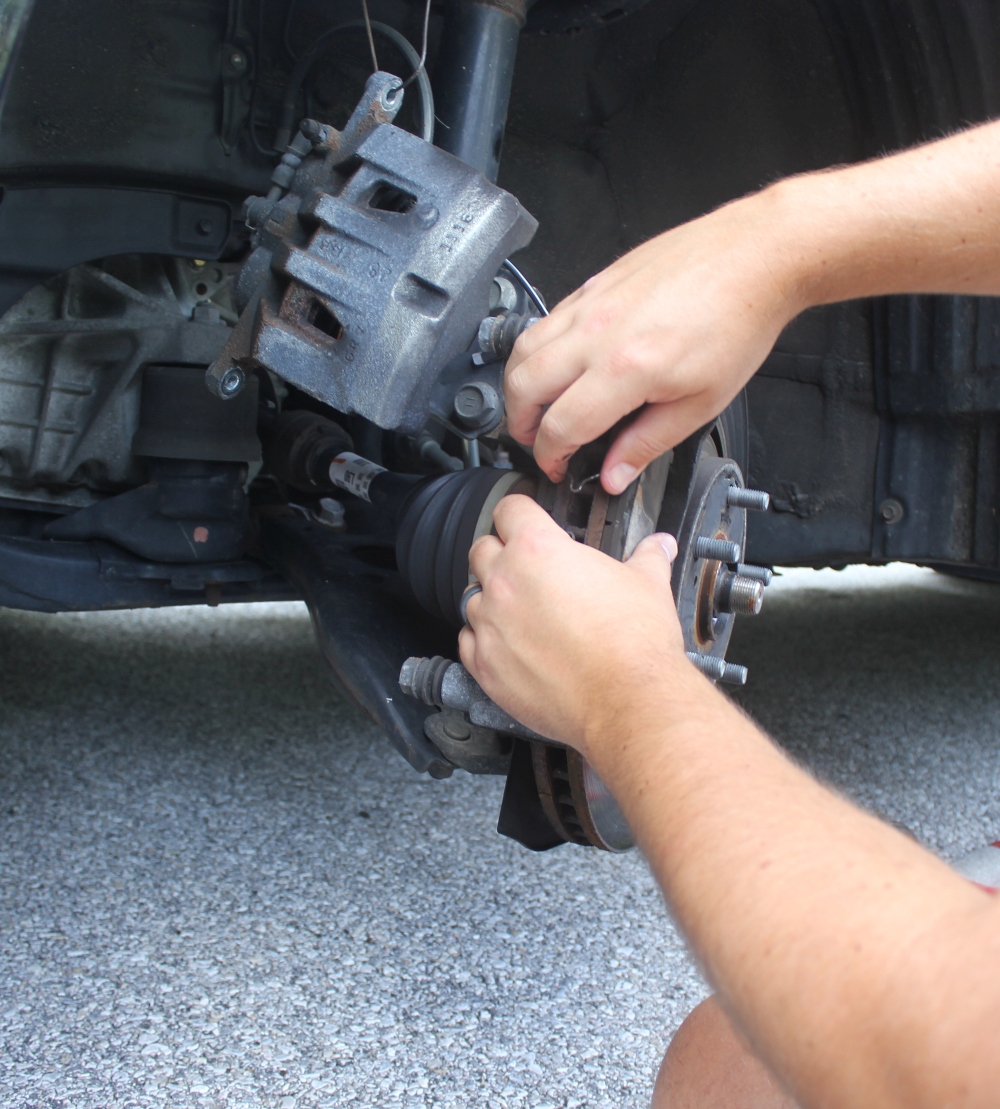
Locate the two caliper bolts that secure the caliper to the caliper frame. Loosen these using the appropriately sized socket or torx drive (varies by car). Pay close attention when removing these as sometimes they are different sizes and will need to be replaced in the proper position.
STEP THREE
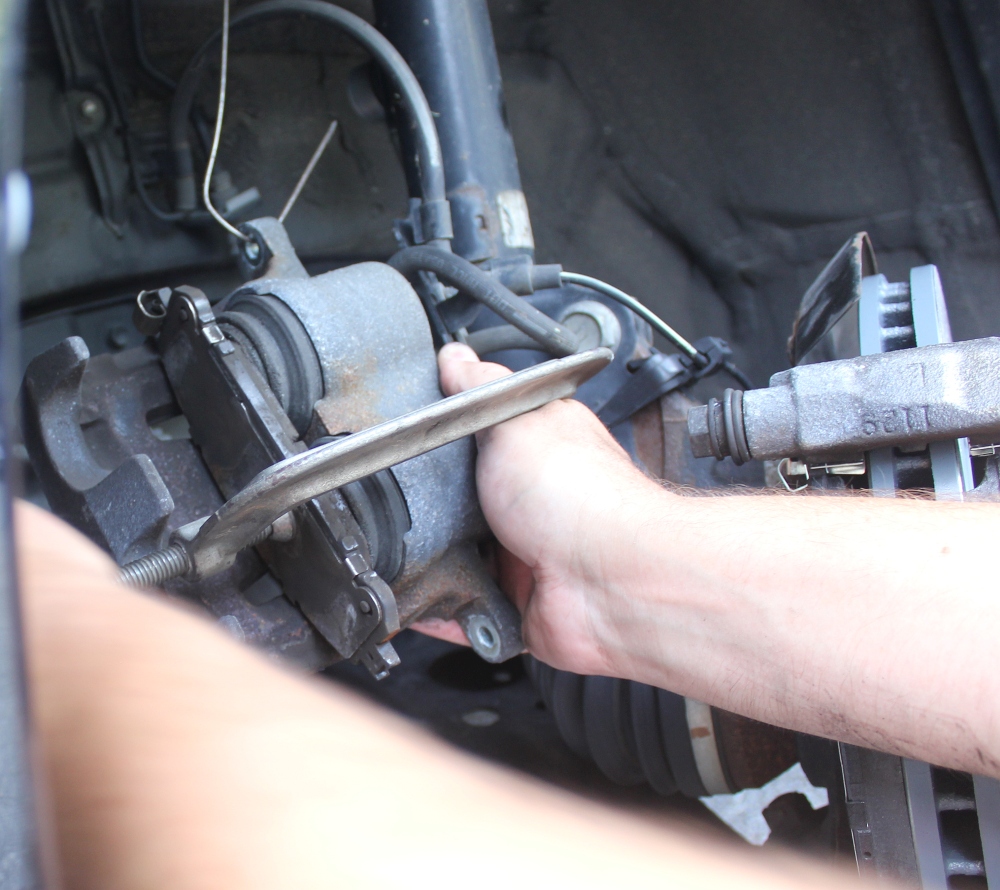
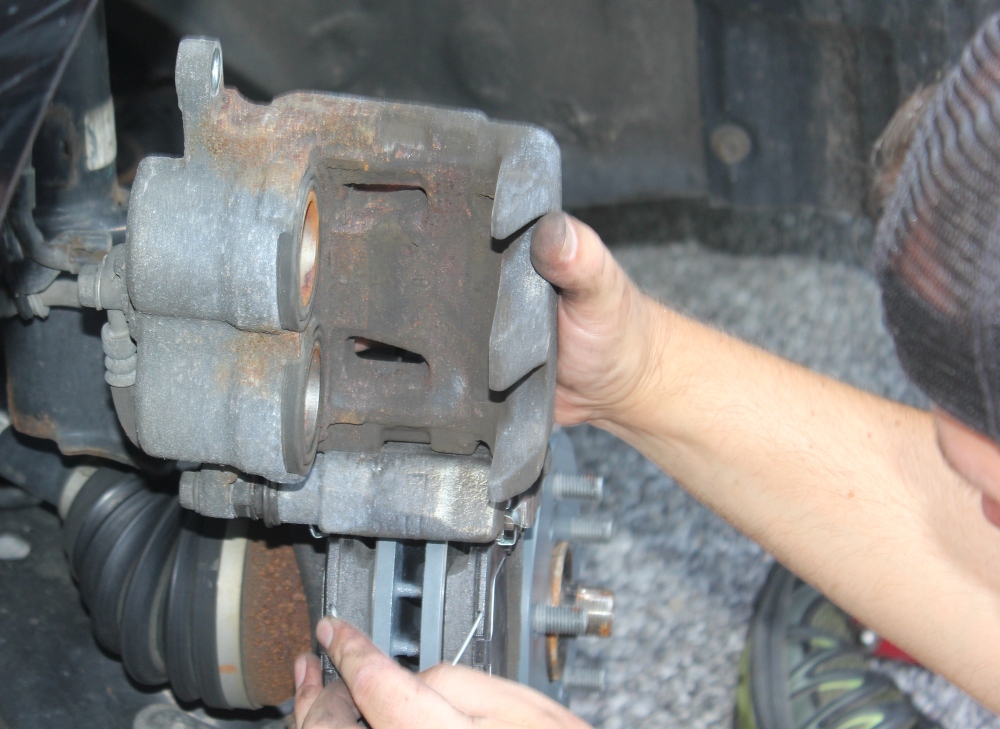
Carefully shimmy the caliper off of the brake pads. Here I fashioned a temporary hanger out of an old coat hanger to hang the caliper from the suspension spring to keep it up out-of-the-way and prevent unwanted tension on the brake line. Also, notice that I’ve used an old brake pad as a block to allow a c-clamp to recompress the brake caliper piston to fit over the new, thicker brake pads.
STEP FOUR
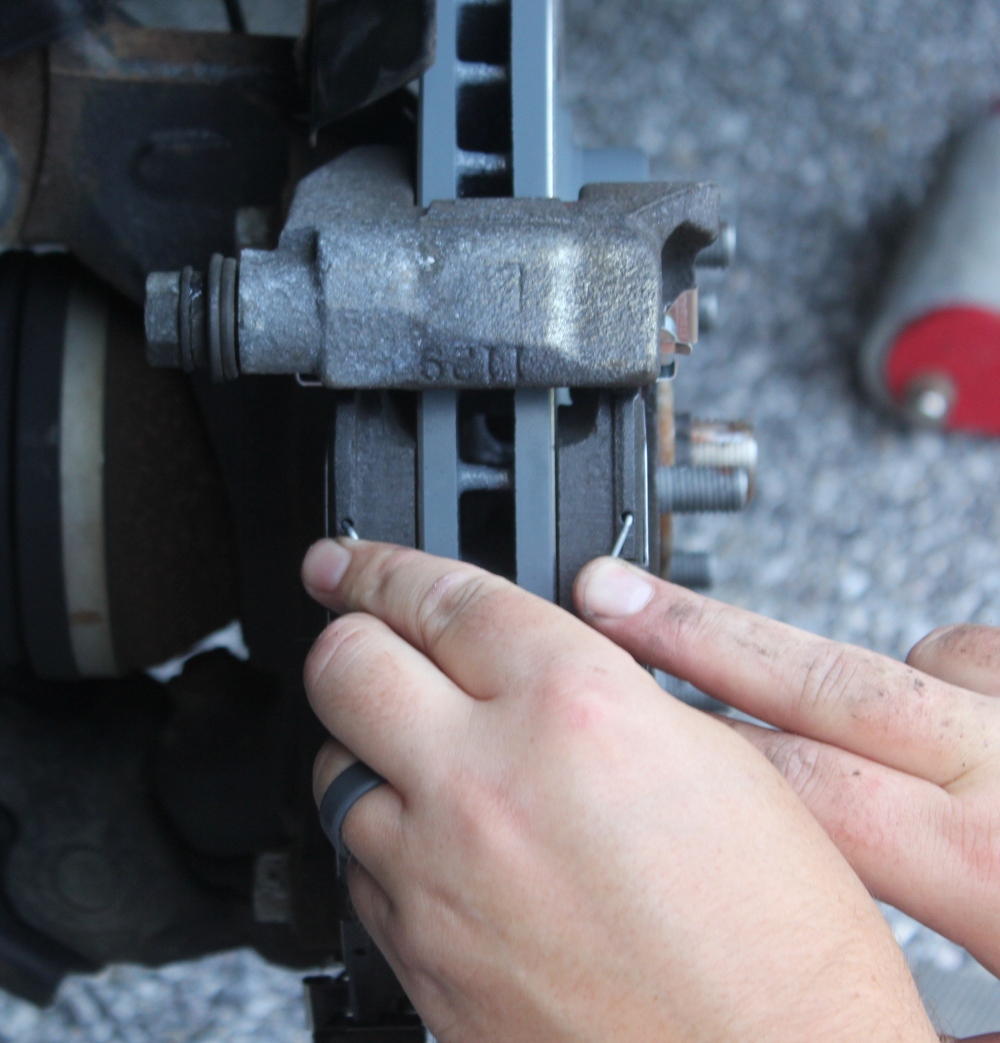
Most cars will have some sort of clips holding the pads in place. Go ahead and remove these and then use a flat head screwdriver to gently pry the brake pads out of the caliper frame.
*Pay close attention to how the pads are installed in your particular vehicle. Go ahead and snap a picture or two for posterity while you’re at it.
STEP FIVE
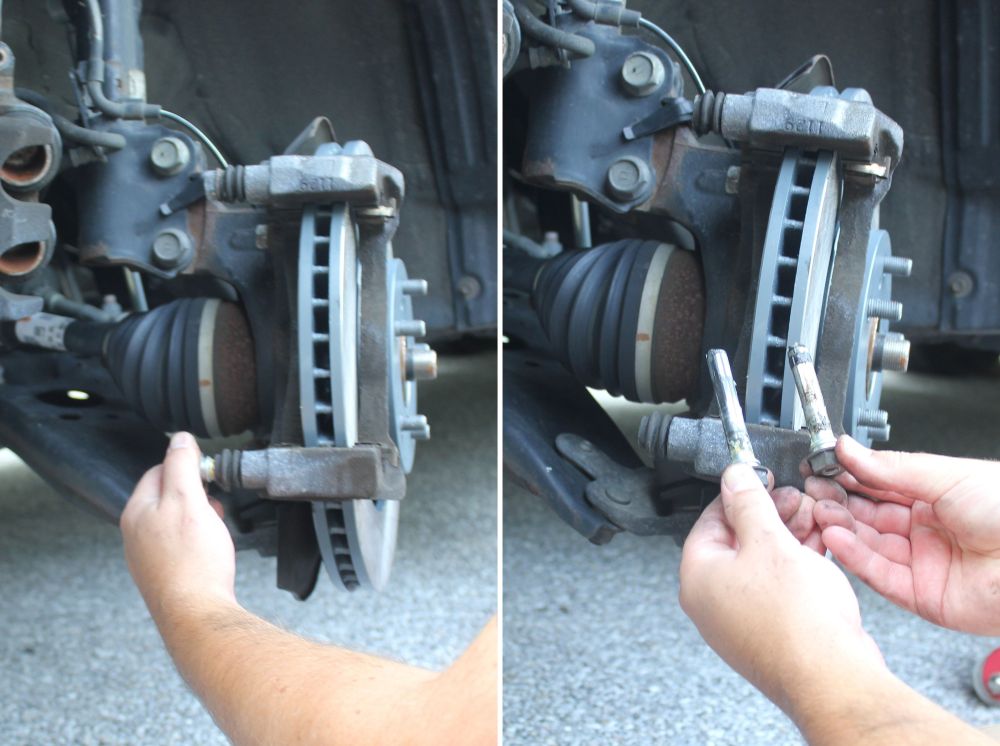
There are studs that the caliper rides on as it is compressed and depressed during braking. In the case of my van, these simply pop out, taking care not to tear the rubber boot seal around the bolt head. It’s a good idea to clean these up and regrease them using some caliper grease to ensure smooth braking action. Again, like the bolts that hold the caliper on, these can be a different size from one another so pay careful attention here. Once regreased, they simply pop back into place with some gentle pressure.
STEP SIX
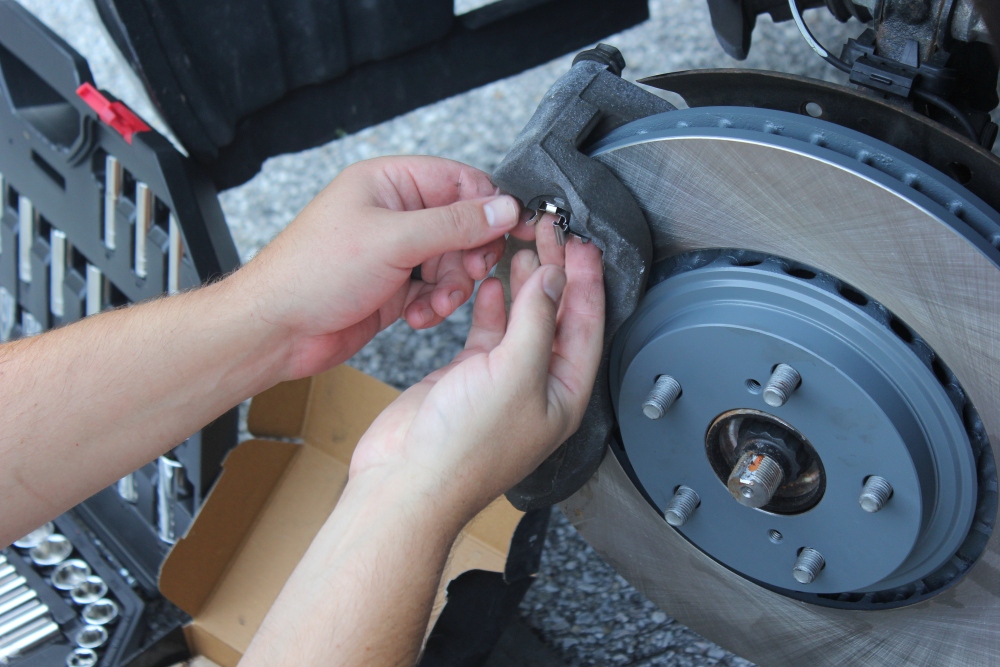
Because you listened and bought the premium brake pads, you also have new clips. Now’s the time to install any new clips that came with your brake pad set. On my van, I had clips that go in the caliper frame as shown below, the clips that attach to the pads themselves, and the V clips that hold the pads apart when the vehicle is not under breaking.
STEP SEVEN
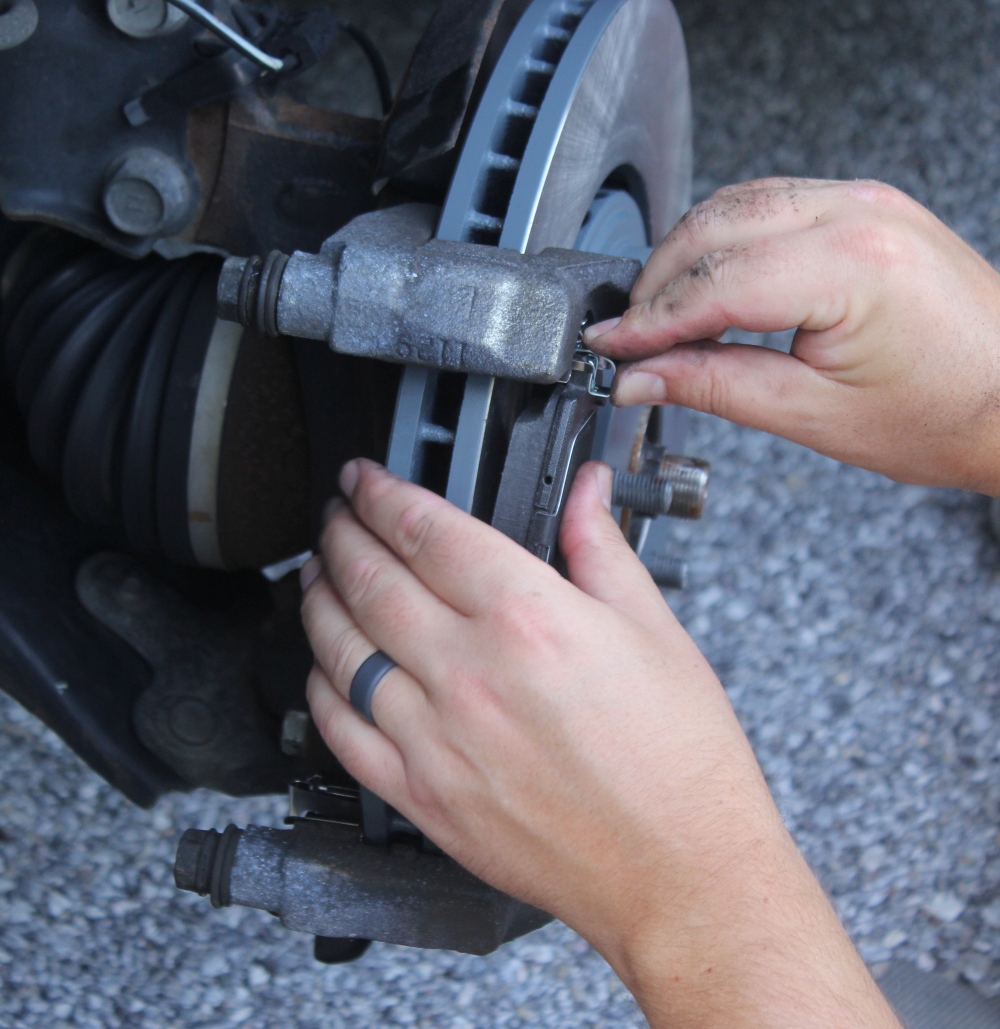
Once the clips are installed, go ahead and snap the new brake pads in place. You paid close attention to the way the old ones were oriented right? RIGHT?
STEP EIGHT
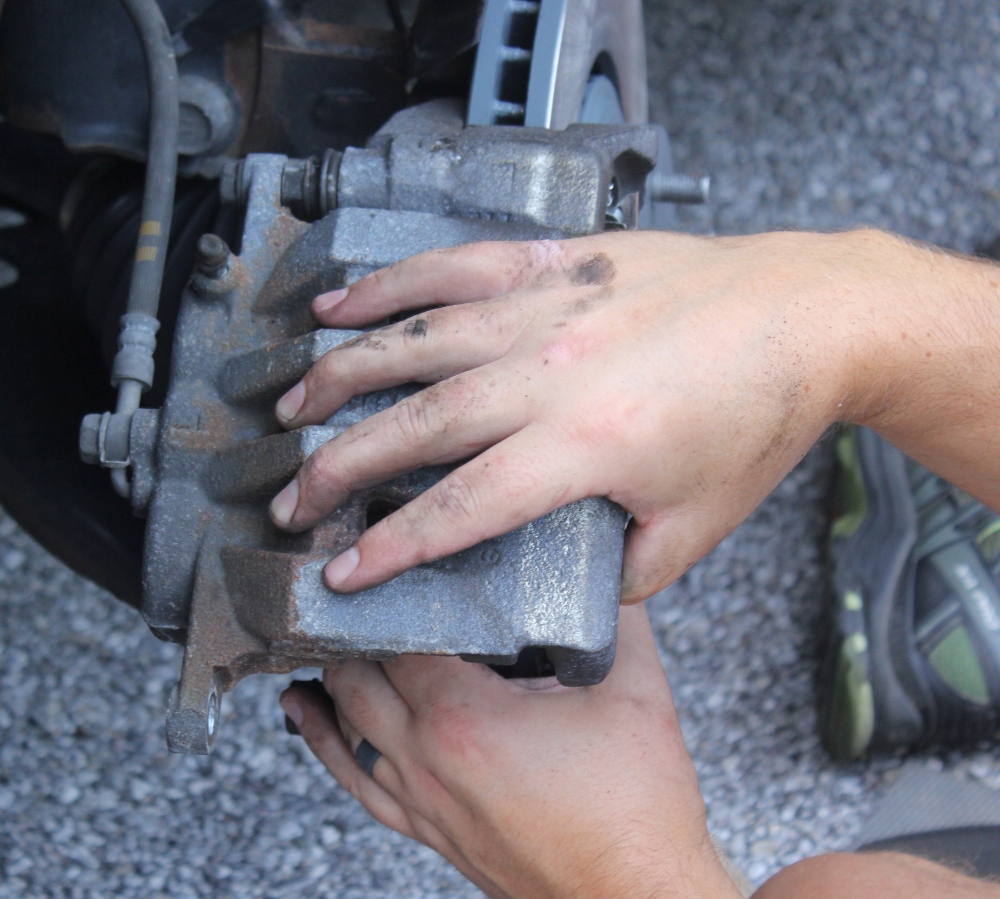
I like to get the top bolt of the caliper started loosely by hand and then scissor the caliper down over the brake pads and caliper frame while holding the pads together with my other hand (remember those V clips are pushing the pads outward).
STEP NINE
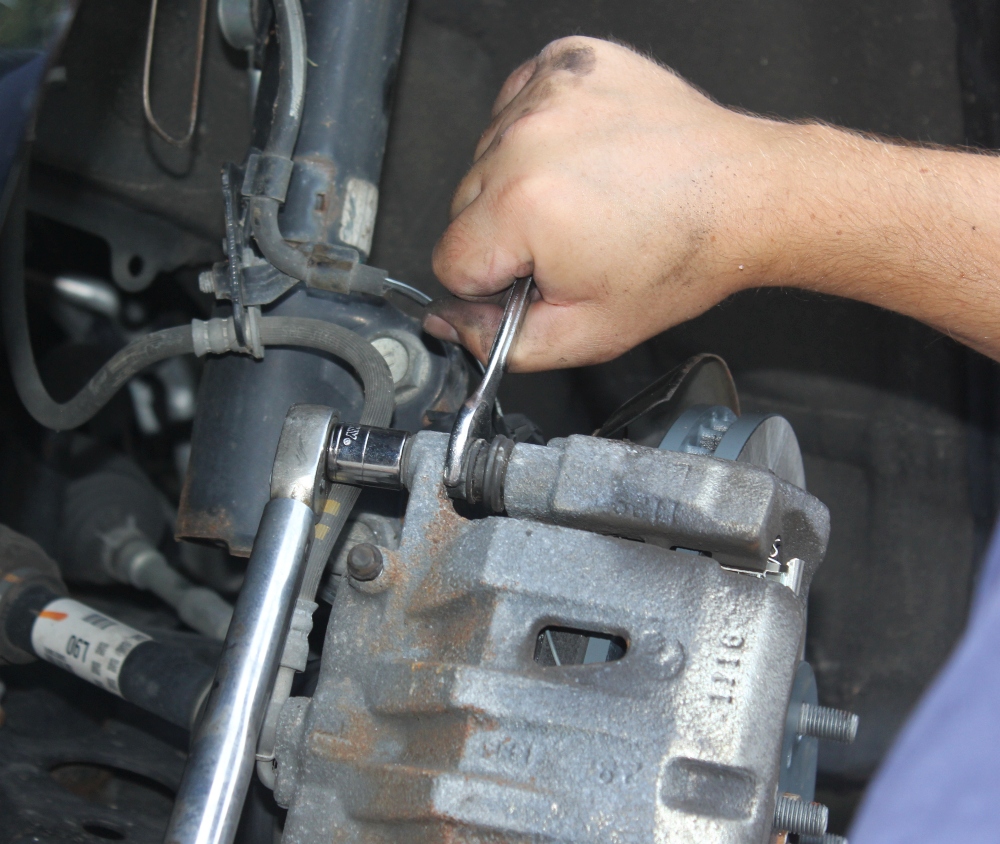
Reinstall the bottom caliper bolt and tighten both of them to roughly 25-30 psi. Your vehicle may vary, but this is a pretty safe range to go by. If you don’t have a torque wrench just tighten them until they feel quite snug. 25-30 psi is not wrenching as hard as you can.
STEP TEN
Reinstall the wheel and repeat on the other side. After both sides are complete be sure to check the brake fluid reservoir and top it off with the appropriate fluid if necessary.
STEP ELEVEN
Enjoy a cool refreshing beverage of your choice and humblebrag to your friends about your newfound skills.

I agree with the above comment from Karl.
I appreciate your efforts buddy! Keep up the good work.
Thanks for explaining that a DIY brake pad replacement project will take about an hour to do and costs about $50. My wife and I just bought a used car, and it needs new brake pads. I’ll look for an auto service that can help me fitting new brake pads because I lack the experience trying to do it on my own.