
Last weekend, Jocie and I spent time with her sister and sister’s family working on their kitchen. They have solid wood cabinets, and structurally they’re in great shape. Unfortunately, visually they looked a little worn out and in need of updating. That’s where Rust-Oleum helped us out.
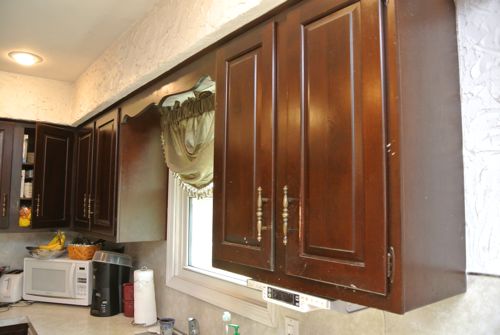
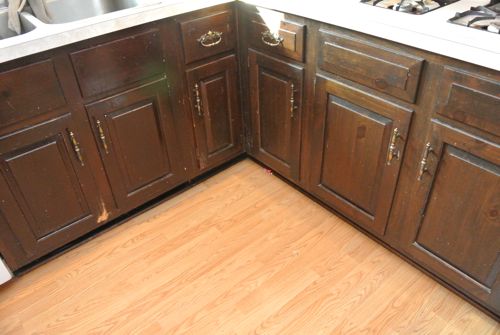
Cabinet Transformations is a part of Rust-Oleum’s Transformations line up. The DIY kits include almost everything you need to give your kitchen cabinets (or other wood, laminate, or melamine surface) a fresh new look, and there are 70 colors and finishes to choose from. We went with unglazed, Quilter’s White, and you can see all the options here.
Measurements
Before you purchase anything, figure out how much product you’ll need. Rust-Oleum provides a handy calculator that assumes 2 coats and excludes the insides of the cabinets. The kits are available in 100 sq. ft and 200 sq. ft. sizes. Also, make sure you add in a little extra so you’re not scraping the bottom of the paint can.
Tip: We applied more than 2 coats, and maybe it was because the original cabinet color was so dark. Regardless, factor in some extra bond coat because it’s better to have too much than too little.
Tools and Materials
Each kit includes deglosser, bond coat, optional decorative glaze, protective top coat, glazing cloths, scrub pads and stir sticks.
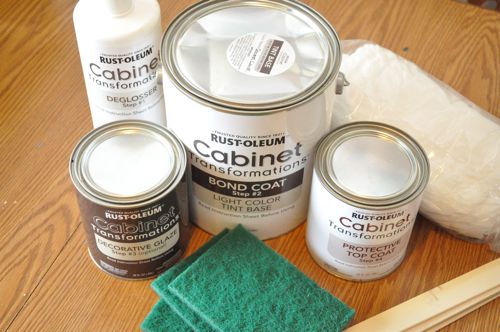
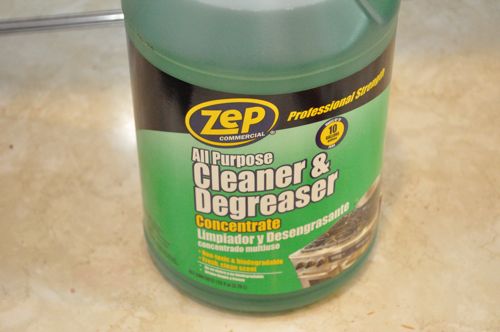
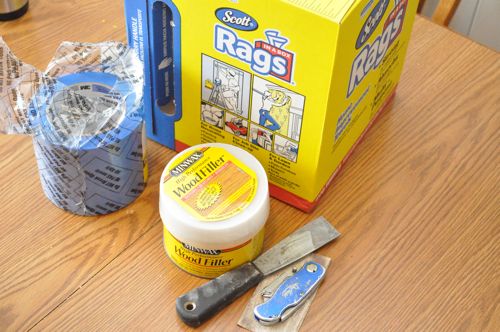
In addition, we picked up a degreaser, wood filler, painter’s tape, synthetic paint brushes and a box of rags.
Tip: If you’re skipping the glaze coat and you’ve got the equipment, consider using a sprayer. Both the bond coat and top coat can be cut with water and applied with an HVLP paint sprayer. Taping and covering everything will take time, but it’ll be faster overall and the results will look great.
Step 1: Remove Cabinet Doors and Hardware
Before Jocie and I even arrived, the cabinet doors, hinges, drawer pulls, and handles had already been removed.
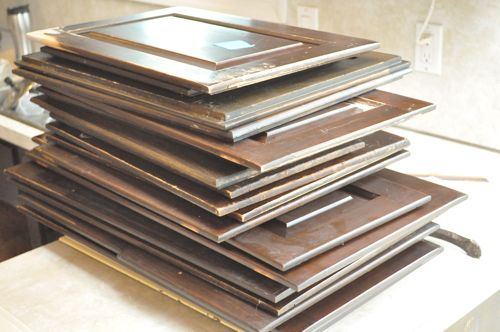
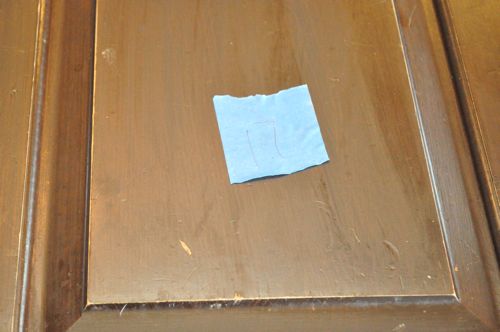
Each door was labeled with a number corresponding to a rough sketch of the kitchen. That way, when we were done, it would be easy to replace the door in its original location.
Step 2: Fill Holes and Repair Damaged Wood
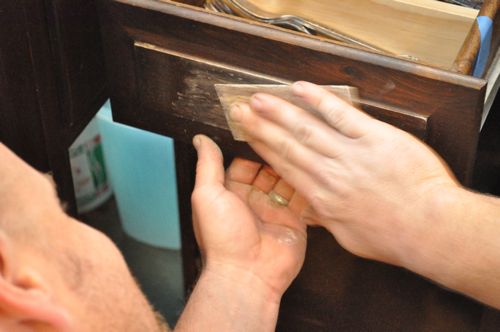
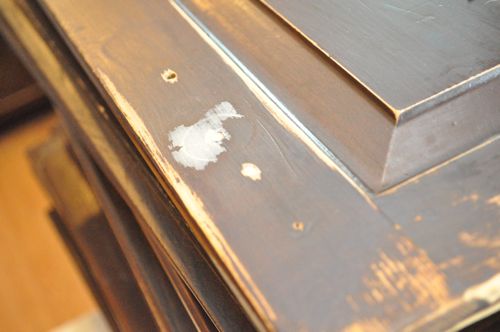
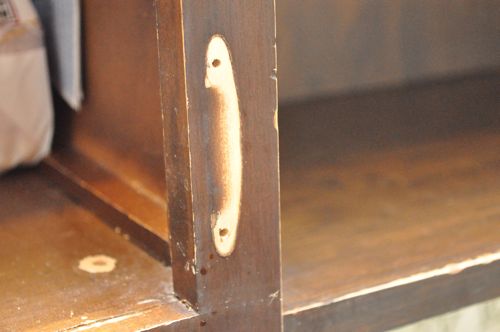
You can tell from the pictures that these cabinets were in need of some TLC. Defects on the cabinet doors, face frames, and drawer fronts were repaired using wood filler and sanded smooth.
Step 3: Clean and Degloss
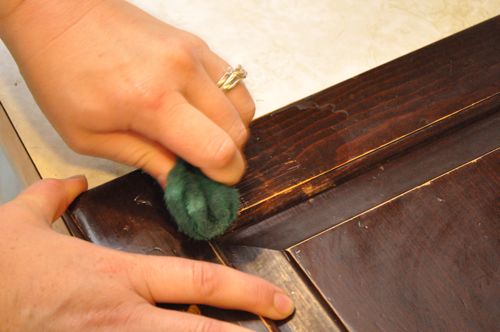
We used the degreaser and deglosser to clean and prepare all the surfaces. This was a really important step because leftover finish would affect the look of the bond coat. Rust-Oleum states there is no need for sanding, stripping or priming with Cabinet Transformations so this was the majority of the prep work. The only exception is if you’re working with raw wood. In that case, Rust-Oleum recommends using a stain blocking primer.
Step 4: Tape Off Ceiling, Shelves, Appliances, Etc.
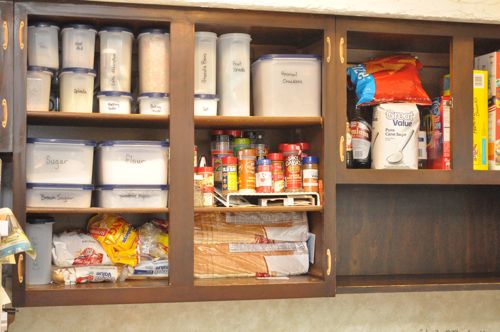
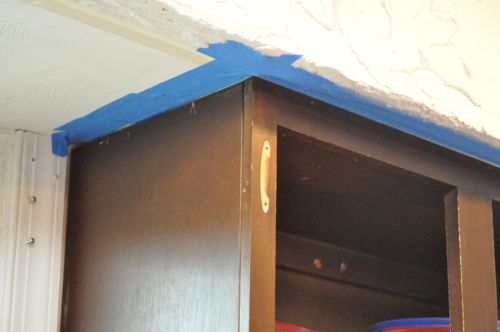
Just like a painting project, we taped off all the edges being really careful to create a good seal. In my experience, painter’s tape is hit-or-miss so I try to cut in by hand and use the painter’s tape as an extra precaution.
Step 5: Apply the Bond Coat
The bond coat is the solid color, and it’s probably an acrylic latex paint. We setup the cabinet doors in the garage on some sawhorses and started with the backsides.
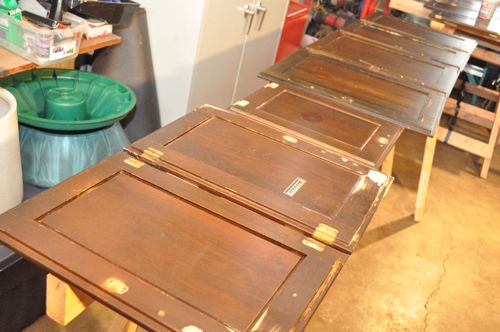
We applied the bond coat with the grain of the wood.
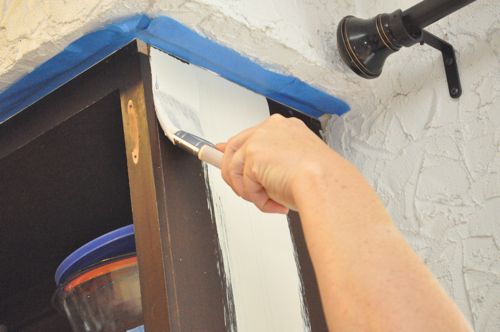
Each bond coat takes 2-3 hours to dry, and we applied at least 3 coats to fully cover. Not only was it slow going, but we were also concerned that we wouldn’t have enough for the entire project! Here’s a look after the first coat.
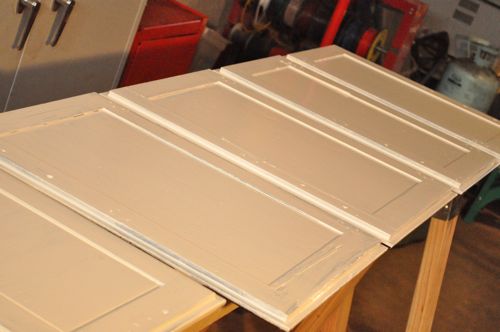
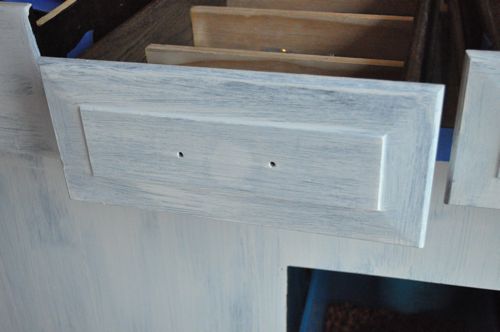

As we continued to work, we noticed a few areas that looked like this. I’m not sure if the bond coat shrank or what happened. It was in these instances that we needed to apply a quick fourth coat.
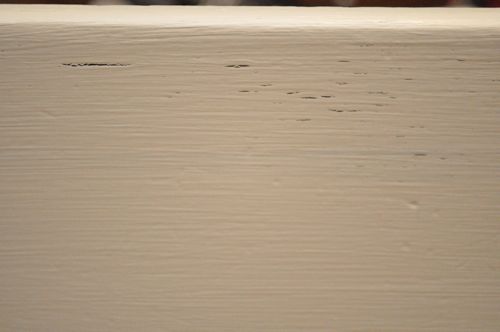
Here’s a look after we finished all of the bond coat.


Step 6: Apply Protective Top Coat
If you remember, we skipped the optional glaze coat. The glaze really brings out the wood grain, and that wasn’t the look we wanted. As a bonus, that means we also eliminated the minimum 8 hours dry time for the glaze.
The top coat is a thin, milky liquid, and the small, 32 fl. oz. can goes a long way. When we applied the top coat, it was difficult to see the brush strokes, so make sure you have plenty of light.
Tip: Uneven application can cause discoloration and streaking.

Doors and hardware can be installed 12 hours after application. Everything is ready for light use after 24 hours, and the top coat is fully cured 7 – 10 days later.
Step 7: Clean Door Hardware
We opted to reuse the existing door hinges, drawer pulls, and handles. First, we used acetone to clean off all the gunk. We scrubbed everything until it had an “antique brass” look.

After the hardware was clean and dry, we started re-installing everything.

For a look at the finished product, you’ll have to head over to “our finer side” which we call The Better Half. Stay tuned as we will be tackling the countertop soon too!


Hmm, I have painted cabinets in four different kitchens. I think I will stick with the method I use, which is primer and latex paint of my choice. I will be curious to read about transforming the counter tops, however.
Hey Carol, what sort of finish do you end up with? I liked the protective top coat because you end up with a nice, wipe-able surface.
I use a semi-gloss paint and it holds up really well.
I’ve reached out to Rust-Oleum about this but I’m not sure when I’ll hear back, but if you already have paint on the cabinets do you need to strip them or can you use this on top?
You shouldn’t need to unless the paint is peeling / chipping. In that case, I’d take the precaution of stripping the old paint first.
And 10-15 years from now, you can do a follow up post where your strip off the paint and sand & stain the cabinets for an updated look!
Haha! It’s so true how styles come and go around.
Great post! Could you use this kit with a dresser as well?
You could use the kit with a dresser, bathroom vanity and lots of other furniture.
This looks great. I thought folks were using spray paints for this kind of thing, no?
Paint sprayer… yes, and probably with a latex paint cut with water. Spray paint… I gotta think my fingers would fall off before all these would have been finished.
Putting those folding sawhorses to work..nice!
I’m surprised at how much the bond coat covers imperfections. Was it that thick after a couple layers or is it just the lighting that makes it hard to see them now (harder to spot on light as opposed to dark)?
It’s tougher to see imperfections with the lighter color. Plus, they’re covered over with the bond coat. For truly flawless cabinets, you’ll need to do a lot of repair first.
Wow, that is one organized kitchen. I love the use of all of all the plastic containers. And the hardware came out looking great.
Looks like a great job but wouldn’t spray paint be better? or is that just an alternative?
Like I mentioned to Reuben, I’d hate to try and spray paint a whole kitchen. It would be very tedious. Plus, this kit includes a protective clear coat and I think that makes a difference.
I’m seeing these rustoleum posts all over the place, very intriguing! I didn’t realize the base was the ‘paint’, I thought it was a primer. I will be clicking over to see the after right now!
I prefer the look of wood i dont get why people paint them, too dark? why not a light stain,
Each to his own I guess. I really like the lighter color.
Will you be using the countertop transformations? my wife and I have been looking into that, and really want to see how it works. The cabinets look great, btw!
We will be doing the countertop! That’ll be in a couple weeks so stay tuned.
I found it really interesting that the cabinets were originally spray stained with the hardware in place. Is that most of what you cleaned off the hinges? Seems most budget friendly commercial cabinets are done that way.
Thanks for sharing this. Jeremy and I keep debating what to do with our cabinets. They are old but solid hardwood. The hardware is hideous. we like the wood color, but since we want to change the hardware, we are afraid that restaining will highlight where we fill in holes and such. We are unsure if we want to paint, but it will be so expensive to get new cabinets and we probably couldn’t afford to get as nice of quality ones.
Oh, what exactly is better/worse about using this kit rather than regular paint?
New kitchen cabinets vs. a ” makeover” like this is a no- brainer in my book. The macaroni, flour, and sugar could care less! I new a carpenter who put new cabinets in his kitchen. He told me he wasn’t so happy when his wife first saw it and said, ” It’s beautiful! Let’s go out to eat and celebrate!”.
We’re thinking about doing this. Which white color did you use? We’re thinking Pure White. The white in the final product photo looks kinda creamy.
Hmm, I painted 2 kitchen cabinets before, I think I still on my way and use some tips from you.
Just awesome! But RTA Kitchen cabinets are also great!
i painted wood cabinets in the past by priming and then painting with semigloss latex, but had to reapply every couple of years. I am curious about the longevity of this method vs. regular paint.
i am interested in doing this to my cabinets, but not if I have to redo it every couple of years
I know this is old post. But came across this. I am bit confused. Is the top picture where there are 2 different colors that appear to be new the before or after? I like the color of the top browninsh one. I ended up with a disater after staining some wood cabinets. They looked good when first done. But as they cures started showing flaws. I have used the cabinet restoration before…but the colors seemed to have changed. and the top pic is what I am going after. What color was it if the cabinet restoration?