
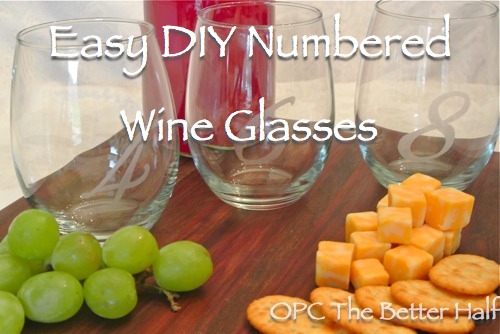
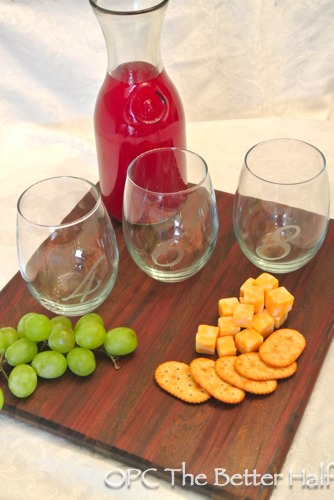
I had in my mind for a long time now to get rid of these Ikea wine glasses that don’t fit in our dishwasher and get stemless wine glasses. But I had always been held back by the idea that guests would no longer be able to tell their drinks apart with wine glass charms. Then I remembered back to my dad’s stained glass projects and that he often used glass etching cream to create designs. Dad…what a genius! So after a quick phone consultation with my Dad and a trip to Hobby Lobby and Michael’s, I got started!
If you’re looking for a great project to go with these fabulous etched wine glasses, check out some wine cork crafts from Mom4Real!
Materials:
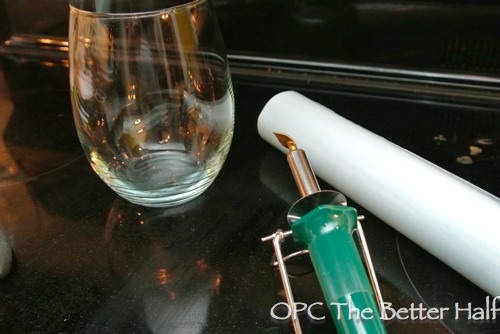
- Wine glasses
- Etching Cream
- Foam brush, or paint brush
- Rubbing Alcohol and lint-free cloth
- Stencil Cutter, or x-acto blade
- Adhesive Stencil Film
Step 1: Design and Cut Stencil
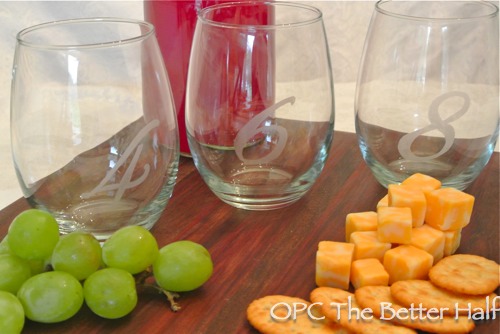
I couldn’t find any pre-made stencils that I liked so I decided to make my own! While it may look difficult, it was easier than I thought. Also, I decided to etch numbers on the glasses, but you could really do any designs, letters, figures that you want! Ethan was not a fan of the numbers, but he gave in. Thanks, hon!
This would probably make for great, personalized wedding gifts – his and hers champagne glasses, beer mugs, etc.
After purchasing all my supplies, I took to my computer and picked a font and size that I liked. I picked a pretty ornate font, which made applying the stencil adhesive to the glass semi-diffiuclt, but I was still pleased.
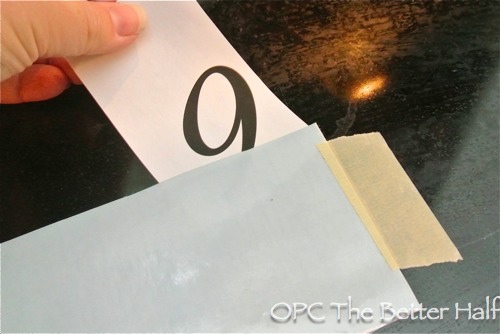
After printing out the numbers onto regular old paper, I placed the numbers, one at a time, under the stencil adhesive.
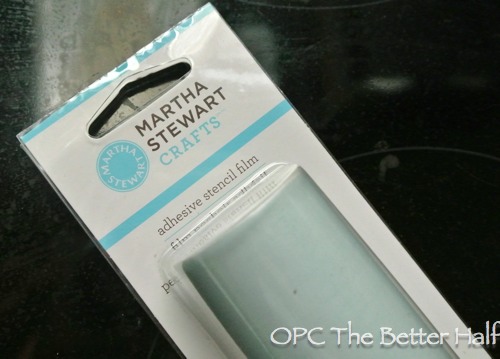
I bought Martha Stewart’s Adhesive Stencil Film and LOVED it! I couldn’t find it at Hobby Lobby (my typical first choice) but did find it at Michaels.
I then taped the stencil to the stove top. You can really use any hard, flat surface that will not be damaged by heat. When cutting your stencil film down for the letters, I should have made sure there would be enough space around the numbers or chosen design, at least an inch all around…but I didn’t. Keep reading to see why this was a problem. 🙂
I slowly traced over the numbers with the stencil cutter. I used the fine, curved tip for more precise cutting.
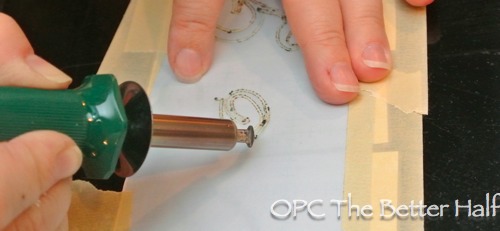
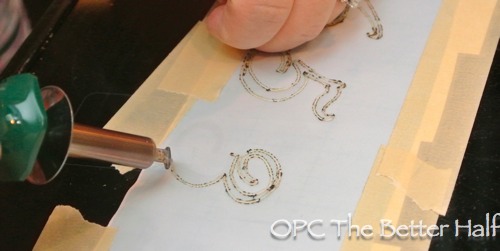
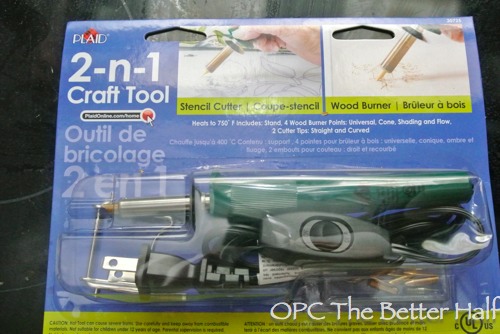
Ethan bought me this stencil cutter/wood burning tool as a present for going full-time on the blog. Isn’t he sweet!?!?!? This was my first time using it and it was so much fun and way easy.
Once my numbers were cut, I removed the insides of the stencil.
Step 2: Practice
I used one of those old wine glasses to practice my technique and I was really glad. The directions on the etching cream are not clear and on-line resources weren’t much better. So I cut an extra number 9 and used that to practice. I have included all my tips in this tutorial, but doing a practice run refined my technique, increased my confidence, and hopefully reduced any mistakes.
Step 3: Apply Stencil
Before applying the stencil, I wiped the glass clean with rubbing alcohol and a lint-free cloth (paper towel), and allowed to dry completely before applying stencil.
This was by far the trickiest part! At first, I completely removed the backing from the stencil film and tried to put in on the wine glass, but the film would bunch up or become mis-aligned. It was a mess, particularly on the more intricate numbers like 2, 3, 4, and 5.
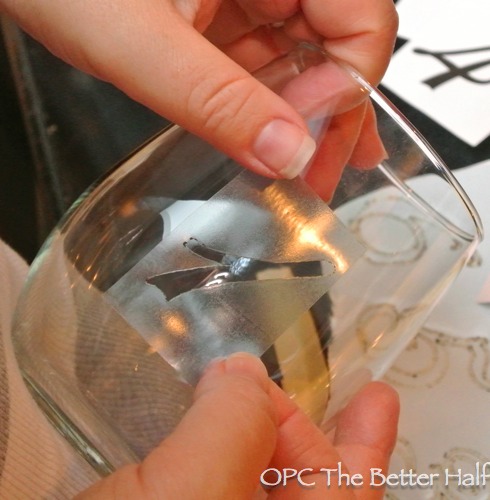
Then, I tried just pulling back one side of the backing, and applying the first half of the stencil to the glass. Once that was in place, I removed the remainder of the backing and gently pressed the stencil into place. It worked like magic – much quicker and precise!
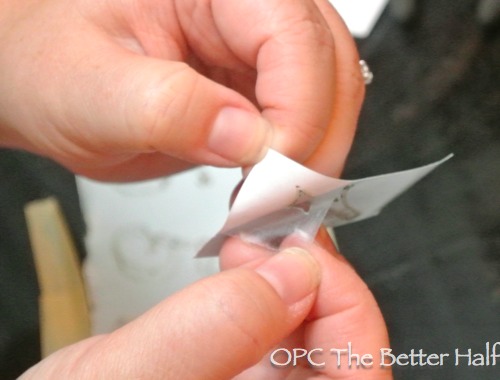
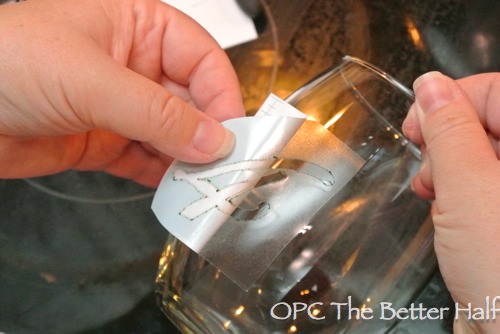
Once in place, I pressed firmly with my fingers to ensure that the stencil was flush to the glass. In hindsight, a sharp, flat instrument like a cuticle pusher would have worked even better. This is super important! See why? I didn’t press the creases in the film all the way down. 🙁
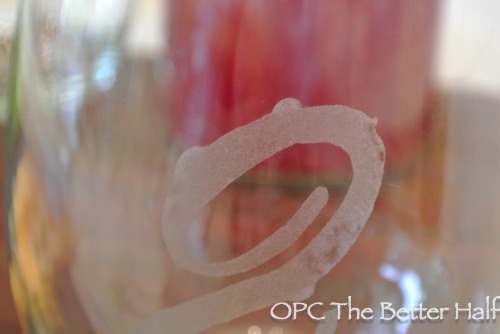
Step 4: Etch
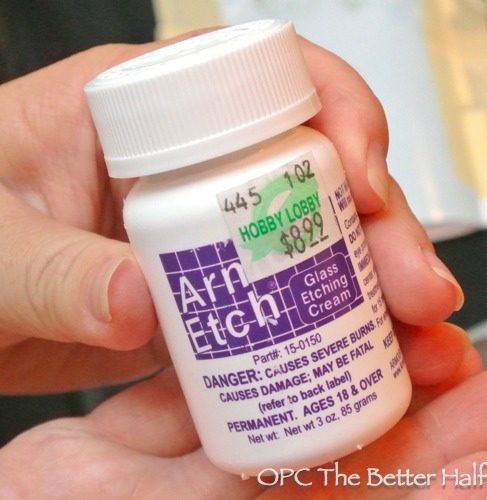
After all the stencils were in place, I put a generous amount of etching cream, Armour Etch on my round sponge brush and applied it over the exposed interior of the stencil.
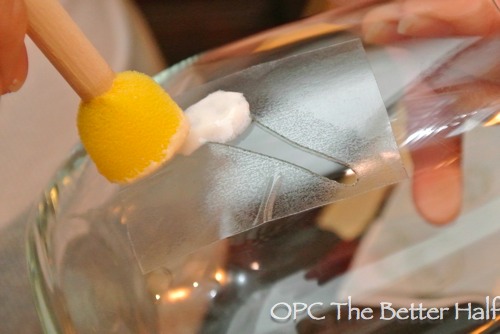
I made sure the etching cream was even and thick, or the etching would appear uneven.
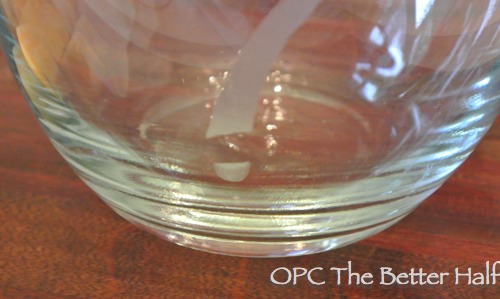
Also, remember earlier when I said to leave a generous border around your numbers? Well, I cut mine too close to the numbers and the etching cream dripped a little. oops!
Step 5: Wash
I allowed my etching cream to sit on the glass and stencil for about of 15 minutes. Some directions I found said 5 – 10 minutes, but you could barely see the etching when I practiced.
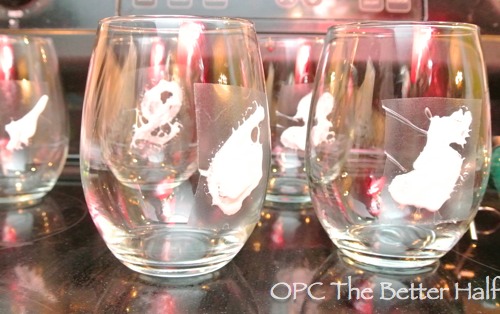
After 15 minutes (or however long you determine), I washed off the etching cream with warm water. Before removing the stencil, I checked that the glass has been etched enough. In my practice run, it had not, so I dried the glass and applied more etching cream.
With my real glasses, the etching was complete, so while rinsing with water, I removed the stencil and continue rinsing.
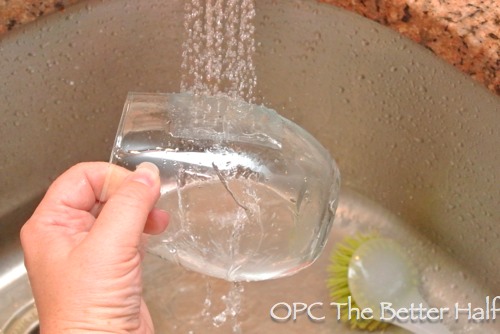
I made sure to move at the same pace with which I applied the stencils so each glass would be etched evenly.
After all were rinsed, I washed them with hot, soapy water, or I could have put them in the dishwasher! YAY!
Seriously, I love them!
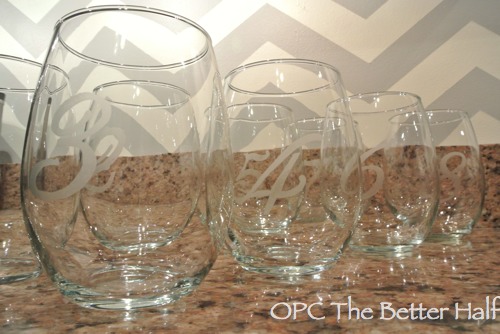
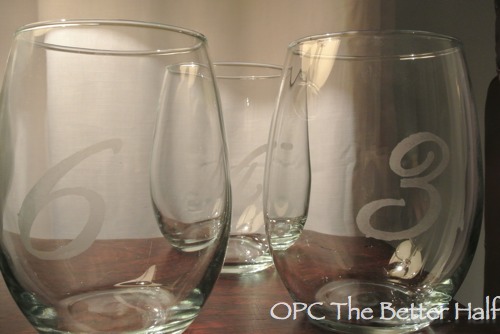
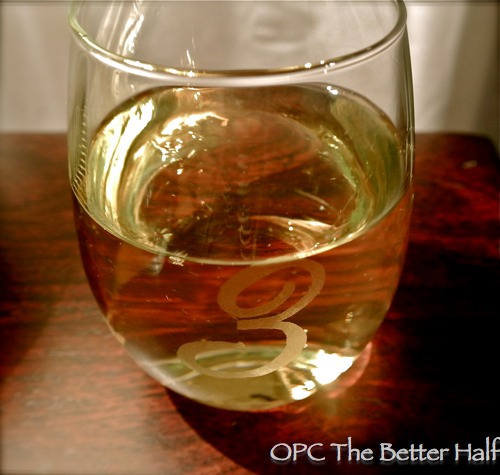
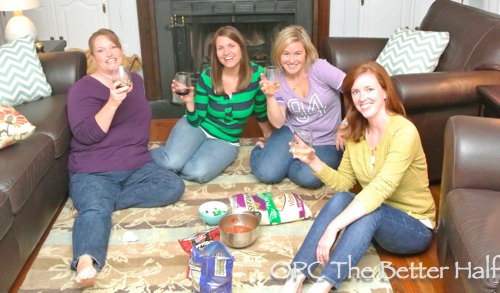
Here are me and some girl friends enjoying a glass of wine in my newly painted living room! I know…we’re weird sitting on the floor, but we wanted to all reach the snacks. lol!
What do you think? What design would you put on wine glasses?
As Always, thanks for reading!

Don’t forget to check us out on Facebook and Pinterest!
Linking up at: House of Hepworths, bearrabbitbear, design, dining + diapers, Here Comes The Sun


Cute! I really want to get my hands on some of that etching stuff and make monograms for some of our wine glasses.
Very cool. My fiancee just etched some cheapo glass dishes (think candy dishes) that she got for $1 from Dollar General. She put different designs for each season on them…leaves for fall, sunshine for summer, flower for spring, and snowflake for winter. She can chenge them out for the different seasons. She also plans on doing some for the major holidays…bunny for Easter, christmas tree for, well, christmas, etc. Very cheap way to make nice glass items.
I am on the Community Service group at my company and we do various donation activities and she is going to make etched glass “things” to sell around the office (we work at the same company) to raise more money for the drive.
The possibilities are endless.
That’s really neat. I didn’t know you could do etching like that. I would have thought it would need to be heat treated or something. So the cream essentially eats into the glass?
So cool. I’d like to do a design a coffee table with an etched glass top someday. Thanks for the article!
What an adorable project. Cute way to use glasses that are not the stemware with the wire charm- I just love your idea!
Pinning!
Beautiful job! I’m so proud of my talented daughter!
These came out great! One thing I learned using the etching cream, though, was that it can mar the sink. In my case, the metal drain has some damage. I do mine in the basement workroom sink now to avoid problems.
What a neat idea. I made wine charms as gifts one year, but none for myself. Maybe I’ll do this instead.
On a side note I think we should both get a silhouette cameo. It would make our lives so much easier (or craftier)!
Love these Jocie! My friend just gave me some really nice etched wine glasses for Christmas (4 of them), so I’m going to etch 4 of my older ones and pass them along as a gift to someone else. I am also looking into getting stemless glassware for the same reason-not dishwasher friendly with the height.