
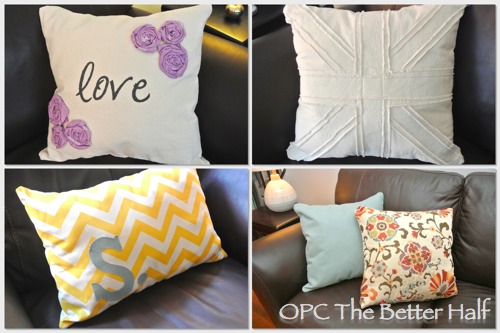
Ever wonder how to sew a pillow? Well, I’m super excited to show you these pillows I made for a friend last year including how to sew a basic pillow, how to add a stencil and fabric flower, and how to sew a union jack pillow. This article originally ran in December 2012.
The Basic Pillow
I first folded the ironed fabric in half so that the outside of the fabric was turned in on itself. In this picture, I was cutting and making a pillow out of upholstery fabric. You will see that the finished sides are facing in to each other.
I then cut the fabric so that I had two 19″ squares. With 1/2″ seams, the pillow will be about 18″ square.
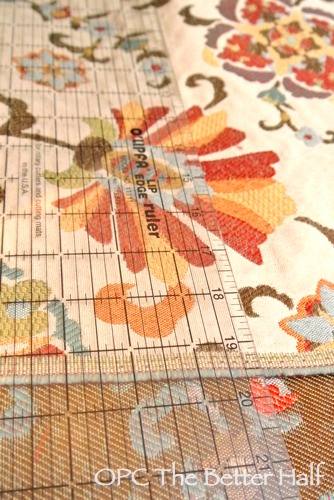
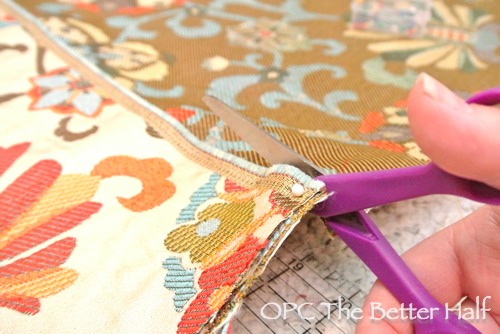
*Some fabrics were too thin and looked a bit like cellulite when stuffed, so I added a lining. With the lining, I had 3 layers of 18″ fabric.
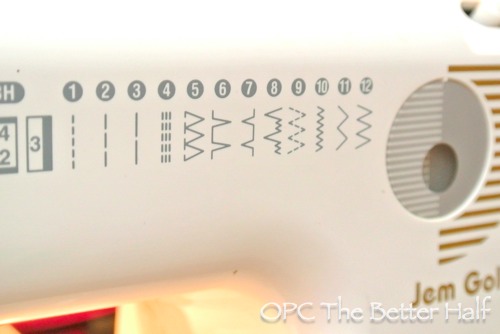
I busted out the sewing machine and set the stitch to #4. I have no clue if this was right, but because it was such heavy fabric, I wanted to make sure and have it be secure. For thinner fabrics, I used the tightest straight stitch – #1.
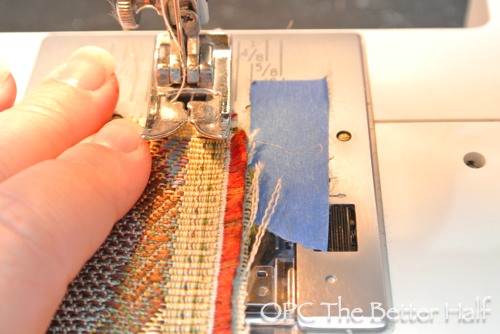
I then started my stitch at the center on whichever side I wanted to be the bottom, back stitching a couple of inches at the start. I worked my way about the edge, stopping and back stitching about 4-5 inches before the starting seam – just enough for my hand to fit in to stuff the pillow. (I put Blue Painter’s Tape on the machine to mark clearly where to line up my edge)
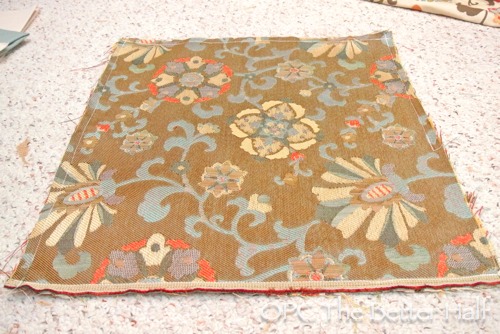
I turned it inside outside, through the 5 inch opening.
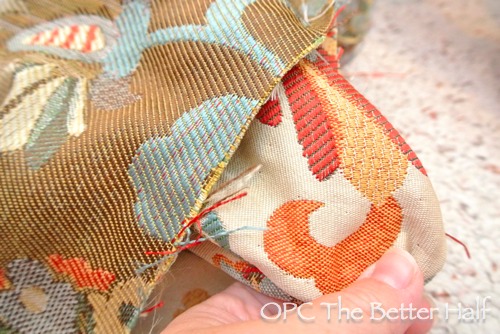
From my pillow discard pile, I grabbed an old pillow and used it to stuff the new pillow.
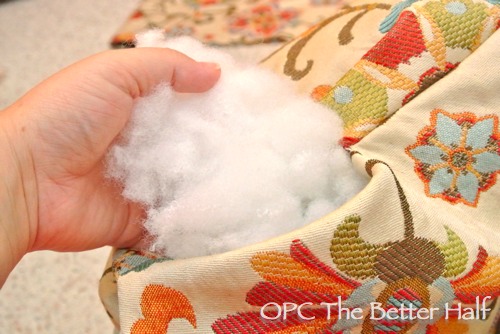
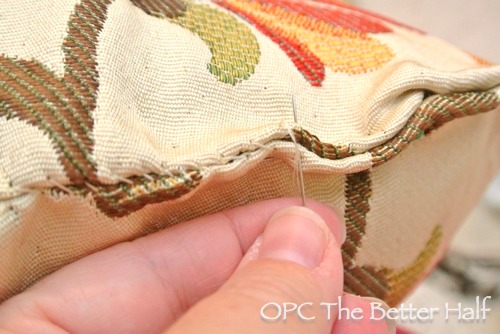
Once stuffed, I used a needle and thread to sew the pillow shut.
Union Jack Pillow
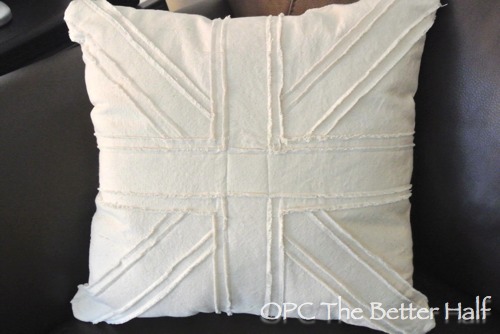
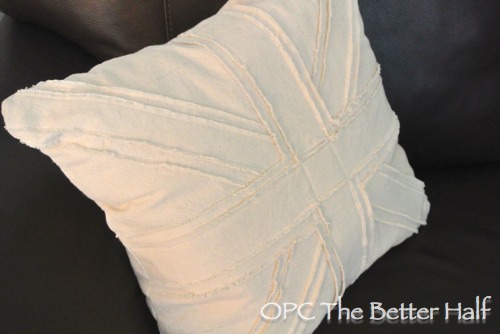
The Union Jack flag is pretty popular these days in the world of decorating – serving trays, dressers, and of course pillows. If you’re not up for putting in the time to make one, check out my bloggy friend, Linda’s Etsy Shop.
For my Union Jack Pillow, I used a drop cloth type material – cheap & pretty, just pre-wash it.
First, I cut 8 strips of the same cloth – 4 different widths. The center cross I made a little wider than the X, sewing one at a time in alternating directions. After done sewing, I frayed the edges to give it texture. I then put the Union Jack layer face down against the other side of the pillow and sewed as I outlined above.
Stenciled and Flowered Pillow
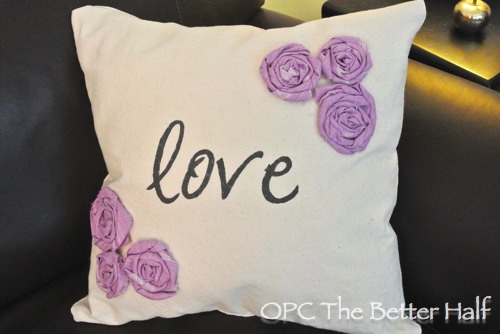
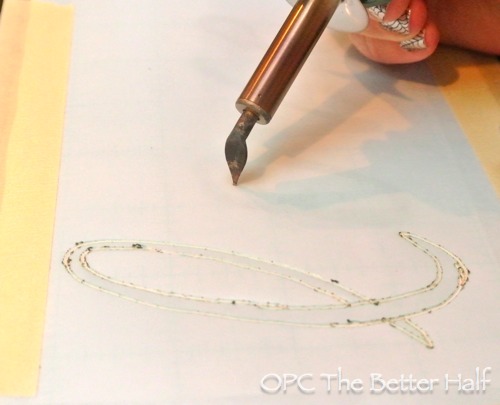
Again using the drop cloth material, I grabbed one of the two 19′ square pieces and began to add embellishments. Using my Martha Stewart Stencil paper and stencil cutter, I traced the word LOVE from a computer print-out of the word.
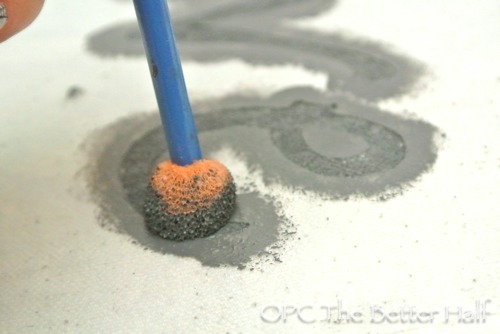
I pressed the stencil to the fabric and used fabric paint and a round sponge brush to evenly apply paint to the fabric. While the paint was still wet, I removed the stencil.
Using a purple damask-esque fabric, I made six rolled fabric flowers and sewed them to the pillow surrounding the LOVE. For a tutorial on how to do this, check out my complete guide to making fabric flowers.
Fabric Appliquéd Pillow
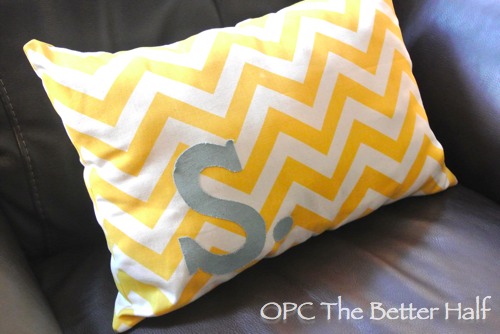
Super easy…I ironed Heat N Bond onto the back of the blue fabric, cut out a letter “S” and then ironed it onto the pillow before stuffing it. Like I said, easy!
Before and After
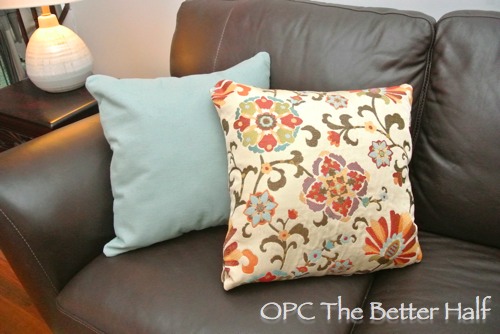
My friend was kind enough to send some before and after pix – amazing what a little color will do for a room!
Before

After


What do you think? What should I do for my next set of pillows?
Thanks for reading on how to sew a pillow with pizzazz!


They look great!
I really like the Union Jack one. It would look neat if the strips had color (though not necessarily just red or blue).
Great addition of color!
They are beautiful, Jocie! I love all the variations you have created. Megan
Thanks so much Megan!
Great tutorial! Thanks!!
Love those pillows, especially the Union Jack one! What a creative idea!!!