
Thank you so much for joining us at One Project Closer for this tutorial on How to Install Baseboard Trim as we follow Pro Contractor and Master Carpenter, Chris. This post is sponsored by the Home Depot Prospective Campaign. Post may also contain affiliate links. Opinions (and typos) are 100% our own, and we appreciate you supporting our site in order to continue to provide free content to our readers.
I am so excited to introduce you all to our newest Pro Contractor, Master Carpenter and my good friend, Chris. He was kind enough to let me tag along as he finished up a big bathroom remodel. Some of his favorite types of jobs or trim and detail work, and I was thrilled to pick up all his pro tips and tricks of the trade.

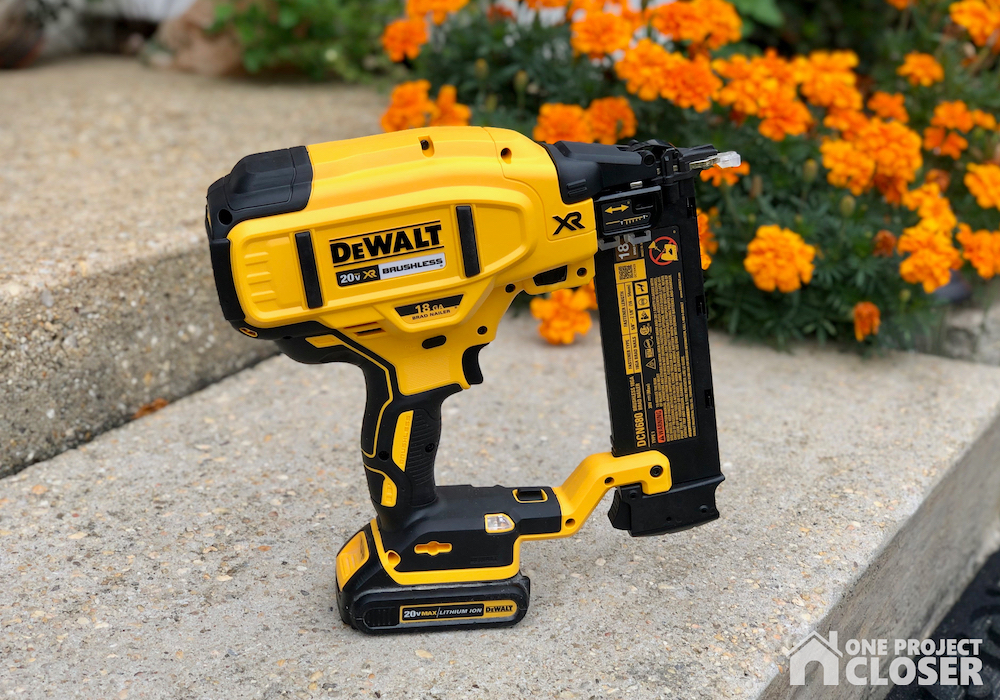
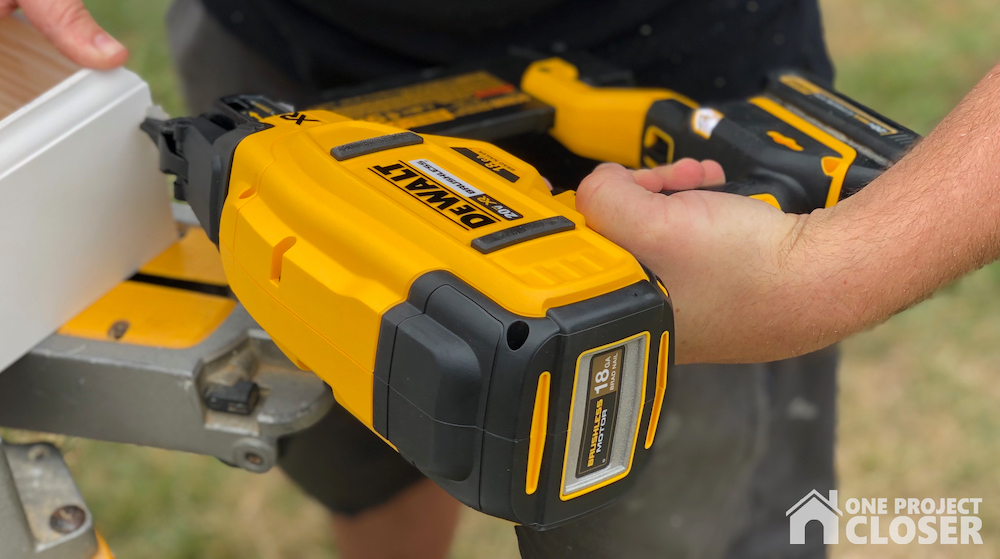
When installing baseboard trim, the cost and time required is very much dependent on how large the room is and the type and size of the trim you are using. Beyond the cost of the trim itself, most of the tools used you may likely already have in your shop. If you do not yet own a brad nailer, now is the time to buy, because this is essential for the job. Our favorite brad nailer is the DEWALT 20-Volt Max Lithium-Ion 18-Gauge Cordless Brad Nailer Kit. We love that is battery operated and doesn’t need a compressor, it’s easy to clear jams, has a belt clip included, and is sturdy and reliable, as you would expect with DeWalt products.
If you do not have a miter saw, you can buy a Miter Box and hand saw, which is less expensive but much for time and labor intensive.
Difficulty Level: Moderate
Materials Needed:
- Baseboards
- Brad Nails
- Paintable Caulk
- Painter’s Putty
- Wood Glue
- Construction Adhesive
*See below for tips and steps to measure the length of baseboard and quarter round that you need.
Tools Needed:
- DEWALT 20-Volt Max Lithium-Ion 18-Gauge Cordless Brad Nailer Kit
- Miter Saw
- Caulk Gun
- Tape Measure
- Speed Square
- Coping Saw
Be sure to check out our amazing Home Depot Coupons before you buy to save yourself some money!
STEP ONE
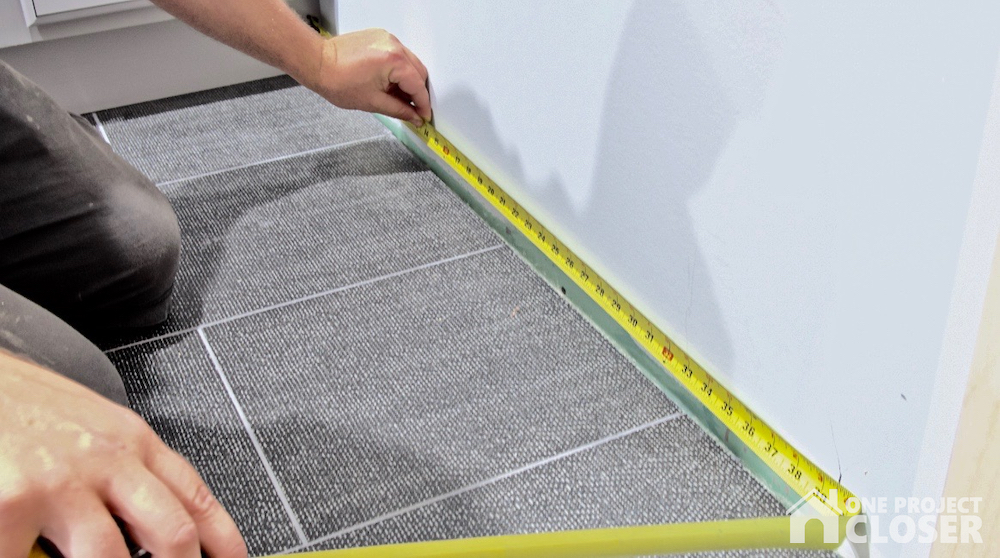
Measure.
Pro Tip: When measuring off two inside corners, first measure off one corner. For example, measure five inches off the corner and mark the wall with a pencil.Then measure from the other corner to that mark and add five inches to get the needed cut length. Go slow and double check! You know the old saying: “Measure twice, cut once.”
STEP TWO
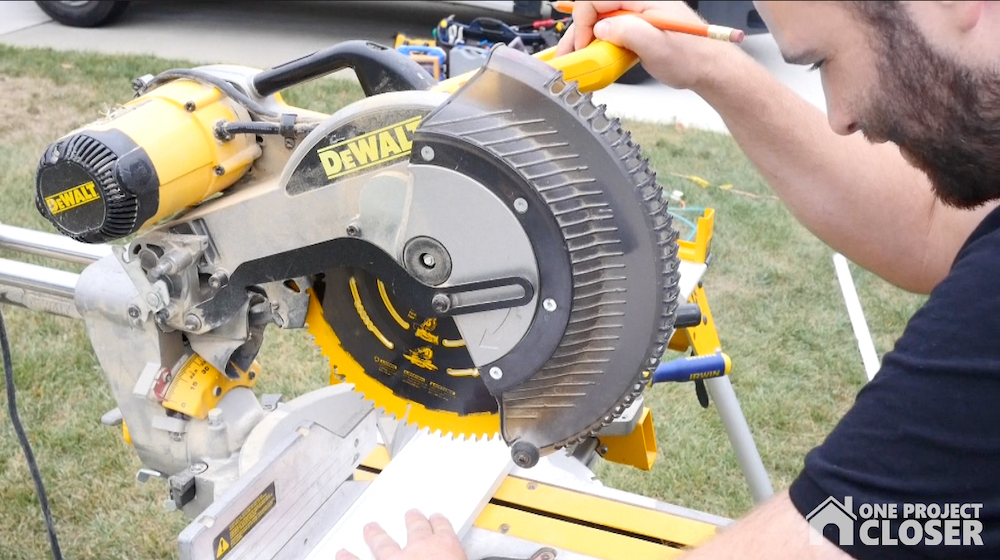
Cut.
After measuring all your baseboard cuts, now is the time to actually cut. Use you miter saw to make all the straight and 45 degree cuts.
Pro Tip: Be consistent about whether you cut your pencil line or not and if working with a partner, communicate whether or not you want the pencil line cut.
STEP THREE
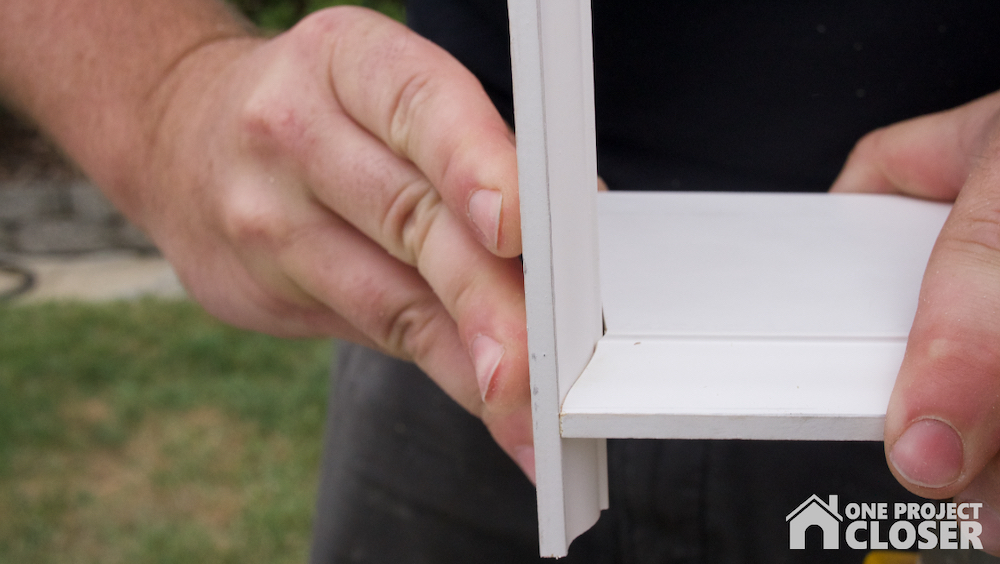
Special Cuts. When joining the trim at inside corners, it can sometimes be difficult because the wall corner is not perfectly square. Coping is a way to cut the trim to create a perfect corner that will not show a gap or separate over time.
To cope, cut your first piece square and run it tight against the adjacent wall. Cut the other piece using a miter saw at a 45 degree angle to reveal the trim profile. Still using your miter saw at 5 degree cutback, cut the straight portion of the profile.
Next, grab your coping saw to finish cutting the profile curves, angling the saw blade slightly back. Go slow to start the cut, and using a newer blade also makes it easier.
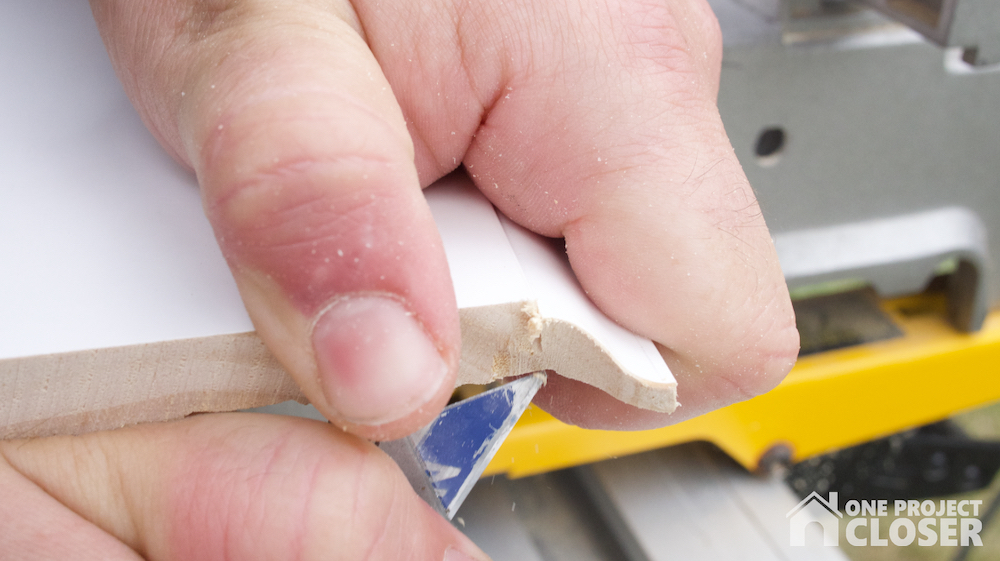
If there are small pieces of trim, you can use a razor blade to cut them away.
For outside corner cuts, cut your edges with a Miter Saw at 45 degrees.
STEP FOUR
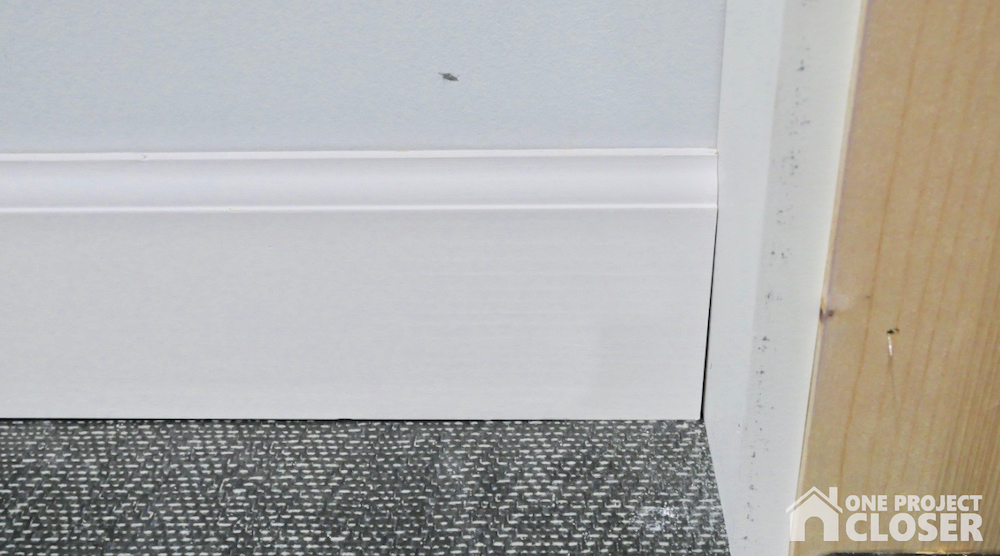
Test Fit.
Once your pieces are cut, place them in the space and ensure that everything fits without gaps. If pieces are too long, trim excess.
STEP FIVE
Before installing the trim, mark the location of studs in the wall using a stud finder.
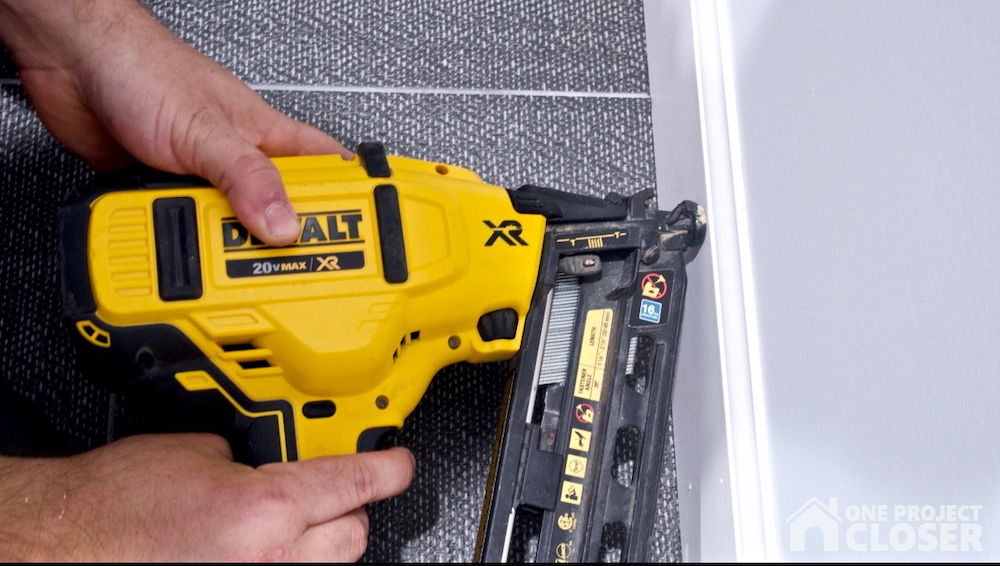
STEP SIX
After you are happy with the fit of your trim pieces, affix them to the wall using 2 inch, 16 gauge nailer. Be sure to nail into studs or later the boards will pull away from the wall.
Pro Tip: When nailing with Brad Nailer, if your nails are not syncing in completely to the wood, make sure you are holding the nailer tight to the board and not allowing the nailer to “jump” back as the nail is placed. Also check your depth settings to ensure the proper sync depth.
Pro Tip: Construction adhesive is not needed unless nailing is contraindicated, such as walls with a pocket door or electrical behind. When using construction adhesive, you can use a reduced depth nail placed at an angle to hold the piece lightly in place while the adhesive cures.
Pro Tip: You can add a little wood glue to adjacent raw edges before nailing to the wall.
STEP SEVEN
Once your baseboards are in place, repeat this process with shoe molding. However, when repeating step five and nailing with shoe moulding to the trim, use an 18 gauge nail and Brad Nailer to reduce splitting of the wood or mushrooming.
Pro Tip: Use this DEWALT 20-Volt Max Lithium-Ion 18-Gauge Cordless Brad Nailer Kit to install shoe moulding. Our Pro loves the convenience of being able to use a Nailer with a battery rather than bringing in a compressor to each job site.
STEP EIGHT
Use Painter’s Putty to fill nail holes and a paintable latex caulk to seal edges between cuts and between the wall and trim.
Pro Tip: Caulk will shrink over time, exposing the nail holes, so use Painter’s Putty for a nice, flat appearance.
STEP NINE
Paint the trim!
Be sure to check out Jocie and Chris talking (on a VERY windy day) all about this process in this new Pro Follow Video on How to Install Baseboard Trim!

While I appreciate the information in this article, I’m a little confused. First you state that you need a brad nailer and that your favorite is the DeWalt 18 gauge brad nailer. Later you state when attaching the baseboard, to “affix them to the wall using 2 inch, 16 gauge nailer.”
So do you use an 18 gauge brad nailer, or a 16 gauge finish nailer?
Hi David.
I use a 16 gauge 2″ nail to shoot baseboard on.
2″ 16 gauge nails will penetrate the 1/2″ – 5/8″ baseboard and the 1/2″ – 5/8″ sheetrock then into the studs about an inch.
An 18 gauge brad nail will work better on a shoe moulding because it is a thinner nail for a thinner piece of stock. Most likely somewhere from 1/2″ to 3/4″ in width.
I hope that helps you out.