
Welcome to OPC’s The Better Half. My name is Jocie, and I love to craft and DIY my home into something wonderful. I hope you enjoy this tutorial on Dollar Store Easter Decor Ideas in 5 Minutes or Less from March 2014. If you enjoy this article, check out some other recent crafts and consider subscribing to The Better Half (email or RSS). Also, feel free to share this tutorial on Facebook and give it a +1. All the buttons float along the left side of your screen. Thanks!
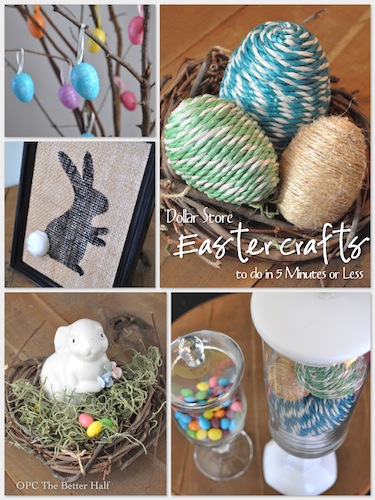
My Easter decorations in the past have been very sparse and this year I didn’t have a lot of internal inspiration. Fortunately, I have some amazing bloggy friends who are way ahead of the game in their Easter decor. They were kind enough to give me some ideas which I took to the Dollar Store and spruced up the house for Easter in one afternoon. Seriously, each of these 5 Easter crafts took 5 minutes or less and cost less than $5! …are you sensing a theme? 🙂
Rope Easter Eggs
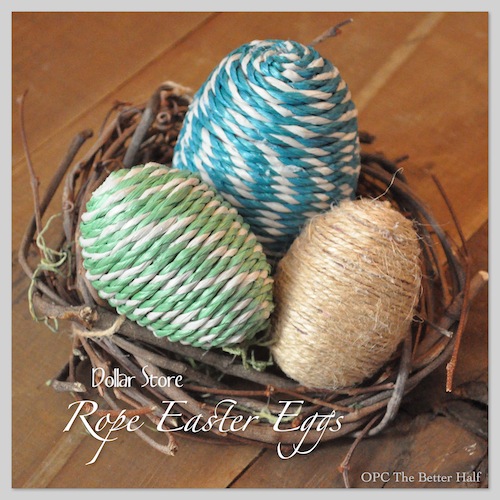
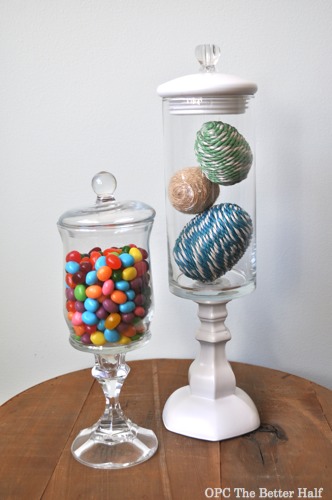
I saw large twine wrapped easter eggs from Country Chic Cottage and I was super inspired. She also used eggs from the dollar store, but I couldn’t find the mega eggs. I actually didn’t go to the Dollar store with these in mind, but as I was walking around the store, I saw multi-colored cord used for line drying clothes and thought of Angie’s brilliant idea!
Materials Needed:
- Rope or twine
- Plastic Easter Eggs
- Hot Glue
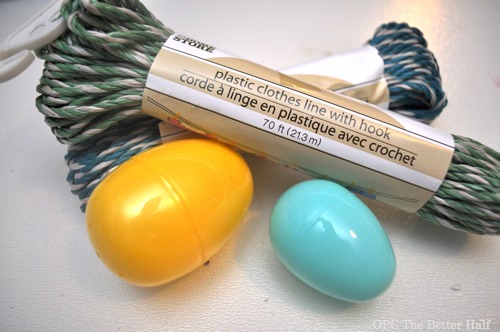
Taking one of the ropes from the Dollar Store, I placed a bead of glue on the top of an egg, and stuck one end of the rope to it.
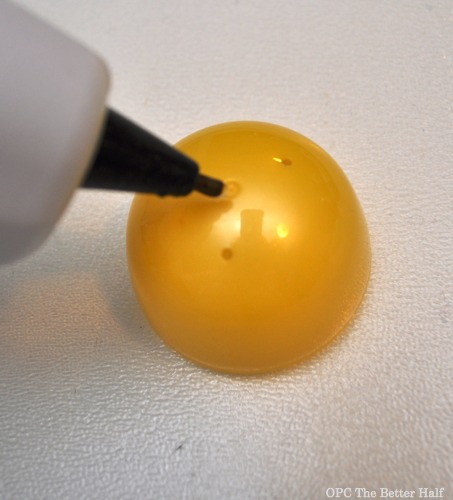
Once completely dry, I began to wrap the rope around and around and around, gluing periodically.
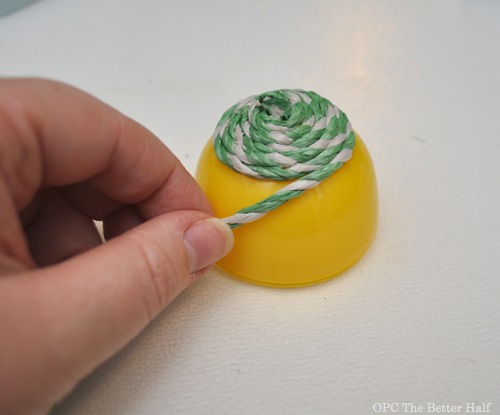
I did this for a couple of plastic eggs, some big, some small. Super easy and cute!

DIY Apothecary Jars
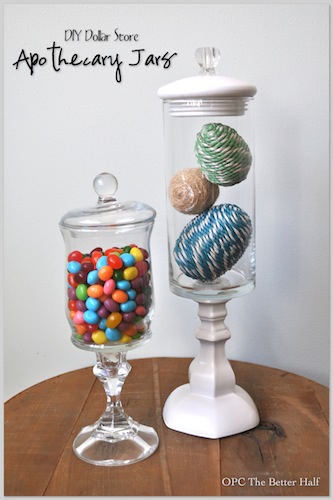
I have seen a bunch of apothecary jars floating around and then Tanya from twelveOeight, one of my favorite blogs, made some DIY apothecary jars that were truly beautiful. Then, I was walking around Michael’s and saw an all glass jar that really got to me. So I made the jars a part of my Dollar Store mission.
Materials needed:
- Vase
- Candle Stick holder
- Hot glue
- glass candle lid or mason jar lid
- spray paint (optional)
I found these super cute vases at the Dollar Store, and unfortunately my Dollar Store was sold out of candle stick holders, so I found some dollar ones at the Good Will. Then, for one of the lids, I used an old lid from a candy jar and a glass candle lid from a used up candle. I also used a little glass knob from an old decorative rack.
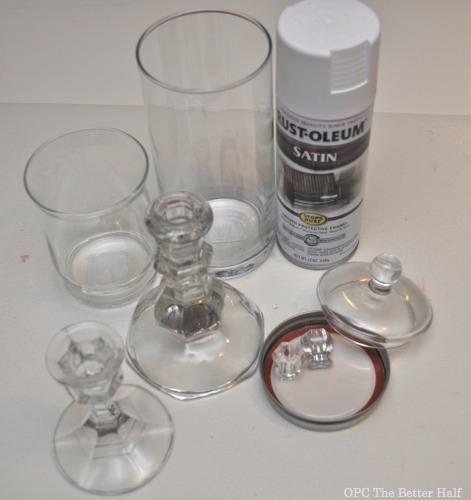
Once I gathered all my stuff, I grabbed the candle top, one of the candle stick bases, and my favorite all-purpose spray paint – Rust-Oleum white in satin finish. Then I sprayed away! Once dry, I glued the vase to the base, allowing the glue to dry while the jar was upside down.
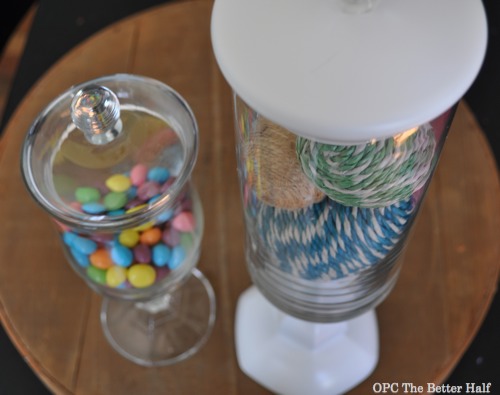
Finally, I filled them with jelly beans, of course tasting a dew along the way, and some of my new Dollar Store rope eggs in the other.
Glittery Easter Tree
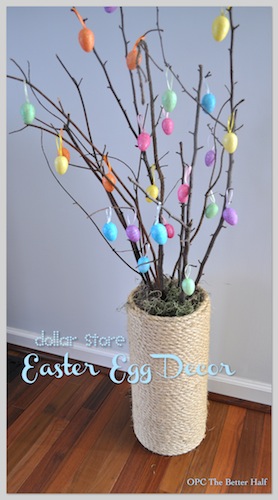
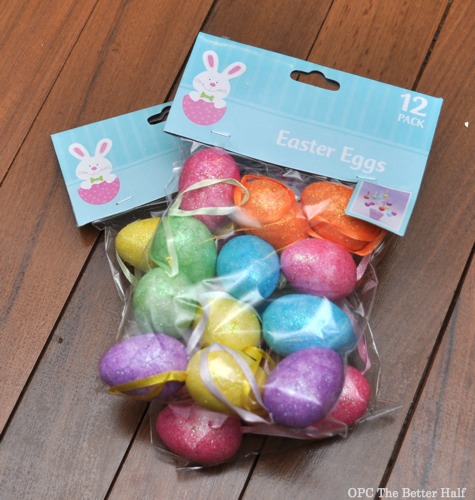
Glitter easter eggs are all the rage this year – we had DIY glitter easter eggs linked up by Creating In Glass Slippers this week and my friend Shannon from Fox Hollow Cottage shared that she decorated with glitter eggs from the Dollar Store!
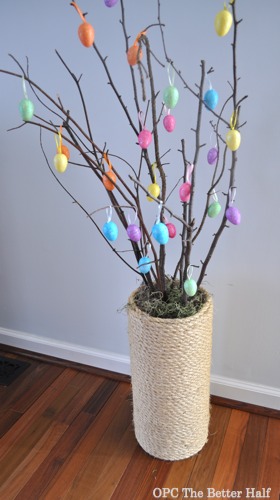
It was good timing seeing these awesome ideas from my friends because I have been trying to figure out how to incorporate my DIY large rope vase I made last year without too much fuss.
For $2 at the Dollar Store and lots of excitement from Izzie, we decorated the branches! Yes, I know Izzie is wearing a nightgown, but she is currently obsessed with Merida from Brave and I don’t fight it. 🙂
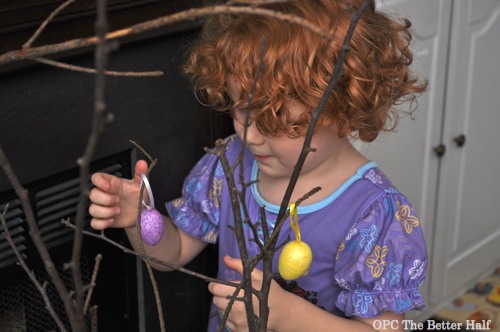

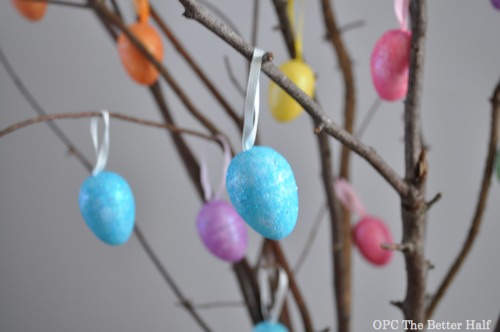
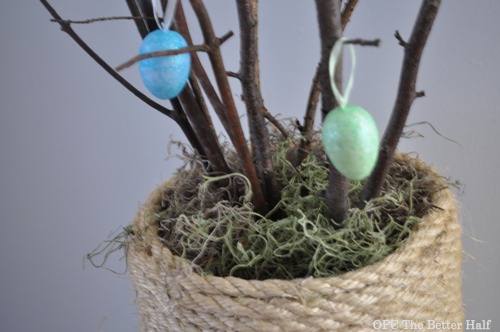
I also added a little fake moss I found at the Dollar Store, which really finished off the look nicely.
Framed Burlap Bunny
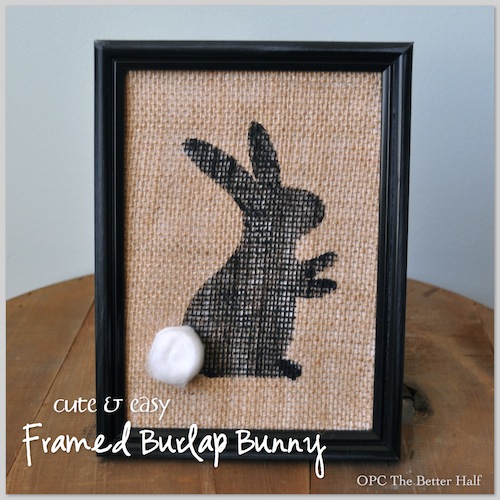
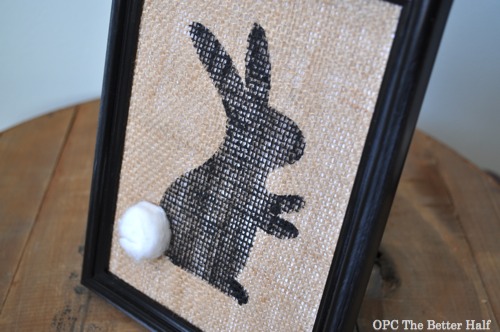
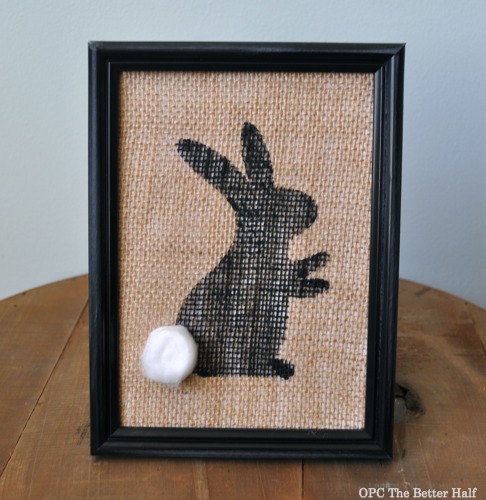
Pottery Barn put out some painted bunnies on burlap this year for Spring decor and they are not cheap. But us DIY girls have been loving the trend. My girl, Jen from Four Marrs & One Venus made this adorable DIY rascally rabbit, and I thought it would be a good addition to my Dollar Store decor.
I didn’t have a bunny cookie cutter on hand like Jen, which would have been a whole lot quicker, but instead I cut out a bunny on card stock using my Silhouette.
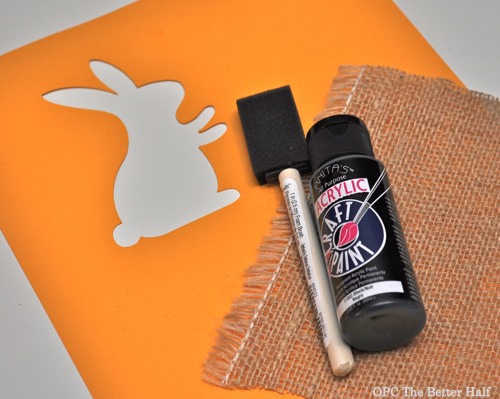
Then I used the outside of the cutout as a stencil and sponged on some black acrylic paint onto some old, leftover burlap.
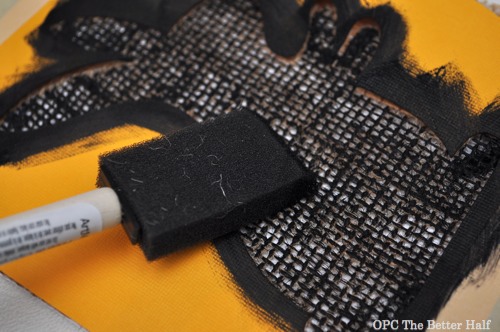
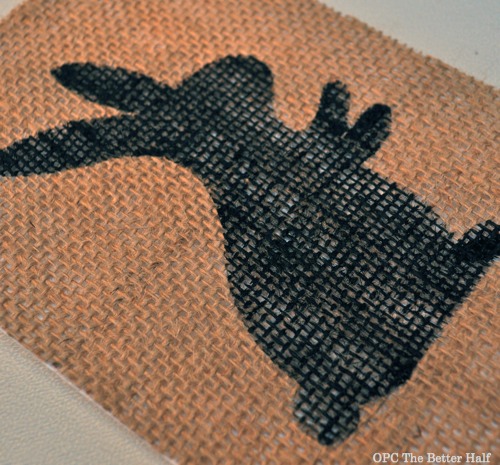
For an added cute touch, I glue on a cotton ball for a tail. A white pom pom would have been cuter, but this is a Dollar Store craft and they don’t sell poms. heehee
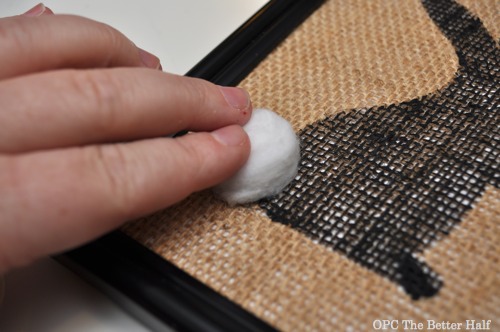
Then I placed the burlap in my Dollar Store frame and placed on my mantle for everyone to oooo and ahhh over.
Nesting Bunny
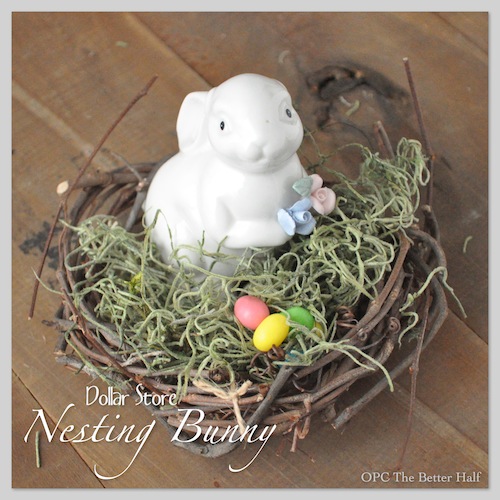
Last but certainly not least, I saw Ann’s Nesting Bunny over at On Sutton Place – she is just so classy and classic! What a beautiful way to celebrate Spring.
As I was walking around the Dollar Store I saw a small bunny figurine and thought of Ann. It would be as big of a statement piece but it turned out super cute.
Materials Needed: (all bought at the Dollar Store)
- Small grapevine wreath
- Bunny figurine
- Moss
- Jelly Beans
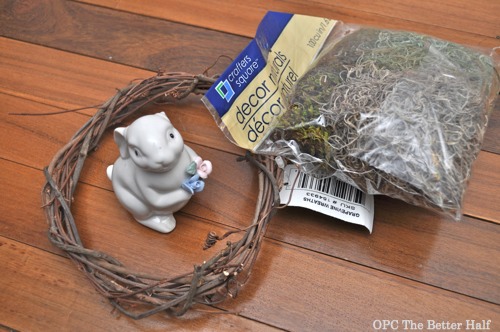
I spend $4 on this nesting bunny and she is mighty pretty. I found a small grapevine wreath but it was still a little big, so I cut it and rewrapped it to it had two layers, like Ann’s. Then, I placed the wreath on an upside down tea-cup saucer, filled it with moss, but Miss Bunny inside, added a few jelly beans (and ate a few just to make sure Miss Bunny would like them), and DONE.

What do you think? Any suggestions for future 5 minute projects?
As always, thanks for reading!

Don’t forget to check us out on Facebook and Pinterest!
Also linked up at View Along the Way, Country Chic Cottage


