
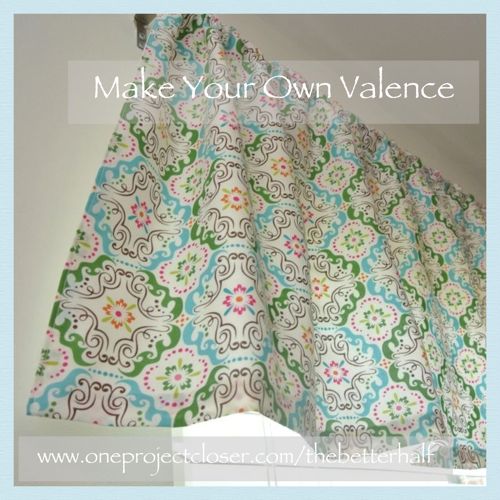
About a year ago, I decided I might try sewing. I didn’t really want to invest in buying a sewing machine because I wasn’t sure how much I would use it. My grandmother was kind enough to “lend” me her small travel sewing machine since she doesn’t sew anymore due to her arthritis. Over the past year I have used the machine for small projects, like fabric flowers and the occasional pants hem.
Recently, I decided to redesign our kitchen and wanted to first pick a fabric for a valence to design the room around. After searching at many, many stores two Sundays ago for any type of fabric to use (curtains, shower curtains, table clothes, etc) and finding nothing, I went to Hobby Lobby the next day, since they were closed on Sunday, and found lots of great and trendy fabrics, including the one I chose for our kitchen.
I was planning on tackling the project by myself but then my parents power went out for a few days and my mom asked to come hang out in our air conditioning. Sure, she wanted to hang out with the grandkids, but I needed some serious help with the valence. Mom to the rescue!
It ended up be way easier than I expected and I didn’t even screw it up. Here is what my mom taught me and hope it helps you too on your next valence or curtain project.
Materials Needed:
- 1-1/2 yards of fabric
- 1-1/2 yards of backing fabric
- Thread
- Sewing Machine
- Measuring Stick
- Straight Pins
1. Measure and Cut
This seems so simple, but my mom, the math teacher, spent several minutes making sure the measurements would be correct.
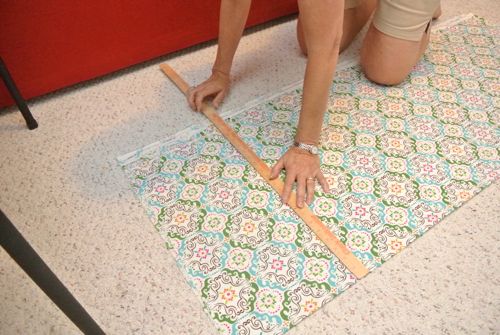
Typically, valences and curtains should be twice the width of the window, but I wanted a cleaner, less frilly look. Plus, I accidentally didn’t buy enough fabric – oops!
The measurement for the cut fabric was 22 x 55 inches and for the backing was 21 x 55 inches. Note that the backing is an inch shorter. I also bought too short a piece of backing, so we sewed two segments together. It worked great, I had less waste and you cant’ even see the seam.
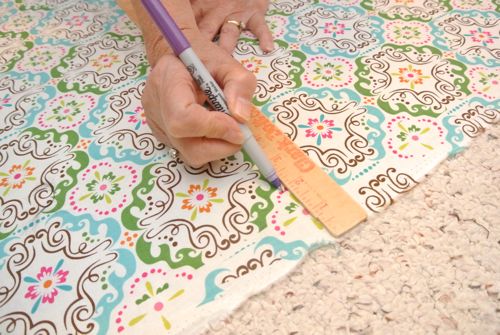
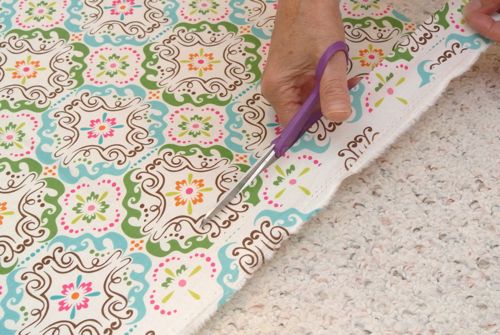
We used a yard stick to measure the fabric and then marked across the fabric every 6 inches or so, and then cut.
Step 2: Sew the Top and Bottom Edges
Here’s where I got a little nervous. I haven’t done this much sewing EVER, so Mom watched closely to make sure I didn’t screw it up, but it really was easier than I expected.
We used straight pins to keep the edges of the fabric and backing together. Make sure the fabric is placed upside down onto the backing. Once the top and bottom have been sewn, you will turn it right-side out to hide the seams.
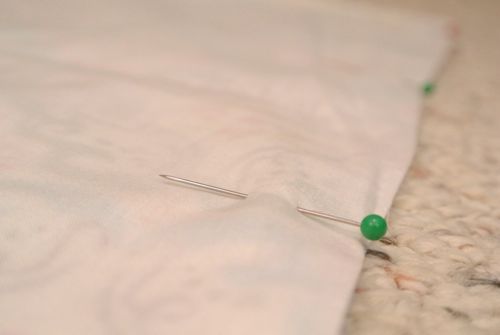
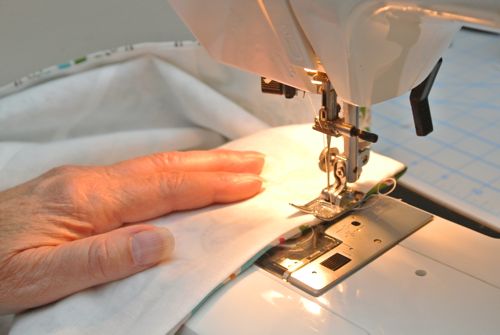
Once the top is pinned, you will sew a 5/8″ seam, being sure to backstitch at the start and finish and removing pins as you go. Mom reminded me plenty to lead the fabric into the machine to keep the line straight.
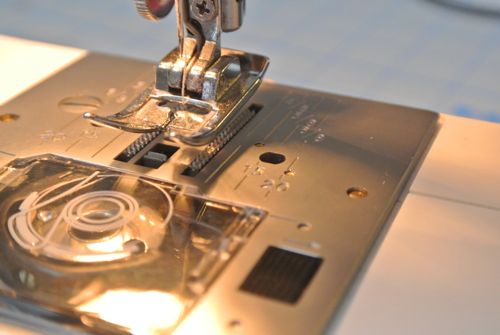
After you have sewn the top, pin the bottom edge of the fabric to the bottom edge of the backing. This made no sense to me at all because the fabric is longer than the backing, so it created a bubble at the bottom. Mom assured me that this was right. Once pinned, again you will sew a 5/8″ seam, being sure to backstitch at the start and finish and removing pins as you go.
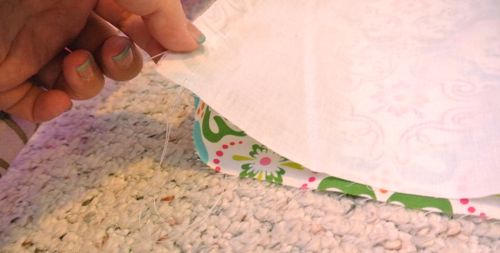
Step 3: Iron!
You should now have a fabric tube, with the top and bottom seams sewn. Turn it right side out, and first press the top seam, being careful the seam falls in the same direction.
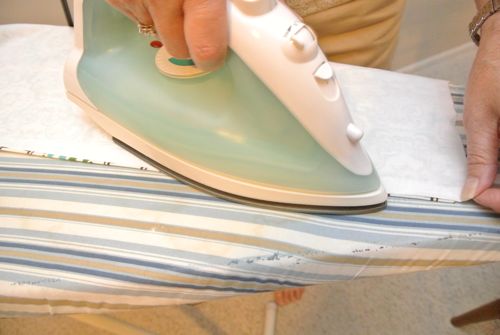
Then, carefully press the valence fabric downward so the tube is creased in half. The “bubble” that was at the bottom (from the difference in fabric and backing lengths) should now be a straight crease along the bottom. The bottom sewn seam should be a half inch up from the crease in the back and will appear like any old hem. SO EASY!
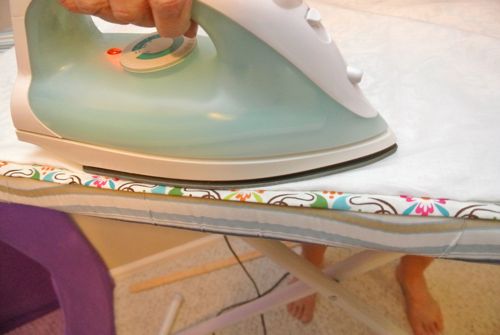
Once the top and bottom of the valence has been ironed, turn the sides of the valence inward about 1/2 inch. It worked best for us to turn in the outer fabric first, while pressing it with an iron, then turning in the backing just a hair more while pressing it with the iron. Do this for both ends of the valence.
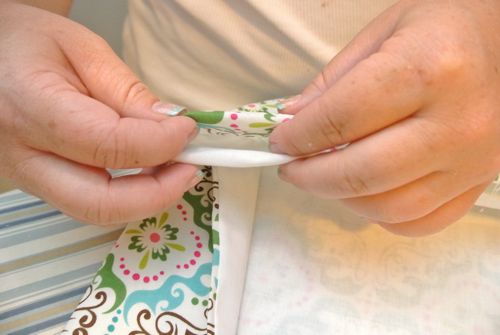
Step 4: Sew a Pocket
I planned on hanging my valence from a curtain rod, so we needed to sew a 2″ pocket to slip the valence onto the rod. My mom’s quick, no mark method was to place painter’s tape on the sewing machine 2″ out from the needle. It was super easy to simply feed the fabric through the machine, keeping it lined up with the tape. Again, remember to backstitch at the start and finish.
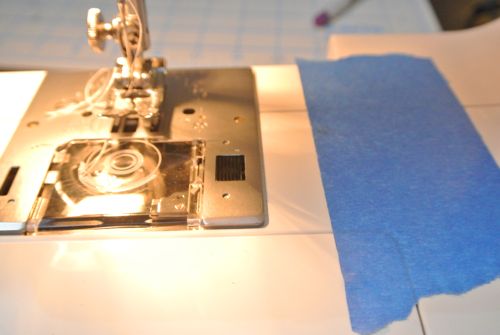
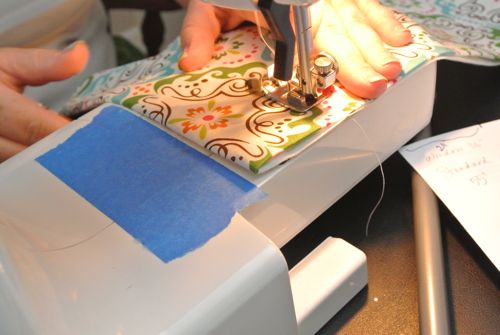
Step 5: Sew Sides
Finally, once the pocket has been sewn, you will sew the sides. Starting at the pocket, sew 1/8″ from the edge down to the bottom of the curtain. This was the hardest part for me since there was such a small margin of error, but it turned out great!
Step 6: Hang and Admire!
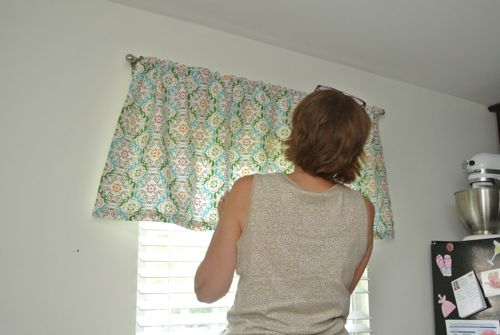
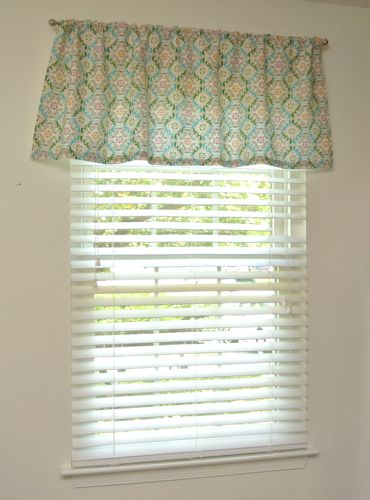
I’m not gonna lie, I’m more than a little proud of myself for this valence, even if I did sew it under direct supervision! lol! Mom and I promptly hung it in the kitchen and we’ve been enjoying it since.
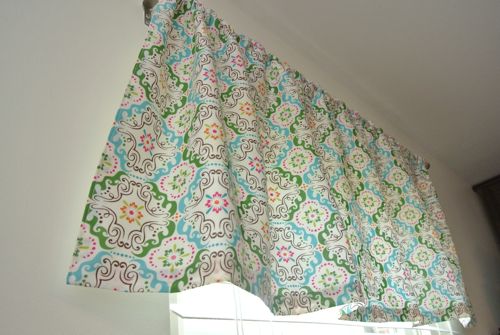
Since making this, I have wavered a little on my kitchen vision and am worried this pattern may be too small and busy, but we’ll see if it makes the final cut! 🙂
What do you think? Any sewing tips for next time?
As Always, thanks for reading!

Do you like free gift cards?!? Our 5th Annual Before and After Series supporting Habitat for Humanity is up and running. Enter your home project now!


I cannot sew but I really would like to learn how… this post is great, step by step, I may just be able to get it done! Love the blue tape idea!
Hugs, Jen @ f5
Hey Jen, I do not sew either, but this was a great first!
Very cute Jocie. I specialize in window treatments and though I do mine differently yours are very well done too. Bravo!
Thanks!!! specialize huh? I would love to specialize in sewing. Right now, it stresses me out! 🙂
I’m a seamstress specializing in sewing for the home which is mostly window treatments.
My first sewing machine was pink and plastic. My Mom and her two oldest sisters all worked at garment factories and gave me loads to tips. I drove my first Home Ec teacher nuts because I didn’t always follow the written directions in the pattern I was using.
If you ever have and questions and your Mom’s not available, give me a holler.
Wow, that is amazing!!!! I will totally hit you up, and feel free to give your opinion!
🙂
I am a terrible sewer. I feel like I need to relearn the sewing machine everytime I try it! And the sewing machines I use are handmedowns from my MIL so they have “character” due to their age. In spite of all this, I am going to try out this for my son because I seem to like to torture myself. we shall see how it goes. http://www.instructables.com/id/Stuffed-Hobbes-with-pattern/
hahha, i feel the same way. i thought about buying one of those pink, for-teens machine in hopes to simplify things. lol!
So cute!! I love the fabric!
Just thinking about attempting this project gives me knots in my stomach. Give me a drill, dremel, or another power tool and I’m good, but sewing machines scare me!
Nice I wish I remembered how to sew I was pretty good in Home Economics but that was in grade 8 and all the sewing machines I have are all busted.
Oh if I had a sewing machine and knew how to sew! haha