

 Thank you so much for reading about these AMAZING Tricks for How to Hang Pictures. This post in sponsored by the Home Depot Prospective Campaign. Post may also contain affiliate links. Opinions (and typos) are 100% our own, and we appreciate you supporting our site in order to continue to provide free content to our readers.
Most people who know me, know I’m an “ish” kinda girl.
I rarely cook to an exact recipe and instead throw random amounts of ingredients in and pray it turns out edible. Usually, it does.
I never remember exact numbers and often return from Target believing I spent $20ish instead of $47.50.
I tell stories filled with feelings and impressions rather than details. I would make an awful eye-witness. “Yes, officer, the person who stole my wallet had a beautiful smile and the most fabulous pair of tennis shoes.” “No, I have no clue where I was, what time of day, or anything else, but I know I was feeling happy and the sun was shining!” LOL
This also means I am the WORST at home projects that involve attention to detail. I just wanna slap on that paint, nails, whatever in the fastest way possible so it looks pretty. No matter if it’s not structurally sound. It’s good-ish.
This is especially true for hanging pictures. I like to just eye-ball it and be done.
I should mention that this “ish” quality of mine usually serves me well but also occasionally drives my very detail-oriented husband crazy. Since I want to stay married, I do try to pay attention to details when its something he has to live with as well. Like pictures on the wall. No one wants to walk by the same crooked picture every day for years.
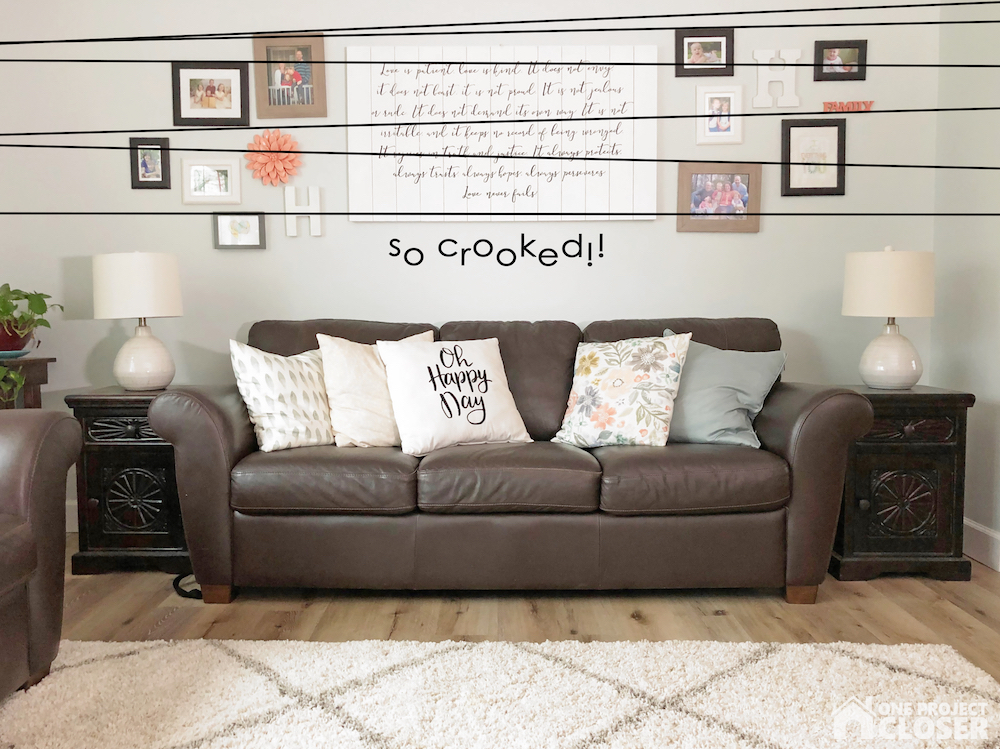
Case in point: this gallery wall. I hung it a year or two ago, and it’s still crooked. I drew these lines so you can see just how bad it is. LOL
We have recently redecorated our family room and I have made a decided effort to NOT be ishy about it and instead get my picture hanging act together. This post is for all my ish friends out there. We can do it! For all you details people out there, feel free to read this and roll your eyes at me. I know my hubs is cringing too.
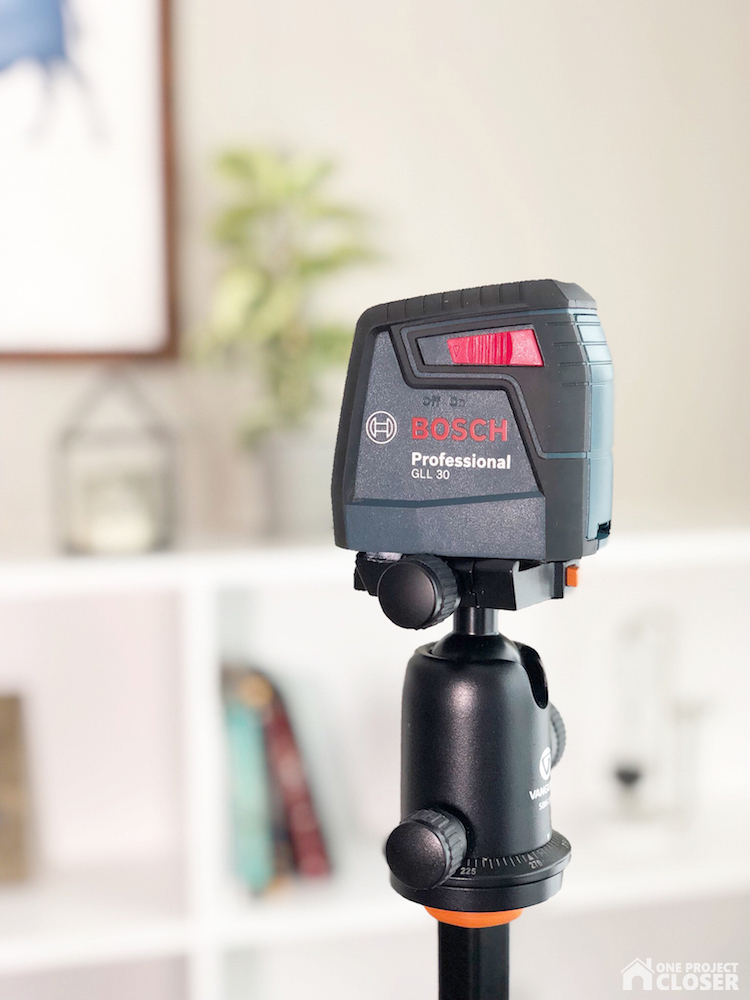
TIP ONE: Laser level
Game. Changer. Ishy friends, this 30′, self-leveling, cross-line laser from Bosch is our lazy dream come true. No more eying bubbles or juggling heavy, clunky levels that fall as you try to mark your line. Super easy. Get yourself a laser level and throw that sucker in a nearby drawer for easy access. I don’t mind being precise as long as its easy and quick.

I used this laser level to make sure my pretty watercolor buffalo was level and it worked great. Plus, it reaches 30′, so I was able to make sure the picture on the other side of the fireplace lined up perfectly. SWOON! I attached it to my tripod but you could just as easily put it on a table, but you may need to do some finagling to get the angles right.
I had a hard time getting the laser to show up in the pictures, but it really is plenty bright. There are both vertical and horizontal lines that are perfectly level – it is everything! Also, did I mention that it levels itself? It’s like magic. Sweet, sweet precise magic.
TIP TWO: Giant level or yardstick
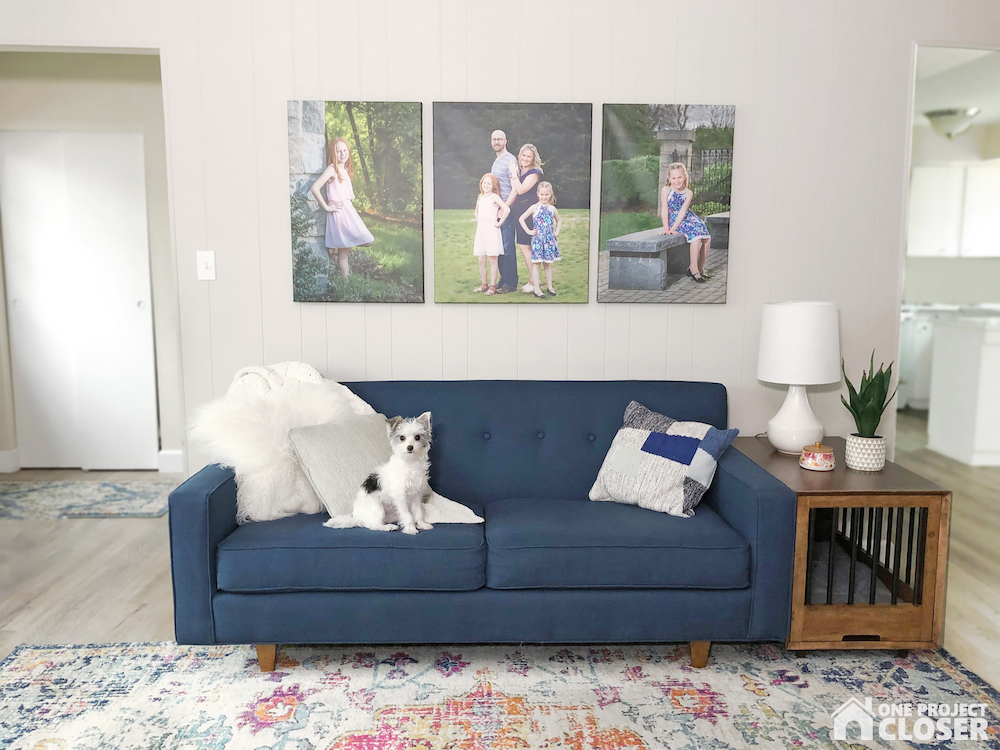
Sometimes, I’m a glutton for punishment and just like to make things difficult. We hung these giant canvases in our family room and I only leveled the center canvas. Then I used the straight edge to make sure they were all lined up. This doesn’t work very well for gallery walls when nothing is lined up, but it works great for pictures hung in a series.
You don’t need a level necessarily, a yardstick will work and is lighter and easier to manage.
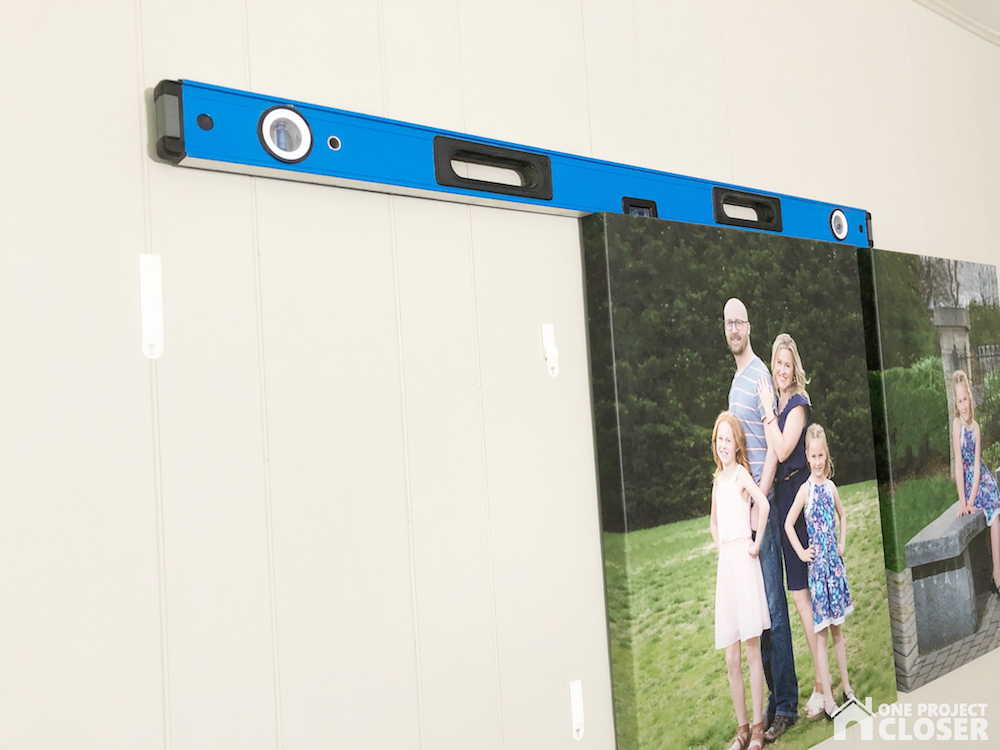
I love this trio of pictures we had taken this past spring. The girls look so old and it was a freaking miracle everyone was smiling. Thanks so much to my dad at Chris Paulis Photography for these wonderful photos!
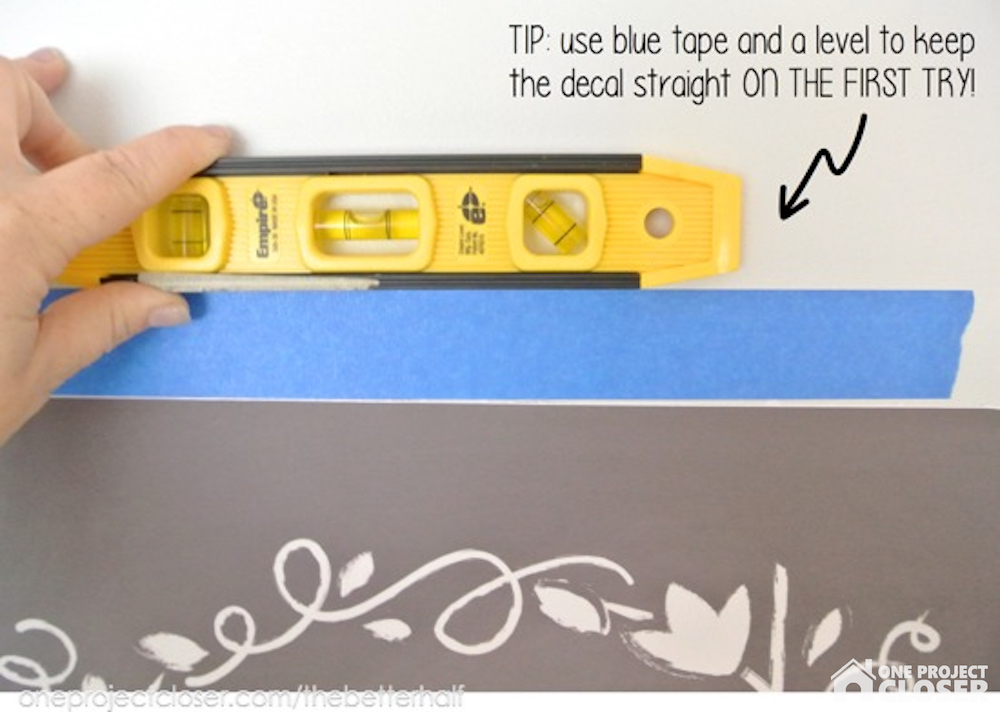
TIP THREE: Painter’s Tape
Painter’s Tape is clutch, my friends. When I hang big gallery walls and vinyl decals, I use painter’s tape to mark the straight line but also to mark where everything goes before you put a nail in the wall. You can also use Painter’s Tape to mark where the holes are on the picture and then place the tape onto the wall, level.
TIP FOUR: Command Strips
Command Strips. Need I say more? I used to just put ten holes in the wall when one would do. But I never get the spacing or height right, so I keep putting more holes in the wall. I’m surprised Ethan has stayed married to me. I’m the literal worst.
But now I just command strip EVERYTHING.
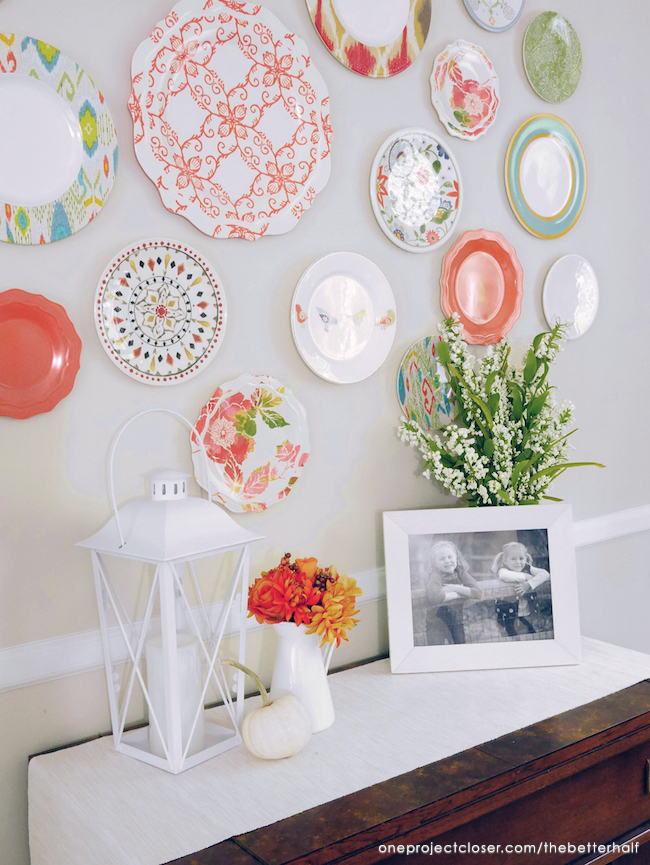
Most famously, I used Command Strips for a Plastic Plate wall in my dining room. Still in love years later! (It may have also be featured in HGTV magazine! wink wink)
The biggest “pro” for this is that it’s quick and easy to move if you move it within the first day. Moving them after day one is tough and sometimes pulls off paint. I still do it, because that’s a problem for future Jocie.
TIP FIVE: NOPE
Okay, my ish friends. Here’s the real truth. Sometimes I’m still not here for it. It’s so many details. So at the end of the day, I’m probably gonna hand Ethan the laser level and walk away. Because nope. This ish girl has 5 other fabulous unfinished projects to get done. LOL
But Chief Hopper, he’s always here for it. I’ve also conditioned him to love photos. So he was super excited about helping me with this post.


Jocie Hagan
One Project Closer
Come say hi on Facebook, Instagram, & Pinterest!
Want to learn to hand letter and make amazing, personal decor for your home?
Learn now with Busy Girl’s Guide to Hand Lettering!
**Use the code HAPPY5OFF to get $5 off the course price**
