
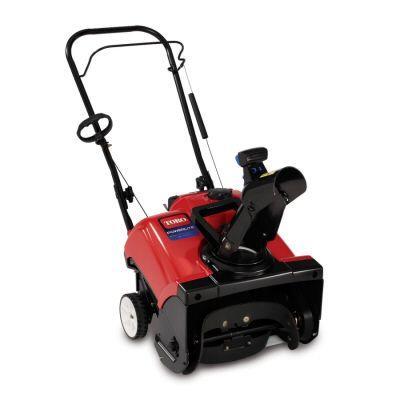
 It’s the time of year that you want to pull out your snowblower and perform annual maintenance- before the cold weather and snow starts falling. Many snowblowers feature a two-stroke engine because of their simple design and great power output. The annual maintenance is similar to that of a lawn mower but with some important differences.
Purchasing a Snowblower
If you find your snowblower is beyond repair or are just in the market for a new snowblower, Sears has a great selection to choose from. They are even running a promotion through October 30th with $140 savings. Take the time to consider purchasing a snowblower now. Here’s the link:
Be sure to check out our Sears Coupons as they feature regular deals on outdoor equipment.
Snowblower Maintenance, Toro CCR 3650 GTS Example
Last week, Fred and I performed the suggested annual maintenance on a Toro 3650. Here’s what we did.
Blades / Paddles
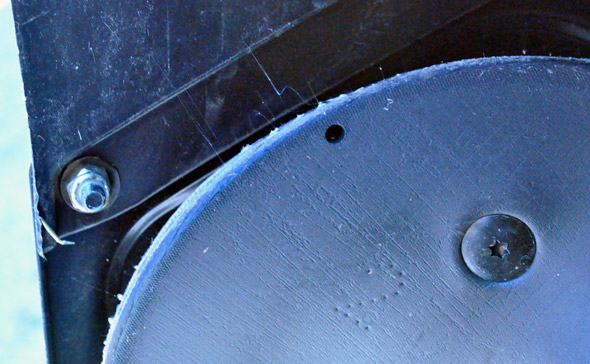
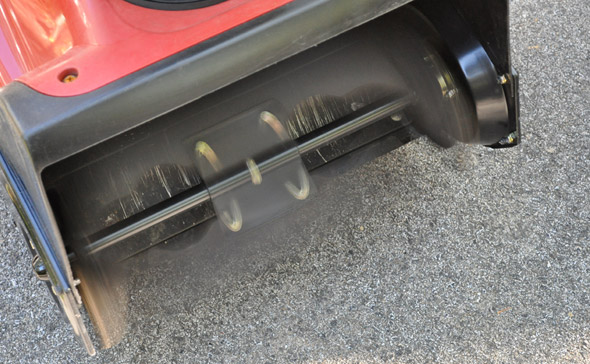
Toro snowblowers feature wide rubber paddles that clear the snow and propel the snowblower forward. These paddles wear away each year so it’s important to check them on a regular basis. Toro included a nice wear indicator. When the paddle is worn down to the hole, it’s time to replace. Install new paddles with the thicker layer facing down.
Control Cable
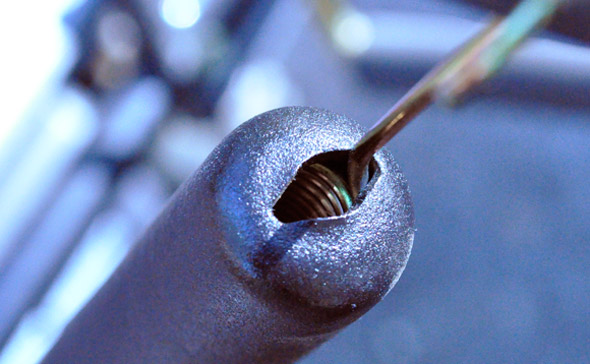
The control cable is located on the left-hand side. Inside a tubular cover is a spring that applies tension to the cable and it’s important that this tension is consistent each year.
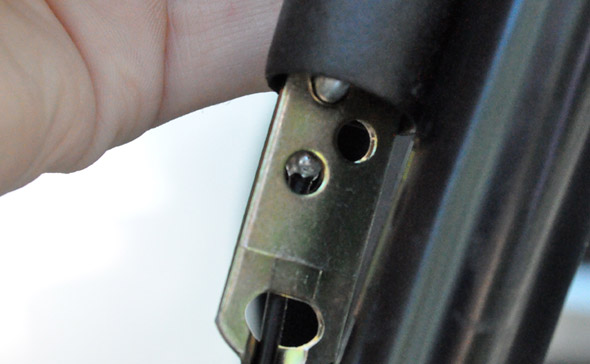
Engage the control bar and check the gap between the control bar and handle. It should be 2-3 mm. To adjust the tension, unhook the control cable and sliding the spring cover off. Moving the Z-fitting (metal part that fits into the hole) higher decreases the gap and lower increases the gap.
If your snowblower makes a squealing noise, odds are the drive belt is loose. Increasing the tension on the drive belt is very similar to adjusting the control cable. Unhook the control cable and move it to the top hole of the control bar.
Spark Plug
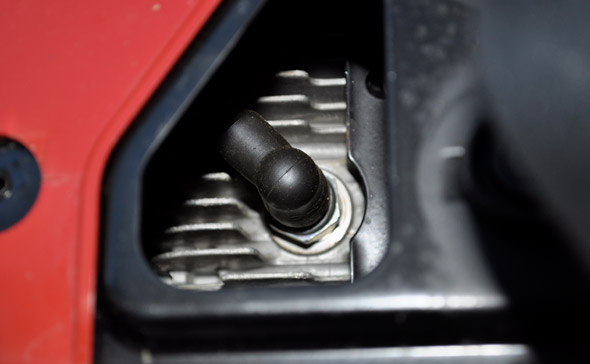
The manual indicates that an authorized service deal should replace the spark plug, I think it’s mostly because it’s very limited access. The spark plug is located under the black cover where the key, primer and starter are located. There are four hex screws to remove and the spark plug is on the left-hand side. You’ll need the right sized socket and an extension to swap it out. Be careful not to damage the spark plug wire.
What do you think? Are you ready for snow?


Don’t forget the fresh mixed fuel. Granted mixed fuel lasts much longer than regular, it can still varnish a carb.
I’m a big fan of 2-smoke snowblowers. I have an old Toro s-200 that’s older than I am and it runs like a champ every season. The only things I’ve ever had to do to it were to swap the spark plug (I replaced the original about 4 years ago) and replace the electric starter gear. Fresh mixed gas every season and it rips all winter. I have no problem ramming it into snow much deeper than it’s suggested capacity.
All good threads here! A lot of good comments and suggestions.
For an engine to be reliable at all the times is got to run from time to time. The biggest problems with small carbureted engines is the carburetor getting gummed up from the stalled fuel. Even if you drain the fuel (at the end of the season), the remaining fuel on the inside walls of the carburetor will interact with the aluminum body and oxidize. This is the white powder like found inside the carburetors – you’ll see this if you open the carburetor before you put new/fresh fuel back into it. The chemical reaction of air/fuel/aluminum will deteriorate the inside walls of the passages and air jets. It is known that many small engine carburetors don’t have separate air jets made out of brass. The aluminum body passages serve as air jets instead. So, if the air jet becomes bigger over the time because of the erosion of the jet walls, the air fuel ratio of the running engine will change towards leaner (then intended) mixture and the engine governor will start to “hunt”. In another words the engine speed becomes unstable or very unstable. Even cleaning it in an ultrasonic bath won’t help. You have to procure a new carburetor. With the new carburetor your engine will run fine again.
This phenomena is less obvious on older engines manufactured before the emissions legislations kicked in. At the time the engines were set to work with richer mixture for better throttle response and higher power. Those engines even had main fuel jet adjustment screw available.
Nowadays, the only very small adjustment on the carburetor is the idle air/fuel mixture. Also, the ethanol in fuel doesn’t help. It seems to emphasis the phenomena described above.
For solution to all small engine problems visit us at:
http://www.lawncombine.com