
Welcome to our latest Pro-Follow update with professional contractor Joe Bianco as he remodels this basement. Last time we left off, Joe had installed all the base cabinets in the wet bar, and today we’re taking a look how the granite countertops and back-splashes were installed. If you remember, the bar area will be galley-style with base cabinets on either side of the egress window.
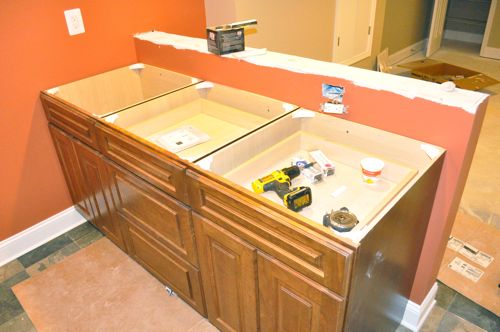
Step 1: Move Main Piece into Place
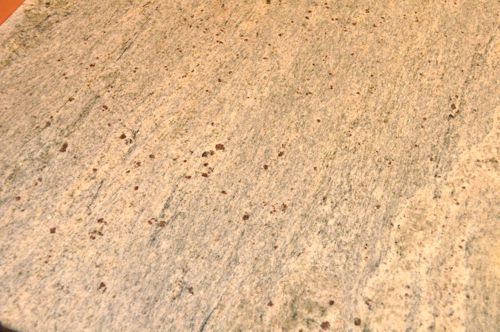
Mr. and Mrs. Homeowner have selected a beautiful granite countertop from a local distributor, and the installers began by moving the two main pieces into place.
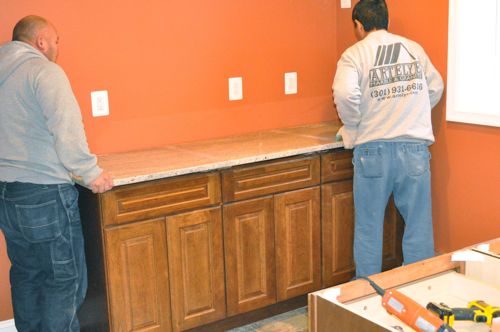
Step 2: Install Sink
The wet bar will have a small, under-mount sink on one side.
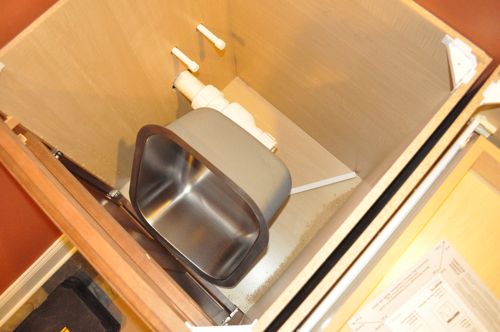
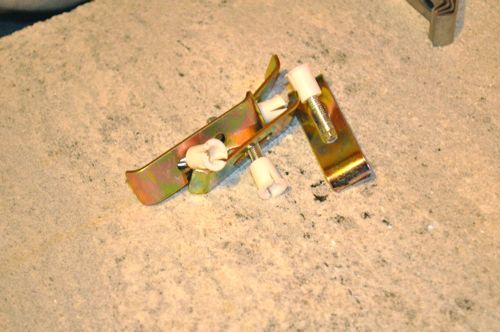
It’ll be secured with these brackets and anchors.
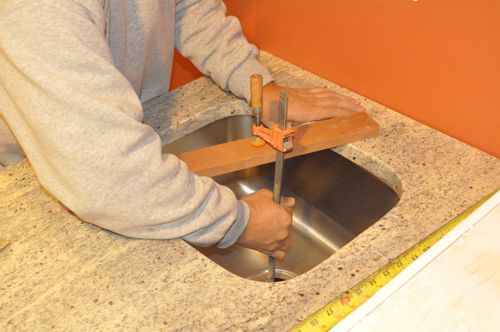
The guys start by positioning the sink and clamping it in place with a piece of scrap across the opening.
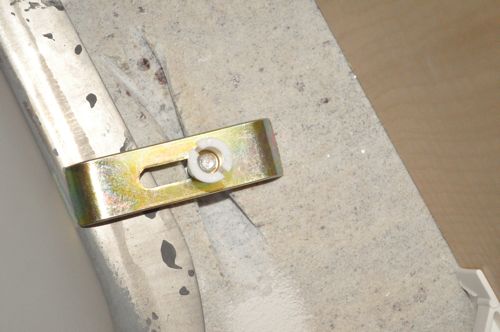
The manufacturer has pre-cut these angled channels all around the sink into the granite to fit the anchors.
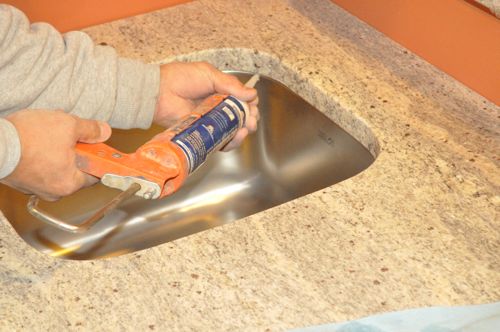
The guys also added silicone to the joint between the sink and the countertop.
Step 3: Install the Bar Top
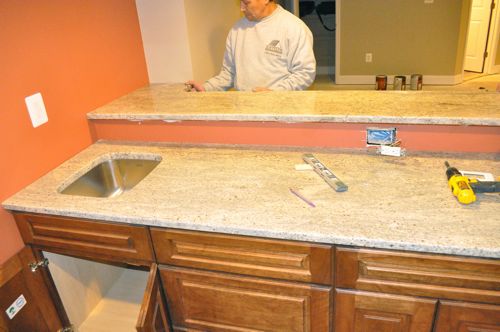
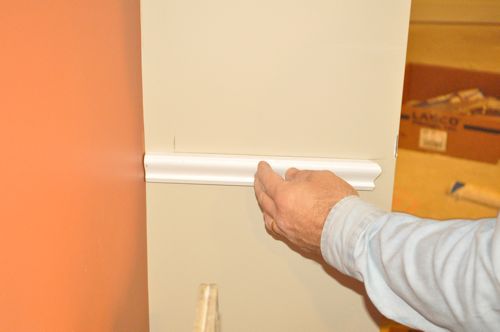
The bar top sits on a half-wall, and the guys first set it in place to test for fit and mark a location for a small piece of supporting molding.
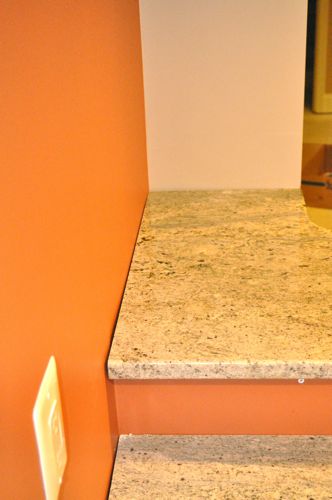
You can see the wall isn’t 100% square so the installers scribed a line using green tape. Although most of the gap is concealed behind the side / back-splashes, it’s important that the countertop be tight against the wall along the finished edge.
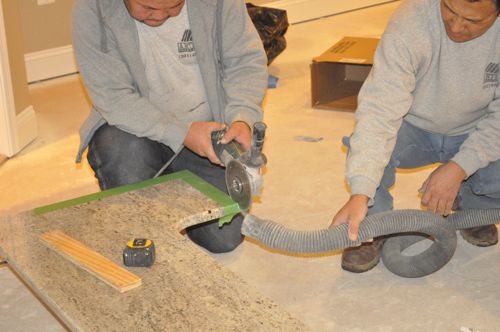
With a grinder and carbide blade, the installers cut a new edge to better match the wall.
Meanwhile Joe cut a small piece of molding to help support the granite.
Step 4: Mix and Spread Adhesive
The installers mixed a generous portion of adhesive and cream hardener.
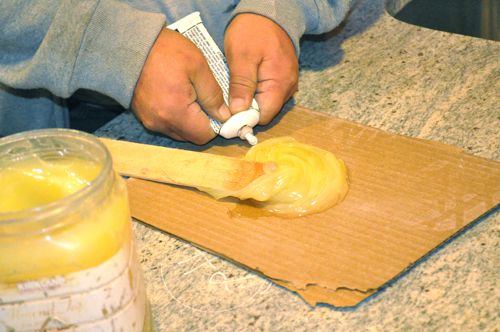
They spread globs of the adhesive and acrylic latex caulk underneath the bar top.
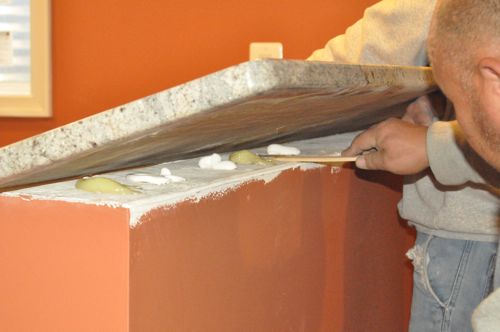
Step 5: Shim Level
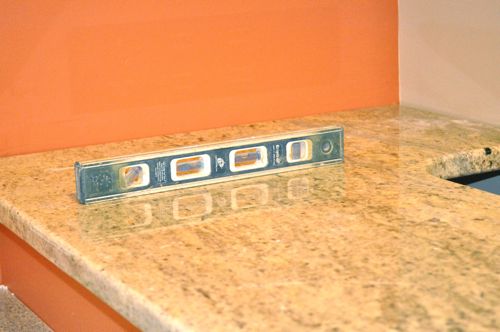
Using small shims they ensured a perfectly level countertop. These shims will be cut later and that edge will be covered with decorative molding.

Step 6: Cut Back-Splashes
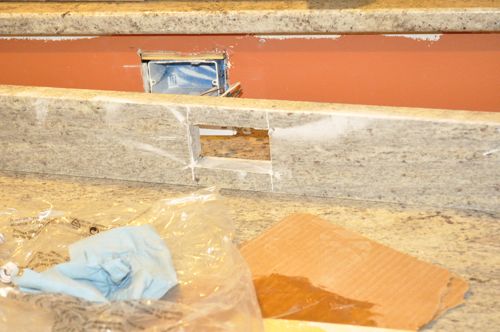
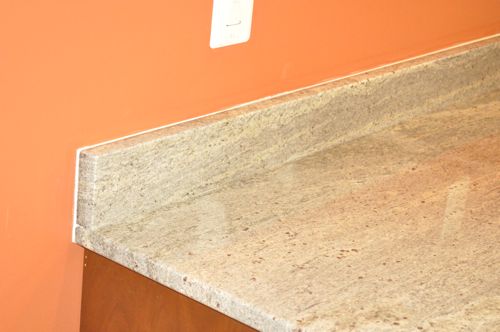
All the back-splashes and side-splashes are 4″ pieces of granite that the installer cuts to size on-site. They also cut this access for the electrical outlet.
Pro-Tip: Granite should be cut 1/2″ or thicker. Slimmer cuts may result in breaks and cracks.
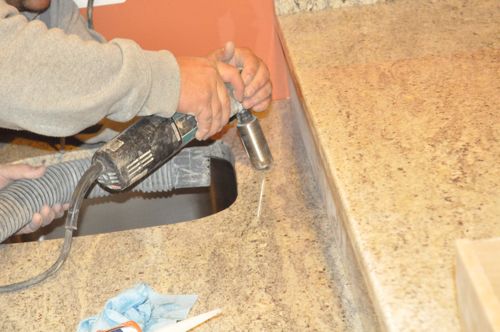
Using the grinder and a carbide hole-saw, the installers cut the opening for the sink faucet.
Step 7: Clean and Glue
With the back-splashes cut to size, the guys put a few globs of silicone behind them and sealed all the joints.
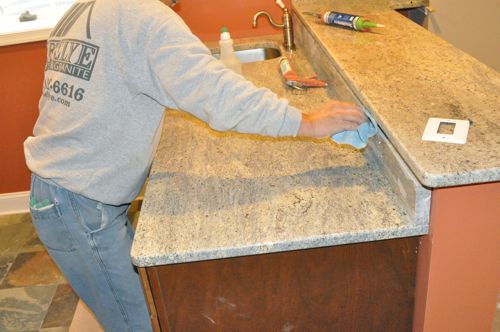
Pro-Tip: Clear silicone goes on white and dries clear.
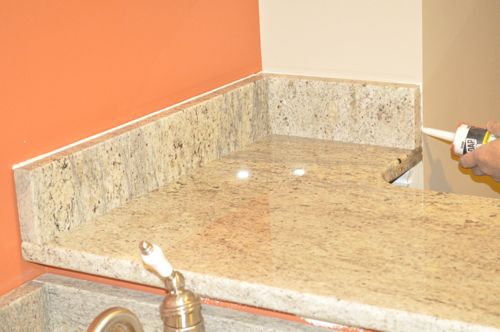
The installers also ran a bead of silicone along the face of the cabinets where they join the countertops.
Finished
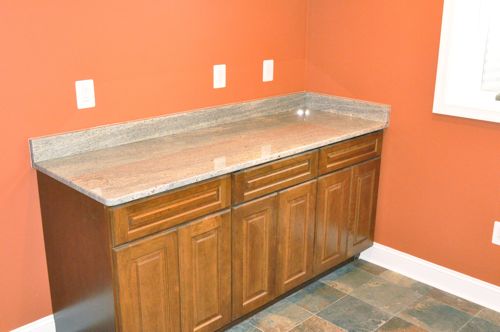
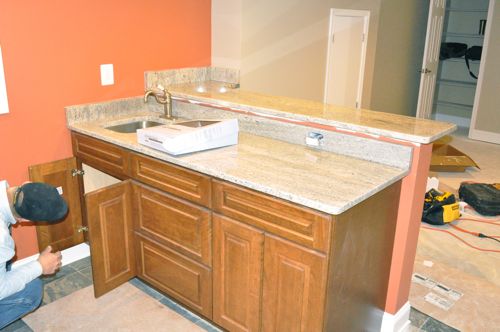


Looks awesome. Very jealous
looks good, very nice install.
Why doesnt the backsplash go all the way up to the higher piece of granite? it has an odd little gap there now.
That was my thought too. I’m curious what will be done here.
I do like that the installers scribed the line (on the upper counter) even though it would have been more than concealed with the 4″ back splash.
Since it creates a deeper recess from the upper surface edge and provides drywall access, the gap between the backsplash and upper granite surface could provide a great place for some hidden (under couter-type) lighting that could light the lower granite surface. That would look great when entertaining with the lights dimmed a bit.
I agree that lights would look pretty cool there. You could also do something with molding that would be nice. I’d think it’d be easier to clean as well if the backsplash went all the way up.
The plan was to run a piece of molding that wraps around the entire underside of the bar-top. So that little space will be filled with molding, and I think it’ll have a nice finished effect.
Running the backsplash all the way up is another option. They may have considered that if they had bar area templated by the countertop manufacturer.
I’m curious why they chose the leave that small gap between the top of the backsplash and the underside of the bar top. Why not just have the backsplash go all the way up to it? I would think it would look nicer and be easier to clean.
I like the addition of the granite top on the half wall behind the sink, but my question is the same as Joe’s. Since it is a custom job, why didn’t they cut the backsplash a little higher to eliminate the small gap. It really distracts from the overall appearance especially since the paint color is such a contrasting color.
The backsplash is a 4″ piece of granite, and the installers cut it to length. They wouldn’t haven been able to fill that entire gap even though they were “cutting it on site”. That gap is to be filled with molding so the wall color won’t be visible.
If I were to buy a piece of granite like that, is there a standard “sink size” hole with the precut channels around it? Or are they usually ordered to size?
It depends on the sink. This one is smaller, but you can get all shapes and sizes. Also, this is an under-mount sink (as opposed to a surface mount).
I always find it interesting that even most avid DIY’ers still hire out granite installation.
I agree: why that tiny space between the backsplash and counter?
Is 1/2″ thickness for granite a standard measurement? Or does it vary?
This granite is 1-1/4″ thick, and Joe has seen some variation. That 1/2″ number is just for making cuts (like around the electrical outlet).