

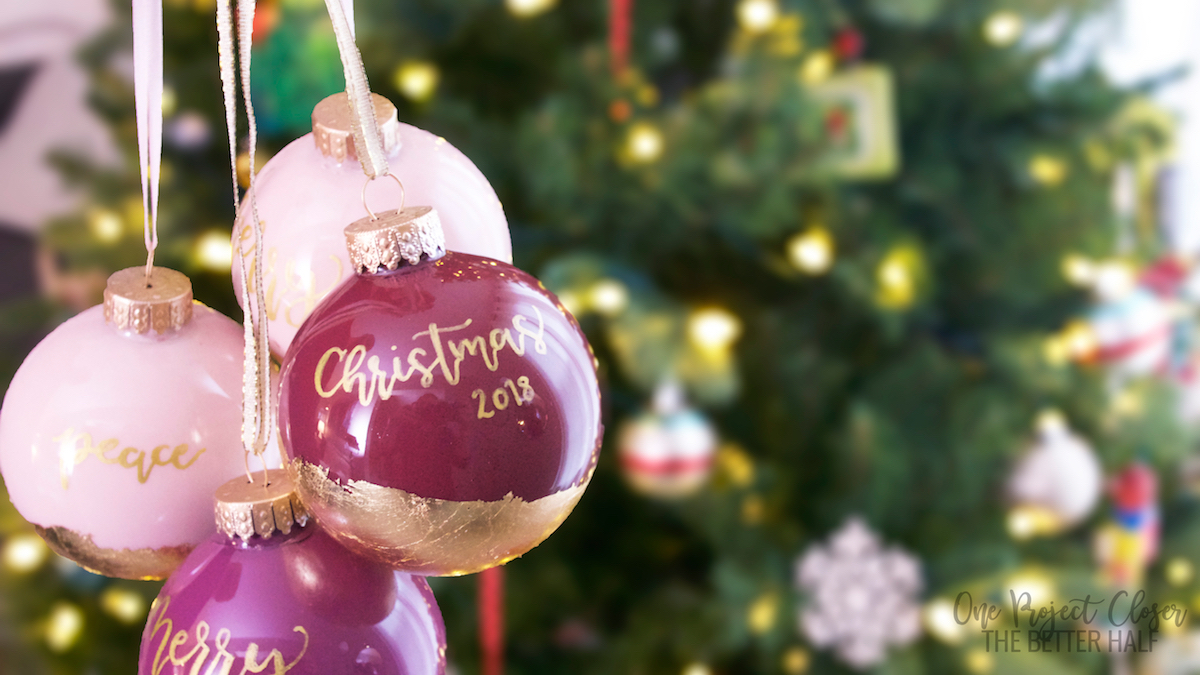
Instead of calling this post “DIY Hand Lettered Golf Leaf Ornaments” I probably should have called it 1 million ways to NOT make these eff-ing ornaments. I literally tried so many things to make the hand lettering a short cut for you. But seriously, it was a fail every time! But instead, I’m going to show you how to make them and maybe you can teach my your Jedi ways if you know a short cut! Other than making this way more difficult than it needed to be, these DIY ornaments are easy and quick, and fun to make with the kids!
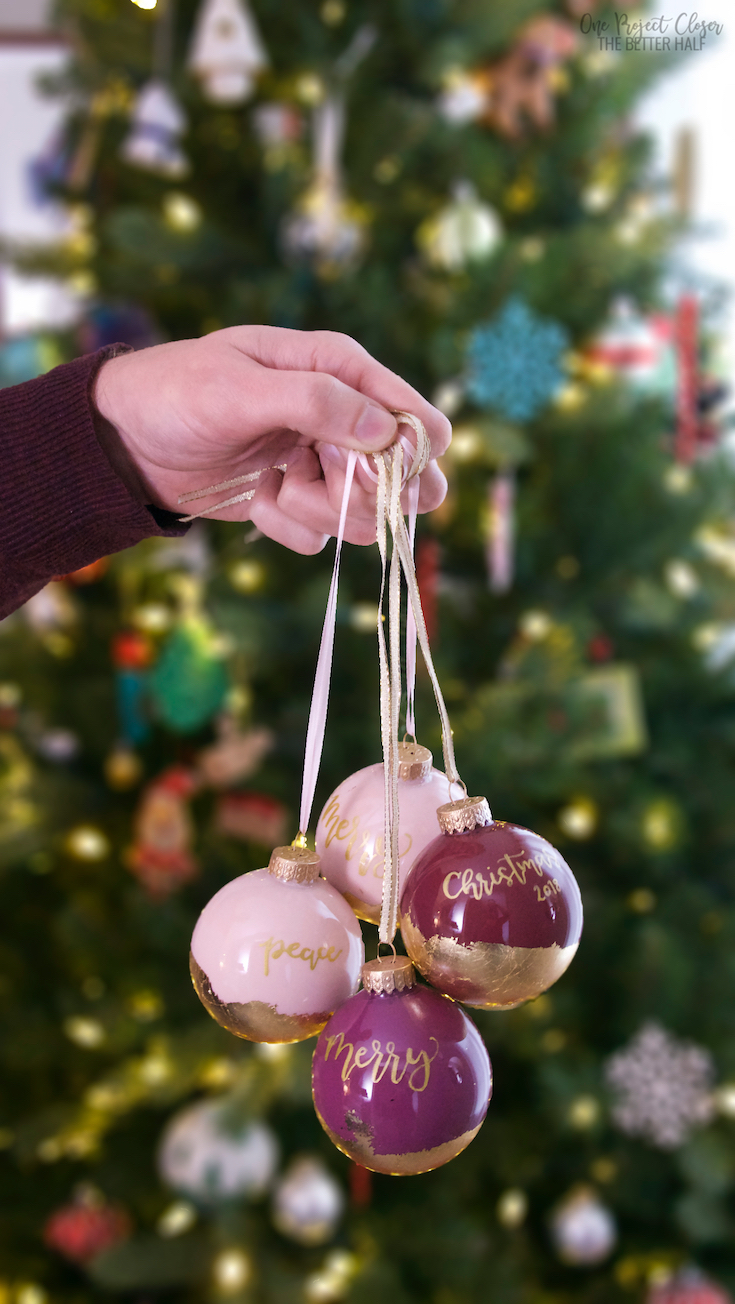
I made these this year for all our teacher gifts and lettered the name of our school and the year onto them. I’m hoping the teachers appreciate the personal touch and the modern and elegant style. I ran across these beautiful, gilded ornaments from The Sweetest Occasion and was inspired to put my own hand lettered twist on it.
How to Make Gold Leaf Ornaments
Make Time: 10 minutes; 45 minutes with dry time
Cost: $2-3 per ornament
Difficulty Level: Easy – Moderate
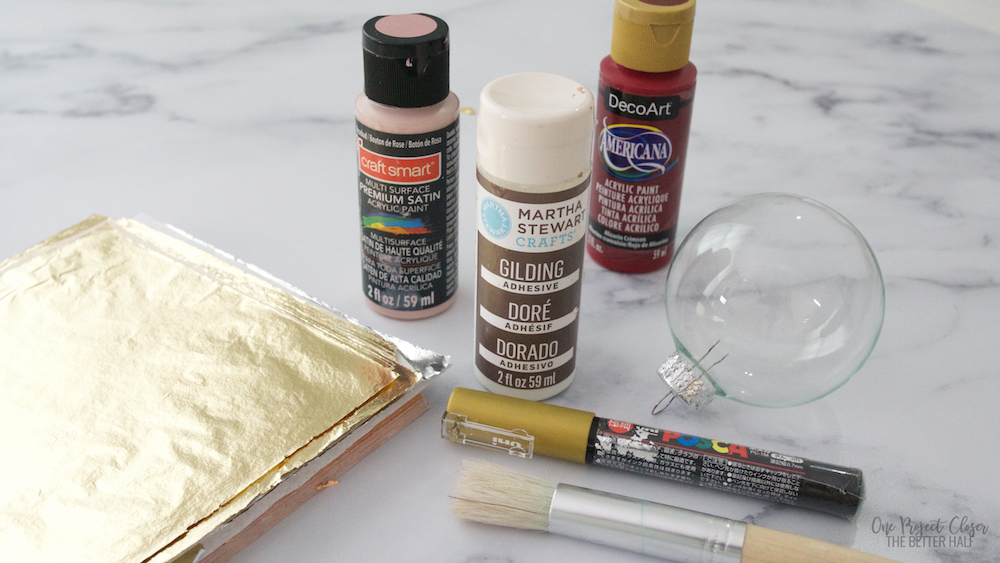
Materials Needed:
- [amazon_textlink asin=’B002Z1WFVE’ text=’Clear glass ornaments’ template=’ProductLink’ store=’opcwp-20′ marketplace=’US’ link_id=’86666a38-0542-11e9-a944-25816baaec7e’]
- [amazon_textlink asin=’B074RFS8GK’ text=’Gold Leaf’ template=’ProductLink’ store=’opcwp-20′ marketplace=’US’ link_id=’962ef139-0542-11e9-8b54-11d87756f8d3′]
- [amazon_textlink asin=’B00083KPCW’ text=’Gold Leaf Adhesive’ template=’ProductLink’ store=’opcwp-20′ marketplace=’US’ link_id=’b919b1c8-0542-11e9-838c-63605949fa5e’]
- Acrylic Paint
- Gold Spray Paint (optional)
- Clear Gloss Sealer (optional)
- Ribbon
- [amazon_textlink asin=’B001B2KM1I’ text=’Acrylic Paint Marker’ template=’ProductLink’ store=’opcwp-20′ marketplace=’US’ link_id=’c70710a6-0542-11e9-a9b6-c3561ca899d3′]
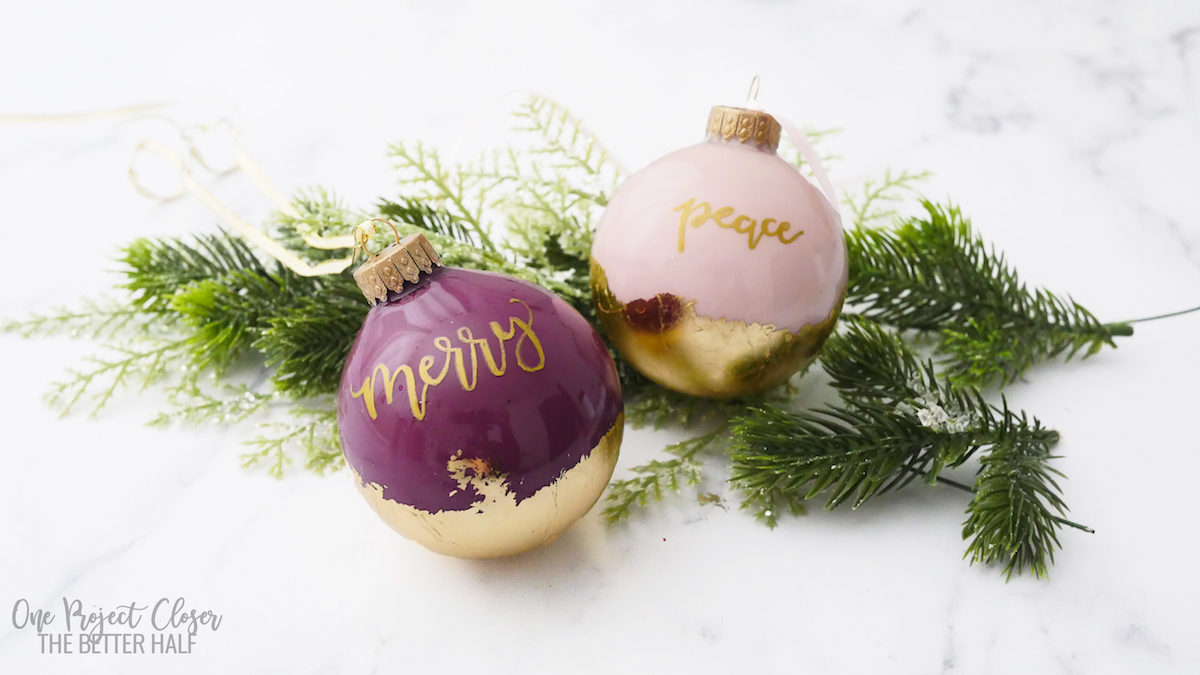
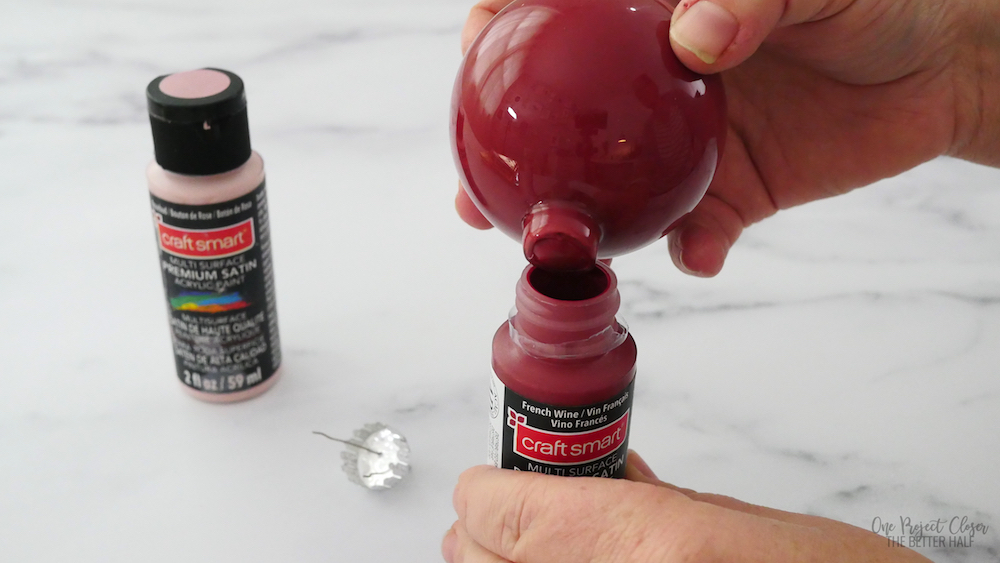
First, pick what color you want your ornament! Personally, I’m OBSESSED with blush pink right now. When I was demo-ing this craft for my friends, I was holding my pink ornament while wearing a matching pink sweater, glasses and watch band! LOL Maybe I need to dial it back a bit. I’m a huge fan of Craftsmart Rosebud – it’s the perfect blush color! we also made teal, green, red, purple, burgundy, and navy. Navy was pretty gorgeous too.
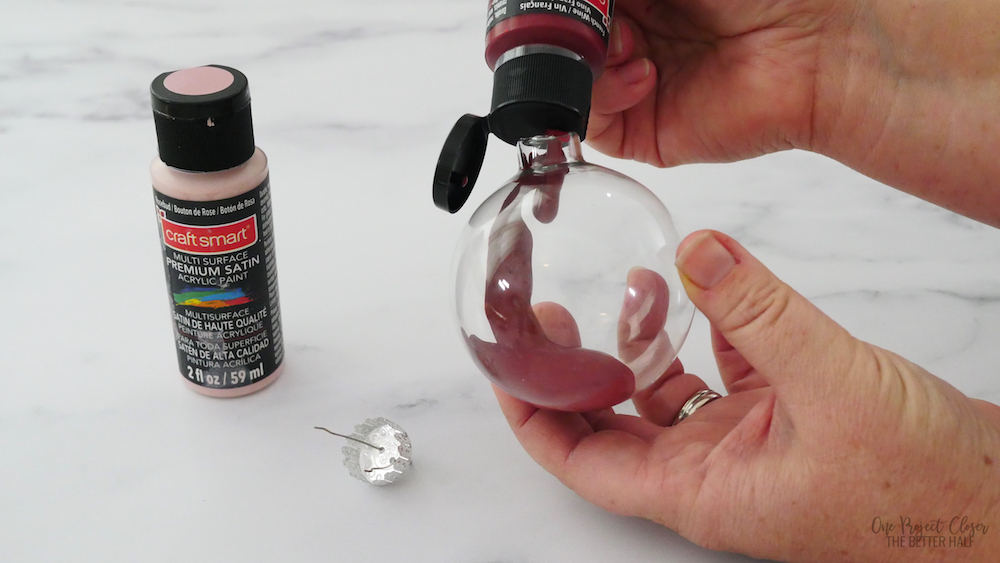
Once you pick your color pour a TON of paint into the ornament. Seriously, you will save yourself a ton of effort and shaking to just add a ton of paint. For one of my trial ornaments, I tried diluting the paint with a touch of water to make it easier to spread, but that was a huge fail! When the paint dried it has slipped off the glass in spots. UGH.
Now shake it (covering the hole of course) until the interior glass is covered. Now, tip it upside down onto the paint bottle to drip out any excess.
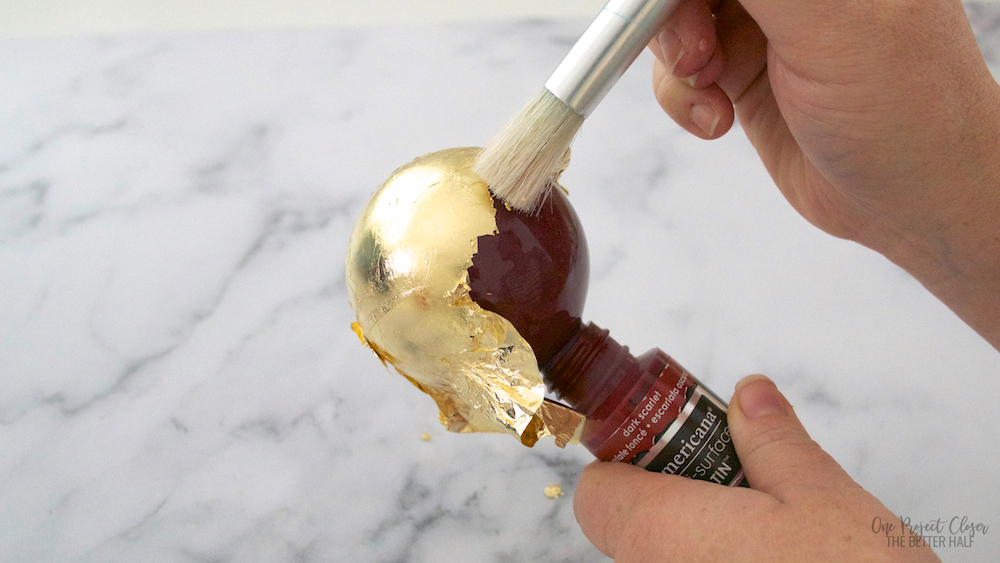
While still attached to the paint bottle, grab your gilding adhesive. Follow the directions on the bottle, but I’ll share with you what I did using Martha’s.
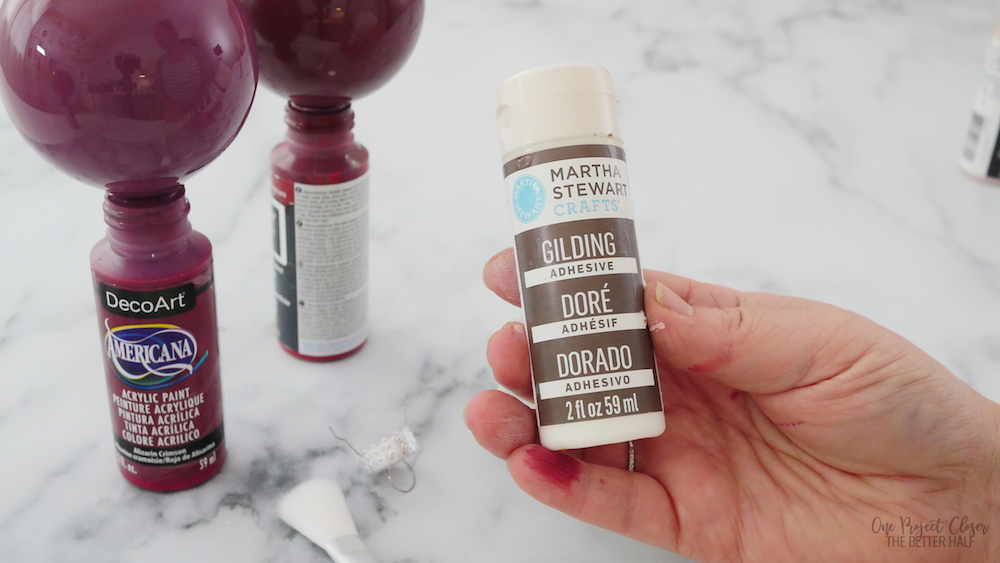
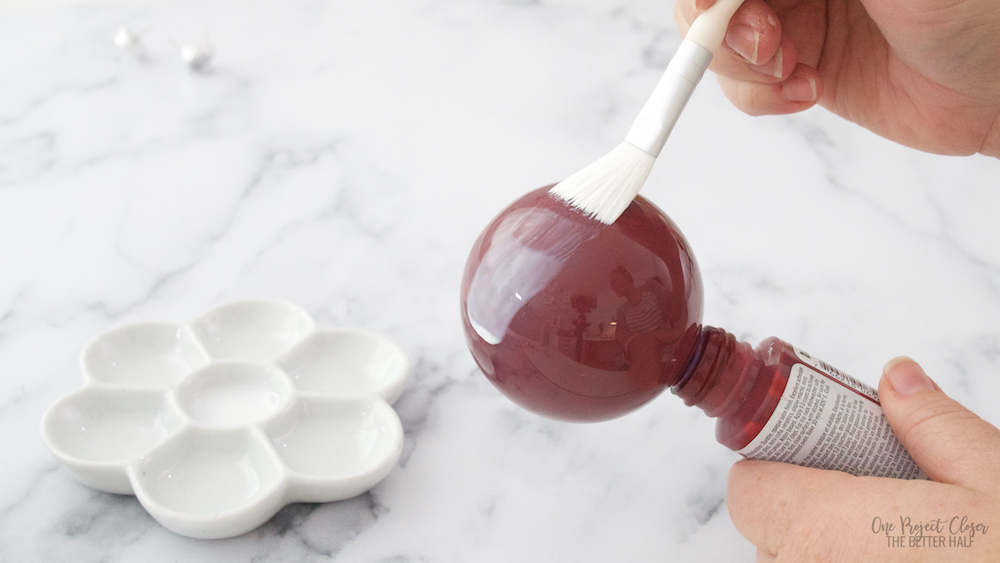
First, apply a VERY thin layer of adhesive to the areas where you want the gold leaf and allow it to dry for 10-15 minutes. The adhesive will appear clear when tacky. If you put it on too thick, it will drip and look yucky.
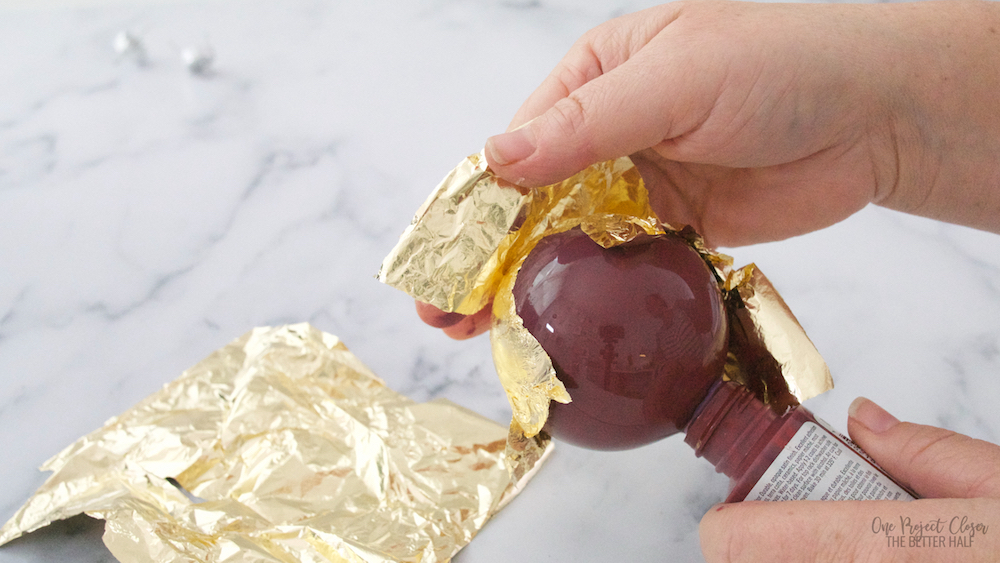
Once tacky, lay a sheet of gold foil over the ornament and press gently. Leave it to sit for up to 24 hours. If you want it to look chippy, you can wait only 15 minutes or so.
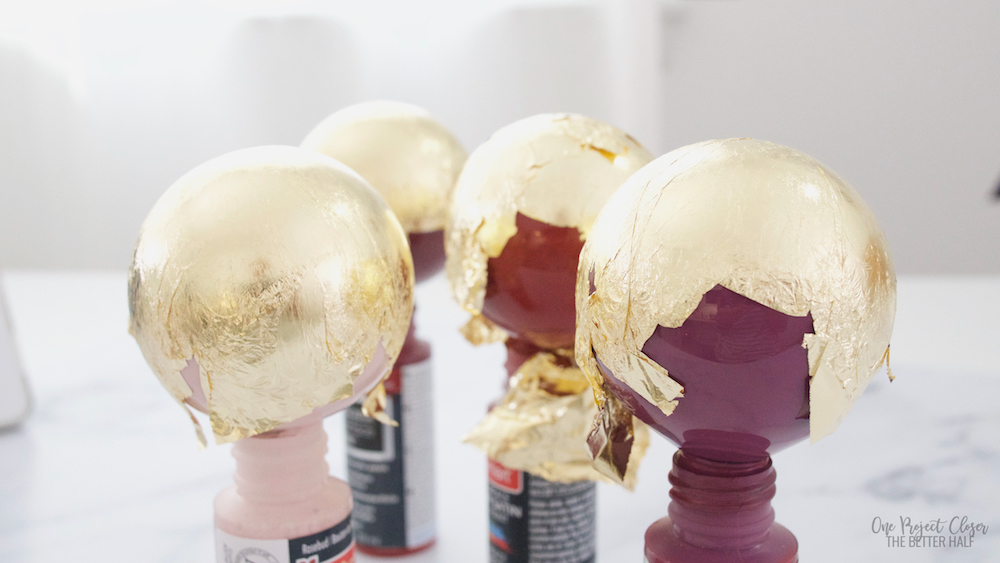
Side note: Gold lead is maybe worse than glitter. Seriously, this stuff is probably in my carpet, lungs and hair for the next twenty years. And to make it worse, the air is so dry here, the gold leaf is staticky and gets stuck to my hand. UGH
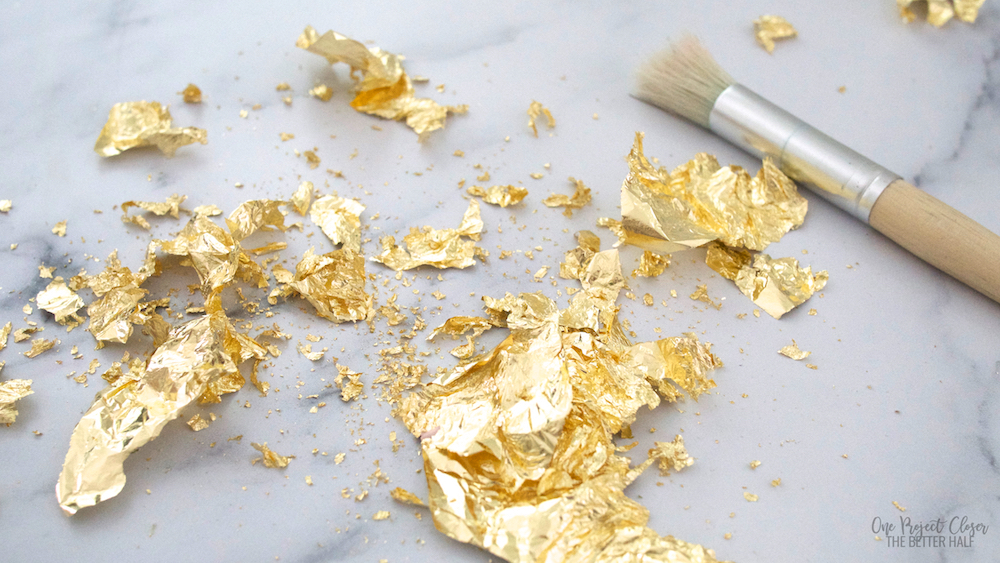
After set, take a brush and gently wipe the edges to flake off any leaf that hasn’t adhered. If there are bald spots, you can repeat the process.
Now this is where I almost lost. my. mind. I tried so hard to come up with an easy transferable process so you could have hand-lettered ornaments without the work. And it was a hot mess. I tried vinyl but didn’t love the raised look. I tried Silhouette gold tattoo paper but the design was so delicate and small the cutter couldn’t handle it. And finally I tried making my own gold tattoos using a five step paper I found on Amazon. #fail
So at the end of the day, I decided to just letter them myself. Sorry, friends!
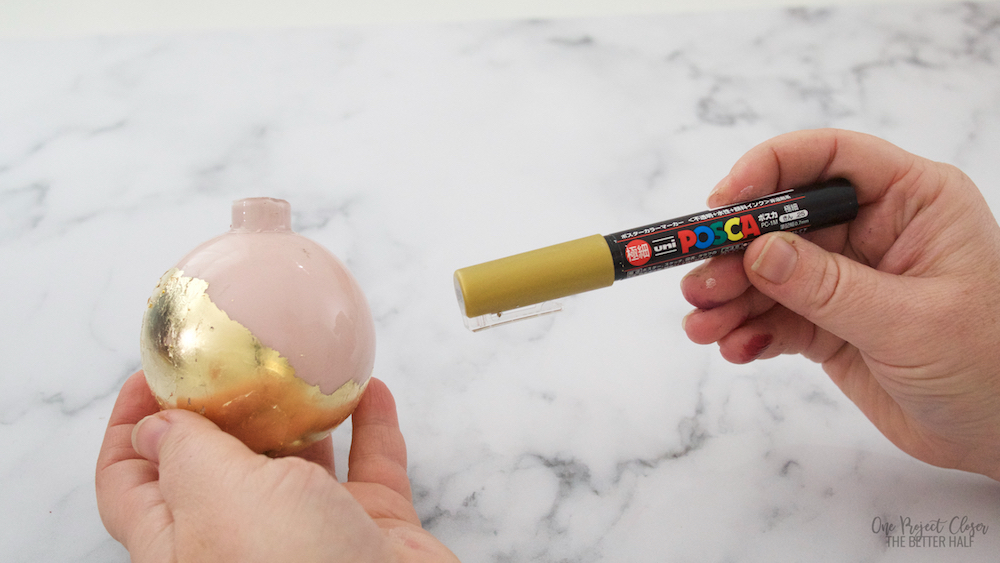
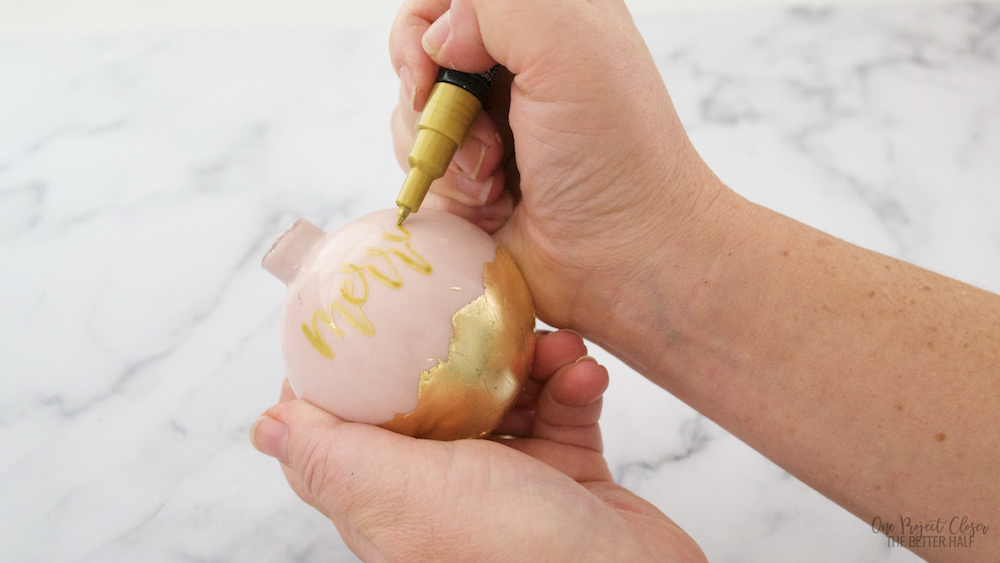
Grab a Posca paint pen and start lettering! I love my Posca pen because it is extra fine and goes on sooo smooth!
A few tips:
- Make sure the surface is clean. AKA, get rid of that staticky gold leaf!
- As you write on the ornament, be sure to wrap upwards to go with the curve of the ornament.
- Tilt the pen to the side a tad when brushing the down strokes. It will naturally thicken them without having to go back and thicken them individually.
- Add a second coat of paint for a more smooth look.
(Optional) While that dries, take the top of the ornament and spray paint it gold! It’s perfection!
(Optional) Once the ornament and top are both dry, put the top back on and spray paint the whole ornament with a high gloss sealer.
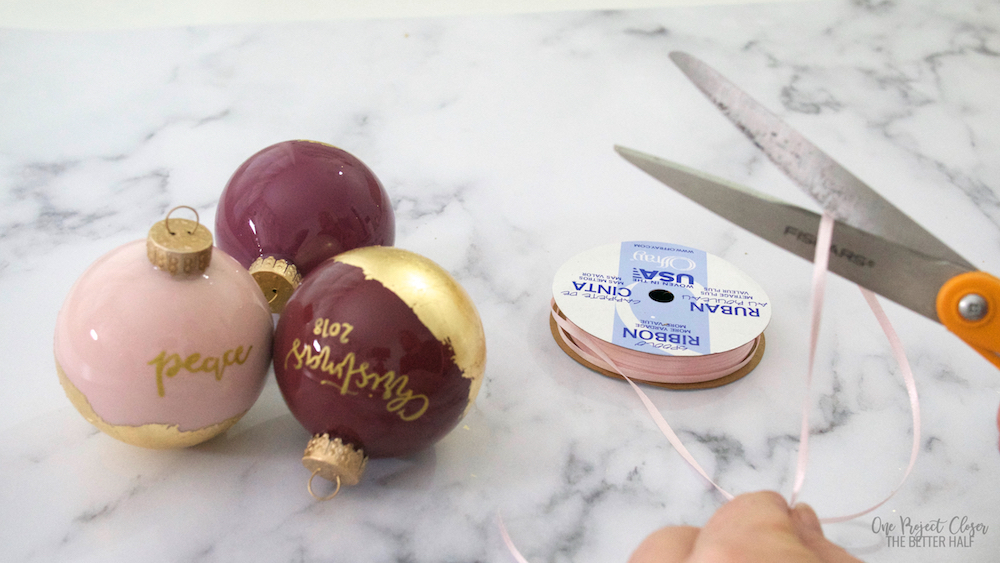
Once dry, add a coordinating ribbon and BOOM! Gorgeous!!
Pin for Later
Love this project and want to save it for another time? Or maybe share it with your friends. Pin it!

Jocie Hagan
One Project Closer
Come say hi on Facebook, Instagram, & Pinterest!
Want to learn to hand letter and make amazing, personal decor for your home?
Learn now with Busy Girl’s Guide to Hand Lettering!
**Use the code HAPPY5OFF to get $5 off the course price**

I LOVE this! I think I’m going to do this as Christmas gifts next year. Thanks for the idea.
XO,
Courtney