
Thank you so much for joining us at One Project Closer for this tutorial on how to make these DIY storage boxes for dog grooming supplies from guest writer and blogger, Danielle. This post is sponsored by the Home Depot Prospective Campaign. Post may also contain affiliate links. Opinions (and typos) are 100% our own, and we appreciate you supporting our site in order to continue to provide free content to our readers.
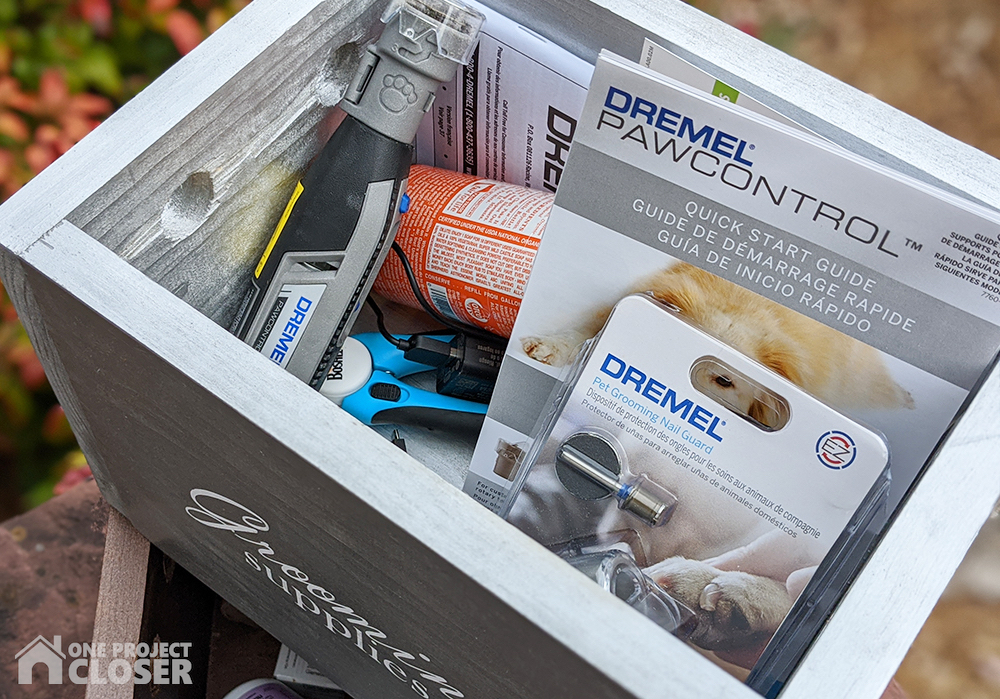
I just built our DIY laundry room shelving and renovated the ENTIRE room. It’s glorious. The bottom shelf includes a dog feeding station with storage for dog food underneath. There is a bit of empty space in the back so I decided to build a couple of small storage boxes. These wood bins can hold our dog grooming supplies AND our dog first aid kit!
The best part about these bins is that they have small holes for handles. This meant using a forstner bit to cut the holes out, rather than trying to hack away at this with my jig saw. I think the result looks great!
Be sure to also check out our stress-free, easy dog grooming tips!
How to Make a Storage Box for Dog Grooming Supplies
Project Time: 1 hour
Cost: $22 for two
Difficulty Level: Easy
Materials Needed:
- Wood glue
- 8′ 1×8 pine board
Equipment Used:
- Nail gun
- Kreg Jig kit for Pocket Holes + 1″ coarse screws
- 1″ fortsner bit
- Miter saw or circular saw
Cut List:
- (3) 10″ cuts per box
- (2) 8.75″ cuts per box
Featured Products:
- Dremel Cordless Pet Nail Grooming Rotary Tool with Charger and 5 Accessories
- Dremel Pet Grooming Nail Guard Kit with 4 Grooming Discs and EZ Lock Mandrel
Be sure to check out our amazing Home Depot Coupons before you buy to save yourself some money!
STEP ONE
Cut out your wood. You need (3) 10″ cuts per box for the bottom and two long sides. You need (2) 8.75″ cuts for the short sides.
I made two boxes for my space. It’s easy to make a couple of these at the same time! 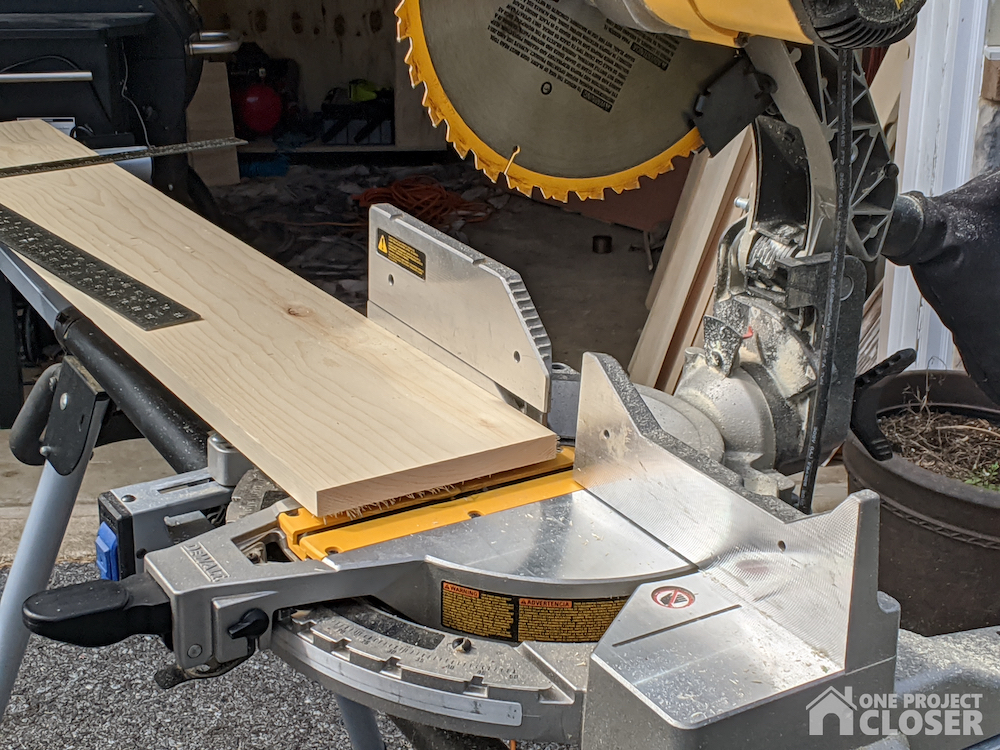
STEP TWO Ideally you want to drill the holes for your handles before assembling your box.
Mark out where you want your two holes per side. I placed the center of each hole 1.5″ down from the top and 3″ from each side.
Place each side on a piece of scrap wood. I centered my forstner bit on my marks and drilled down. The scrap wood underneath will prevent blowout on the other side of the wood.
STEP THREE
One of your 10″ cuts will be the bottom of your box. I decided to use pocket holes to connect my bottom to the sides. I added one pocket hole per side to the bottom. 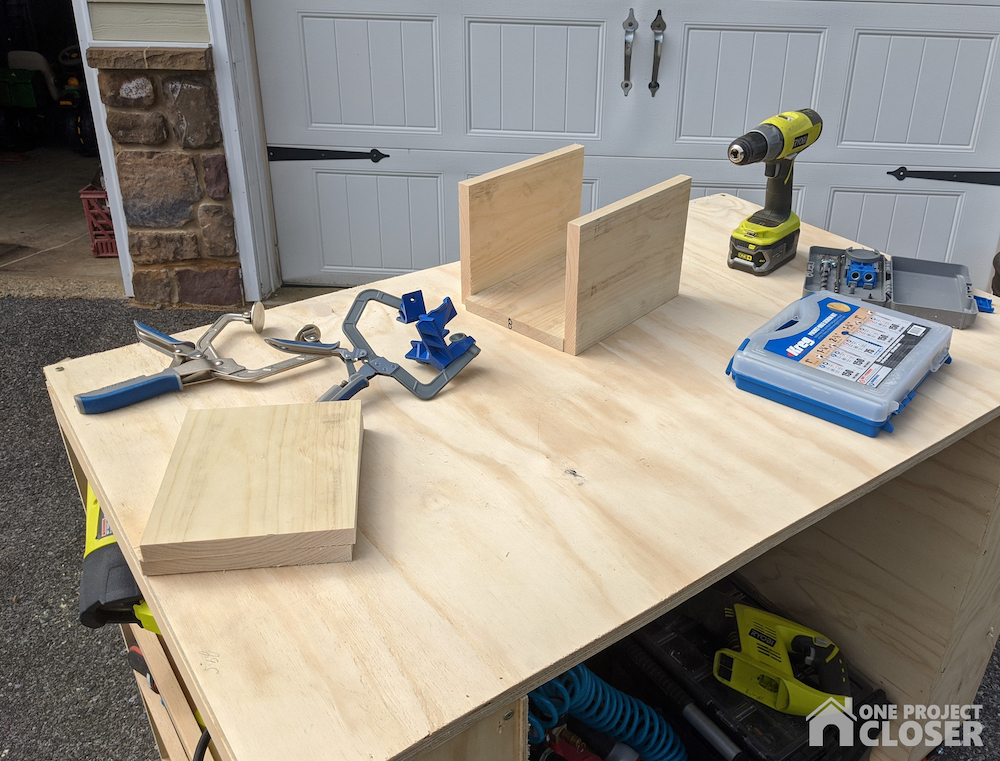
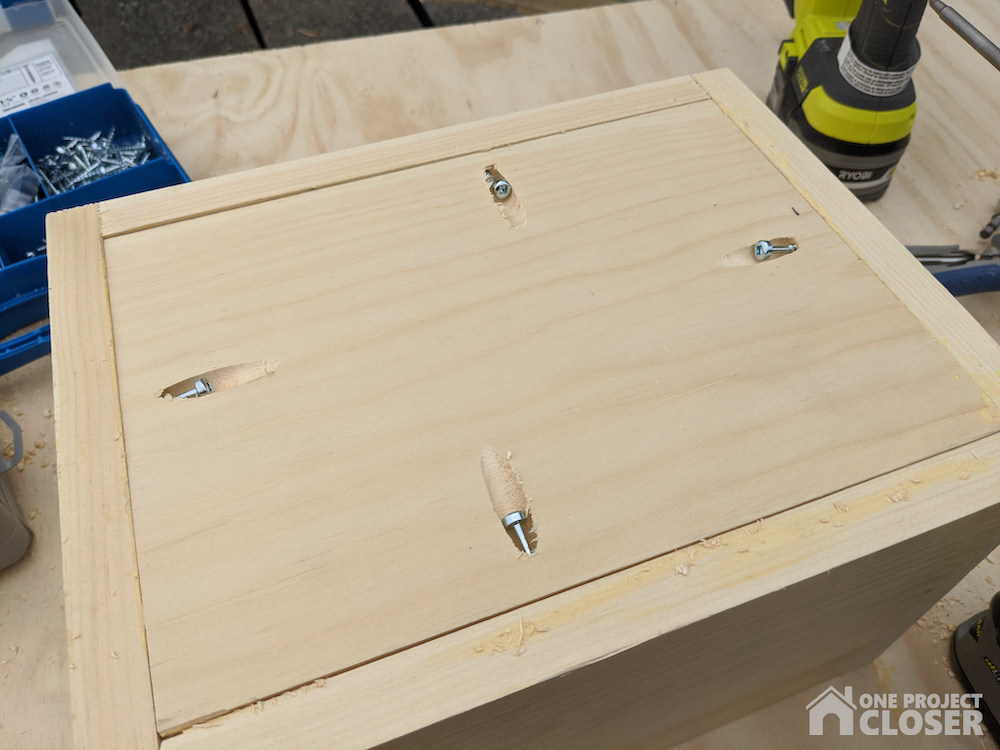
Do not attach the bottom yet.
STEP FOUR
To avoid adding pocket holes to the sides of my box, I decided to attach them using wood glue and my nail gun.
For my first box, I connected the sides first. Then I had to hammer my bottom into place. Whoops! It was a tight fit, as it should be when you get your measurements correct.
With the second box, I added glue to the sides of my bottom. I placed the bottom “pocket holes down” on my work surface. Then I built the sides around it. Each side was connected with glue and my nail gun. 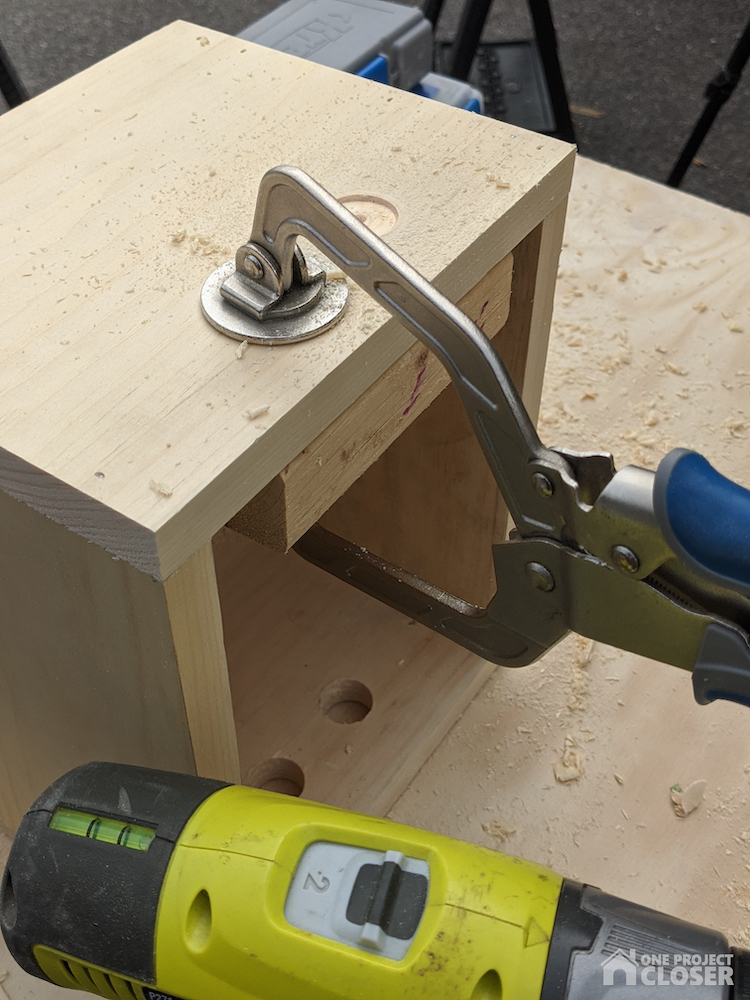
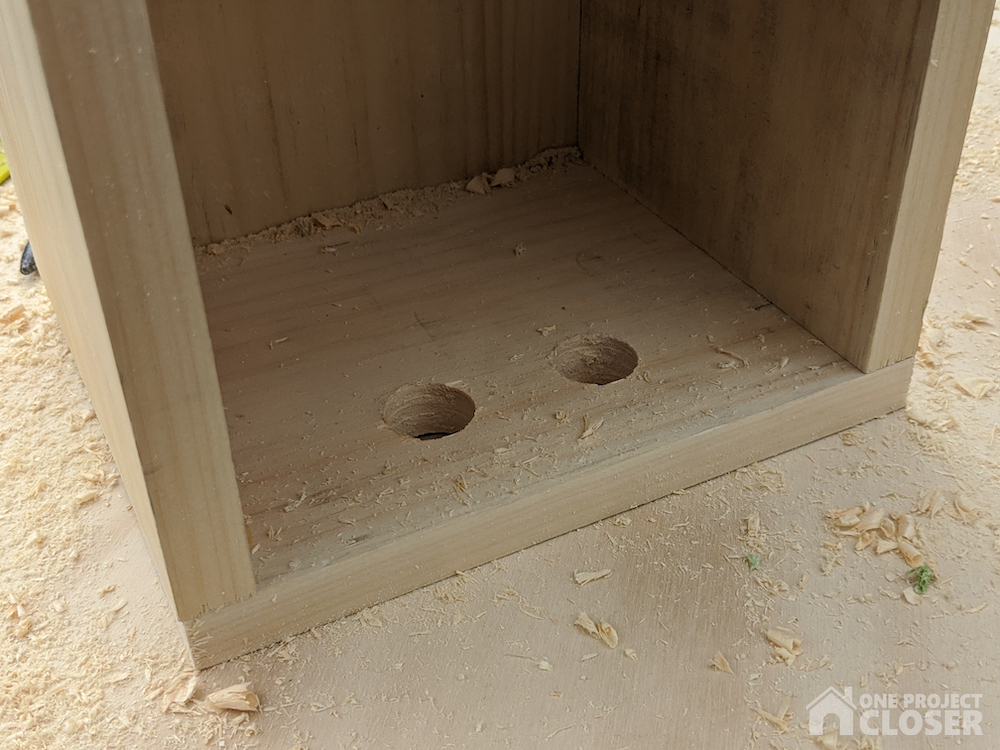
STEP FIVE
Now that the sides are connected, you can screw in the bottom to the sides of the box. I used the 1″ coarse screws that came with my Kreg Jig screw set.
STEP SIX
Sand your box. Fill the pocket holes if desired. 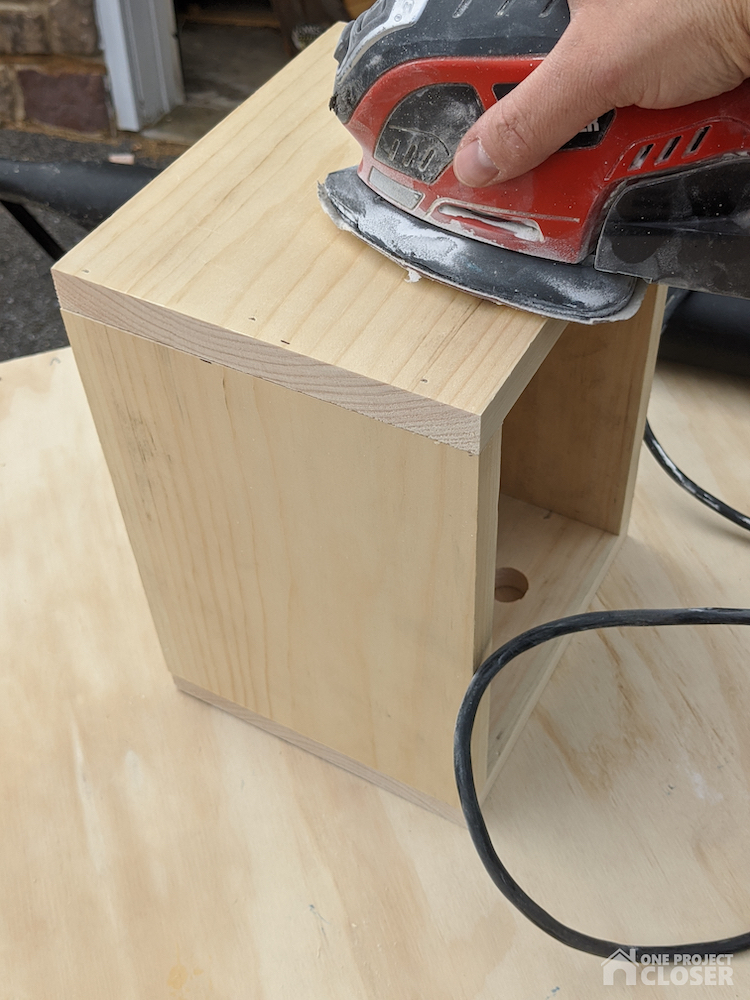
STEP SEVEN
Finish your box using stain or paint. You can also add iron on vinyl to label your wood boxes (permanent vinyl would also work). I initially tried stenciling but the paint didn’t seem to adhere well to the metallic spray paint on the boxes. The SVG I used is available free for subscribers on DIYDanielle.com! 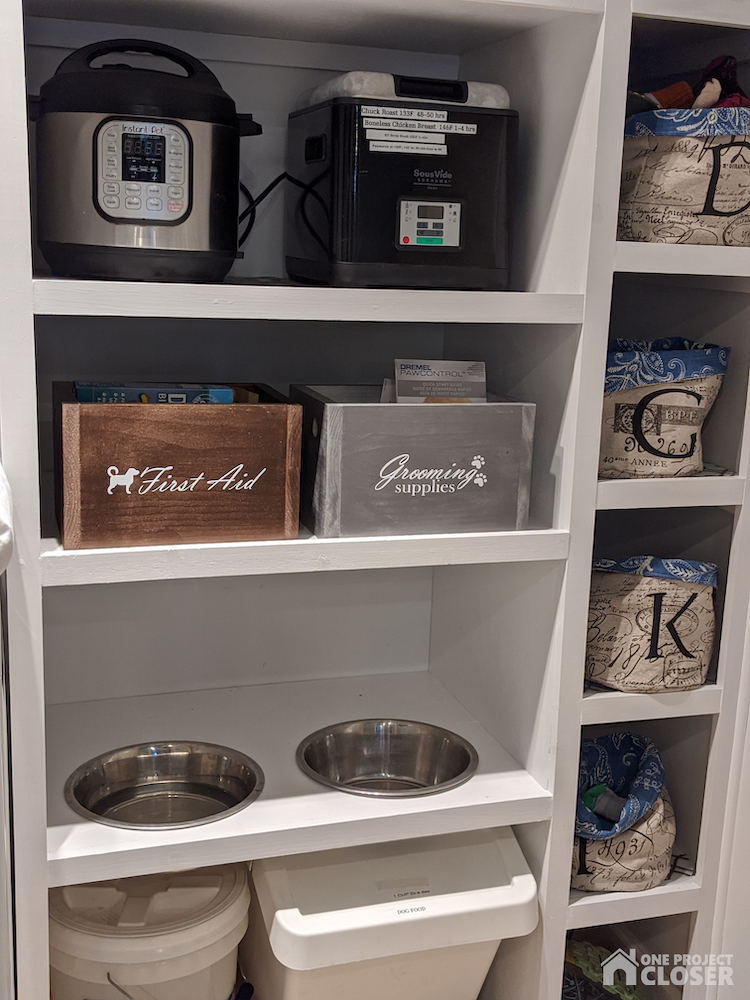
Here’s a video showing how I made it! As you can see in the video, I put the holes in the sides for the handles AFTER I built the box. This wasn’t ideal, but it worked. I just clamped the wood block to the area behind where the holes would go to prevent blow out.
The Dremel 7300 Series Cordless Pet Nail Trimmer
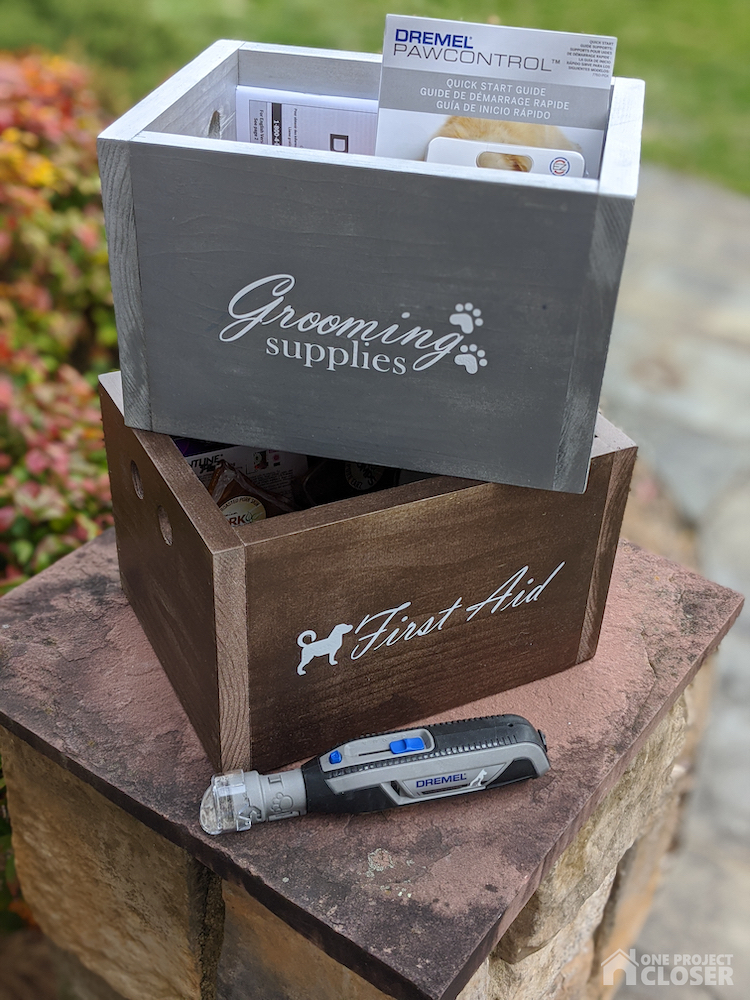
These boxes were the perfect solution for storing my Dremel 7300 series cordless pet nail trimmer AND the charger (we’re always misplacing chargers!). I had the opportunity to try out this nail trimmer on my rescue pup Rocky and it’s AWESOME.
Rocky is super anxious about nail trimming so I was worried he wouldn’t like it. He was still nervous, but I loved how quiet the Dremel was. I worked on a few different nails, gave him a treat to reward him, and let him have a break.
Training your dog to sit nicely for nail trims is important, but it’s also important not to do too much at once if you have a nervous dog.
The Dremel allows me to sand a little at a time, without worrying about cutting off too much nail. Repeated nail trims with NO pain or bleeding are important to build trust with your dog. It’s really hard to avoid cutting too much off with normal nail clippers if your dog moves a lot.
The best part is that the Dremel leaves Rocky with more rounded nails. He normally has sharp nails with normal clippers. We love giving our pup attention, but hated getting scratched or having his nails cut through our clothing! This trimmer essentially sands his nails so they aren’t so sharp. It’s a great option if you struggle with trimming your dog’s nails (or even if you don’t!). 
Danielle Pientka is the DIY, sewing, and craft blogger behind DIYDanielle.com. She lives in Maryland with her husband, three sons, a dog, three guinea pigs, four goats, ducks, and chickens. While she thrives on plumbing, electricity, and a good WiFi connection, she also considers herself “homestead lite;” she loves raising animals, gardening, and making things from scratch. Danielle is the author of How to Sew Cloth Diapers, Sewing for Guinea Pigs, and Sewing for your Kitchen. She also has a mobile app for Android and Apple devices called Sew Organized.


Nice project. It is a definite upgrade to how I store my dog supplies. Also, we love using the Dremel on our dog’s nails.