
Thank you so much for joining us at One Project Closer for this Easy Orange Creme Brulee Dessert Recipe. This post is sponsored by the Home Depot Prospective Campaign. Post may also contain affiliate links. Opinions (and typos) are 100% our own, and we appreciate you supporting our site in order to continue to provide free content to our readers.
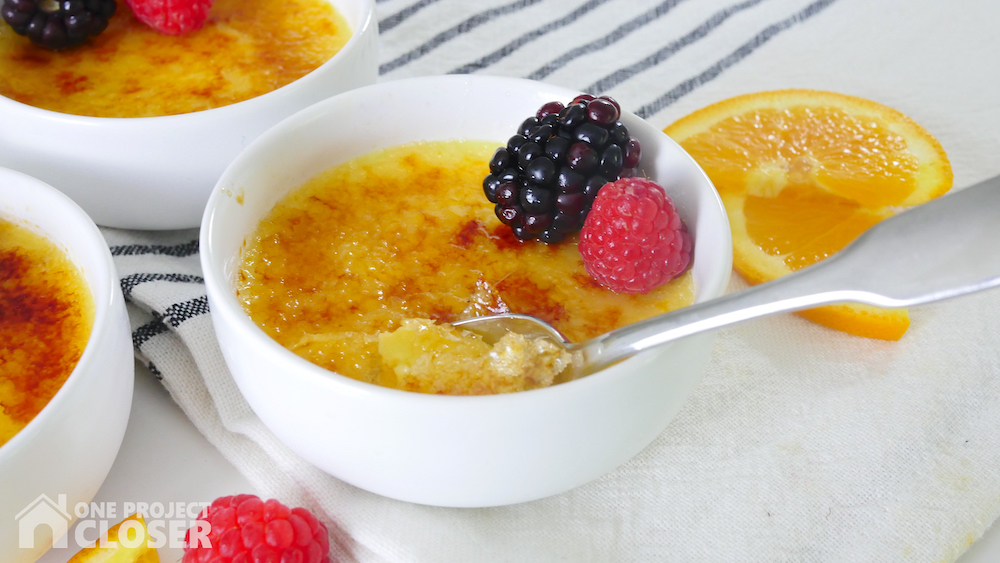
Last summer, my oldest child, Isabella was listening to Adventures in Odyssey (it is like a podcast from the 90’s), and she heard a Creme Brulee Dessert Recipe. She wrote it down, asked me to buy the ingredients, then made it for the family. It was AWFUL. Truly. It was the consistency of heavy cream, plus we didn’t have a torch, so we used the broiler. It was a mess.
But since then, she has been determined to try again – I love that spirit! So when Home Depot sent me the Bernzomatic Butane Micro Torch I knew exactly what to make. Isabella really got excited to give this Easy Orange Creme Brulee a try, and took the lead yet again in the kitchen! I did a little research and found a great recipe from All Recipes and made a few adjustments.
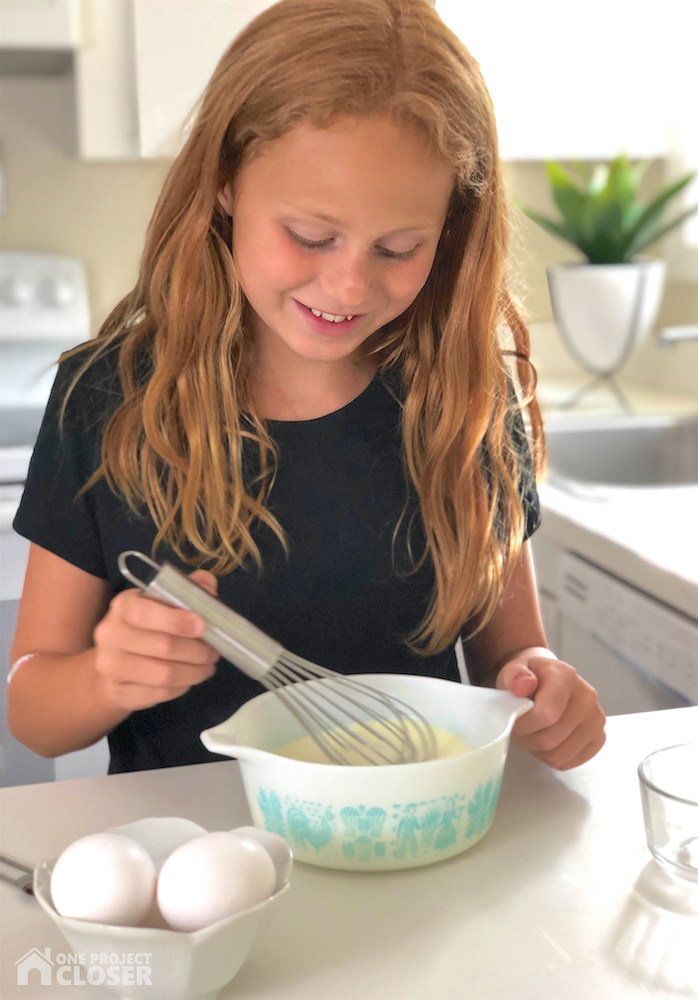
Isabella started by measuring out the heavy cream and sugar and lightly beating them together in a microwave-safe bowl until the cream began to fluff up a bit.
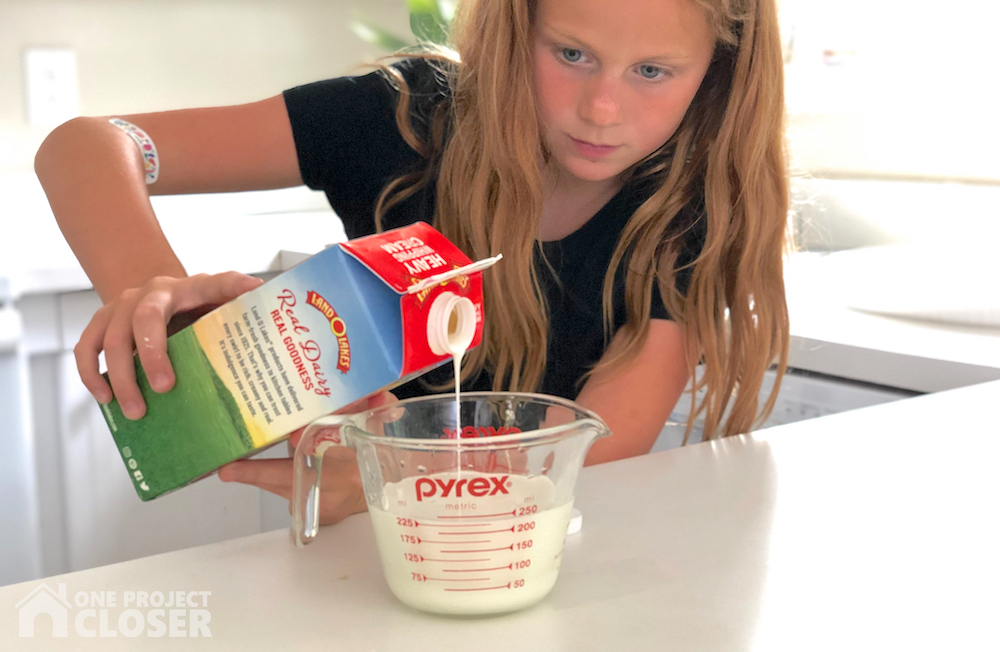
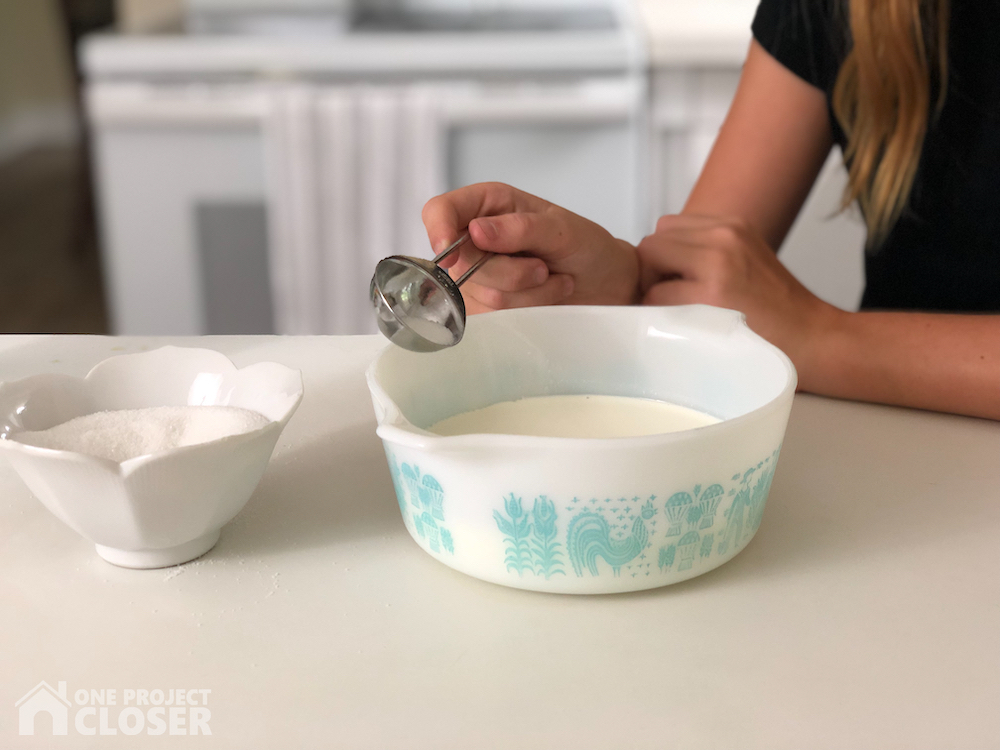
She then microwaved the mixture for one minute. She mixed again to make sure the sugar was dissolved.
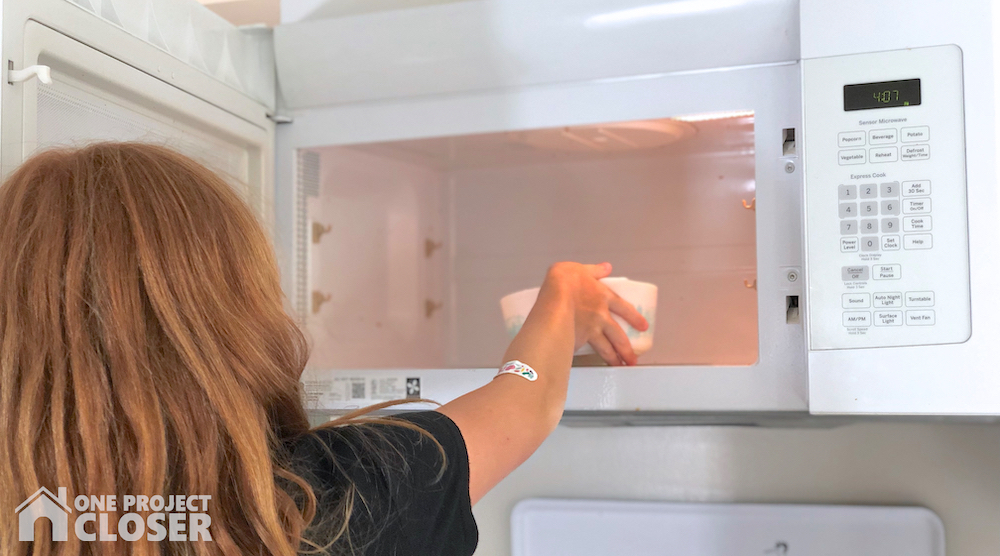
Then she added the vanilla and the Orange Essential Oil, and lightly mixed. Isn’t she just the cutest?
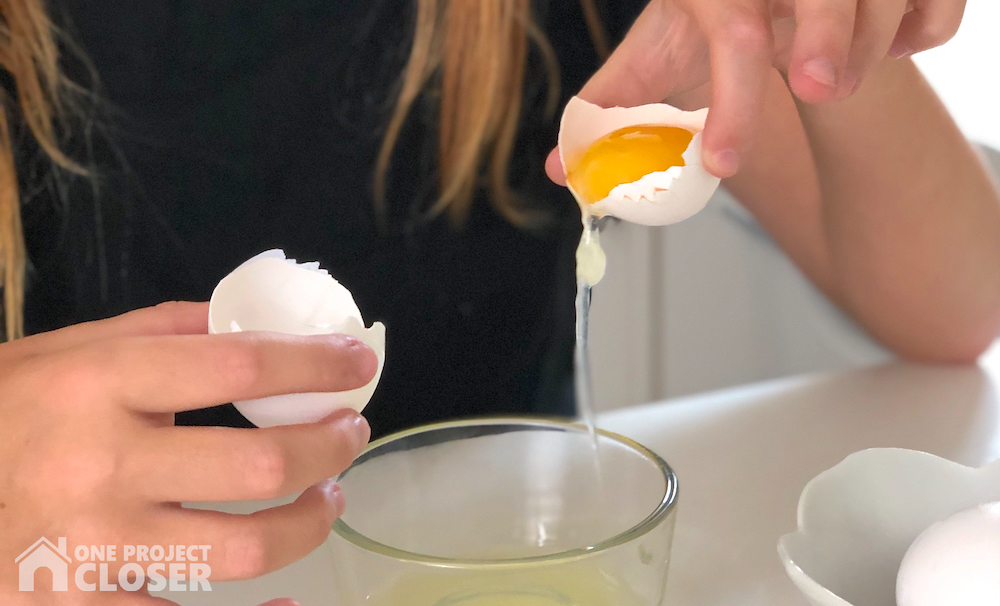
Next, we separated out the egg yolks from the whites (we kept the egg whites for breakfast the next morning). This got a bit tricky, so I offered a small assist. She gently beat the eggs into the cream mixture.
She placed four small dishes into a larger ceramic baking dish. A small note – I did not have ramekins so I went in search. Target was all sold out of the small ramekins and the large ones were ridiculous. I bought these small dip bowls and they were PERFECT!! It was the perfect portion and with a rich dessert like creme brulee, any more would have been too much.
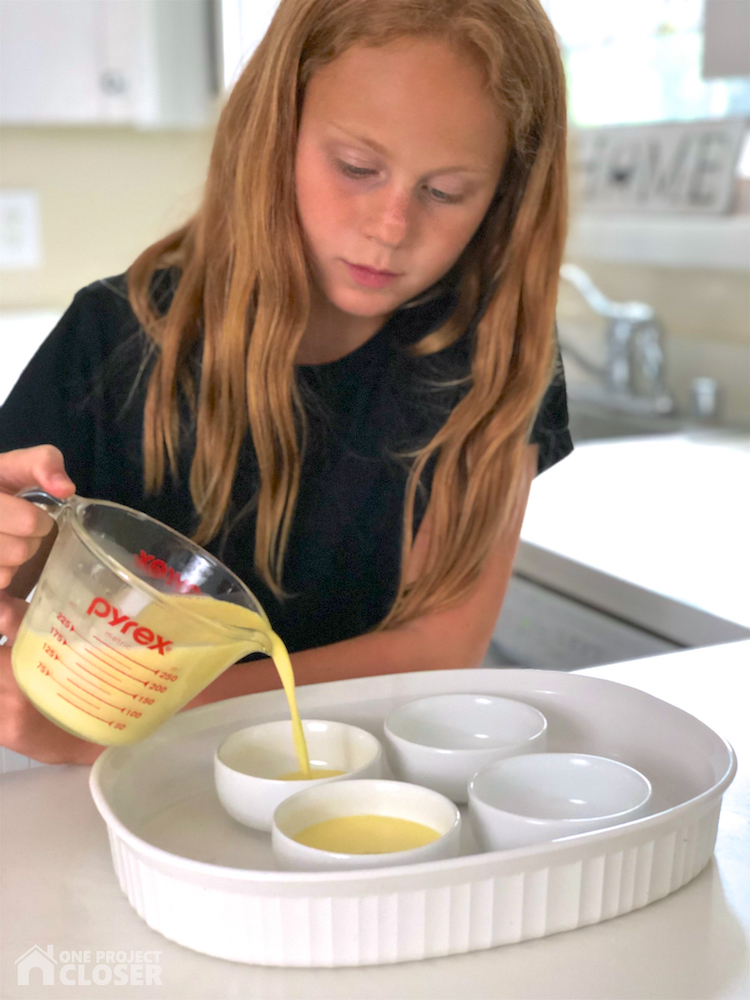
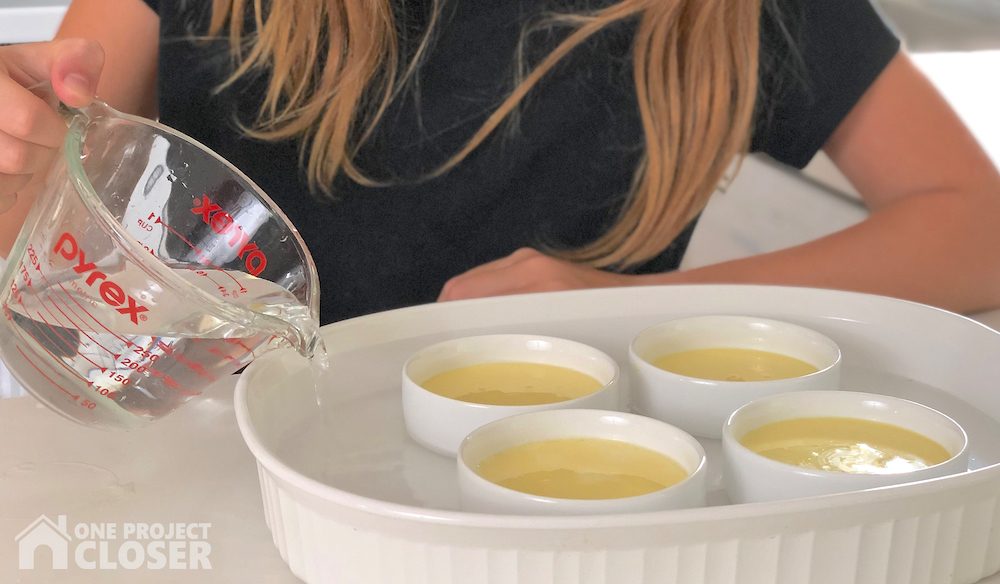
She poured the mixture into a measuring cup for an easier pour and then poured the mixture into the small “ramekins.” Then she filled the surrounding pan with water and placed in preheated oven to cook for 40 minutes.
Once the custard was jiggly (I think that’s an official term, lol), we removed from the oven and placed in fridge over night.
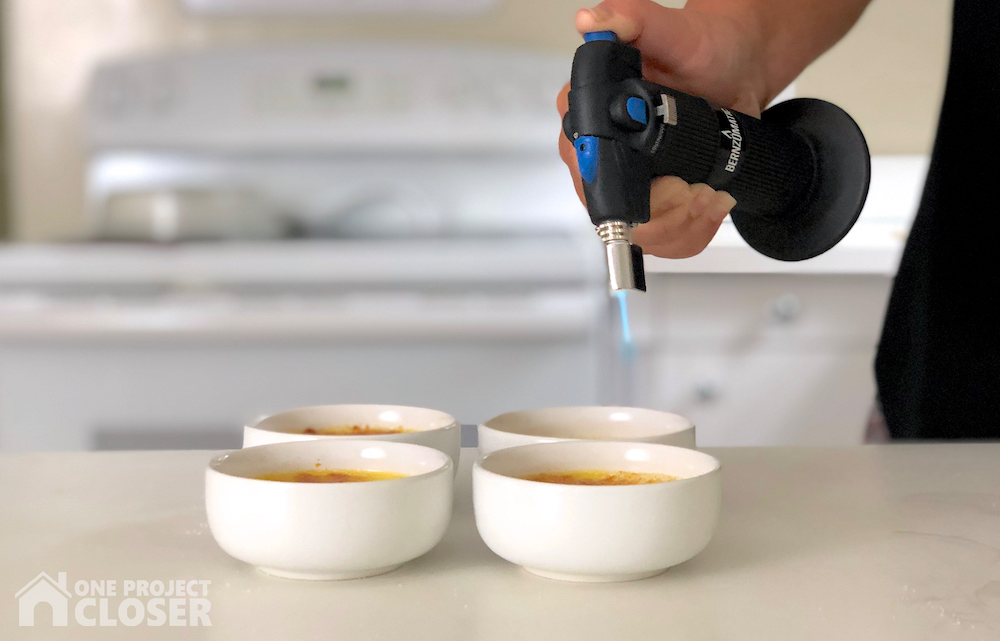
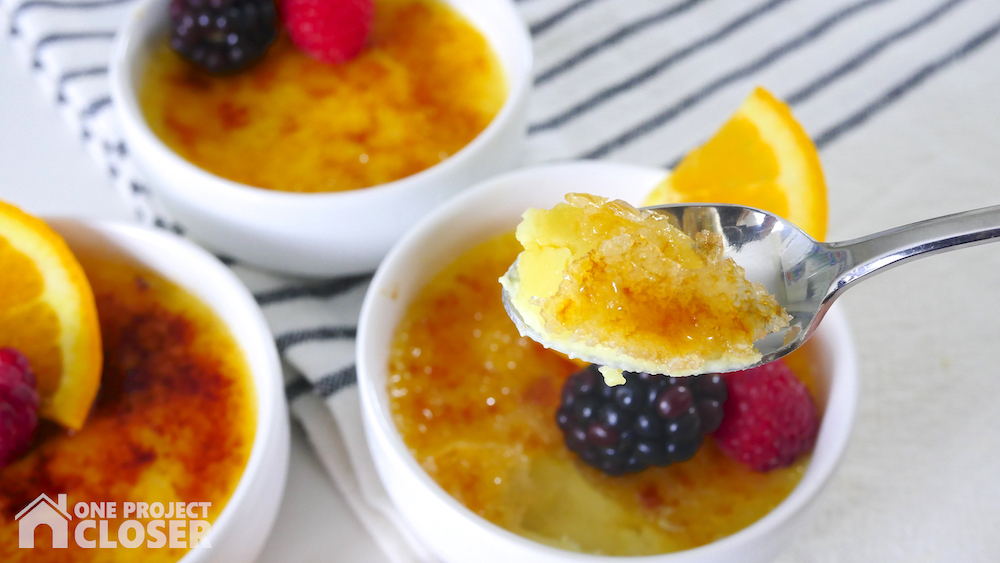
In the morning, around 8 am (because sugar is what everyone wants for breakfast), she then put what was supposed 1 teaspoon of sugar on top but was probably more like 2 teaspoons. I grabbed our new Bernzomatic Butane Micro Torch. I took over at this point, much to Isabella’s dismay. I was a little nervous to use a torch, but it was much easier than expected. I turned the dial halfway so it wouldn’t be too powerful, pushed down the safety switch, and pressed the button. It worked so well!!! So much better than using a broiler and it was fun watching the sugar boil. As I used the torch longer, I realized in my haste, I was holding the torch too close to the sugar. It really worked nicely at about inches, toasting the sugar without burning it.
The Bernzomatic Butane Micro Torch from Home Depot retails for $25.97 and IMO is well worth the cost. Its small, relatively easy to use (the safety is a bit tricky to use at first), and a good price. If you plan to purchase, be sure to check out out our amazing Home Depot Coupons before you buy to save yourself some money!
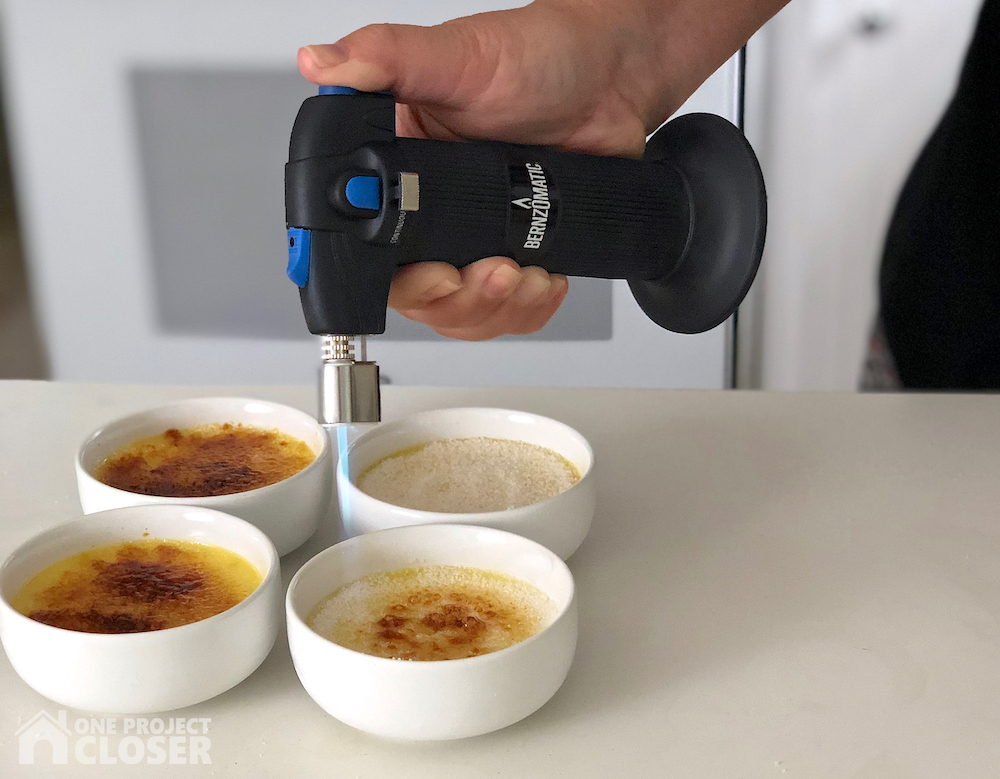
Big shout out to Isabella who took over camera duties while I used the torch! She really pretty adorable looking for good angles and reviewing her photos! <3
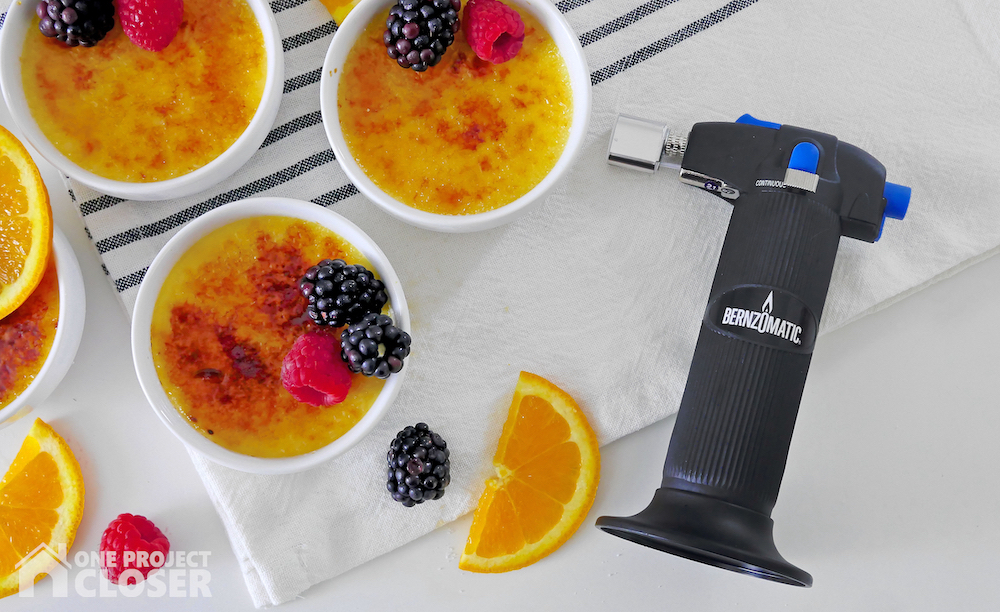
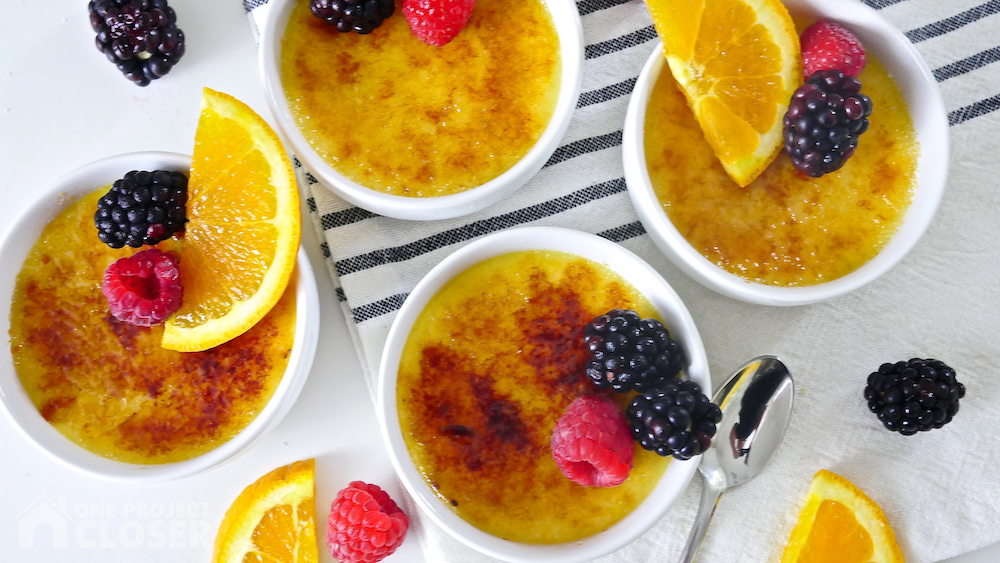
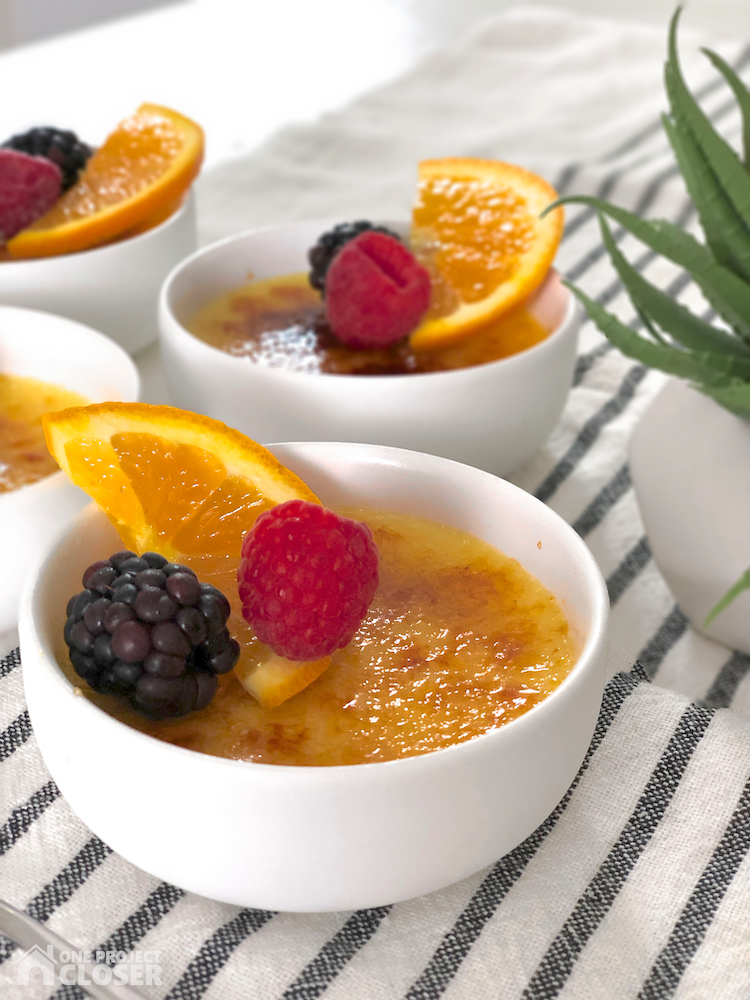
Isabella added a few berries and dug in. I’ve got to be honest, I’m not a huge fan of creme brulee but WOW this was pretty amazing. I have decided to only have a small bite but ended up eating a whole portion. I have no regrets!


- 3 Tbsps of Sugar + 8 teaspoons
- 1 cup of Heavy Cream
- 1/2 tsp Vanilla
- 3 drops of Orange Essential Oil
- 3 Egg Yolks
- Preheat oven to 350 degrees.
- Lightly beat together heavy cream and 3 Tbsp of sugar in a microwave-safe bowl until the cream begins to fluff up a bit.
- Microwave the mixture for one minute. Beat again to make sure the sugar is dissolved. If not, microwave again for 30 seconds more. Allow mixture to cool for 5 - 10 minutes.
- Gently beat in the vanilla and the Orange Essential Oil.
- Next, separate out the egg yolks from the whites. Gently beat the egg yolks into the cream mixture. If frothy, spoon off the froth and discard.
- Place empty ramekins into larger baking dish. Divide egg and cream mixture between four 2 oz ramekins or two 4 oz ramekins.
- Fill surrounding dish with water as a water bath for the custard.
- Bake for 40 minutes for the 2 oz ramekins or 50 minutes for the 4 oz ramekins. If still liquid at the center, bake an additonal 3-5 minutes. Remove when center is still jiggly, not firm.
- Place in fridge for 3 -4 hours (or even better, overnight.
- Remove from fridge and sprinkle 1 - 2 teaspoons of sugar on top. Use butane torch to candy the top.
- Serve and enjoy.

Jocie Hagan
One Project Closer
Come say hi on Facebook, Instagram, & Pinterest!

Want to learn to hand letter and make amazing, personal decor for your home?
Learn now with Busy Girl’s Guide to Hand Lettering!
**Use the code HAPPY5OFF to get $5 off the course price**


This is such a great simple recipe. Great for some of the parties we hold for our clients.