
Many of you have expressed how much you enjoy the Pro-Follow articles, and I’m excited to kick-off another series. If you’re a subscriber or regular reader, you know that every Pro-Follow is the product of shadowing a licensed contractor on an actual job site. Seeing the pros in action, getting expert tips and being able to ask questions is the best way to learn how to accomplish your next home improvement project, and I hope you take advantage of all of our Project Guides.
I’ve partnered with contractor and carpenter Steve Wartman on several jobs including Building a Deck, Installing a Patio Door, and more. Earlier this week, Steve and his crew began a new project to finish a basement. I’m sure many of you will remember that we are nearing the completion of another basement remodel with contractor Joe Bianco. Since every job presents unique challenges, I’m eager to see how the two basements stack up.
Basement Remodel
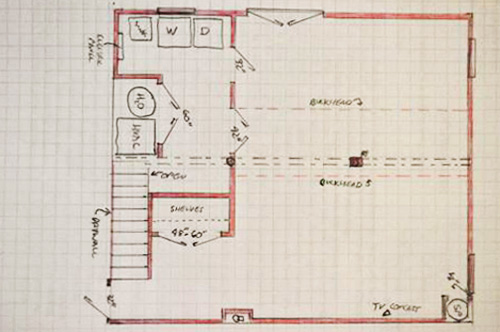
At this point, Steve and his crew have started the basement remodel, and Steve shares how important it is to work with the homeowner to establish features they need versus features they would like to have. The guys have already started framing the walls, and as you’ll see in the floor plan they’re creating a (roughly) 25 x 19′ main space. Additionally, there will be some small utility rooms, and an area for the washer and dryer with a linen closet.
The Plan
As with most unfinished basements, the challenge becomes creating an attractive space while still housing utilities and appliances. The owners have a sump pump and radon pipe in one corner, a HVAC unit and water heater underneath the stairs, and a washer, dryer and utility sink in the opposite corner. All of these elements add a new layer of complexity. For instance, shut-off valves need to be accessible and that means moving them or including an access panel.


Here’s a diagram of the proposed floor plan.
Step 1: Demolition
When the guys arrived, the basement looked ready to go. Even so, there was unconnected speaker wire, Romex, duct supports, and some drywall that needed to be removed, and it was during the demolition phase that Steve and his crew uncovered a problem.
HVAC Air Return
Some of the Romex and water supply lines went through a large HVAC air return, and on closer inspection, the guys realized that a portion of this ductwork was in place for the first floor air return. It seems a previous contractor installed hardwood flooring right over the return.


To prevent the HVAC unit from starving and straining to circulate air, the flooring contractor left the basement air return wide open.


This was a problem because the first floor had no return air vent, and that is an obvious red-flag for a building inspector. If not for a separate heating and cooling system for the second floor, the lack of air movement would have been (uncomfortably) obvious.
This presented a small kink in the plan because Steve needed to find a way to incorporate a new return vent for the first floor. Fortunately, it can be located within the central bulkhead, and this didn’t require any changes to the floor plan.
Pro-Tip: Some materials removed during demolition are still valuable (like copper pipe).
Step 2: Inspect and Seal Cracks
Water infiltration is not currently a problems for this basement. However, Steve’s crew noticed a few weep holes and settlement cracks, and they filled these with a waterproof sealant for good measure.


Step 3: Layout the Floor
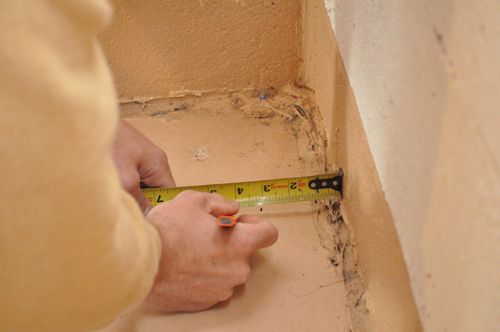
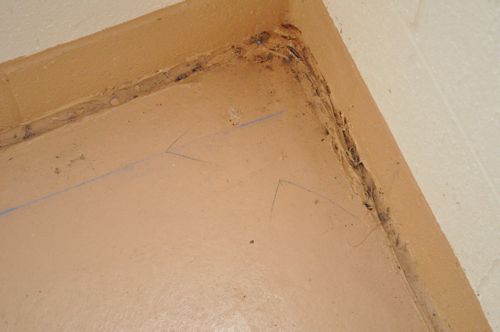
Steve and his crew started framing the walls by first marking the layout on the floor with a chalk line. All the pressure-treated bottom plates were at least 1″ off the wall, sometimes more depending on if the wall was slanting inward.

Step 4: Secure the Bottom Plate
The guys put down a generous bead of construction adhesive before nailing the pressure-treated bottom plate with a powder-actuated nailer.


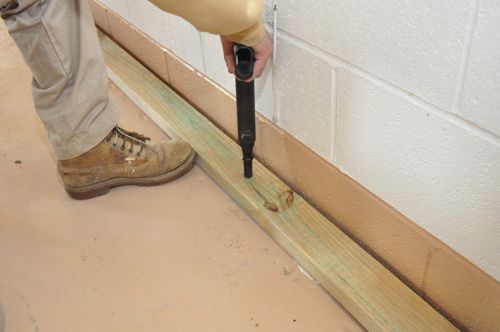

Pro-Tip: Sometimes you’ll see contractors install a piece of composite between the pressure-treated bottom plate and the concrete slab. This further reduces the chance of water coming in contact with untreated wood should the basement ever (mildly) flood.
Step 5: Block Between Joists
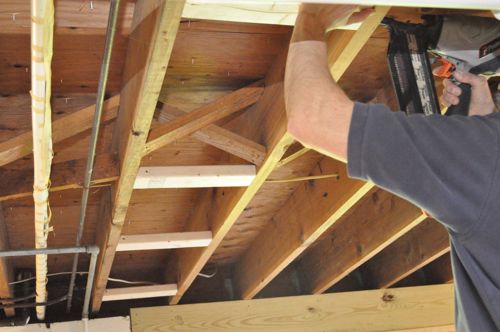
The guys added blocks between joists for all the walls that run parallel to joists. These blocks provided a surface to nail the top plate.
Step 6: Mark the Top Plate
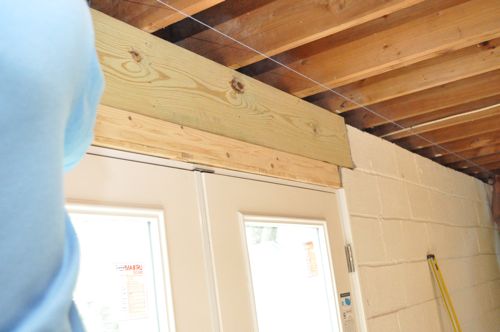
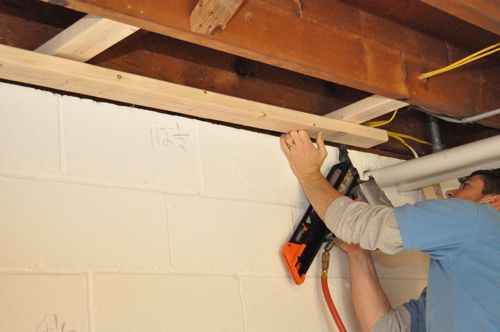
Steve decided to secure the top plate to the underside of the joists and install the studs last. This is an alternative approach to building the walls on the floor and then standing them up, and both are acceptable. The only potential benefit to Steve’s method is that the framing fits tighter against the joists.
Pro-Tip: In some areas, it’s important to frame a floating wall (with a gap at the top or bottom) to prevent damage in case the floor heaves. This is an older house and here in Maryland, it’s reasonable to expect that the floor won’t heave.
It’s important that the walls are plumb, and to mark the appropriate location for the top plate, the guys placed a spare stud on the bottom plate and scribed a line on the joists (or blocking) using a level.

Next, they ran a chalk line before nailing the top plate.
Step 7: Nail Studs
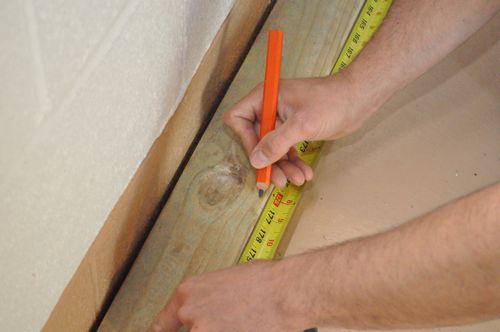
With the top plate and bottom plate set, all that remained was to mark out 16″ on center (oc) and cut the studs to fit. The guys checked each stud for a crown and oriented the boards crown-side out. They also added an extra stud at the end of each wall and in the corners.


Pro-Tip: When nailing into pressure-treated wood, it’s important to use galvanized nails.
Step 7a: Studs Around Windows
These walls are not load bearing so things like windows didn’t require headers. To frame around the windows, the guys added two additional king studs on either side and a sill plate with cripple studs underneath.

Step 7b: Studs at Corners
To provide a nailing surface, Steve’s crew turned one of the corner studs perpendicular to extend past the adjacent wall framing.

Step 7c: Notching Top Plate
In a few places it was necessary to cut a notch in the top plate around pipes.

Step 7d: Bulkheads
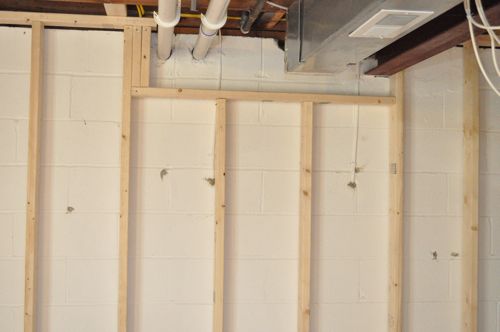
This is how Steve’s crew framed the wall around the location of the bulkhead, and those extra blocks are to provide a surface to nail the bulkhead framing.
That’s it for this Pro-Follow update. Look for information about a vapor barrier and duct work included in the next segment.


Looks good. Will be interesting to see the differences between the two contractors’ work on similar projects.
Looks good so far. I think you’re zone 4 in Maryland (unless you’re in the one marine county). Is there exterior foundation insulation on this home?
http://energycode.pnl.gov/EnergyCodeReqs/?state=Maryland
I’m not sure about exterior insulation, but I’d guess not. The house is a little older (maybe built in the 60-70’s). I don’t think it qualifies for the new energy efficient codes.
Pretty cool. was there any thought about replacing the duct work with the flatter, wider versions to allow more ceiling height?
Even with the flatter duct work, you’d only gain a few inches because that bulkhead also conceals the steel I-beam supporting the house. That plus the extra cost means it’s not really worthwhile.
That basement looks nothing like the ones we have in Canada. Then again its above ground.
It’s probably below grade two or three sides. It’s called a daylight or walk-out basement (if it has exterior doors).
I’m also interested to see what they do for insulation as well.
Hi Ethan,
Did Steve’s team not seal the cinder block because it was already sealed (it looks white in the picture) or because it was deemed not needed?
Thanks!
Hi Rachel,
I believe the walls were already sealed (probably with something like SunnyDry or Super Thoroseal). Even if they weren’t sealed, I don’t think Steve would have needed to seal them.
Can you please post a link to subsequent posts in the series? I can’t find day 2 on the site.