
Some of our closest friends recently hosted a birthday party for their daughter, who was turning one. When I asked what she needed, the mom said that she didn’t really need anything but could always use a little extra decor in the nursery. Their daughter has a beautiful and chic nursery decorated with dark woods and elegant touches of brown and pink.
As I racked my brain on what to make, I decided to use the same concept I have used before in making decorative owls and an elephant door stop. I didn’t have much time to make the gift so I headed to Michael’s in search of pre-cut wood. There were a lot of cute options from large letters to small wood cut-out designs, but I settled on a $1 wood frame.
Okay, so I’m cheap and I do feel bad that I didn’t spend hardly any money on our close friends, but I wasn’t sure what else to give them! 🙂
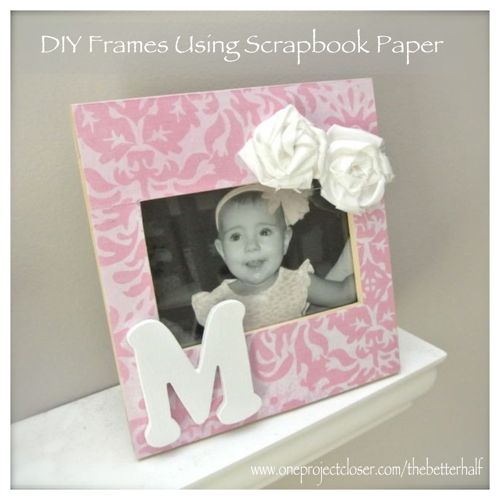
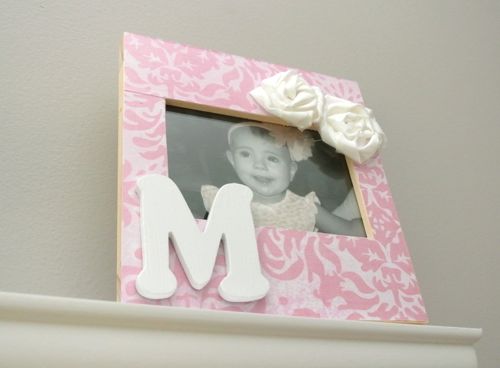
With my $1 frame, I bought one sheet of pretty scrapbook paper ($1), a small wooden letter ($1), and decided to use whatever else I could find at home. In total, I spent $3 on the gift and it turned out soo pretty. I will probably make myself one for the ongoing kitchen redesign too – did you see the chevrons I just painted??!?
This frame was almost too easy a craft project and was prefect given the little time I had.
Materials and Tools Needed:
- Wood Frame
- Scrapbook paper or cardstock
- Mod Podge or Elmer’s Glue
- Fabric scraps
- Wood letters or shapes
- Craft paint for wood letters
- Sandpaper
- Pen blade or VERY sharp knife
- Sponge brush
- Clear lacquer
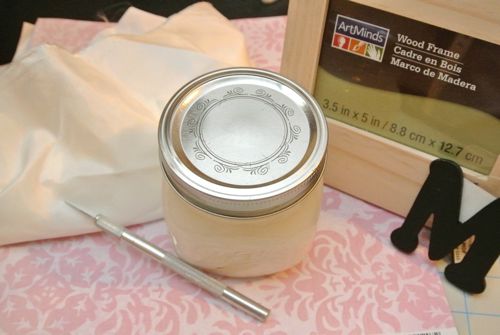
Step 1: Pick Your Frame!
Any flat, wood frame will do for this project. If you were feeling extra motivated, you could easily make your own, although it was super cheap to buy an unfinished frame from Michael’s. You can also use wood composite or pressed wood frames if you plan to paint the sides.
I used a solid wood frame since the sides of the frame were going to be exposed, but you could easily paint the whole frame to hide the fact that it is composite or pressed wood.
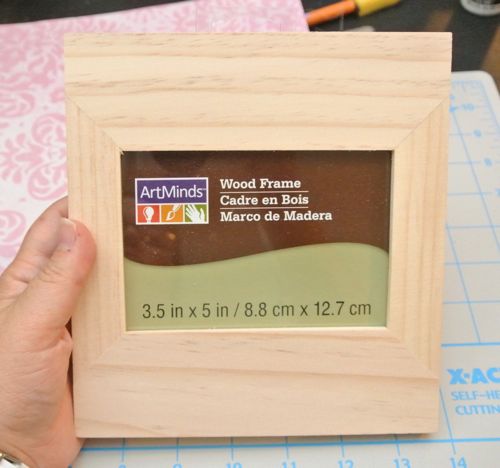
Step 2: Sand
Sand the sides of the frame lightly with fine sandpaper to remove any rough or unfinished edges. Wipe clean with a damp rag to remove sawdust.
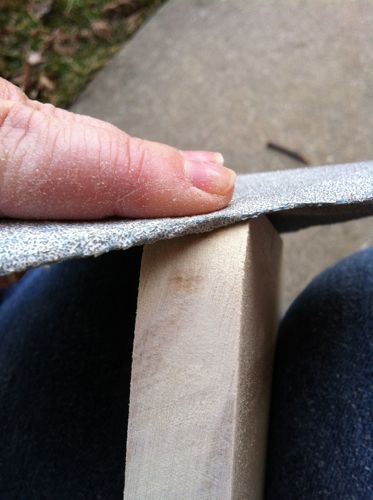
Step 3: Cut the Paper
Choosing your paper is really what makes these frames unique! Patterns and shapes create a lot of interest, while more simple prints will give more attention to the photo. Using pastels will create more of a child-like feel, but darker colors and metallics will make them more appropriate for adult decor. Also, scrapbook paper comes in lots of cool patterns, but cardstock is easier to apply to the wood without air bubbles forming.
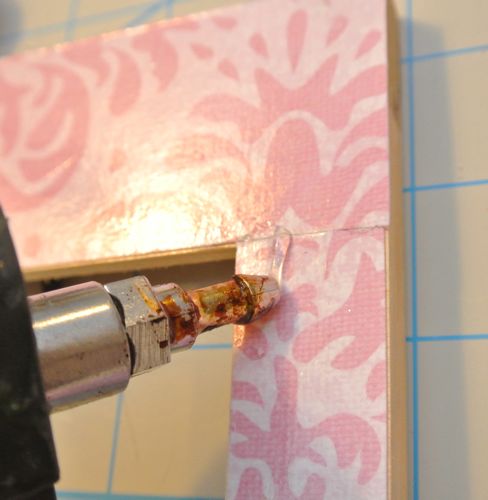
On a cutting board (or an old magazine if you don’t have anything else), place the frame face down on your scrapbook paper or cardstock and trace the outside and inside edges of the frame with the Pen blade or knife. Remove the glass and picture backing before tracing with the pen blade.
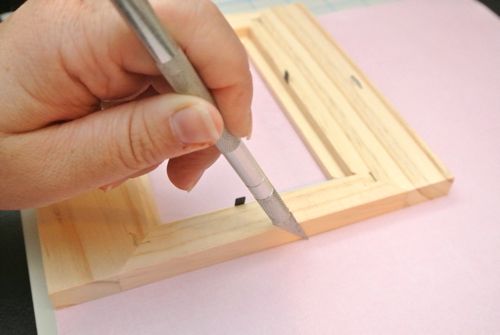
Apply a good amount of pressure as you go, otherwise you may need to re-trace the frame. Ideally, you will completely cut the paper to the exact size of the frame. In the past, I have tried tracing on the paper with a pen and then cutting it out, but it was not precise enough. Using the pen blade is quick and easy, and I think the best way to go.
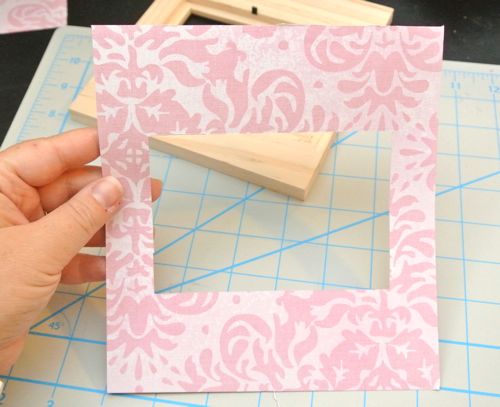
Step 4: Mod Podge
Check out my post on DIY ModPodge for CHEAP. Using Mod Podge and a sponge brush, apply a decent coat to the front of the frame.
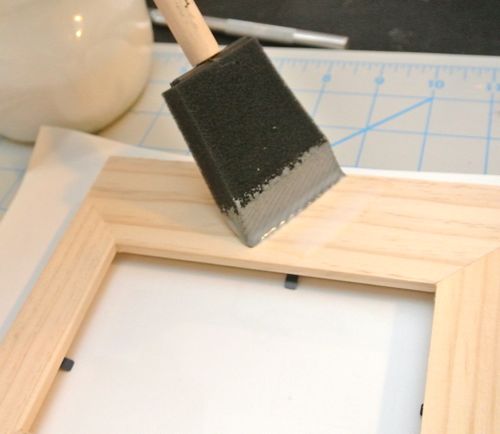
Then, place the scrapbook paper on the frame, starting on a corner and slowly pressing down while working your way across the frame.
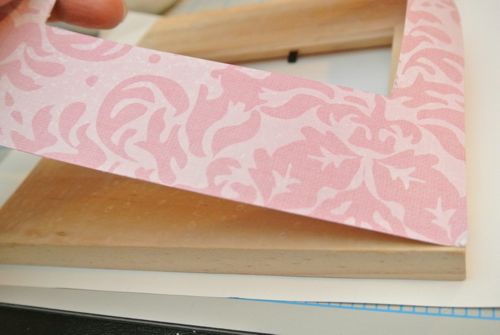
Press down the paper, even moving it around a bit to make sure the entire surface between the wood and paper is coated in Mod Podge and to ensure there are no air bubbles. Apply another coat of Mod Podge on top of the paper. Again, check for air bubbles. You may need to use a hard, flat surface (Pampered Chef scrapers are great for this) to run along the owl to push out any bubbles. Apply two coats of Mod Podge in total, allowing it to dry in between coats.
If you get bubbles, pull the paper back up slowly and re-lay the paper. If the paper wrinkles as you try to press out air bubbles, you can slightly cut the paper with your pen blade to reduce the wrinkle and bubble. It will be visible, but you can always place a flower here. 🙂 This happened to me as I was making this frame and I covered it with a flower on one side, and the other side just gave it a “home-made” feel.
Step 5: Spray a Finishing Lacquer/Glaze
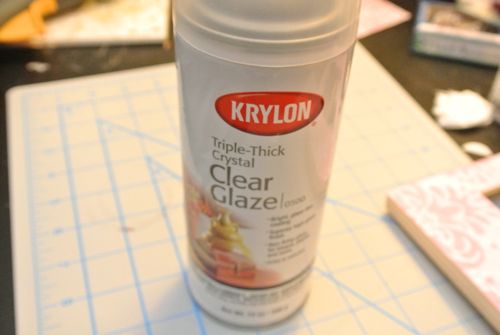
Mod Podge leaves a matte finish, so I used a crafting Finishing Lacquer/Glaze to seal the frame and create a more polished look. Remember to sign the back of your frame or write a personalized message on the back before spraying the lacquer. As with most spray paint and lacquers, it is best to apply 2 -3 thin coats in a well-ventilated area.
Step 6: Make and Affix Flowers
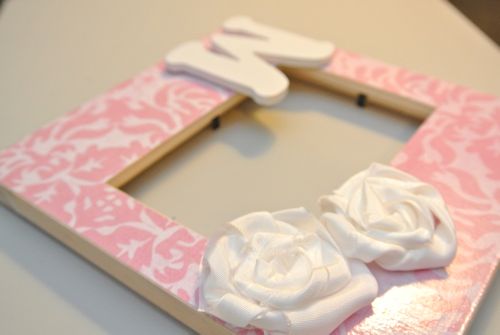
I am currently obsessed with making fabric flowers, and tend to put them on everything. So no big surprise that I put them on the frame. If you don’t like fabric flowers or just have enough of them around, you can also add wooden letters or wooden shapes (cheap at craft stores).
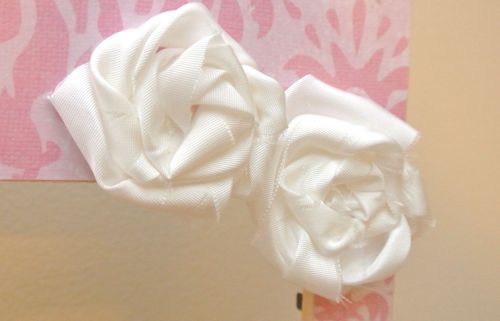
I made simple rolled fabric flowers out of white silk to make it a little fancy. Take a strip of fabric and slowly roll it in a pin wheel fashion while twisting the fabric. Use hot glue on the back of the flower to hold it together. Check out my detailed tutorial on DIY fabric flowers for step-by-step instructions and lots of pix.
Once your flowers are made, affix it to the frame using hot glue.
Step 7: Paint and Affix Letter
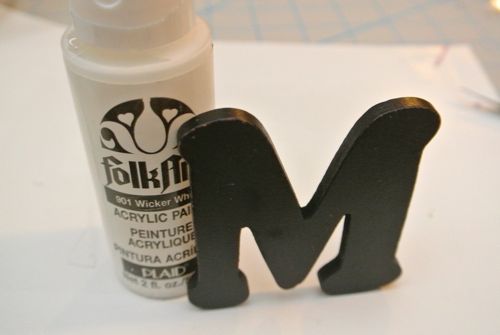
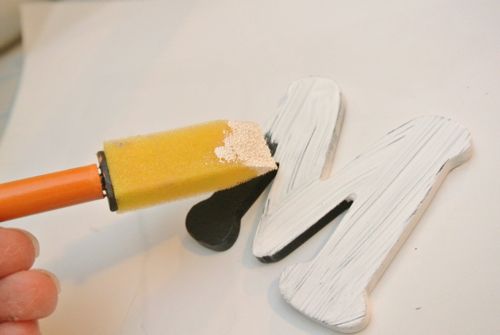
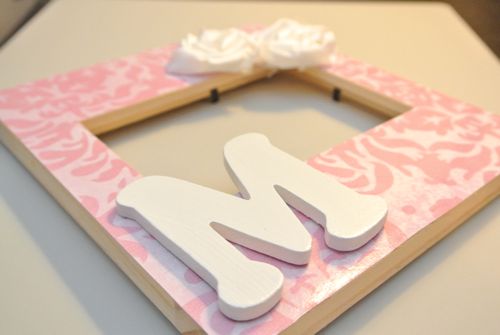
You can buy letters unfinished or usually in white or black. The wood letter that I found and liked came with black paint on it. It didn’t go with the look of the frame so I painted it with white craft paint. Once the paint was dry, I affixed it to the frame with hot glue.
Step 8: Add a Picture and Enjoy
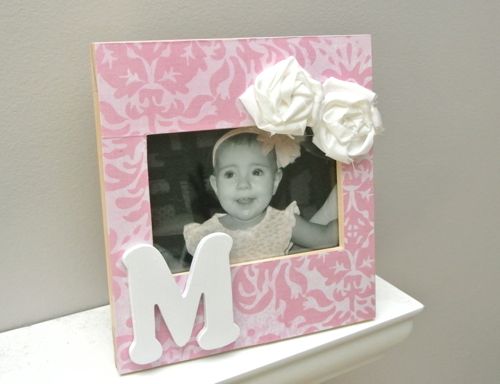
I printed a few pix off my computer, they weren’t great quality, but the frame looked great anyway! It was a big hit at the party and hopefully our friends will enjoy it for years to come.
As Always, thanks for reading!

This post has been linked up at: DIY Show Off


Such a cute easy idea Jocie!
Giving homemade gifts is always the best too. I think it means more for the receiver too. Nice!
Thanks, Trebor.
cute idea, jocie!
Over the years it seems some of the best gifts received where the ones hand made by the giver. I can see why this adorable frame was a hit, no matter the cost.
Thanks, JustMe!
You’re welcome.
I cannot wait to make this for all my friends who are having girls this year! Makes me think… does this mom of five need another?
Yes, you can always use another. But convincing the hubby is another matter! hahaha
The frame is beautiful Jocie! Love the rosettes!