

Royal Designs Studio sent me these decals for free in addition to money towards future purchases, as a part of their holiday campaign. However, opinions and tips are 100% mine.
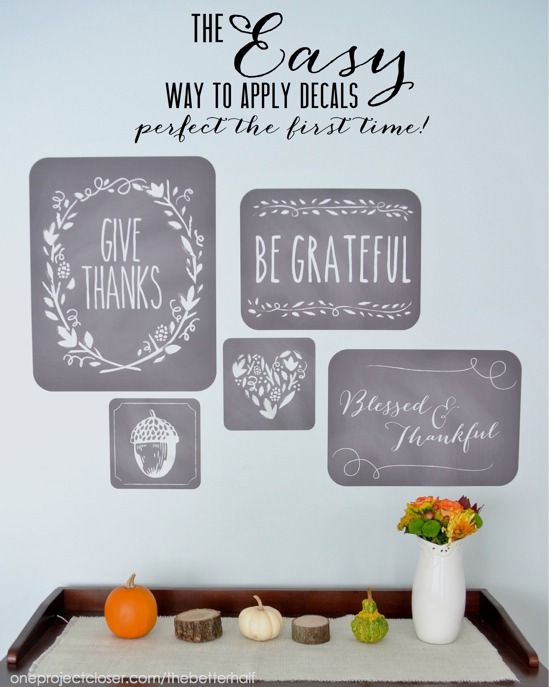
Wallternatives by Royal Designs Studio made my Thanksgiving decorating super easy this year with their Fall Phrases Removeable Wall Decal Set! I’ve put up decal before in the past, and WOW was it a headache. They often bubble or go on, only to realize that it’s crooked. But not these decals! They are so thick that I did not have them bubble once. Plus, I’ve put together a few easy tips to show you how to apply wall decals so that you have NO FUSS!
Tip #1: Use Painter’s Tape
When putting a collage, gallery wall, or a grouping of any kind, I always start by laying in all out on the ground in front of the area in order to come up with a general idea of how I want them organized. Then, once I have the general feel, I put Blue Painter’s Tape on the back of each decal and stuck them to the wall. This way, I could easily reposition them up, down, or side-to-side until I liked the spacing.
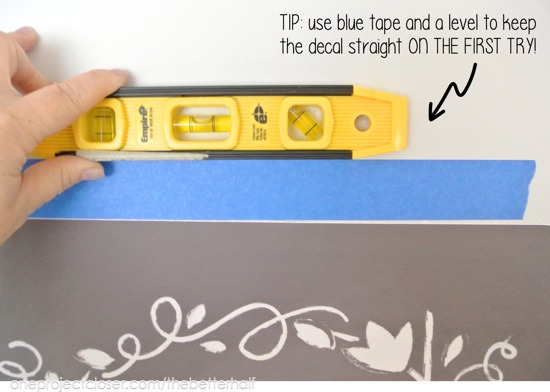
Tip #2: Grab a level
Once I was ready to start peeling the decals and sticking them to the wall, I grabbed a level and the painter’s tape again. This time, I put a line of painter’s tape directly above one decal. I used the level to see if the top edge of the tape was level. If it wasn’t, I moved one edge up or down until it was level. Now with the painter’s tape level, I was able to take down the decal, and begin to peel and stick it to the wall with the assurance that it would be level.
Tip #3: Start at the Top
In the past, I have unpeeled an entire decal before sticking it to the wall, only to end up with on edge sticking to the middle of the decal. ARGH! So instead, I un-peeled and stuck the decal slowly, starting at the top so that it lined up with the bottom edge of the painter’s tape. Also, I stuck the decal down first in the center of the top edge and moved my hands out then downward to smooth the decal down. I continued to peel the backing off while smoothing the decal down with my hands. Once I was done with one decal, I repeated the process for the other decals. Easy peasy lemon squeezy!
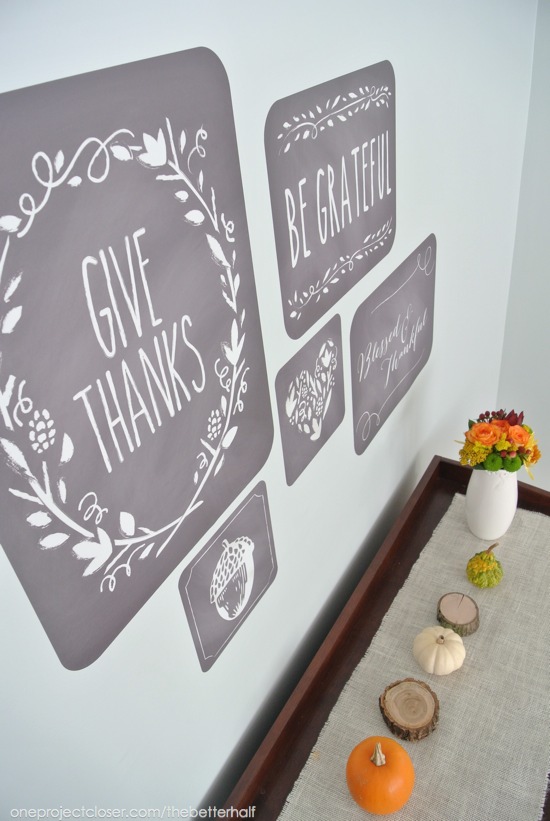
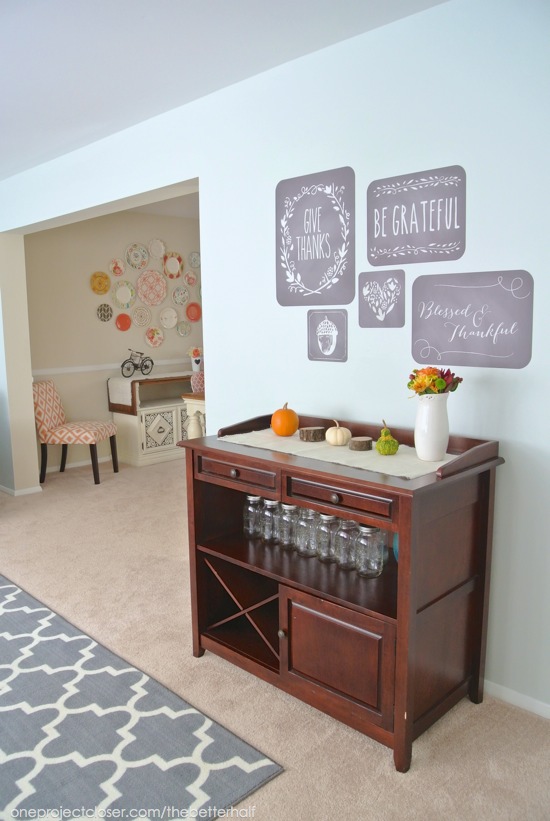
A few notes, this is the first full room I’m painted and am so glad to have one less room Builder Beige. I originally planned to put these Fall Phrases in the kitchen, on the Triangulations Stencil Wall, but thought the styles were too conflicting when it came time. Instead, I put a rush on painting the living room, and it feels so much more like home now. I used Behr Lime Light, although it looks more blue than lime in most lights. Regardless, I love it!
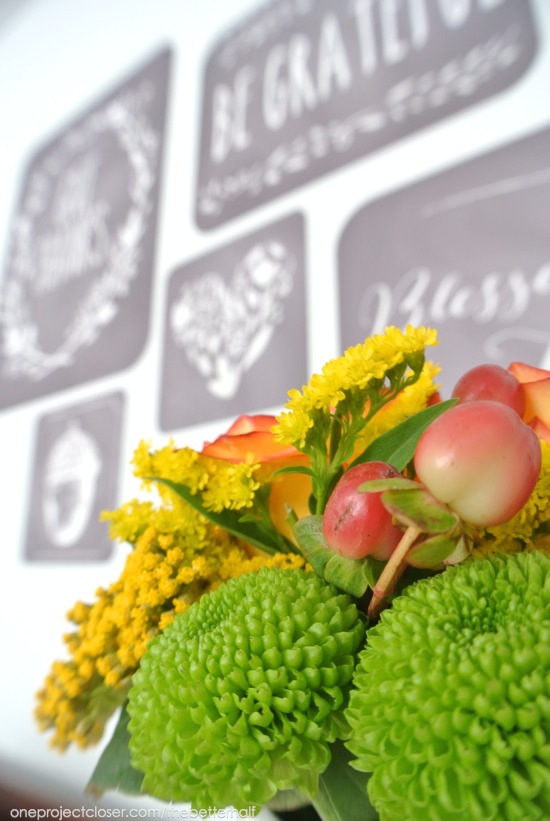
Ethan was sweet and brought me home some flowers, that I paired with scrap wood from my DIY decorative logs and gourds.
Finally, a little perspective. This is the view to the left, walking into the house. The living room walks into the dining room. And as you can see, my plate wall is up!
What do you think? What are you tips on how to apply wall decals?
As Always, thanks for reading!


I love this Jocie-it turned out great, thanks for the tips too!!
Thanks so much, Melissa! Who knew applying wall decals could be so easy!
These are great! I love the use of the decals. Thanks for the tips, I would have never thought about the tape!
The blue tape was a head slap moment for me. I’m sure other people have done it before, but it never occurred to me before now! 🙂
So pretty!
Yep, that tape/ level idea is genius!! These are SO cute!
Wow! That wall is so beautiful! I loved the peak at your dining room too! When I buy a house, I plan on hiring you to help with decorations, color choices, etc. Gorgeous!
Love the Painter’s Tape tip! Great idea!
Love those decals! Why didn’t I think of the tape idea, Duh?!
So clever…tape to the rescue! And those decals are so cute!
Love decals. They can change a room completely, the can be removed at any time without damaging the wall.
Ummmm, that tape & level idea is fabulous!! Love the decals too!
Love those decals! They look awesome!