
Welcome back to our latest Pro-Follow. If you read yesterday’s Pro-Follow update about replacing a door header, you’ll recognize this is the second part of that project. Steve and his crew discovered a poorly built header and replaced it before continuing on to replace the patio doors. Today’s article shares how to install a new patio door, including the steps necessary to waterproof and level the door.
If you’d like to learn more about our Pro-Follows and the contractors with whom we’ve partnered, check out our Meet the Pros page. At that link, you’ll get a glimpse of how we work with local contractors to provide these tremendously helpful Pro-Follow-based How To articles. If you live in the greater Baltimore area and are looking to hire a contractor, I recommend you give Steve a call.
Step 1: Remove the Old Doors
Steve and his crew completely removed the old doors and door trim. If there had been a conveniently sized nailer secured to the block wall underneath the trim, they would have left it intact and reused it. As it was, they couldn’t reuse any of the old door components.
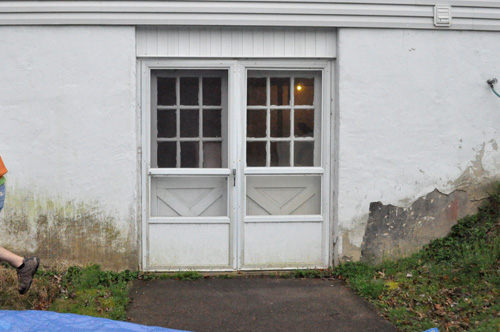
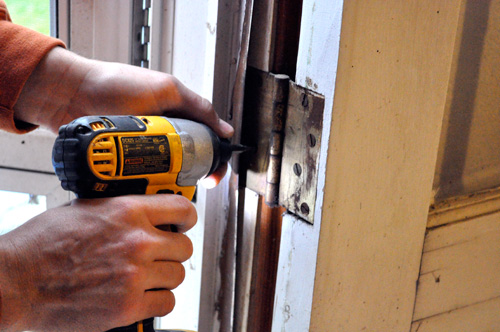
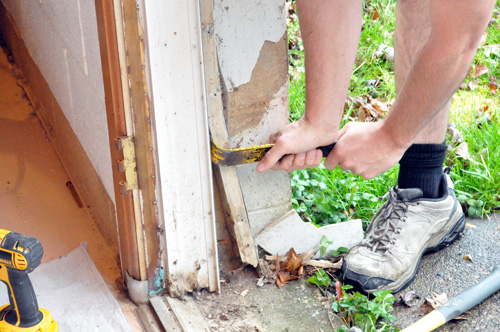
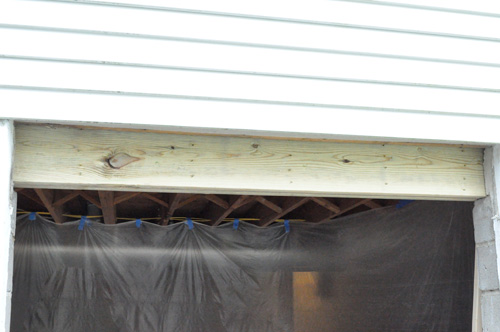
If you read yesterday’s article about replacing a door header, you know that Steve needed to completely replace the existing header, and he worked to ensure it was nice and level. Here is the 2×10″ header after Steve and the crew finished installing it.
With the old doors out of the way, it’s time to start installing the new doors. For this install, Steve is using a Therma Tru, vinyl door with a center astragal and a white brick moulding.

Step 2: Size the Rough-in Opening
The rough-in opening had bits of mortar and sealant adhered to the edges. All of that needed to be removed, and Steve keeps a beater blade handy for just that purpose. After he finished, the sides were relatively smooth.

The new doors measure 82-1/2″ tall x 74-1/2″ wide. The goal is to get the rough-in opening about 1/2″ bigger on both sides and the top (83″ x 75-1/2″). That 1/2″ allows Steve and his crew room to fit the doors in place and to add shims to level the doors. To bring the opening down to size, the crew added several boards to the underside of the header, ripping the last one with a table saw and securing all of them with 3″ framing nails.

The door opening from side-to-side was much closer to the target, so they cut 1/2″ PVC board to length.

Next, they planed 1/8″ off the lower half of the boards because the opening wasn’t completely plumb. After a bit of back and forth, the PVC boards were ready to be installed.


Before fastening the boards, Steve put down a generous bead of indoor/outdoor latex sealant to prevent water from entering the house. The crew also added a bead of construction adhesive to the backside of the PVC boards.

The basement is unfinished, so all the guys needed to do was line up the outside edges and make sure the boards were plumb.

Steve drilled pilot holes with a hammer drill before driving 3/16″ x 1-3/4″ masonry fasteners.

The crew then placed a pair of fasteners at the top, bottom and every 12″ or so.

Step 3: Waterproof All Rough-in Components
You’ve already seen that they guys used a latex sealant at the bottom of the PVC boards, and they did the same for all the edges.
Pro-Tip: Wet your finger before smoothing sealant to better keep your hands clean.

They also sealed the header with a similar product.

The next step was to flash the header, and the guys used Protecto Wrap which is a rubber flashing product. If you keep up with all our Pro-Follows, you’ll remember Steve used Protecto Wrap on the roof for the shed build.
Starting at the bottom, the crew layered several rows with about a 2″ overlap on each, and they sealed the edges adjacent to the block wall.

Step 4: Level and Seal the Floor
Ideally the subfloor (in this case, a concrete slab) is level. However, the crew found that the concrete had a slight crown in the middle. The difficulty in leveling the concrete is that shims are not water-resistant, and they can potentially compromise the waterproof barrier.
To address this, Steve cut thin strips of PVC board which is not susceptible to water to act as shims.

Next he embedded the PVC (top and bottom) in a waterproof sealant.


To seal under the sill plate, Steve put down two thick beads of QUAD sealant.

Step 5: Insert the Doors
Before moving the doors into position, the crew removed all of the braces, packaging, and the brick moulding. Next, they fastened temporary stops to the face of the door frame at the top and sides.
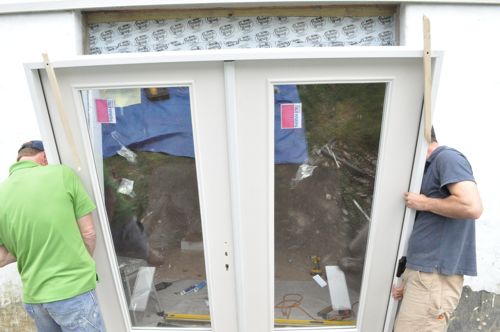
The stops keep the door right in line with the outside edge, making it easier to install. The screw holes will later be concealed by the moulding.

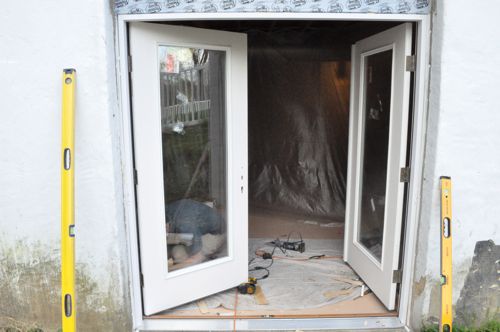
Step 6: Level the Doors
Starting along the hinges, the crew found the doors were mostly level at the top, while the bottom needed to come in on both sides.

Inserting a pair of shims (one from the inside, one from the outside), the guys shimmed the hinges of the door frame first, and then re-checked everything with the 6′ level.

When the sides were completely level, they removed two hinge screws, drilled pilot holes, and inserted 3″ masonry anchors through the door jamb.

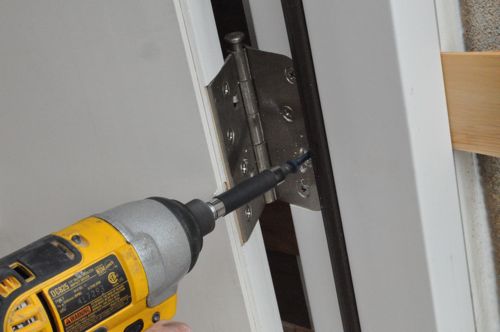
Using a utility knife, Steve and his crew cut the shims flush with the door frame.

The weather-stripping slips into a small track along the door frame. To conceal the screws, they temporarily pulled the weather-stripping out and drove the screws underneath. The shims along the top of the door ensure a consistent reveal and consistent contact with the weather-stripping.

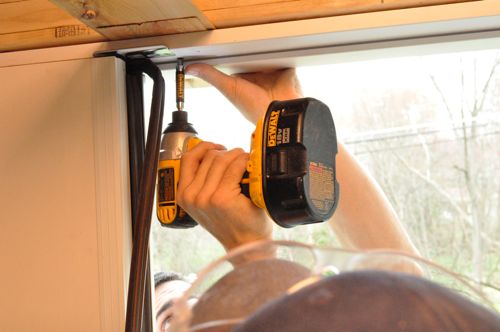
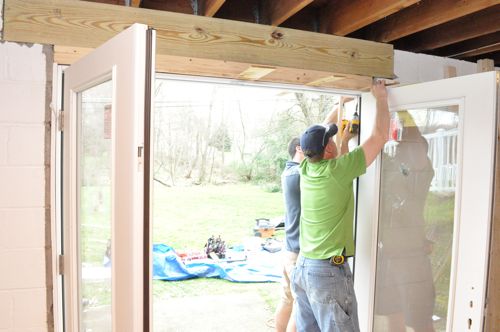
Next, the crew sealed around the door frame (the space where the shims were inserted).
Step 7: Install Door Trim
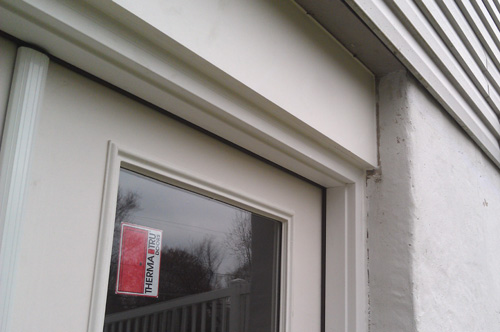
The crew framed out the area above the door so that the PVC “bulkhead” would protrude past the door frame and direct water away from the house. They also ripped the brick moulding to fit back in place.

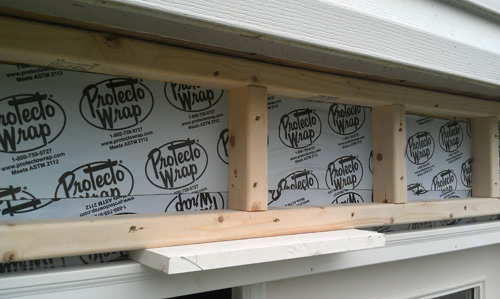
Lastly, the crew sealed all of the edges and corners.
Finished Patio Door Installation Pictures
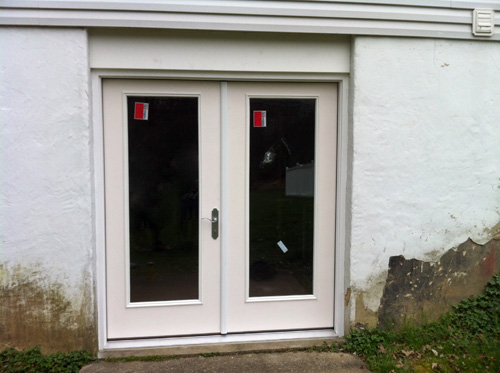
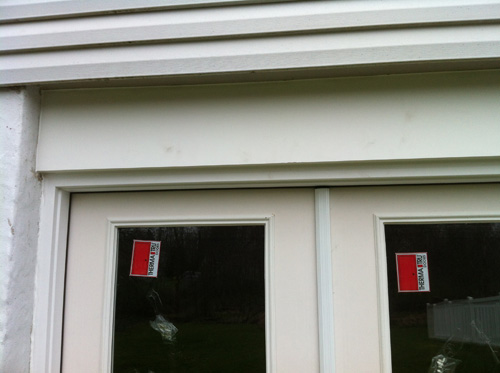


I bet replacing that patio door will improve the efficiency of the house. Looks great too.
The new door looks a lot better so you have improved curb appeal. What was the original reason for replacing the doors though? I know you discovered that the header was too weak, but that might not have been discovered if not for replacing the doors in the first place.
The homeowner wanted to replace the doors as phase 1 of remodeling their basement. Steve won that bid too so you’ll be getting the full story in the next few days.
Another great article. One thing to add is that wetting the finger (I use soapy water if available) makes for a much smoother joint.
I like that they used PVC on the vertical instead of treated 1x material. More expensive but it will never rot.
Looks good. I like the pvc rather than wood, which would eventually rot in a basement situation like this.
I think PVC trim is the way to go. It looks good, doesn’t require much maintenance, and (like you mention) won’t rot.
Dont they make composite shims that are rot proof? The install looks great though! nice to see things done right the first time.
The do make composite shims. Steve didn’t have any on-hand and they’re (obviously) more expensive.
Looks good. Much improved over the old door. Steve seems to be a very good builder and does things the right way. Can’t wait to see more of his stuff.
We had french doors put in a bit ago and we hired contractors to remove the old door and do all the framing and outside siding, mostly because there was asbestos siding under the vinyl stuff. We had them leave the inside unfinished and “we” did the drywall and painting and such ourselves. By we, I mean my husband. http://twitpic.com/2kp1po
I am also a contractor in Sioux Falls and we also install Patio. I must say that your installation is great and 5 star approval for me 🙂
Congrats