
It’s time for another Pro-Follow update! If you’ve been following along, you know that Joe Bianco is in the process of remodeling Fred and Kim’s basement. Last time we left off, Joe brought in Dave and his mold sniffing dog, Sam, to detect any mold in the basement. It was a fascinating process, and I hope to bring you more with Dave and Sam in the near future.
Since then, drywall has been hung in the basement, doors installed and most of the painting has been completed. I’m not focusing on these aspects of the remodel since I’ve covered them in the past. If you’re interested, you can read more about how to install drywall, installing pre-hung interior doors, and painting like a pro at those links.
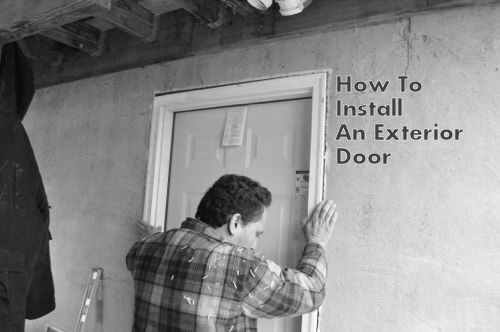
One question readers often have is how to install an exterior door so I was excited to learn that that would be part of this remodel. The old door in the basement was original to the house, and Joe installed a new, slightly larger door in its place.
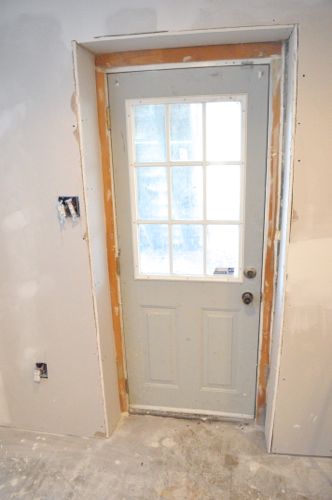
The New Door
The new door is a simple, six-panel, steel door. It’s pre-hung which makes it easier to install because things like weatherstripping and hinges are already in place. It’s a standard size, measuring 80″ x 32″.
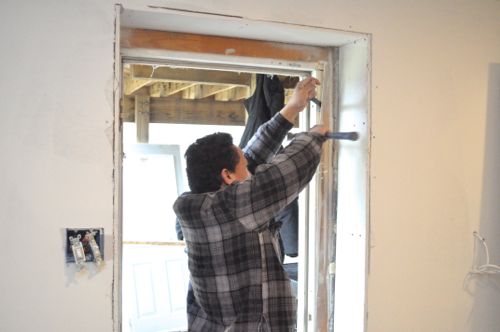
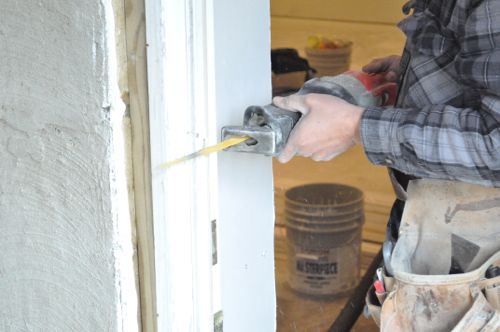
Step 1: Remove Old Door
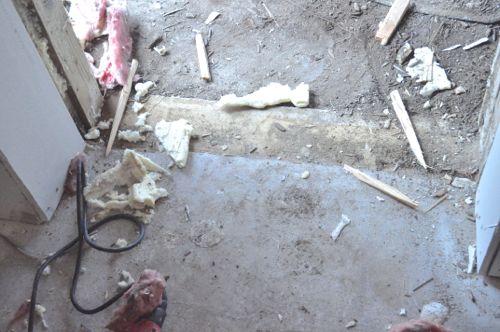
The guys got started by taking the old door off its hinges and removing the door casing and brick molding.
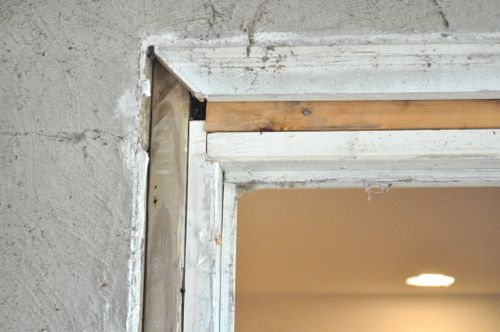
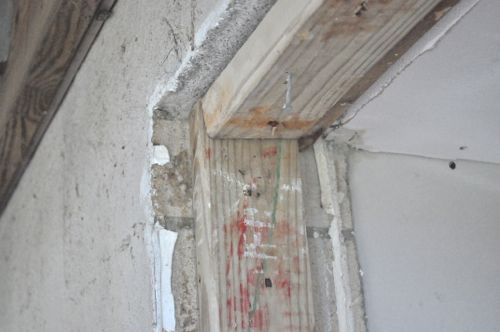
Here’s a few pictures showing the different “layers” of the old door. You can see the block wall, pressure treated framing, blocking, door jamb, insulation, brick molding and threshold.


Joe’s crew cut the door jambs to make them easier to remove.
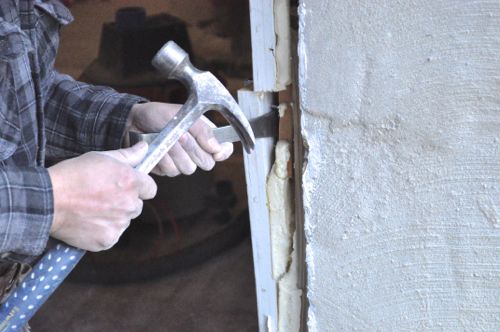
The guys preserved most of the rough framing to reuse it with the new door.
Step 2: Remove Old Caulk, Insulation, Adhesive
It’s important to clear away old caulk and adhesive so that you have a clean surface for new framing.
The beautiful artwork was an unexpected treasure underneath the old framing; you never know what you’re going to find.

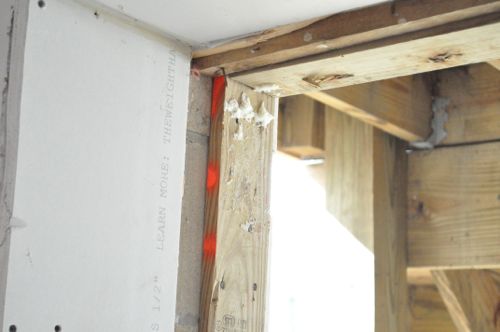
Step 3: Rough Frame Opening
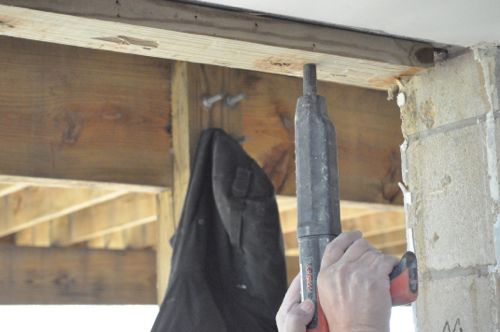
Joe’s crew glued and nailed 2 x 4″ and 1 x 4″ boards in place. They used a Ramset powder actuated nailer which makes this an easy task. Otherwise, they would have had to mark and drill holes, add anchors and then screw the boards in place.
Pro-Tip: Rough framing should measure 2″ longer than the door in each dimension. That means this opening measures 82″ x 34″, and the extra space is to ensure room to plumb and level the door.
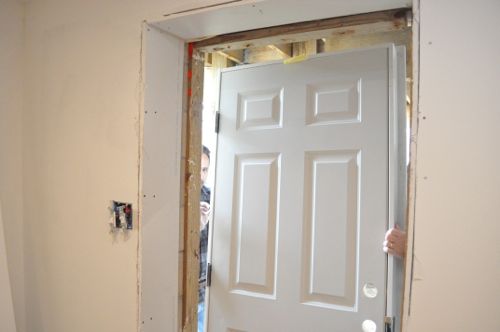
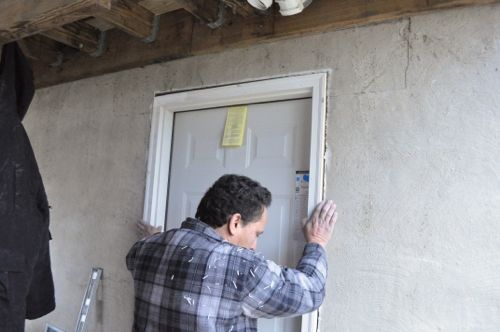
Step 4: Dry Fit Door
After the framing was completed, the guys removed all the braces from the door and set it in place to test for fit.
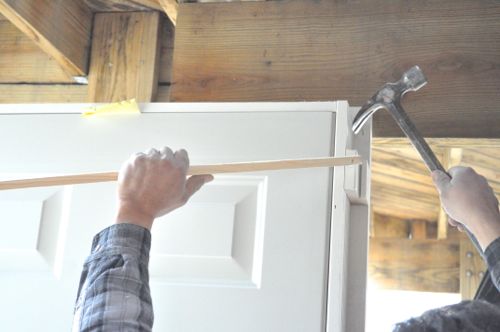
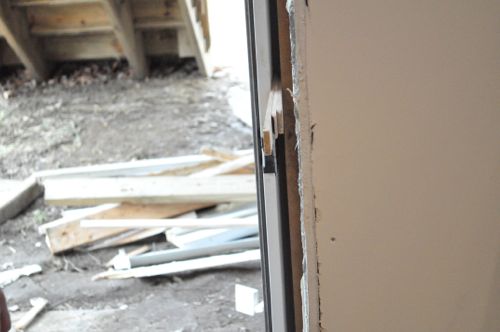
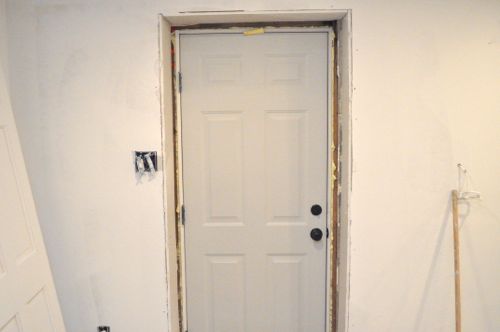
Step 5: Plane Molding (Not Typical)
Most exterior doors are installed with the brick molding against the face of the block wall. However, this door was installed with the brick molding flush with the block wall. This was because the next bigger, standard-sized door would not fit, and that’s how the old door was installed.
In a few places the brick molding needed to be planed to fit. Joe’s crew accomplished that by setting the nails a little deeper and using a power planer.


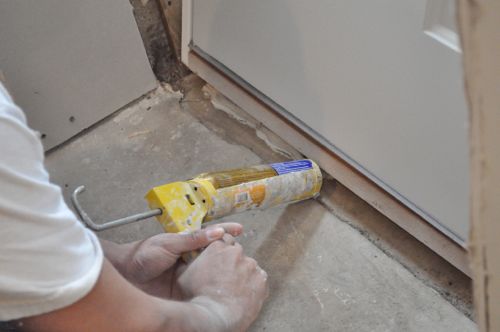
Step 6: Glue Threshold
After the guys were satisfied with the fit of the door, they put down a heavy, double-bead of adhesive under the threshold and in the corners. This is important because it will seal out water.
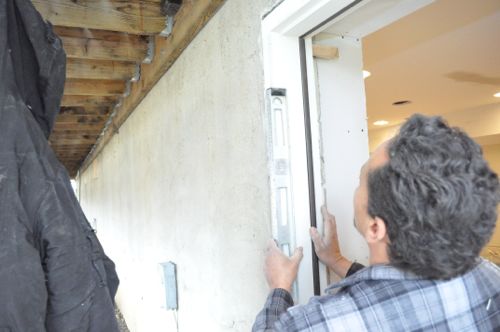
Step 7: Check for Level, Plumb
Next, Joe and his crew checked the door for level on each dimension.

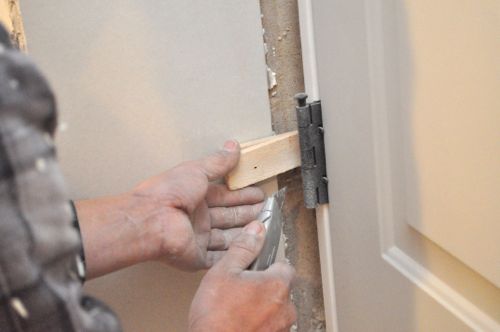
Step 8: Shim as Necessary
The guys inserted shims between the door jamb and rough framing as necessary to ensure a perfectly level door and that the door would open and close smoothly. Altogether, they shimmed behind each hinge, the latch strike plate and at the top of the door.
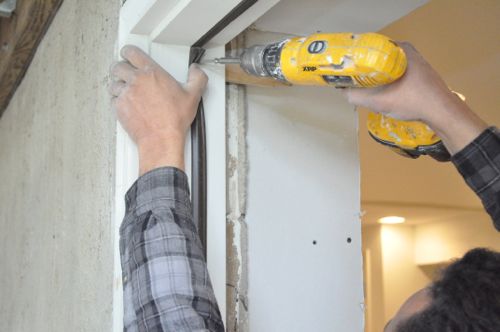
Step 9: Secure Door
When the guys were satisfied with the shims, they inserted screws behind the weatherstripping to anchor the door to the rough framing.
Step 10: Trim Shims
Next, they cut the shims by scoring them with a utility knife and breaking them along the score line.
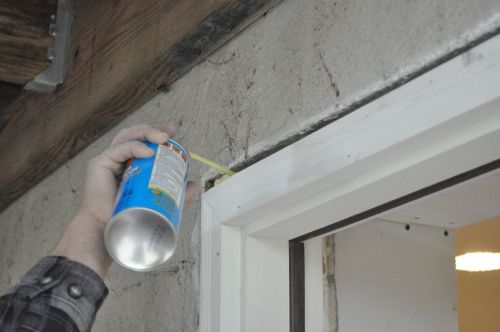
Step 11: Insulate
Joe’s crew used a can of Great Stuff on the outside and inside of the door, filling the gap between the door and the framing. The foam not only insulates around the door, but also forms a water-resistant seal.
Pro-Tip: Use a minimal-expanding, low-pressure foam formulated not to bow window and door frames.
Step 12: Finish with Molding
All that’s left is to add some molding and caulk all the joints. Unfortunately, the guys haven’t completed this step yet. When they do, I’ll update the article with finished pictures.

Had the previous door been sealed with both caulking and foam insulation? If so, how hard did that make the removal process?
It was caulked and insulated with foam but that didn’t make the door too difficult to remove. The foam cuts away easily. The caulk took a little more time, but not much.
Very nice post I think a lot of people don’t realize that because of The molding you don’t really have to worry about the different layers underneath the door. It all Gets covered by finishing.
Nice writeup! I love the dog! How is the trim going to work out on the interior of that door? It looks like its recessed and there is some brick exposed.
Also, forgive the grammar police in my head (I cant get them out!!)
“and the extra space is to ensure room for plumbing and leveling the door.” wouldn’t “room to plumb and level the door” make more sense (and imply less use of pipe).
AND… “Altogether, they shimmed behind each hinge, the latch strike plate and” no really, and what? 🙂
The guys didn’t even notice the dog right away! I thought it was funny too. I think they’re planning on padding the walls and extending the door jambs. Thanks for the grammar tip. I’ll make the switch.
Looks like a German Shepherd to me!
Not saying I have perfect grammar, the sentence structure just mislead my overactive imagination. I read plumbing, thought about pipes, then read leveling and went “oh… that!”.
What is really bad is I correct MYSELF when I say something and then notice a grammar mistake.
they have great stuff foam that specifically says door and window dont they? along with low expanding somewhere on the can.
Yes. The blue can you see in the picture is the low expansion. Red is the higher expansion and then I think it’s black for the highest expansion. DAP also has a similar range.
I’ve seen a lot of installations where they use the brick mold AND some other sort of trim as well, as though the brick mold is an integral part of the door (pet-peeve alert!) On the exterior shot, there’s still a huge gap between the edge of the blocks and the brick mold. Hopefully when they come back to trim it out, they actually remove the brick mold entirely and replace it with something thicker to cover the gap (rather than just adding some new trim adjacent to the brick mold.
Hey Reuben,
I’m not sure what the plan is there. I’ll update the article when all the molding is added.
i am wanting to replace several smooth finish interior doors with the upgraded look of the six panel doors. I know this isn’t going to be as simple as removing hinge pins and inserting them in the new doors, any tips for this job I am about to tackle.
Can you guys do one on replacing/installing bi-folding closet doors. I understand that there are balancing issues and it would be great to see a pro do it.
It would be nice to see a pro do it, but it definitely won’t be in my house. We are trying to get rid of all the bi-folds. I think they’re very ugly compared to their french door counterparts. I suppose if your space is extremely limited perhaps they are unavoidable, but I’ll never install them again unless forced to!
How prescient that the cave-dwellers, aeons ago, chose to portray Sam the mold-sniffing dog as their eternal monument. Truly an archaeological wonder.
Haha!
Great follow. We have a side garage door entry that I would like to replace with a steel door since the old wood door is water damaged. I will be referencing this come spring.
Remodeling is always tricky isn’t it. It makes you wonder why they had the brick molding flush instead of the traditional way. Nice write-up Ethan.
One thing I like doing on projects that will get covered up is to sign and date it. My thought it is would be fun for someone in the future to discover it…at least I would like that!
One aspect that Ethan didn’t mention is that Joe was able to fit this 32″ door in the place of a 30″ door, due to the extra space available in the block opening. While 2 inches doesn’t seem like much, when you consider that it can be the difference between getting a couch in the door or not, every inch counts!
Hello, sorry I know this post is old, but I wonder if you could give me some feedback. My contractor just replaced my exterior door and its the first time I see an exterior door that has a ‘tunnel’ before the actual door, as in your first and last picture. Is that ‘tunnel’ (the white panelling/framing directly to the left and right of the door on the inside) ok/normal? or should the door really be flush with the drywall? In our case, from the outside in we have brick veneer followed by concrete block followed by 2″ xps, then framing and drywall.
This is exactly how I want to install our new door; I never see them flush on the inside. Also, it allows the opening to have a screen door which is a major bonus for me.
My mother really wants to replace the front door of her home. It is good to know that she will need to remove the old caulking and insulation around the existing door. It might be best for her to hire an expert to replace the door.