
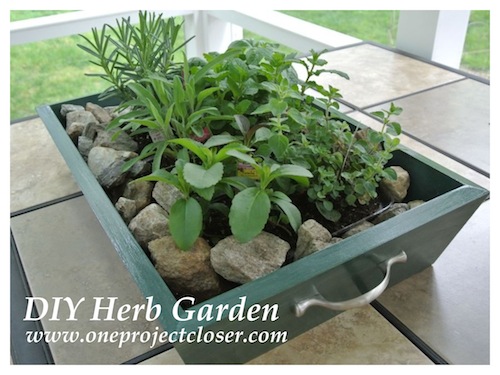
Continuing my foray into the world of woodworking, last week I made a wooden planter box, and I’m really pleased with how it turned out. The box is functional, looks good and all the joints are nice and tight. Much like the wooden beer tote I made, if you change the dimensions, this planter box can be used for many other purposes (like a casserole dish). It was a fun woodworking project, and here’s how I put it together.
Materials:
- 1 x 10″ x 6′ Oak
- 1/4″ plywood
- Wood filler
- Wood stain
- Polyurethane
- Handles
- Plants
- 10×14″ baking tray
- Rocks
Tools
- Table saw (see review in Related Content section)
- Compound miter saw
- Pin nailer
- Wood Glue
- Sandpaper
- Drill / driver
Step 1: Rip the 1x to Size
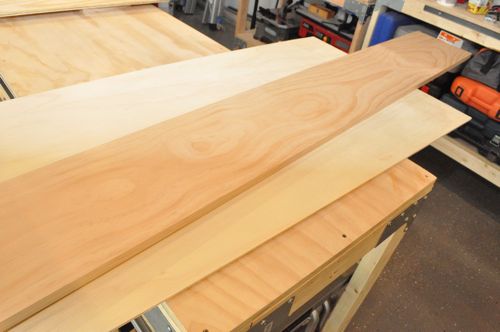
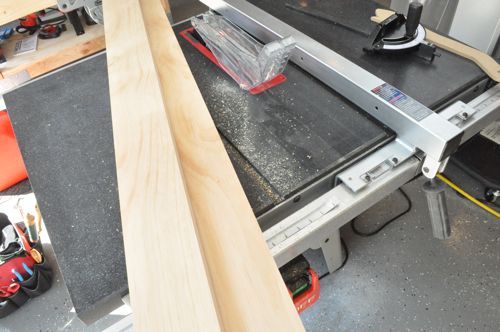
I started this project by ripping the 1 x 10″ Oak board in half on my table saw. Since 1 x 10″ actually measures 3/4 x 9-1/4″, I ended up with two pieces measuring 4-5/8″ wide.
Editors Note: A few weeks back a reader noticed that I wasn’t using the blade guard on my table saw. Even though I find it cumbersome, I’ve changed my ways and use the guard and riving knife every time now.
Step 2: Route a Dado
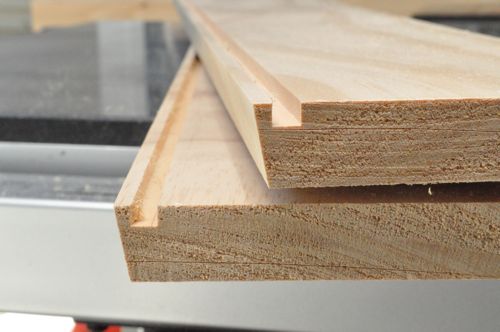
Using a 1/4″ straight bit, I routed a groove just off the cut edge (bottom) on each board. I checked the fit with my piece of plywood, and found it was suitably snug.
Step 3: Bevel Cut the Bottom
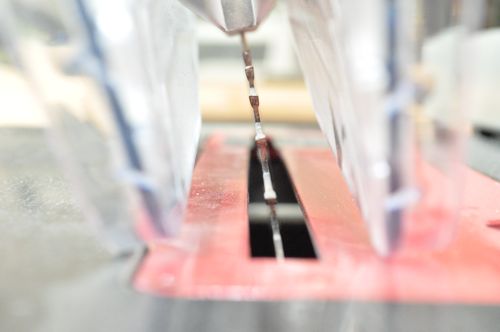
The sides of this planter all flare out, and to achieve that, I ran the boards through my table saw again with a 10° bevel.
Step 4: Cut the Plywood to Size
I’ve found in the past that making all my cuts, and then testing them out doesn’t always work. This time I cut my plywood to size (10-1/2″ x 16″) first. Next, I’ll measure the length for each side.
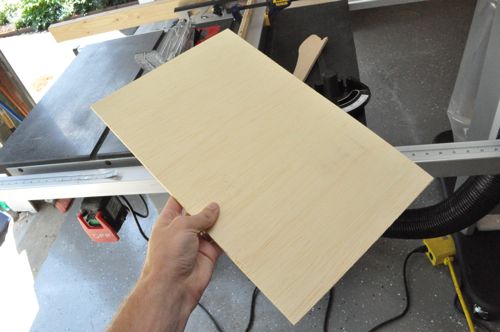
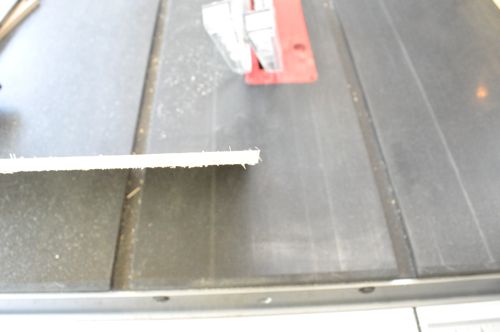
When I cut the plywood, I kept the 10° bevel, even though it probably doesn’t make much difference.
Step 5: Cut the Sides to Length
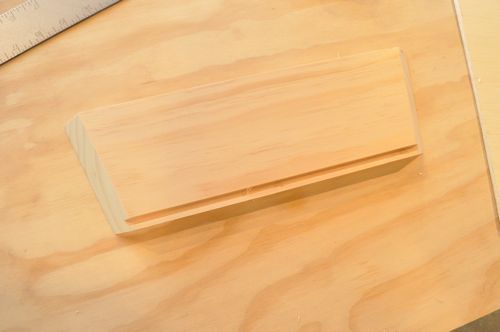
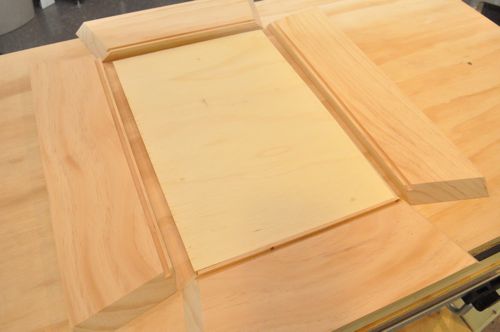
I measured the plywood and added a little extra to account for the joint before cutting the sides. Each cut was a 45° miter (+/-) and a 10° bevel (+/-). At their longest point (along the top), here are the dimensions for the sides:
- 13-5/8″
- 19-1/4″
Step 6: Glue and Nail Opposite Corners
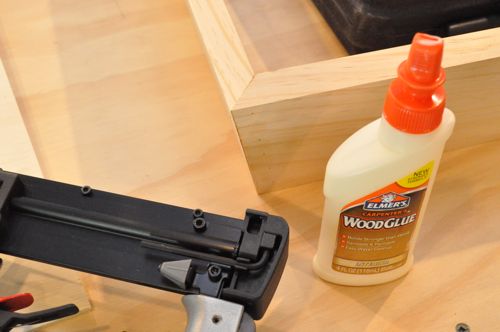
I glued and pin nailed opposite corners to make it easier to fit together. If you’ve ever worked with wood glue, you know the importance of wiping away the excess before it dries, and I used a wet paper towel immediately after nailing.
Step 7: Glue and Nail Remaining Corners
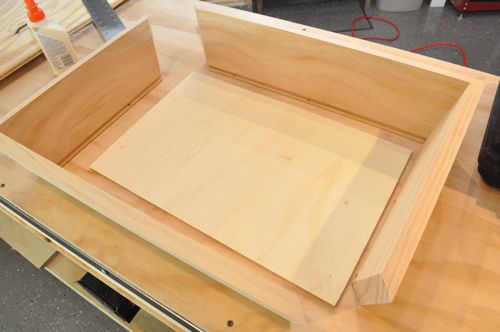
I spread glue in the corners and in the dado for the plywood bottom. Fitting it all together, I pin nailed the remaining corners.
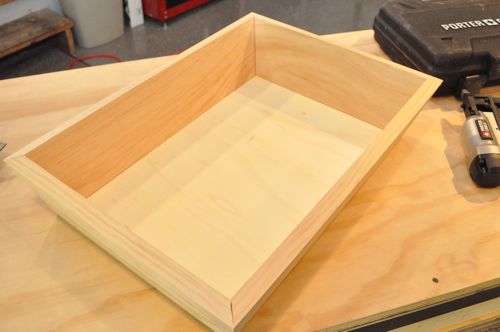
Step 8: Add Wood Filler
Even though the joints were pretty tight, some still hairline gaps, and I used wood filler to make the joints look perfect. Unfortunately, I neglected to take a picture of the joints after the wood filler.
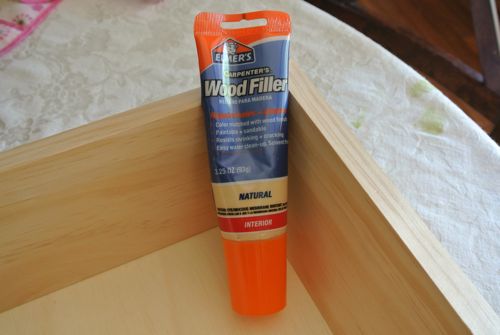
Step 9: Sand Smooth
At this point I turned the planter over to Jocie, and she began working by sanding all the surfaces smooth with 180 grit sandpaper. Wipe with a damp rag to remove dust and debris.
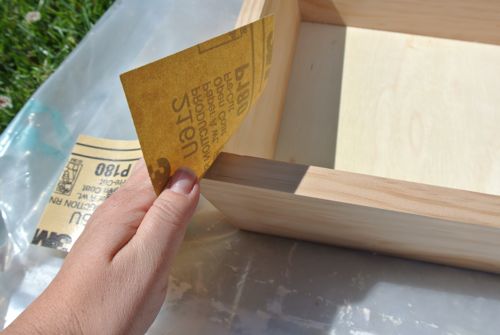
Step 10: Stain the Wood
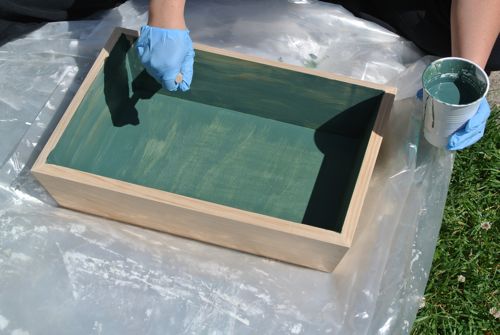
We had some tinted wood stain from a previous project, and Jocie mixed some of the yellow and blue to make teal. She applied two coats to give it a nice, uniform look.
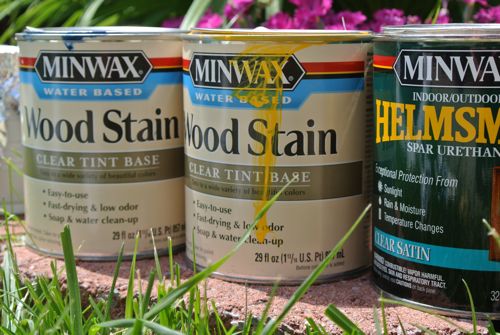
Step 11: Add a Clear Coat
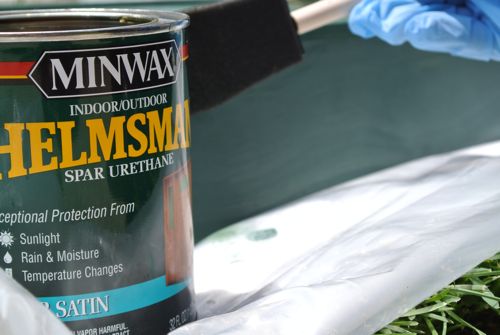
To protect the wood, Jocie applied two coats of urethane. Lightly sand in between coats so remove dried, excess urethane. If sanding, wipe clear with damp cloth (not a paper towel which will leave remnants).
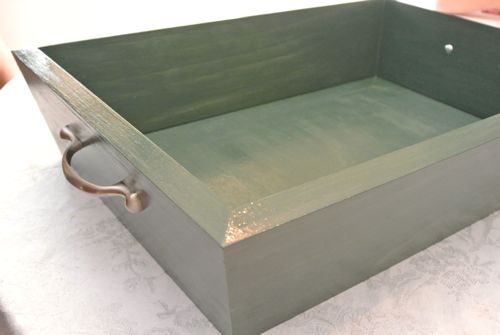
Step 12: Install Handles
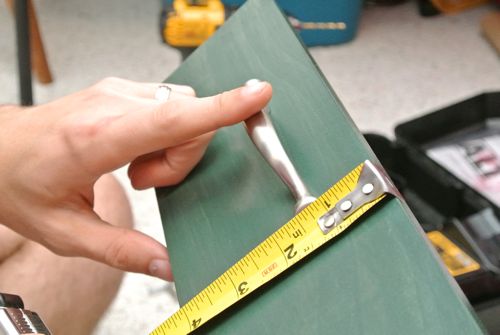
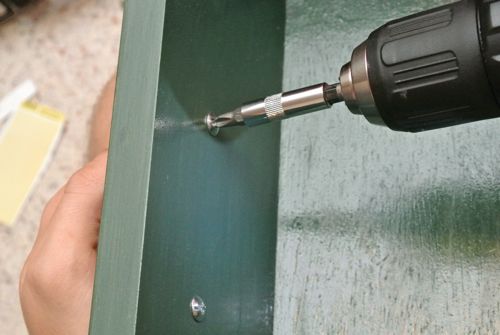
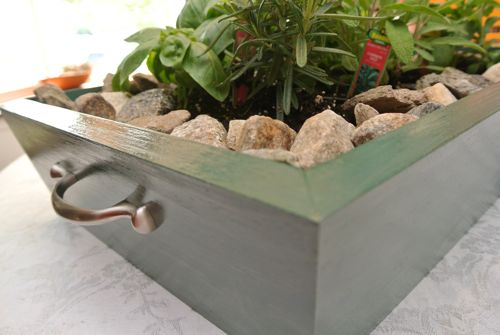
Jocie wanted handles for he herb garden so it can be used year round and brought in to a sunny window when its cold. Jocie picked up some cabinet pulls, and I installed them centered on the short sides. These are bottom of the line, Walmart cheapos, but you could certainly fancy it up with more decorative handles from your local Big Orange.
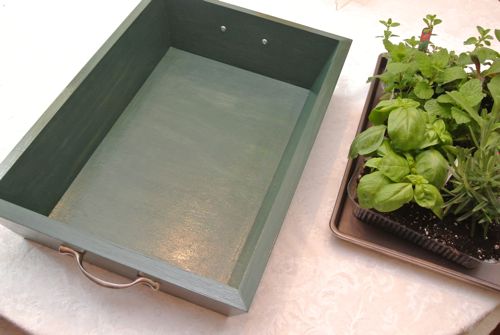
Step 13: Put Plants on Baking Tray
Jocie put all the plants on a baking tray to further protect the planter from dirt and water.
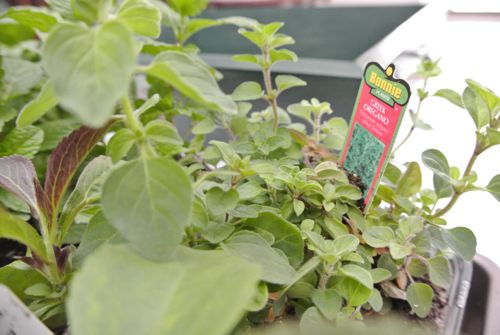
Step 14: Organize Plants
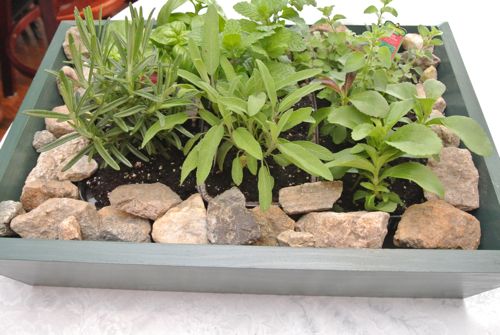
Jocie bought six different herbs for the planter: Oregano, Sage, Mint, Basil, Stevia and Thyme. She doesn’t know much about herbs but thought these we good cooking basics, except Stevia which just seemed a fun addition.
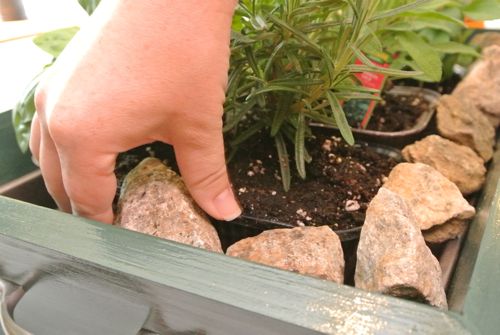
Step 15: Place Rocks
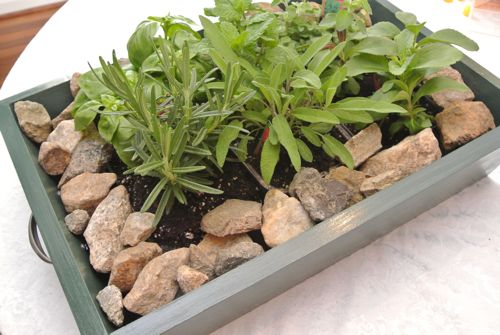
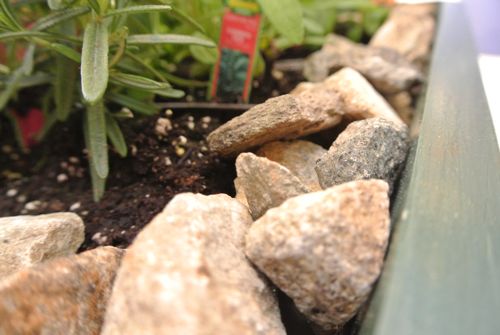
Izzie, Lucy and I went on a walk through the neighborhood to find some medium-sized rocks. We brought home a bucket full and cleaned them off with the hose. In this picture you see Jocie organizing them around the plants. The rocks add a good bit of weight to the planter, but it is definitely sturdy and still easy to carry.
Finished
I think the planter looks darn good, and I’m proud of the finished product.

Jocie’s next in the line of few and far between gardening projects will be using using succulents in a wreath – its a super cool way to display plants and add decor!
If you love crafty projects and home decor, head on over to OPC’s The Better Half to see what Jocie has been up to. Also, don’t forget to check us out on Facebook and Pinterest!


Glad to see you are using the guard. Too bad it is kind of cumbersome though. :-/
Good work on the box. Looks nice.
I’ll look again, but i think i missed the part where you set some holes for the water to drain?
We didn’t put any holes in the planter itself. Each plant came in a separate container and those have holes. However, the last thing I want is water sitting against the wood. That’s why we added the baking tray.
Are there any coatings made that could be used for the inside of this? I have some window boxes I made for the front of our house out of cedar but not sure what to line them with.
I’ve made a few planter boxes out of cedar. We line with plastic, then drill a few 1/8″ holes through the plastic and the wood at the bottom for drainage. Haven’t had a problem yet with rot, etc.
This is the same way that I build parts bins for my garage shop cabinets (minus the pretty teal paint). This way I can slide them in and out easily.
Great project idea, thanks for sharing!
Looks great very zen like
great piece.
very nice project. I think I have something to do this weekend!
Over-watering might lead to some wood rot, but that’s a nice- looking planter.
What a great tutorial! If only I had some power tools. Seriously, it I could get my hands on a table saw I think i could make this using your tutorial.
And using it as a plant container is fabulous.
… so happy you shared at our Great Outdoors link party!
🙂
Linda
What a great little planter box. And seriously, I can just imagine all of the awesome uses for it, so many fun ideas. Herb garden is just perfect!! I really appreciate you linking up to our party. 🙂
Love this! But if I make will they grow? I have a pretty nasty black thumb:(
This looks awesome. I have been wanting to start an herb garden again after mine fried a couple summers ago, and this planter is just so neat looking, so I’ve pinned it in case I have some time to make it.
I envy how you can transform things into extraordinary..You are awesome! I want to try this at home only if I have the skills and materials… Maybe my husband can do the box and I’ll the organizing of plants..xx
I’m always a fan of mixing two stains in order to get the perfect color I was looking for. Great job, you guys. The planter looks great.
-Bruce
The bottom in beveled, but the dado is not. You didn’t have problems fitting the plywood in?