

Thank you so much for visiting us at One Project Closer for this easy How to Make an Easy 4th of July Wood Sign tutorial – our latest Craft Lightning Project. This project is meant to be done in 15 minutes or less, not including dry times – for the busy woman who ain’t got time for long, drawn out projects. I got you, friend!
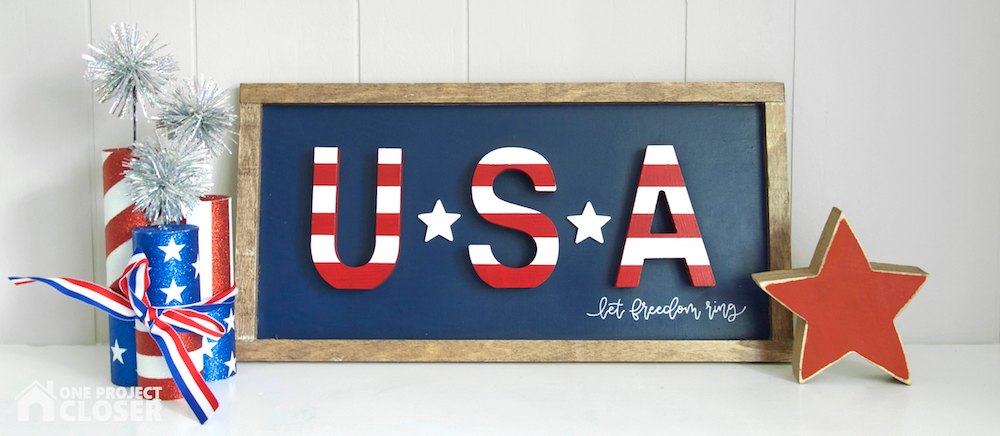
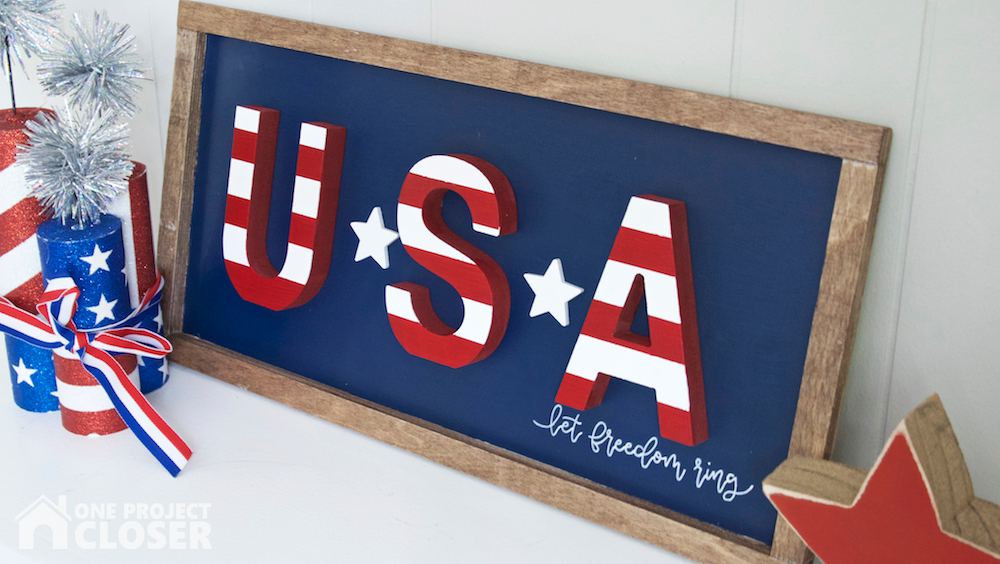
DIY 4th of July Wood Sign
Make Time: 15 minutes + dry time
Cost: $15 with coupons
Difficulty Level: Easy
Materials Needed:
- Pre-made, unfinished wood sign
- Unfinished wood U. S. A. letters
- Small, unfinished wood stars
- Foam Brushes
- Wood Stain
- E6000 Glue, or anther craft glue
- Acrylic paint – red, white, navy
- Blue Painter’s Tape
- Extra-fine paint marker, white
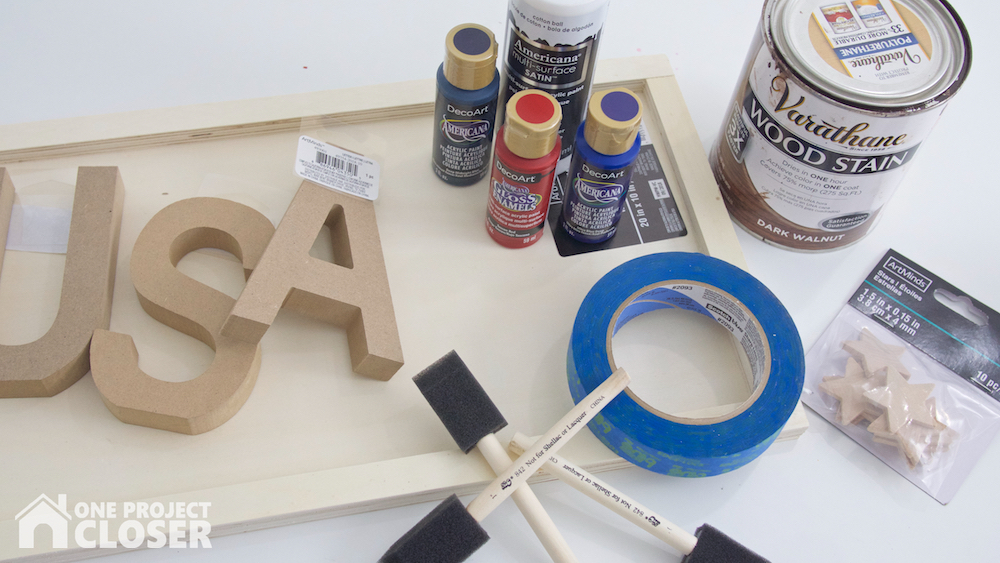
A quick note about materials – I shopped at Michael’s for my supplies and rocked a coupon for whatever wasn’t on sale. Depending on the pre-finished sign you buy, you may need to play around with what unfinished letters you use, to make sure they are an appropriate size for the sign. Also, if you already have paints and stain on hand, that will reduce the cost of your project a good bit.
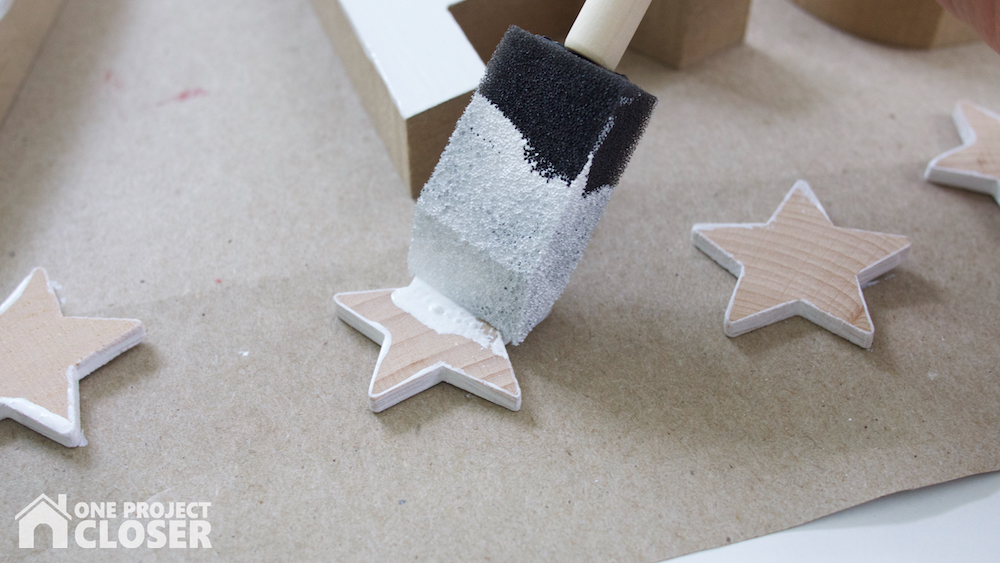
STEP ONE
Using a foam brush, stain the frame portion of your unfinished, pre-made sign. I had a hard time choosing the right color, and tested them out on the back of the sign. Different woods take color differently. This sign soaked up the stain very quickly, which I liked but wanted to make sure to get not only the right color but also depth of color.
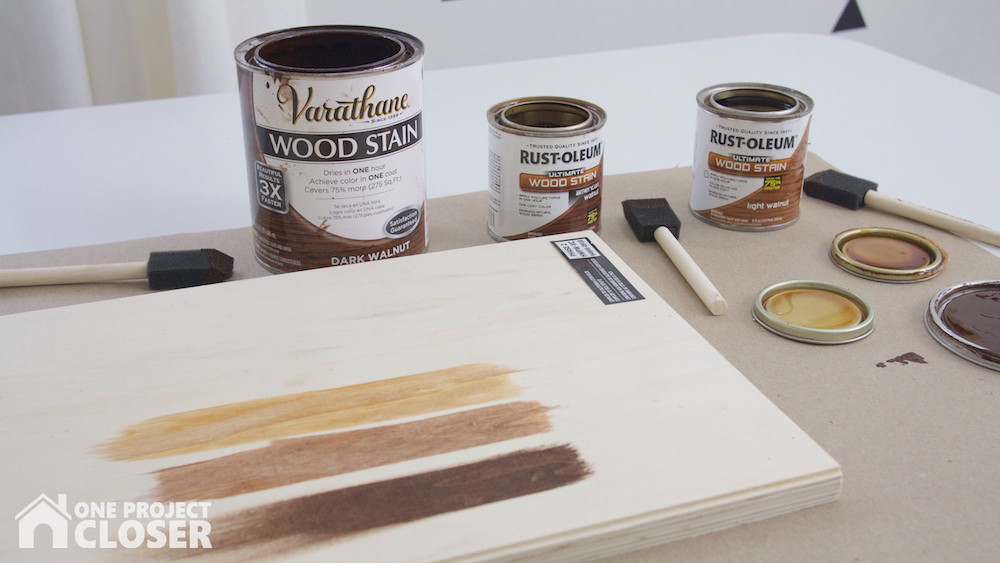
I settled on using a mixture of Dark Walnut and Early American.
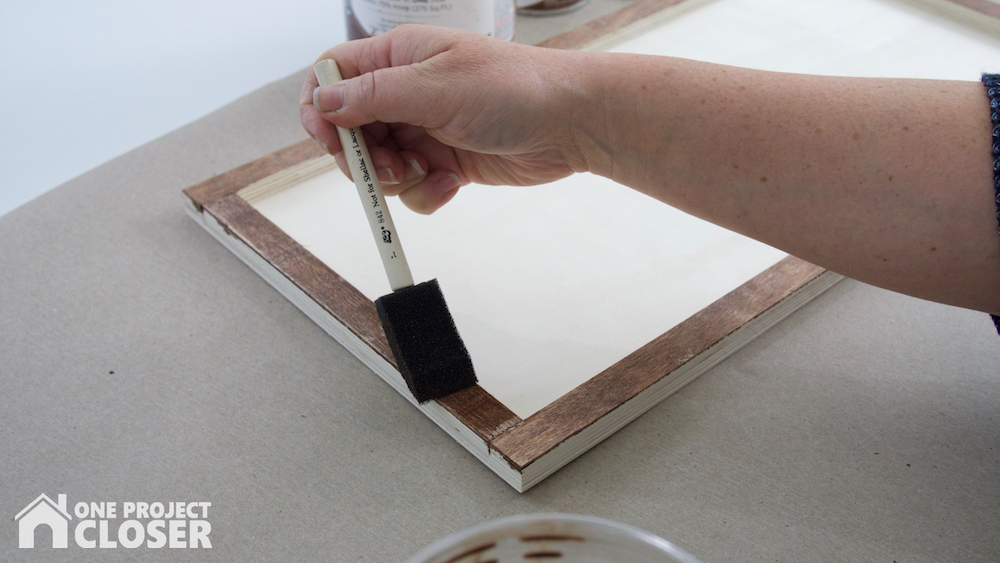
After staining, use a spray poly to seal the stain so it doesn’t bleed through the color.
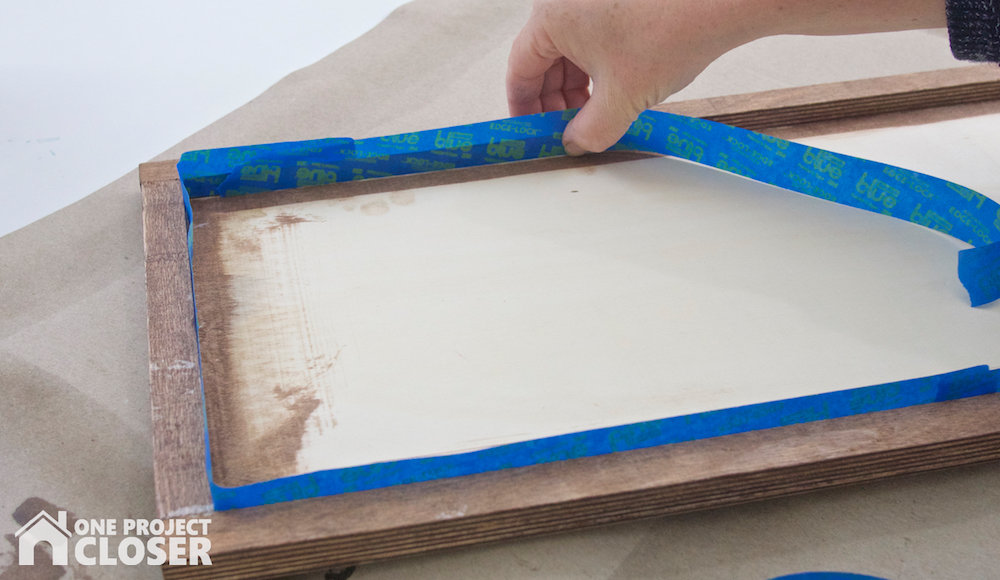
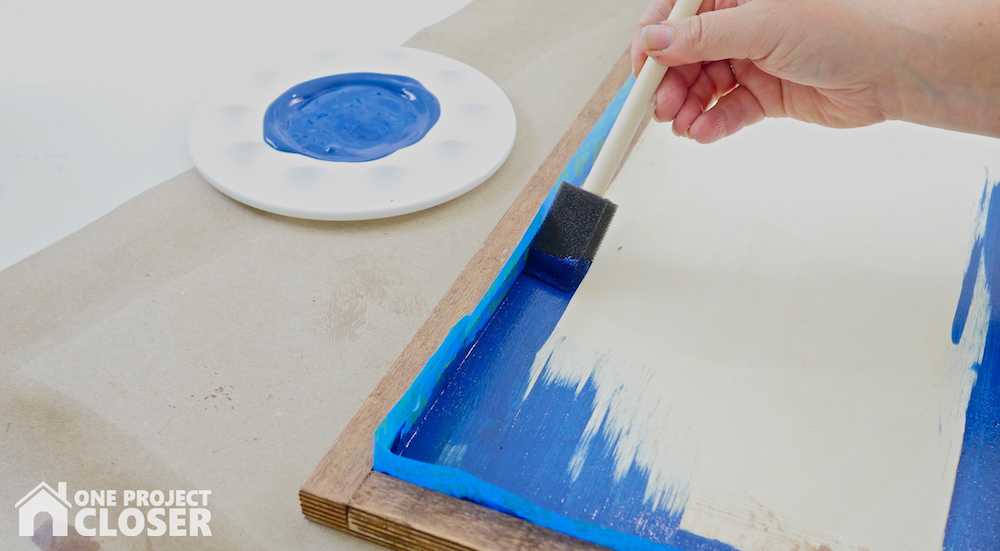
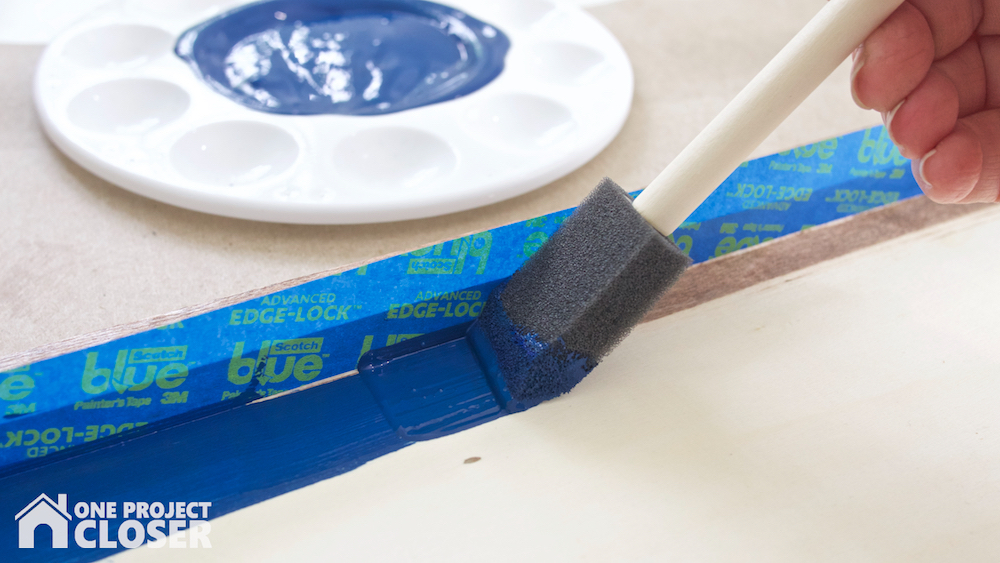
STEP TWO
Once dry, tape around the inside edge of the frame portion, pressing the tape firmly to the frame (mine didn’t like to stick). Then paint the inside of the sign navy blue.
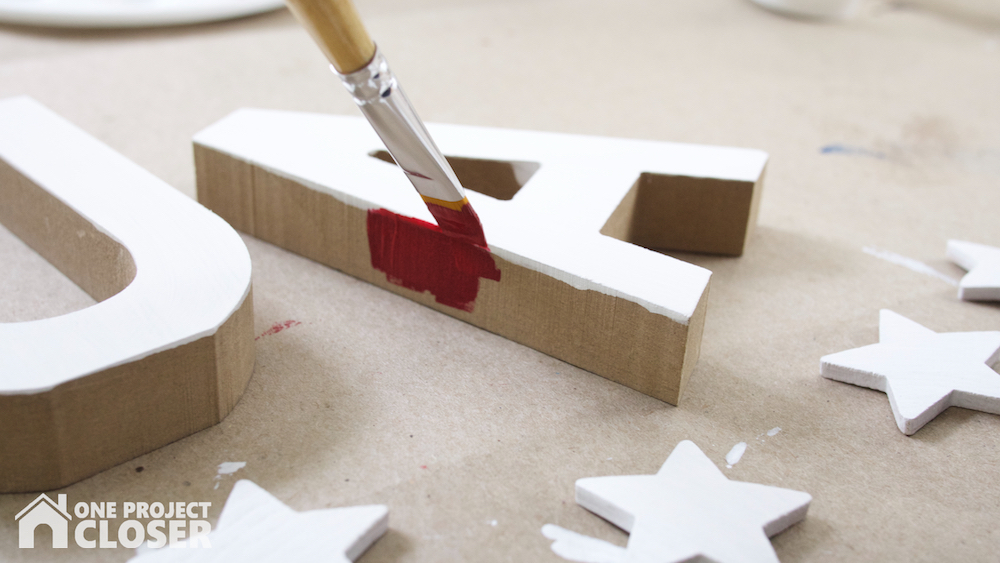
STEP THREE
While the blue dry, paint the sides of U. S. A. letters red and the top white, careful not to extend the color over the edges. You may need to give the white a second coat – I used a hair dryer to speed up dry time.
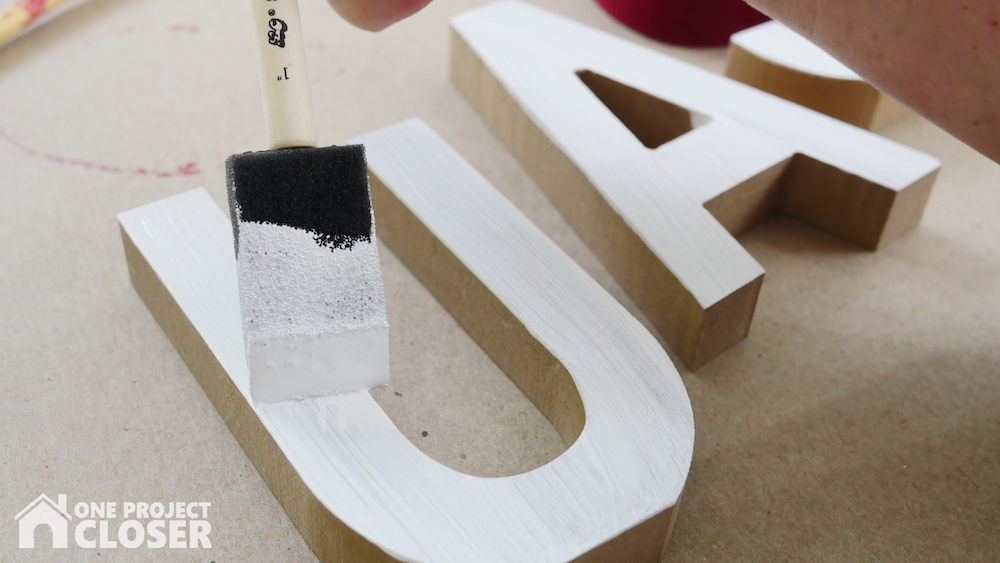
Also, paint three stars white.
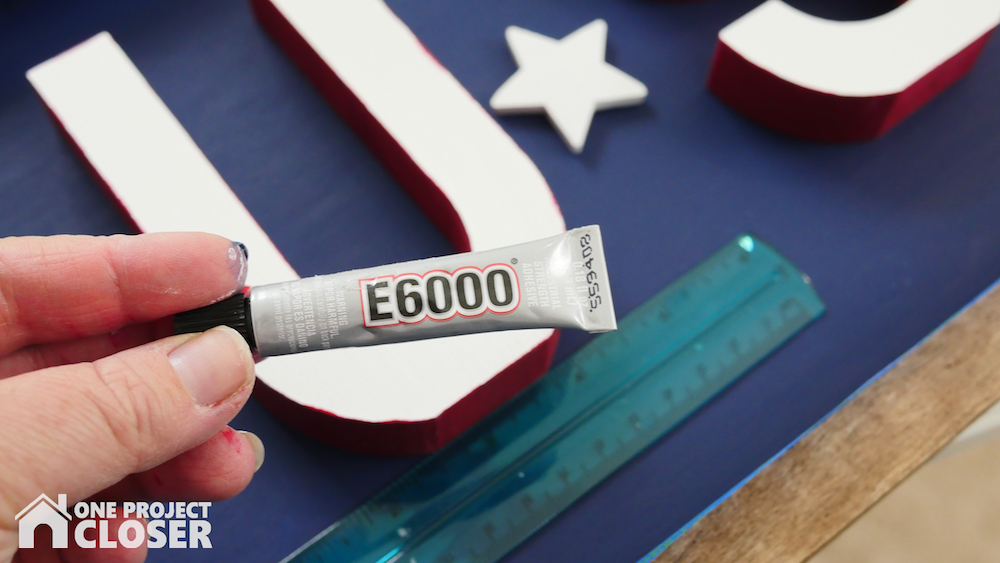
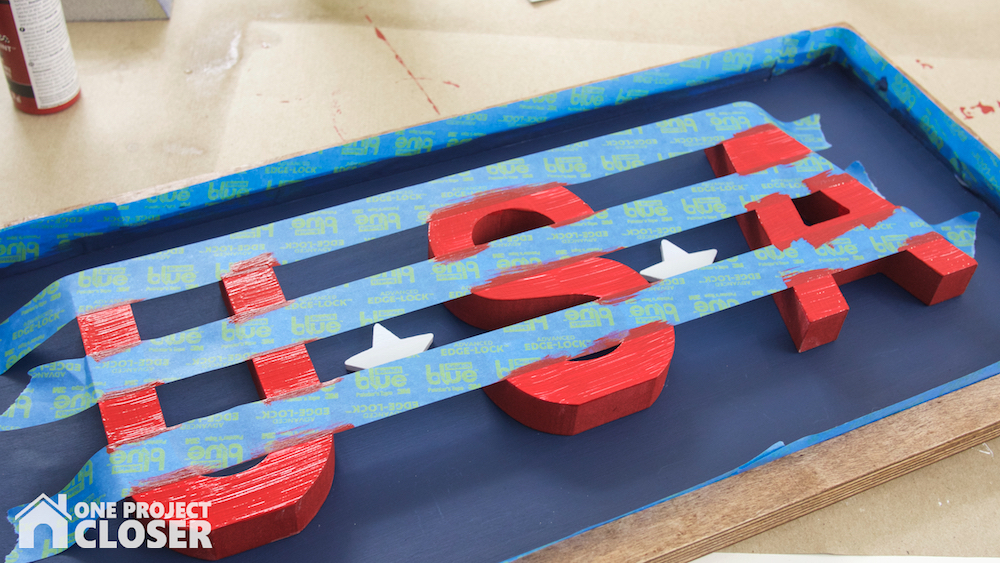
STEP FOUR
Once letters and sign are dry, use E6000 to glue letters and stars in place. I also used a dab of hot glue so the letters would not move while the E6000 was drying.
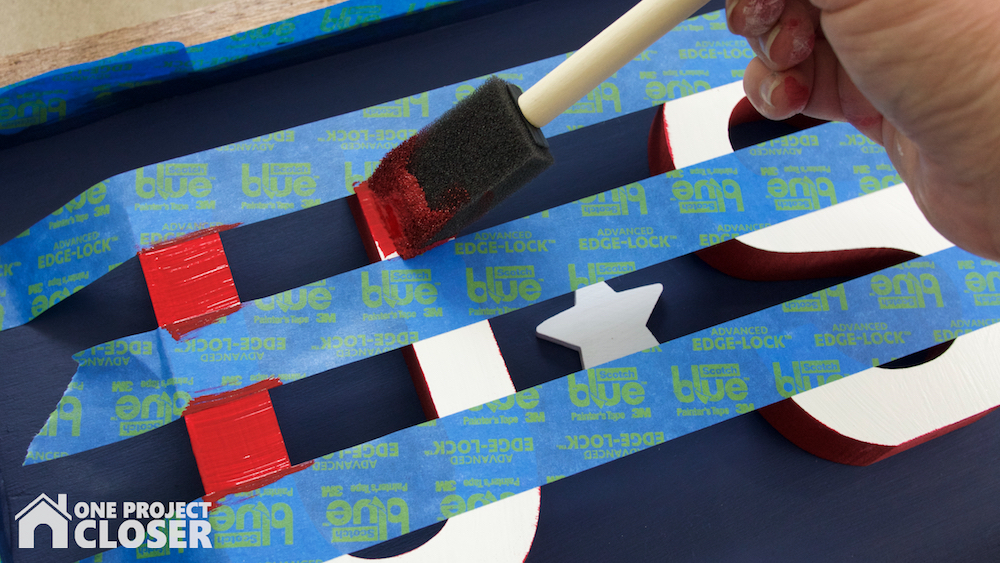
STEP FIVE
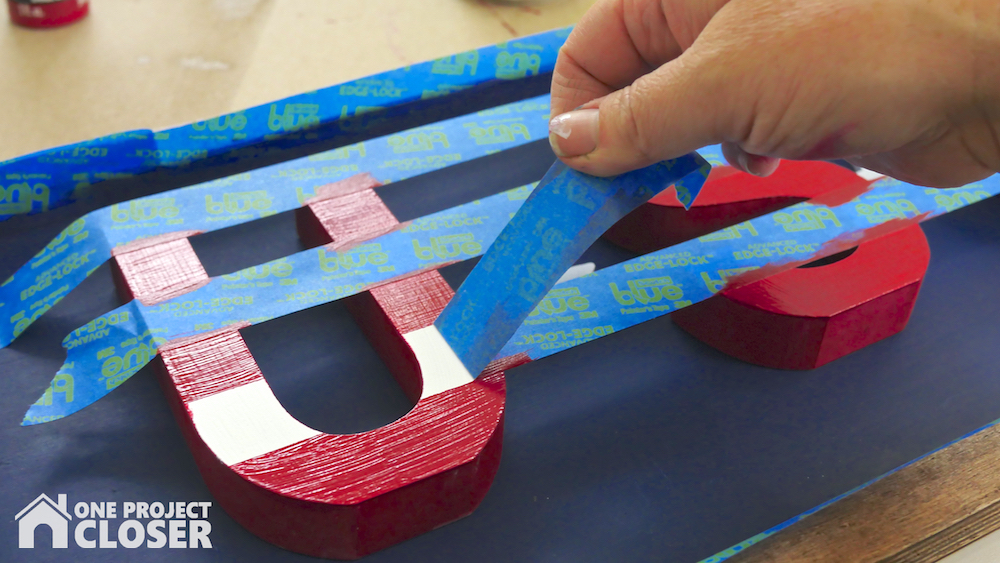
Use Painter’s Tape, to tape stripes horizontally across the three letters and press tape firmly down.
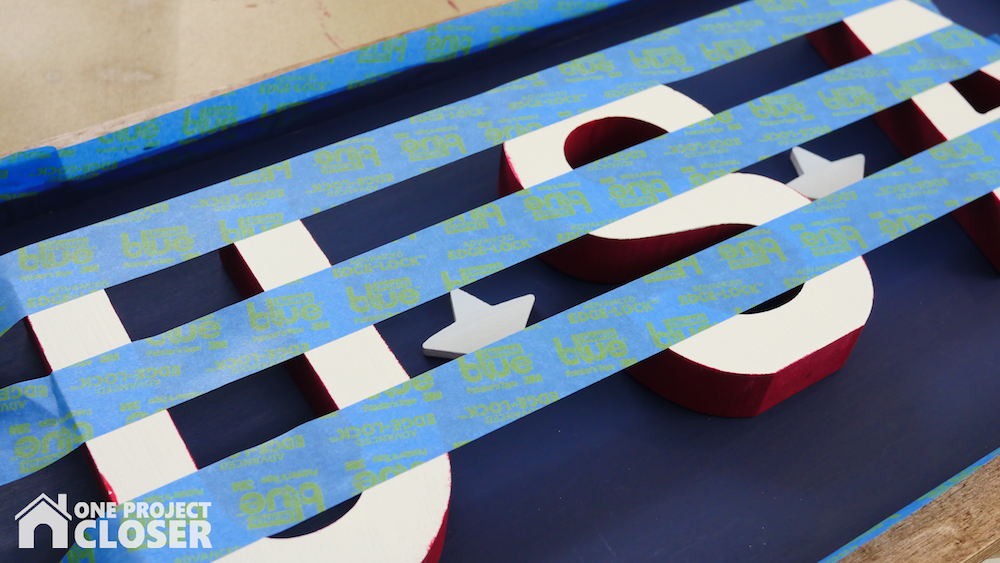
Then, using the same red paint you used for the sides of the letters, paint the exposed portions of the letters red.
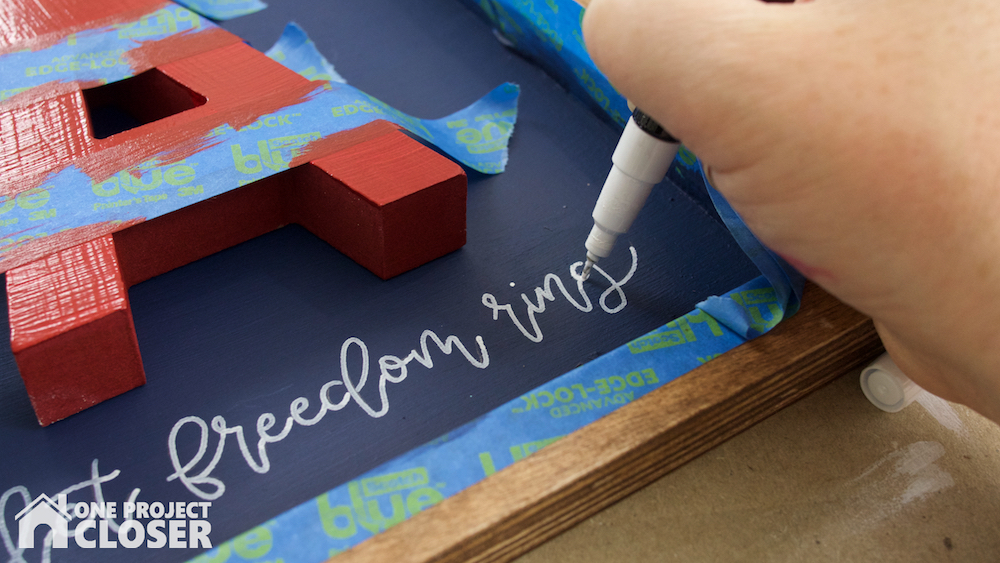
STEP SIX (optional)
Using a pencil, letter “Let freedom Ring” just below the letter A. Have a hi-polymer eraser on hand to erase and try any mistakes. Once happy with the placement and lettering, trace with a very fine paint pen (Posca is my favorite).
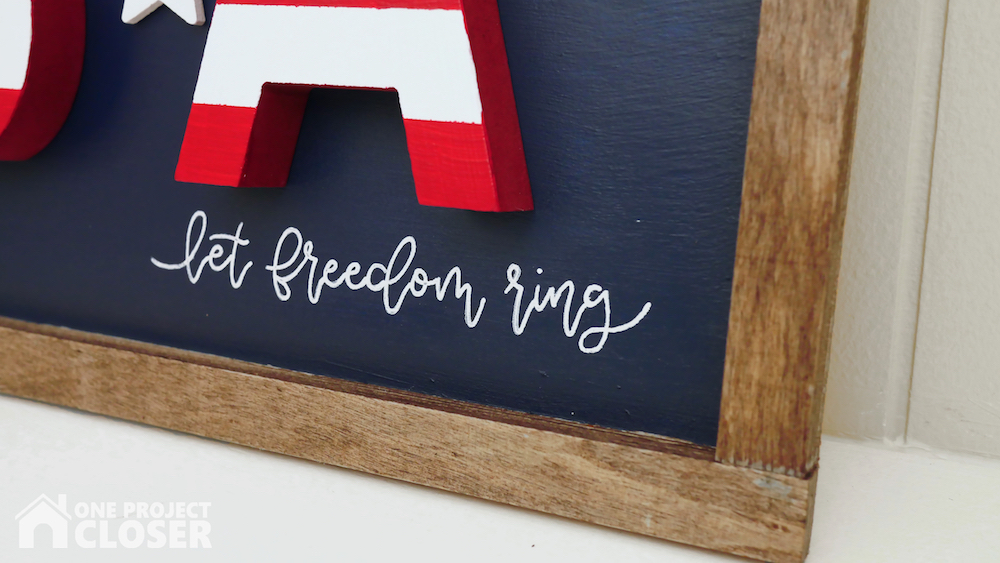
STEP SEVEN
Finally, once everything is dry, remove the blue painter’s tape.
ENJOY!
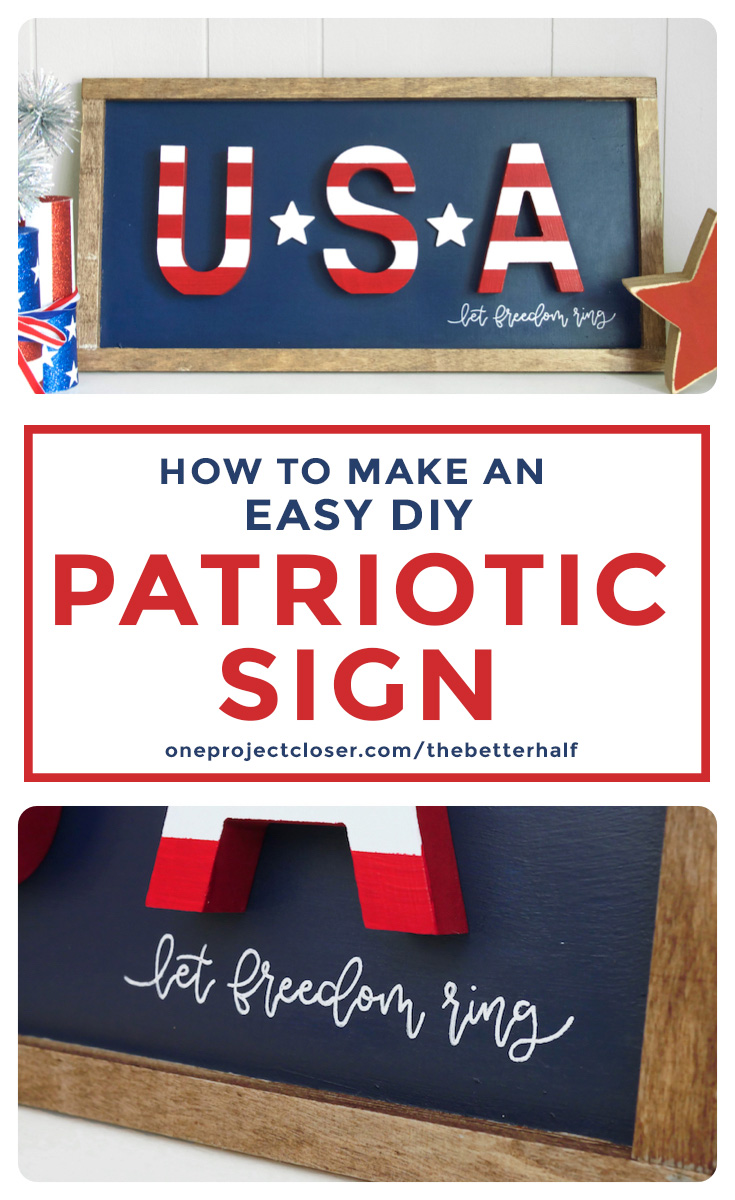
PIN FOR LATER
Love it and want to share it with your friends? Or maybe come back later? Pin it!


Jocie Hagan
One Project Closer
Come say hi on Facebook, Instagram, & Pinterest!
Want to learn to hand letter and make amazing, personal decor for your home?
Learn now with Busy Girl’s Guide to Hand Lettering!
**Use the code HAPPY5OFF to get $5 off the course price**

I love this Jocie!
I love this! It’s so simple, but those colors just pop!
I have pinned this, Jocie. I love the easy way you styled this, and your instructions will be easy to follow. Thanks so much. I love anything patriotic as does my husband, who is a Navy veteran.
I just found this craft and I love it! I have been looking at the creativity of others for quite a few years but not sure enough of myself. Now, at 71 years of age I have begun trying out different DIYs. This is one I will try and soon! Thank you very much for sharing.
~~kay~~
[…] USA sign […]
[…] your patriotic pride with this USA sign from One Project […]