
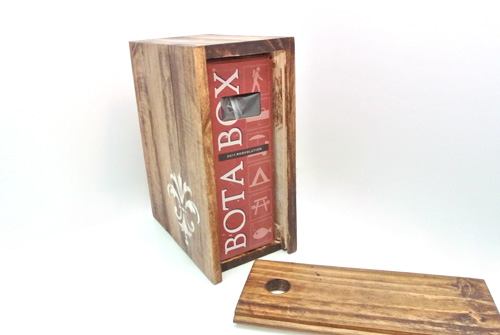
The problem with boxed wine is that it comes in a cardboard box. These boxes are great for shipping, production, and the environment, but you’ll never see a waiter present boxed wine at a table or old boxes used as decor. The boxes are unattractive, and that’s too bad because in my opinion some of the wine is very good and significantly cheaper.
So what are you going to do? Well, if you know Jocie, or ever read her articles on The Better Half, presentation is important to her, so much so that she usually pours the wine into a carafe. Instead, I decided to make a classy, boxed wine holder that she can display proudly. Even better, I made it from pallet wood.

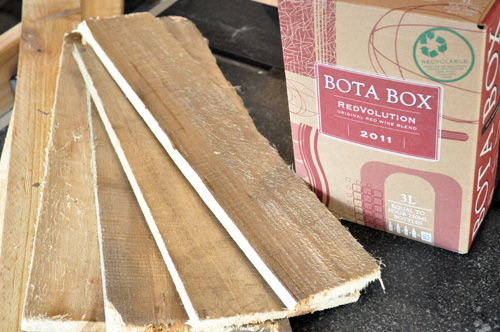
Bota Box is our favorite brand of boxed wine. That’s what we usually buy so this boxed wine holder is sized for Bota Box wines.
Step 1: Get Your Pallet Wood
Jocie had already harvested the pallet wood, and you can see a great video showing how she does it at that link. I snagged a few boards, picked up some Bota Box wine and headed to the OPC shop. If you’re following along with this project, make sure you start with the right pallet, and by that, I mean heat-treated (not chemically treated), clean, etc. The last thing you want are pesticides mingling with your wine. We recommend sealing the wood too, and I’ll get to that later in the article.
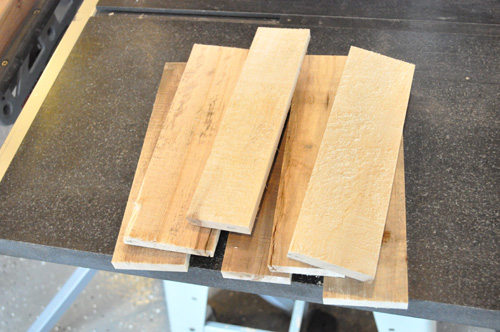
Step 2: Square the Boards
One thing about pallet wood is that most of the boards are not necessarily straight, square or even the same thickness. To make it easier to work, I squared up the boards on my table saw.
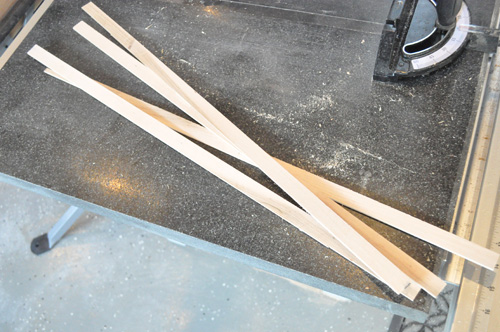
Step 3: Cut Braces
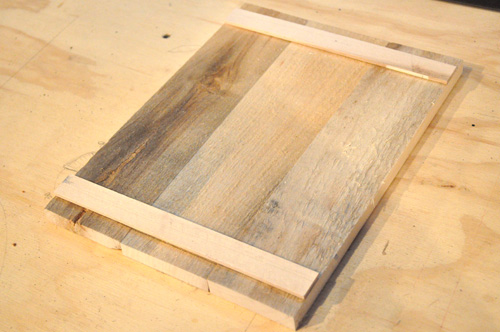
I used some scrap wood to make thin strips that’ll be used as braces for the pallet boards.
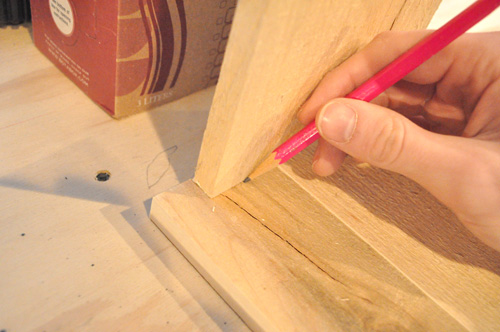
Step 4: Build Sides
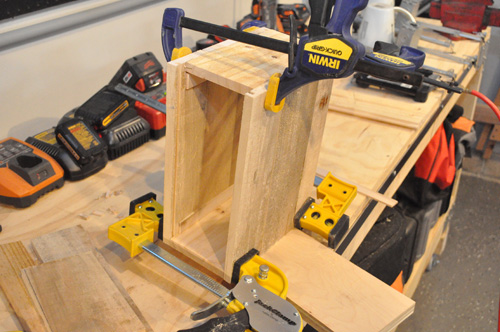
I started assembling the boxed wine holder by building the sides. Bota Boxes measure about 6-3/4″ wide x 3-3/8″ deep x 9-1/4″ tall so I cut a series of boards 10-1/2″ long. Using another pallet board, I scribed a line at the top and bottom for attaching braces.
I glued the braces and clamped everything together for about 30 minutes.
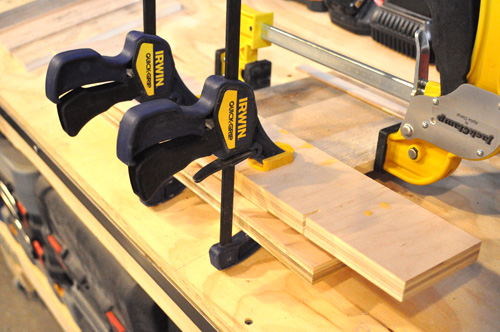
After the glue was dry (enough), I ran the sides through my table saw so that they both measured 10-1/2″ tall x 8-1/4″.
Step 5: Make the Top and Bottom
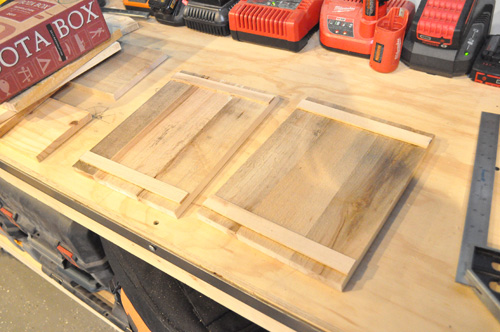
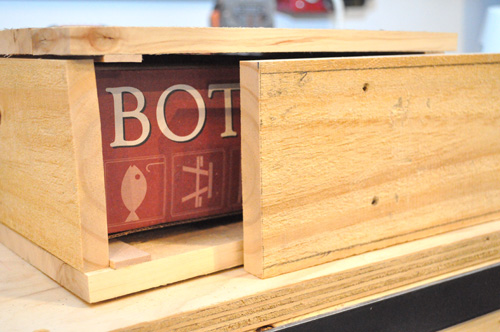
The top and bottom are single boards, and the only difference is that the bottom is a 1/2″ shorter than the top. This allows the back to slide off, and I’ll give more details on that in a moment. In the picture below, you can see how the top and bottom boards are flush with the sides and snug up against the braces. My top measured 7-3/4″ x 3-3/4″. The bottom measured 8-1/4″ x 3-3/4″.
Step 6: Build the Back Panel
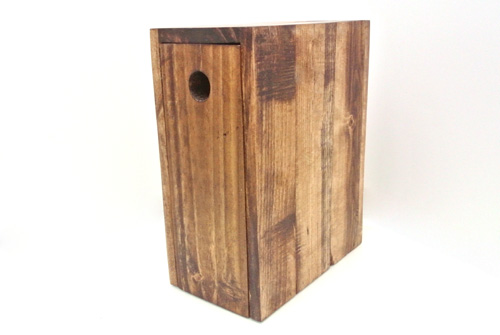
To move boxed wine in and out, I decided on a tongue and groove backside that could slide off. This is more difficult that incorporating a hinge, and it requires some careful measuring. However, I thought it would look nicer.
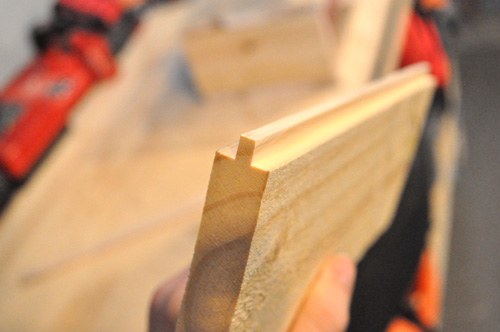
To make the back, I started by cutting a board to 4-1/4″ x 10″.
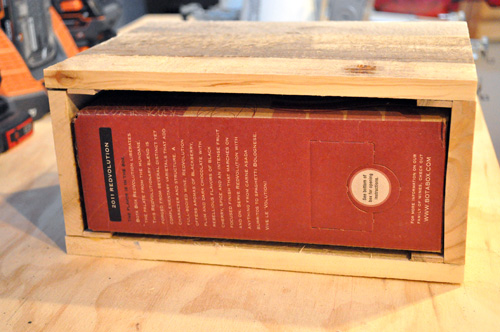
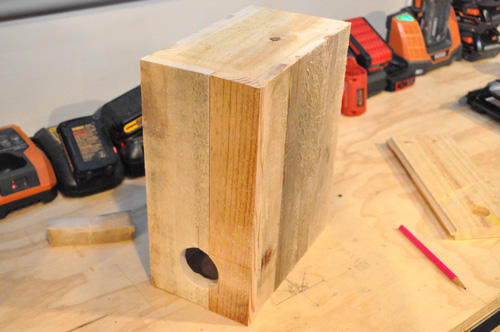
I used a dado stack on my table saw to cut a 1/4″ tongue on both sides of the board. Now the visible face of the board measures 3-3/4″ wide. I also drilled a 1″ hole (spade bit) to make it easier to slide the back panel. This hole lines up with the knock-out on the Bota Box and can be used for carrying the boxed wine holder around.
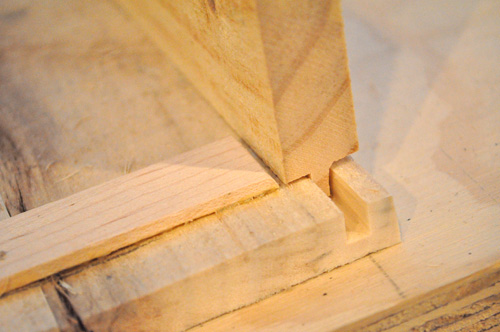
Next, I cut a 1/4″ groove into the sides, and I trimmed the braces with a chisel.
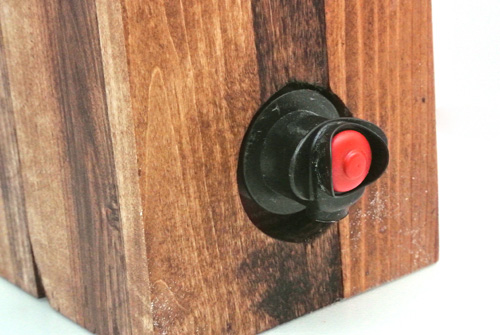
Step 7: Make the Front
I made the front much like the sides – cut to size with two braces glued across the boards. The face of my wine box holder measures 4-3/4″ x 10-1/2″. I also cut a hole for the spout with a jigsaw.

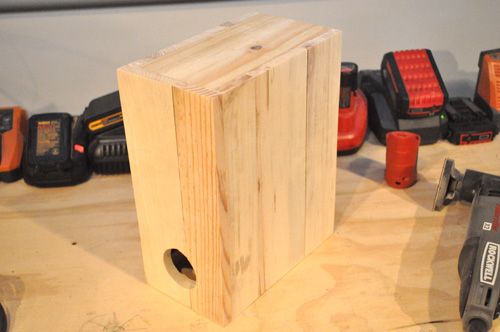
Step 8: Glue it Together
I used wood glue to join all the pieces together.
Step 9: Sand Smooth
I grabbed an orbital sander and sanded away the rough surface of the pallet wood. Sanding also ensures that all the joints are perfectly flush, and it cleans up the wood nicely.
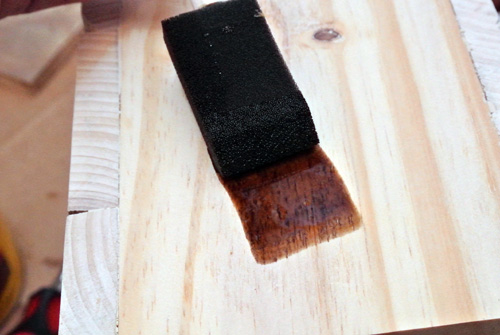
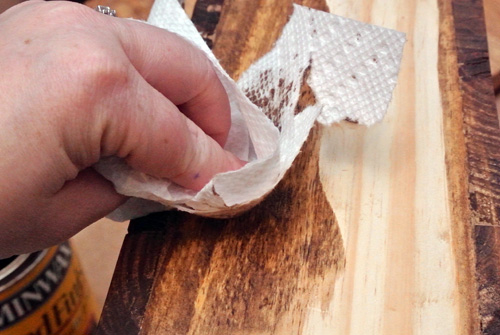
Step 10: Apply Stain
I let Jocie take over at this point, and she applied a few coats of wood stain.
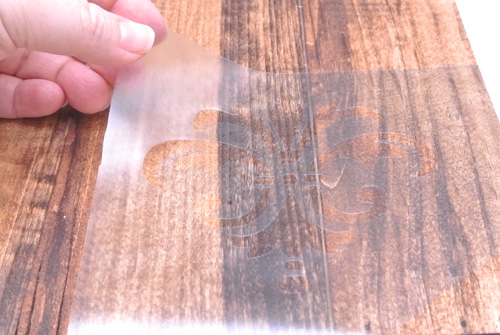
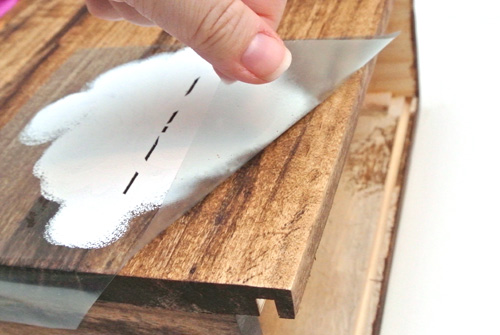
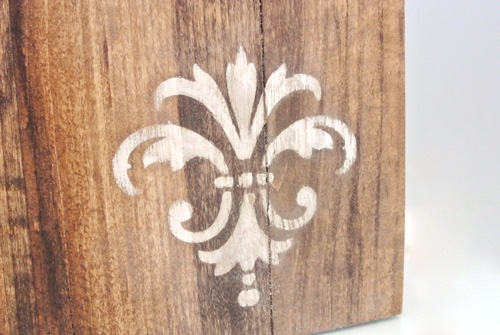
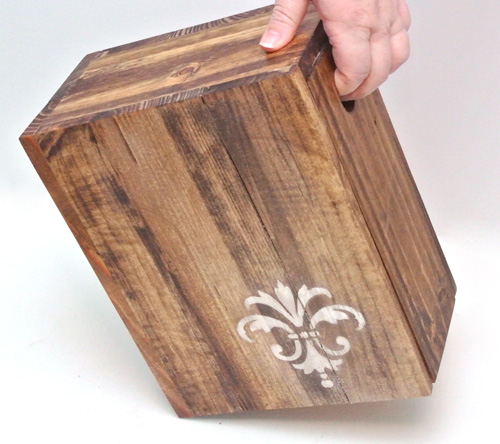
Step 11: Stencil Graphic
To give our box wine holder some more character, Jocie whipped up a fleur-de-lis stencil on her Silhouette. She debated doing numbers like our friend’s Jacque at Matt over at The DIY Village stenciled on their bar stools, but opted for the fleur-de-lis in hopes for a more classic look.
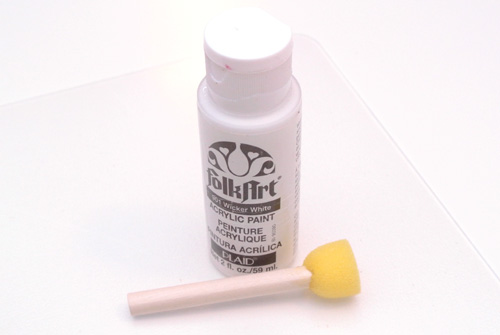
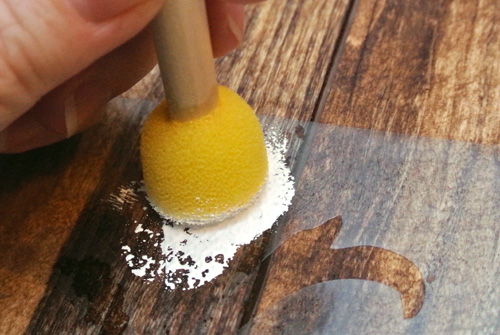
She painted the stencil, and something we realized is that the wood absorbed a lot of paint. Jocie had to perform some touch-ups, and she suggests that readers seal the wood before stenciling.
Step 12: Seal It
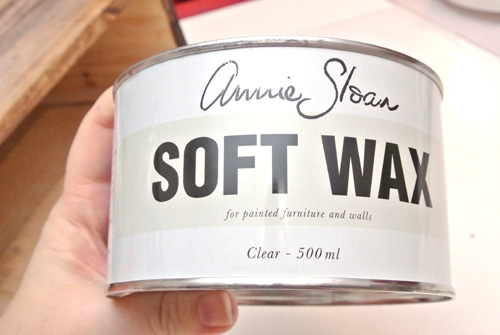
Jocie applied some soft wax to the exterior of the boxed wine holder, and she sprayed a sealer on the inside. This will ensure the wood isn’t stained by any spilled wine. Also, it’s reassuring to know that the pallet wood won’t ever come in contact with wine glasses.
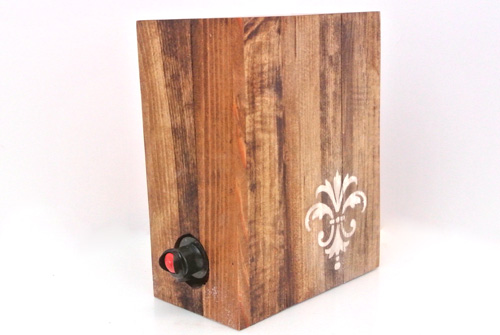
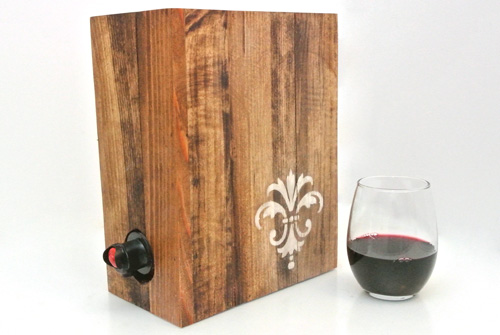
Finished
I think this rustic-chic, boxed wine holder looks phenomenal. I’m really proud how it turned out, and you can be sure we’ll be showing this off instead of hiding the boxed wine in the pantry.


This is such a great idea! My husband recently converted to ‘box wine’ after years of buying by the bottle, but having three children and a tighter budget forced us to make the change. Every time I open my refrigerator, I am greeted by the unsightly box of wine and it makes me cringe. This would really make a great gift! Perhaps a give-a-away is in order? 😉 (I just realized that my enthusiastic response to this post makes me sound like a real wine-o. Ha!)
Haha! Glad you liked the project. We don’t have one lined up for the Rewards Center (but maybe that’ll change).
Tell your husband he is not drinking box wine. He is drinking cardbordeaux.
I think I will make one of these boxes.
It looks great. I really like the stain.
What an Innovative concept. I don’t know if all wine boxes are the same size so perhaps building a little bigger it’s a good idea?
All boxed wine is not the same size, and this one is sized for Bota Box. I’d encourage people to pick a brand and go with it rather than just build it bigger. Another option would be to remove the wine from the box and rig up something to hold the spout.
We always remove the bag from the box. I’d love to make one of these for our sailboat and stencil an anchor on the side. Sealing the wood would be very important for us. Great tutorial! Thanks!
We also “de-box” our wine for our sailboat. I’m thinking we should try a version that uses some leftover teak & holly that matches the boat’s sole. Talk about classy! Great idea about the anchor. I was also thinking a white stencil for white wine and a red stencil for red wine.
Projects out of scrap are my favorite. Most of my best work is with wood I pull from the scrap bin and turn into jigs and other tools. Granted this may not be a “tool” per se but using it enough may cause you to at least dance a jig.
Haha. Jocie definitely did.
Looks great! What shade of stain did you use?
We used Minwax English Chestnut 233.
That’s cool!
This almost makes me wish I was a wine drinker!
It’s never too late to start. Wait… now I’m just being a bad influence.
Wow, I had no idea boxed wine could be so classy! 🙂 That is seriously beautiful!
Thanks Kelly!
great idea Ethan!
Thanks! It just sort of came to us, and I was surprised not to find much like it online.
ok, so that’s totally awesome! definately gives the boxed wine a bit more class!
This makes the Tour de Franzia (google it) even more classy! I like the rustic look the stain gave the pallets.
Very nice. I am jealous of your table saw. I have a crappy Ryobi one that can’t even really handle a dado stack. In the market for a new one someday. Also, not sure if Trader Joe’s is in your area but 2 buck chuck is a worthy wine that compares in price to boxes, but it looks better since it’s in a bottle. But then again I am no wine expert.
We’ve had 2 buck chuck before, and it was pretty good. Unfortunately we have to go outside Maryland (grocery stores can’t sell beer or wine in MD) for it, and now it’s more like 3 buck chuck.
Looks awesome!
Wait a sec, did you guys just use “classy” and “boxed wine” in the same sentence?
; )
Nice work on the project, it looks great. Next up, custom beer tap for your man-cave?
I thought the same thing, haha. Seems almost like that title is an oxymoron!
All kidding aside, this is a really creative project. Well done!
I’m sure it’s especially offensive for you californians! A beer tap might be too dangerous for me….
Finally a classy display of boxed wine. I like good job you two.
Now you can enjoy your cardbordeaux in style. 🙂 My parents drink boxed wine as well and it is pretty good once you get past the stigma.
Kudos on the pun 😀
This is such an awesome idea! I absolutely LOVE it!
Off to bug my husband! 😉
Hehe! If you guys make one, I’d love to add a pic to this article!
This is a great idea – I love how it came out. This would be perfect for our basement. I would love it if you could share this at my link party tomorrow. Hope to see you there!
-Angie
http://www.easyivingmom.com
that looks like something my wife will really bug me to build, thanks alot
Ethan, what an awesome idea. I don’t know why I didn’t think of this myself since hubby often has boxed wine. Maybe because he keeps it tucked away in the pantry, but still this will dress it up.
Thank you so much for the great tutorial. I’m going to make it for him as a surprise.
Awesome! Send in a pic (if you don’t mind), and I’ll add it to the article.
Will do Ethan. Hubby will be out of town next week so hopefully, with the help of our grown son, we’ll be able to get one made.
Ok, you are out of control! That is the classiest boxed wine I’ve ever seen!!!! 4th of July round 2? ha ha ha!
This is such an amazing idea. I really love the stain you used. 🙂
Just a suggestion – what if you made it 5-6 inches taller, so that what is now the bottom is actually a shelf. That way, the spigot would be 5-6 inches off the counter, enabling you to pour a glass without having to hang the box off the edge of the counter.
Great idea Margaret! If I make another one, I’ll definitely include this too. Thanks for commenting.
did you just drench it in stain and then damped it off with paper towels?
still wont drink wine, but interesting and handy project for sure
She applied the stain with a foam brush, let it absorb and then wiped away the excess with a paper towel.
Awesome way to use Annie Sloan- these would make killer house warming gifts.
I really like this and Margaret’s idea too. But does the thickness of the wood pose a problem with the spigot sticking out far enough?
So inspired I built my own with scraps left over from a project I had done last year.
They are advertised as barn boards, smooth on one side and rough on the other so depending on the look you want there are options.
I really liked the textured side for that real crate sorta look and turned out exactly how I wanted.
Thanks so much for sharing!
I’m hoping I can make this for my step-dad for Christmas:) Love it
I make wine and use 1.5 liter bladders.
do you have any dimensions or ideas fo how to do this?
thx.
[…] Wine Holder free woodworking plan.Here is how to go about building a boxed wine holder. You can adjust it to fit what ever size your box of wine […]
How do you get the wine into the bladder?
My Dad made these for family members for years. He passed away 2 years ago and these are treasured items in our family. He would ditch the cardboard and slip the bladder into his box via a hinged lid. I got the first version of the double box, with side by side holes for the spouts. Love it ♥️