
Hardwood flooring is a beautiful addition to any home, and if you’re interested, Fred has an excellent guide for installing hardwood flooring available at that link. After you finish the install, you can return any unopened boxes to the distributor. I suggest you keep a number of spare boards in case the worst should happen and you need to make a repair. What does any of this have to do with cutting boards? When I decided to make one, I dipped into Fred and Kim’s stash for the materials.
Fred and Kim installed Brazilian Walnut flooring which is another name for Ipe. Ipe is extremely hard and for that reason it may not be the best choice for this project. I’ve read that it can dull kitchen knives, and it’s difficult to use for woodworking. Even so, it features several color variations, and I went ahead with it for this project. Other viable wood species for this project include hard maple, purple heart, black cherry and more. If you’re following along, pick something hard, non-toxic and easy to seal.
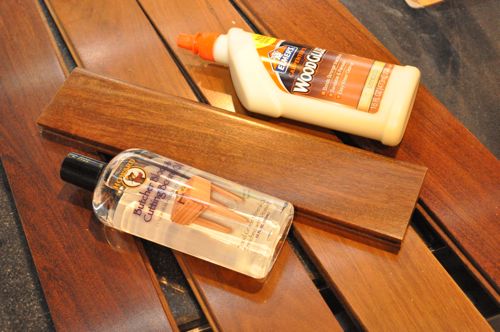
In addition to the wood, I picked up some Elmer’s wood glue and cutting board mineral oil. Mineral oil is safe for food contact unlike some other oil options. Also, you don’t have to worry about allergies like with Walnut oil. In hindsight, Elmer’s Max wood glue would have been a better option since it’s waterproof.
Step 1: Rip the Boards
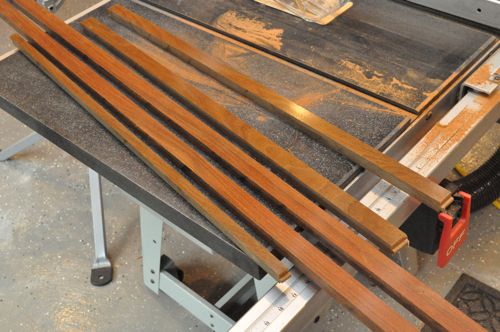
I grabbed a few pieces of flooring and ran them through the table saw to cut off the tongues and grooves.

I cut them again at irregular widths to add some randomness, and then I mitered them all into approximately 15″ pieces.
Step 2: Glue the Boards Together
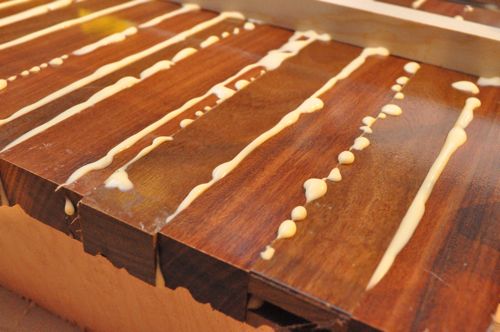
I laid out my cutting board and began gluing each piece together.

I used plenty of wood glue and made sure to fully coat both sides of each joint. After everything was glued, I setup a few clamps to squeeze everything tight.

Step 3: Scrape Excess Glue
After the glue dried, I scrapped away any excess.


Step 4: Trim Edges
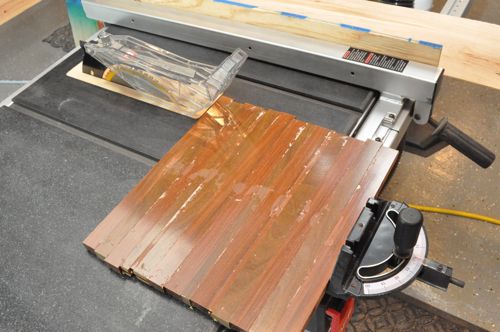
I ran the glued boards through my table saw again to cut the sides even.

Step 5: Sand (or Plane)
I could have really used a planer for this step!
I tried using an orbital sander with 60 grit paper, and that didn’t even make a scratch. So I broke out a grinder with a 40 grit sanding wheel, and the grinder did a good job removing the finish. I followed that up with a belt sander to smooth all the boards flush. Lastly, I grabbed that orbital sander again for one last pass.

It took a lot of sanding to get to this point.

Step 6: Rout the Edge
I used my router to cut a curved edge on each side to make it a little fancier.

Step 7: Apply Mineral Oil
It takes a few coats of mineral oil to season the wood. Just follow the instructions and let it dry.


Finished!
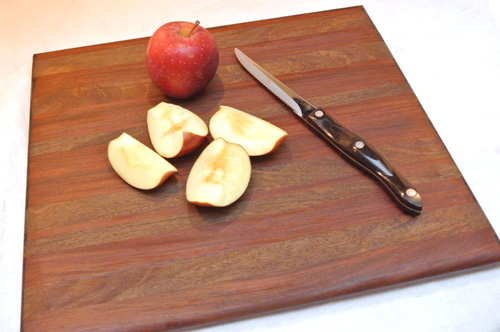
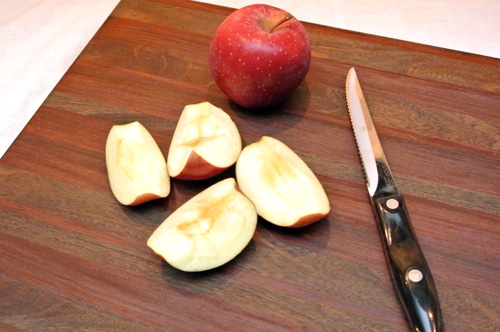
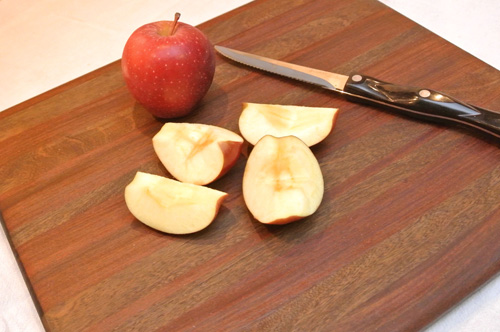


I never thought to use flooring for such a purpose. Looks pretty nice though.
To fix the problem where the hard maple dulls the knives, you typically cut the laminated board into strips, turn them all 90 degrees and reglue the strips with the end grains becoming the cutting surface. The end grain surface does two things: it makes the surface easier on your knife edge and it puts the board in the best orientation to “heal itself”. After cutting on the board, you invariably leave some knife marks no matter the hardness of the wood used. In end grains, the wood will come back on itself and minor marks will disappear overnight. This can be helped along by keeping a thin film of the mineral oil on the surface.
I’m not sure if youd be able to do this now and have it glue up well given the film of mineral oil already applied. The glue wouldn’t stick, and it would probably take more time than it’s worth to sand through that layer of the wood. Just a thought for next time!
I’m with you on end grain boards. My next one I want to make like Steve’s at WWMM with a somewhat random organized pattern. http://www.youtube.com/watch?v=HpfErCLG3po&feature=related
Or a “drunken style” board. Need a good bandsaw for that though.
Thanks for sharing the link. I’d never heard of Woodworking for Mere Mortals but I just watched a ton of his videos–great stuff! Thanks for sharing…I’m still new to the woodworking scene. Until I move (4 months!) I’m just able to compile wish lists but I love reading about this stuff. Thanks!
You should check out Wood Whisperer too. Both Steve (wwmm) and Mark explain things so clearly.
The only thing about the Wood Whisperer is that there’s no blog or RSS or any kind (that I can find, anyway). I still want to check out some of the old videos but if new content is coming out there’s no way I want to visit the site to check and see if something has been posted 🙁
I found his RSS feed. http://feeds.feedburner.com/TWW
He does have a lot of free content on http://www.thewoodwhisperer.com/ but the for pay side of his site (guild) is where the great content is.
Good tip about the end-grain board. Next time around I doubt I’ll use the Ipe as it was really tough to work with, and I’ll use the end-grain like everyone suggested.
Brady you really know your wood. Good tips.
It’s a beautiful thing. Nice job, guys!
cool project. I’m surprised the finish on the hardwood floors was that resistant to sanding.
Yup, as Brady said, end grain boards are the easiest on knives and give a nice sliding action when slicing, but the one you’ve made here is still beautiful and will function very nicely. Just avoid using plastic and especially glass cutting boards. I only use the plastic ones for meat because they can go in the dishwasher to be sanitized.
If you wanted to make that board more versatile, you could also rout a groove around the top. Many wood cutting boards have this to catch juices that run out when carving up a chunk of beast. Like mentioned above- wood cutting boards should only be used for cooked meat. Raw meats go on plastic.
I thought about routing a groove. However, the Ipe is so hard that it’s difficult not to scorch the wood! It’s something I’ll consider next time around.
Maybe a stupid question, but… what’s the thickness of the final board? The wood flooring looks thicker than what I’ve seen before, so I’m wondering if you had to layer it? or if there is a minimum thickness that it needs to be to end up with a descent cutting board?
Not a stupid questions at all. I’ve read that you want the cutting board at least 3/4″ thick, and thankfully that’s the thickness of typical hardwood flooring. The thicker the board, the more surface area for the glue.
Love the look of the finished product. And wow, after watching Jeff’s video I had no idea that there was such a niche for making boards haha! Definitely a great gift idea that I’ll add to my list for future projects
Using the flooring is a great idea. The cutting board looks great.
That’s an excellent guide and the best thing is that you can make it to any size you like. I was looking at cutting boards the other day and couldn’t find what I wanted so now it’s off to the workshop to give this a go. Thanks.
What a great idea. We just laid Brazilian Cherry in our place and I ended up keeping a ton of boards. Best part is we went with a raw floor so if anything I may try and run the bottom side through a planner for a smooth finish.
Curious, what kind of blade did you use ? Ipe is super hard, almost like steel ? well, not quite.
I used a DeWalt 60t carbide tipped blade, and cut very slowly. Even so I had to sand away a few scorch marks, and it was even more difficult with the router. I would suggest not using Ipe.
How does the back look like? I’m thinking it’s probably just as nice when treated with min oil and perhaps the sanding off of the finish on the face side can be skipped then? Also, I’m curious if the original tongue and grooves could have been used (except for the edges of course) for sturdiness.
I didn’t remove the grooves typically found on the underside of hardwood flooring. It is unfinished, but I wouldn’t be comfortable using it as a cutting board with the finish still in place. I originally tried using the t&g but you need smaller pieces so unless you sacrifice a lot of boards, it’s not really worth it.
The board looks great and you did a good job of construction and finishing. I would have a couple concerns revolving around using Ipe for this project.
As you have mentioned, Ipe is incredibly hard and is brutal on woodworking tools and blades, even carbide ones. As such, you were probably better off using the grinder and sander rather than the planer–you would likely have been resharpening your planer blades, even after a small project like this. It is probably going to dull kitchen knives fairly quickly when slicing.
The second issue is that I would question how long the glue joints are going to last. Ipe and most other tropical woods that are useful for outdoor projects, like decks, are very oily. Those natural oils are great for protecting the wood from water and weather exposure, but make it hard to glue up well. The best success I have seen with glue joints is by using epoxies designed specifically for tropical wood. Other people have had some luck with wiping the wood down with mineral spirits prior to glue up to remove the surface oils, but most of these joints still fail in a relatively short amount of time.
I was wondering what to do with my few left over pieces
That’s awesome. Would have never thought to use flooring for a cutting board!
How do I print this article? BTW very good information, well written & photographed.
Thank you for giving this creative and excellent idea. I never thought that type of creativity. I’ll do this.