
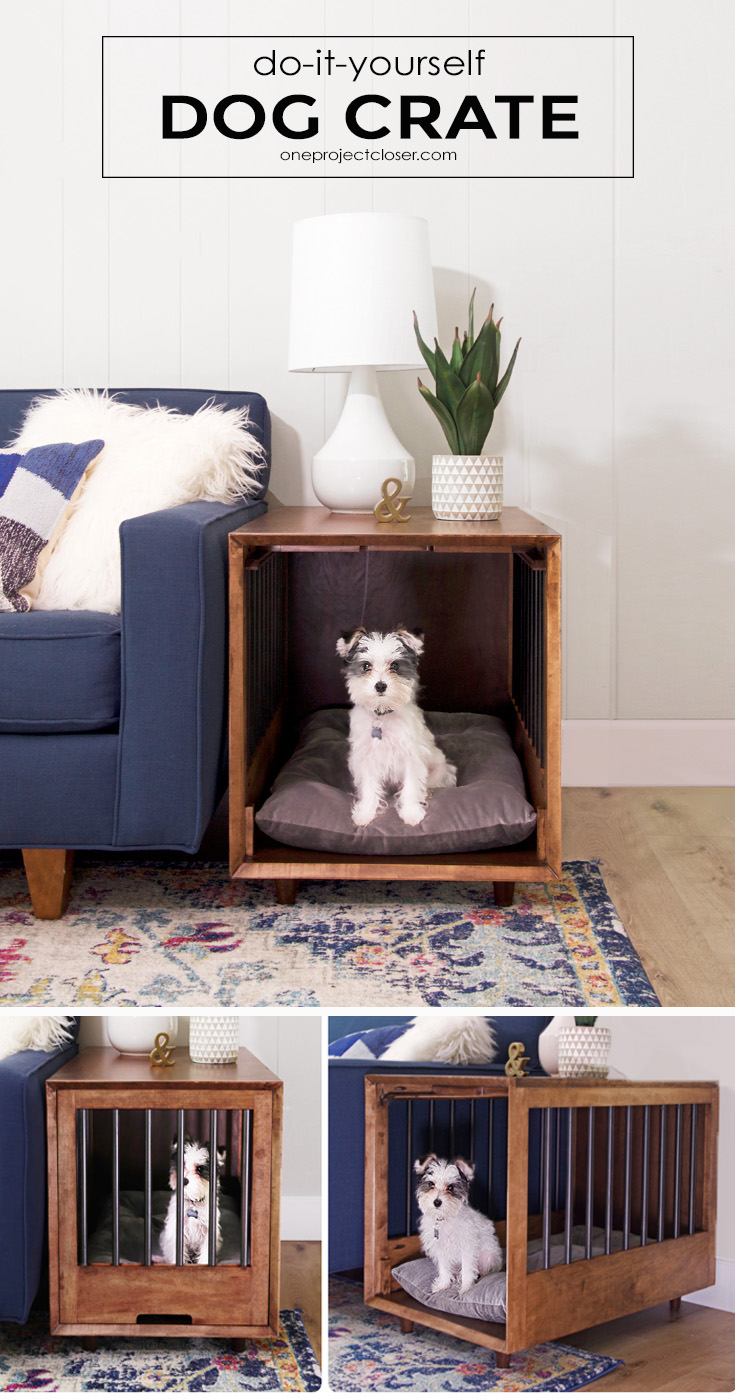
How to Build a Dog Crate That Doubles as an End-Table (Picture Tutorial)
September 12, 2018 | by Ethan (email) |Thank you so much for visiting us at One Project Closer for this Mid-Century Modern Dog Crate and End-Table Tutorial.
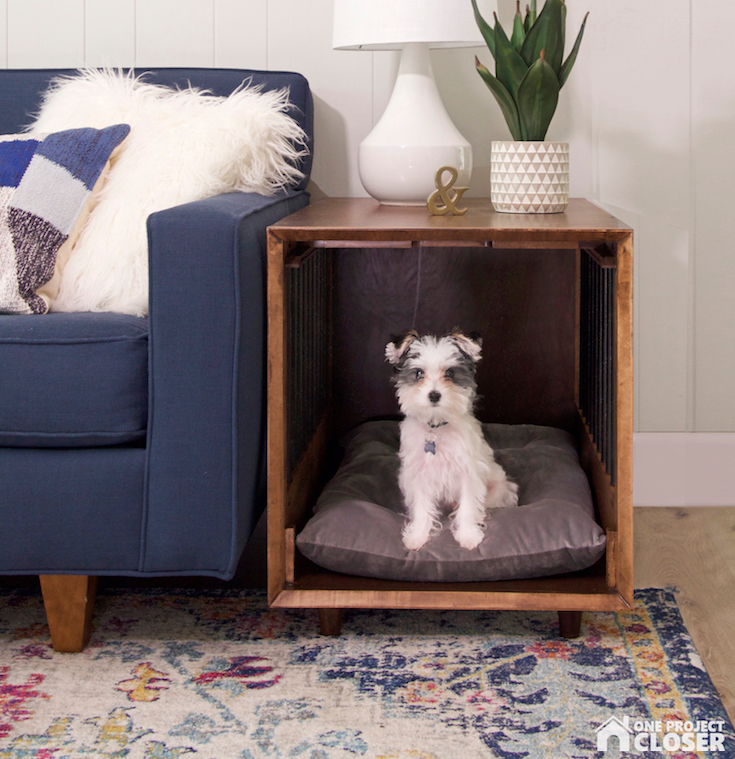
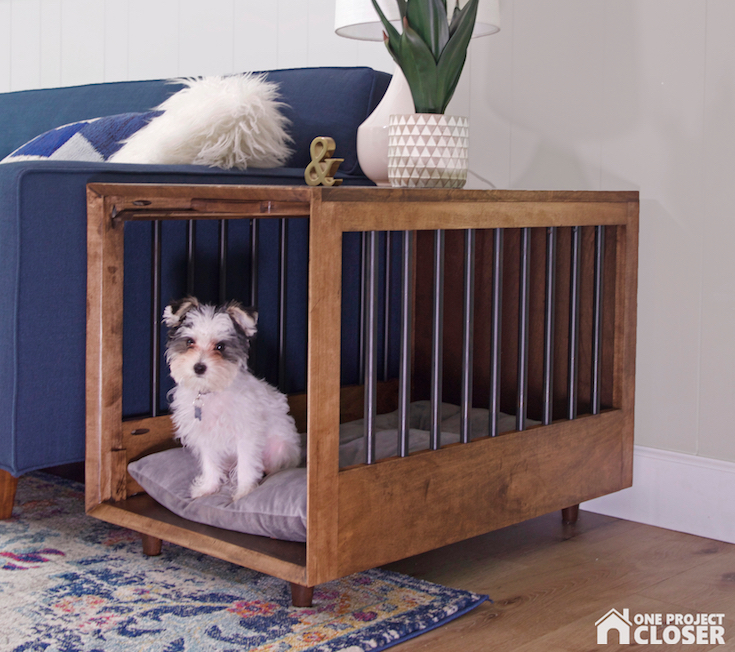
I’m sure you’ve heard by now that we have a new addition to the family – Chief Hopper. Hopper is a Morkie (Maltese + Yorkie mix), and he is a ton of fun. The girls love playing with him, and I’ll admit that so do I. Getting ready for Hopper, we purchased all the usual stuff – bed, toys, food, bowls, etc. When it came to buying a dog crate, Jocie and I couldn’t find anything that we really liked. Jocie is big on the mid-century modern style, and we wanted something that would serve as an end-table too. You can probably see where this is going. In the end, I decided to build the dog crate.
Materials
For this project, I picked up some Maple 1x and a sheet of sanded plywood at the local Home Depot. One thing to remember (because initially I did not) is that Maple is a hardwood and will soak up stain much slower than a softwood. I’m pleased with the ‘two-tone’ look of our dog crate. If you want something more uniform, try to buy all the same species of wood.
Here are the other materials I used to build this crate:
- Kreg pocket hole screws (fine and course thread)
- 1/2″ wood dowel
- Wood glue
- Tapered legs (purchased off Etsy)
- Round metal stair balusters
- Plywood edge banding
- 12″ piano hinge
- Wood stain
Building the Dog Crate
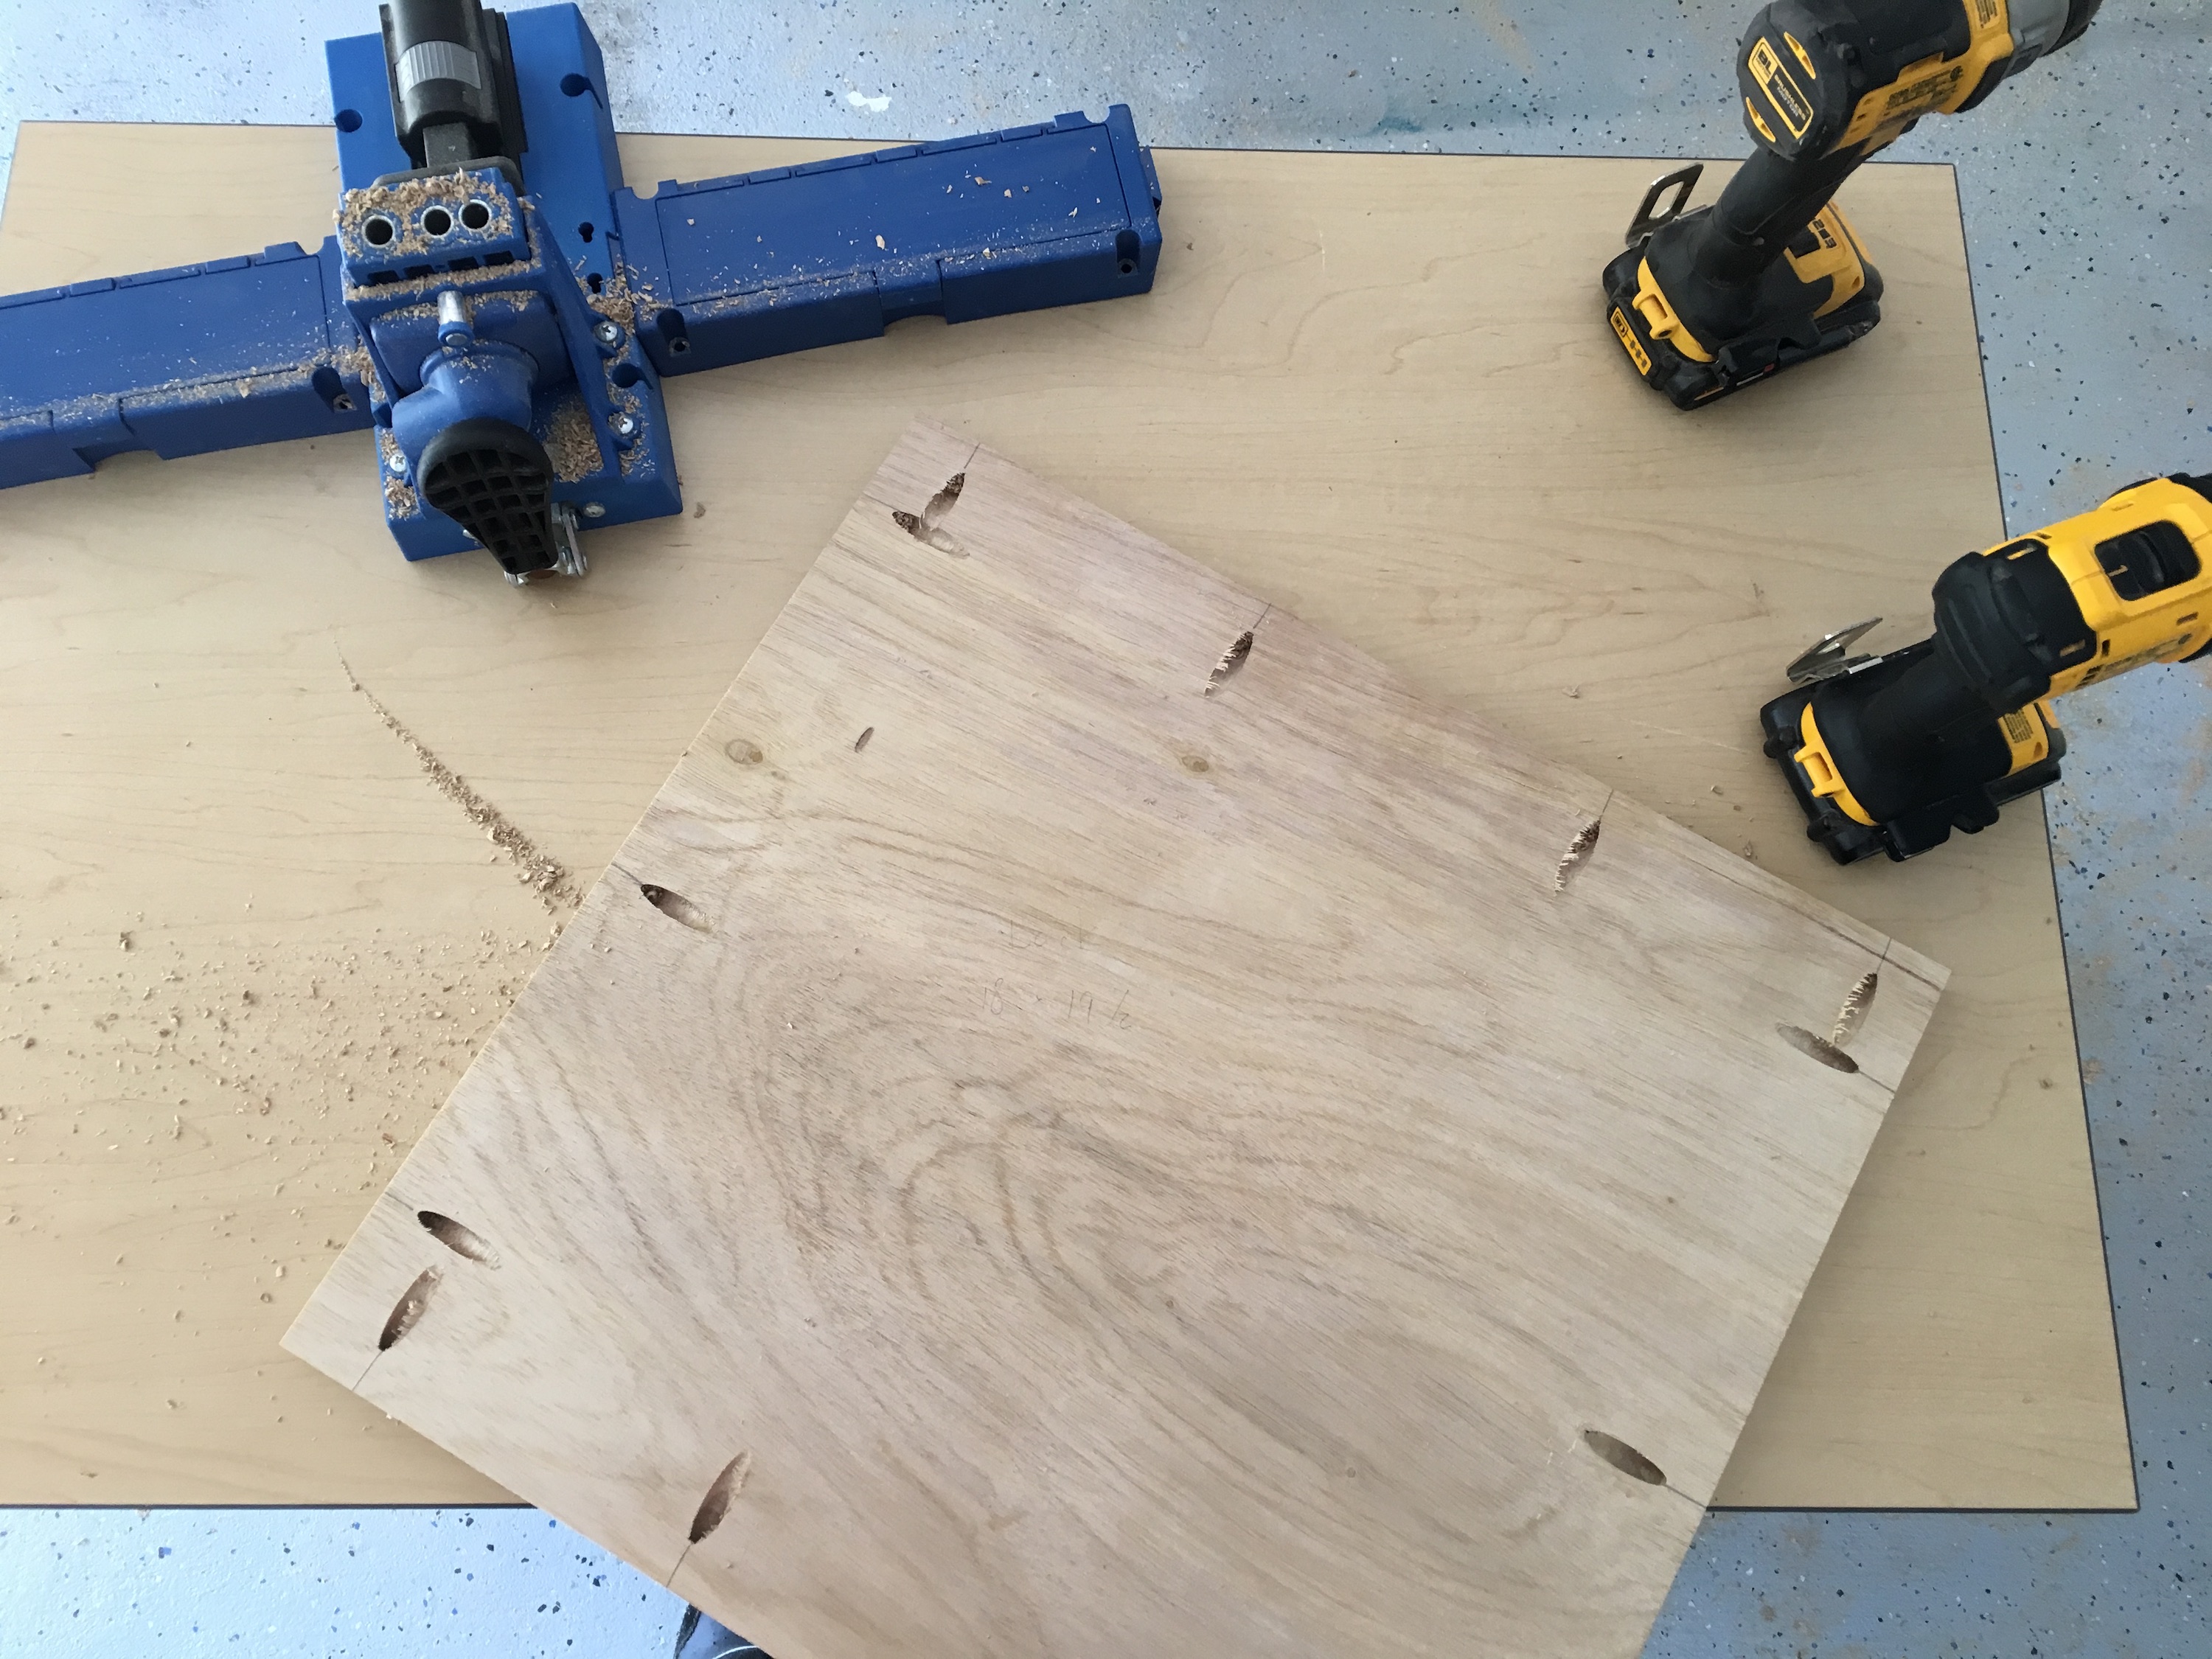
I started by cutting the bottom and back pieces to size from the sheet of plywood. I like to use painters tape especially for cuts across the grain to better prevent tear-out. If you know of other tips, share them in the comments! I sized this to fit the dog bed which is 18 x 30″.
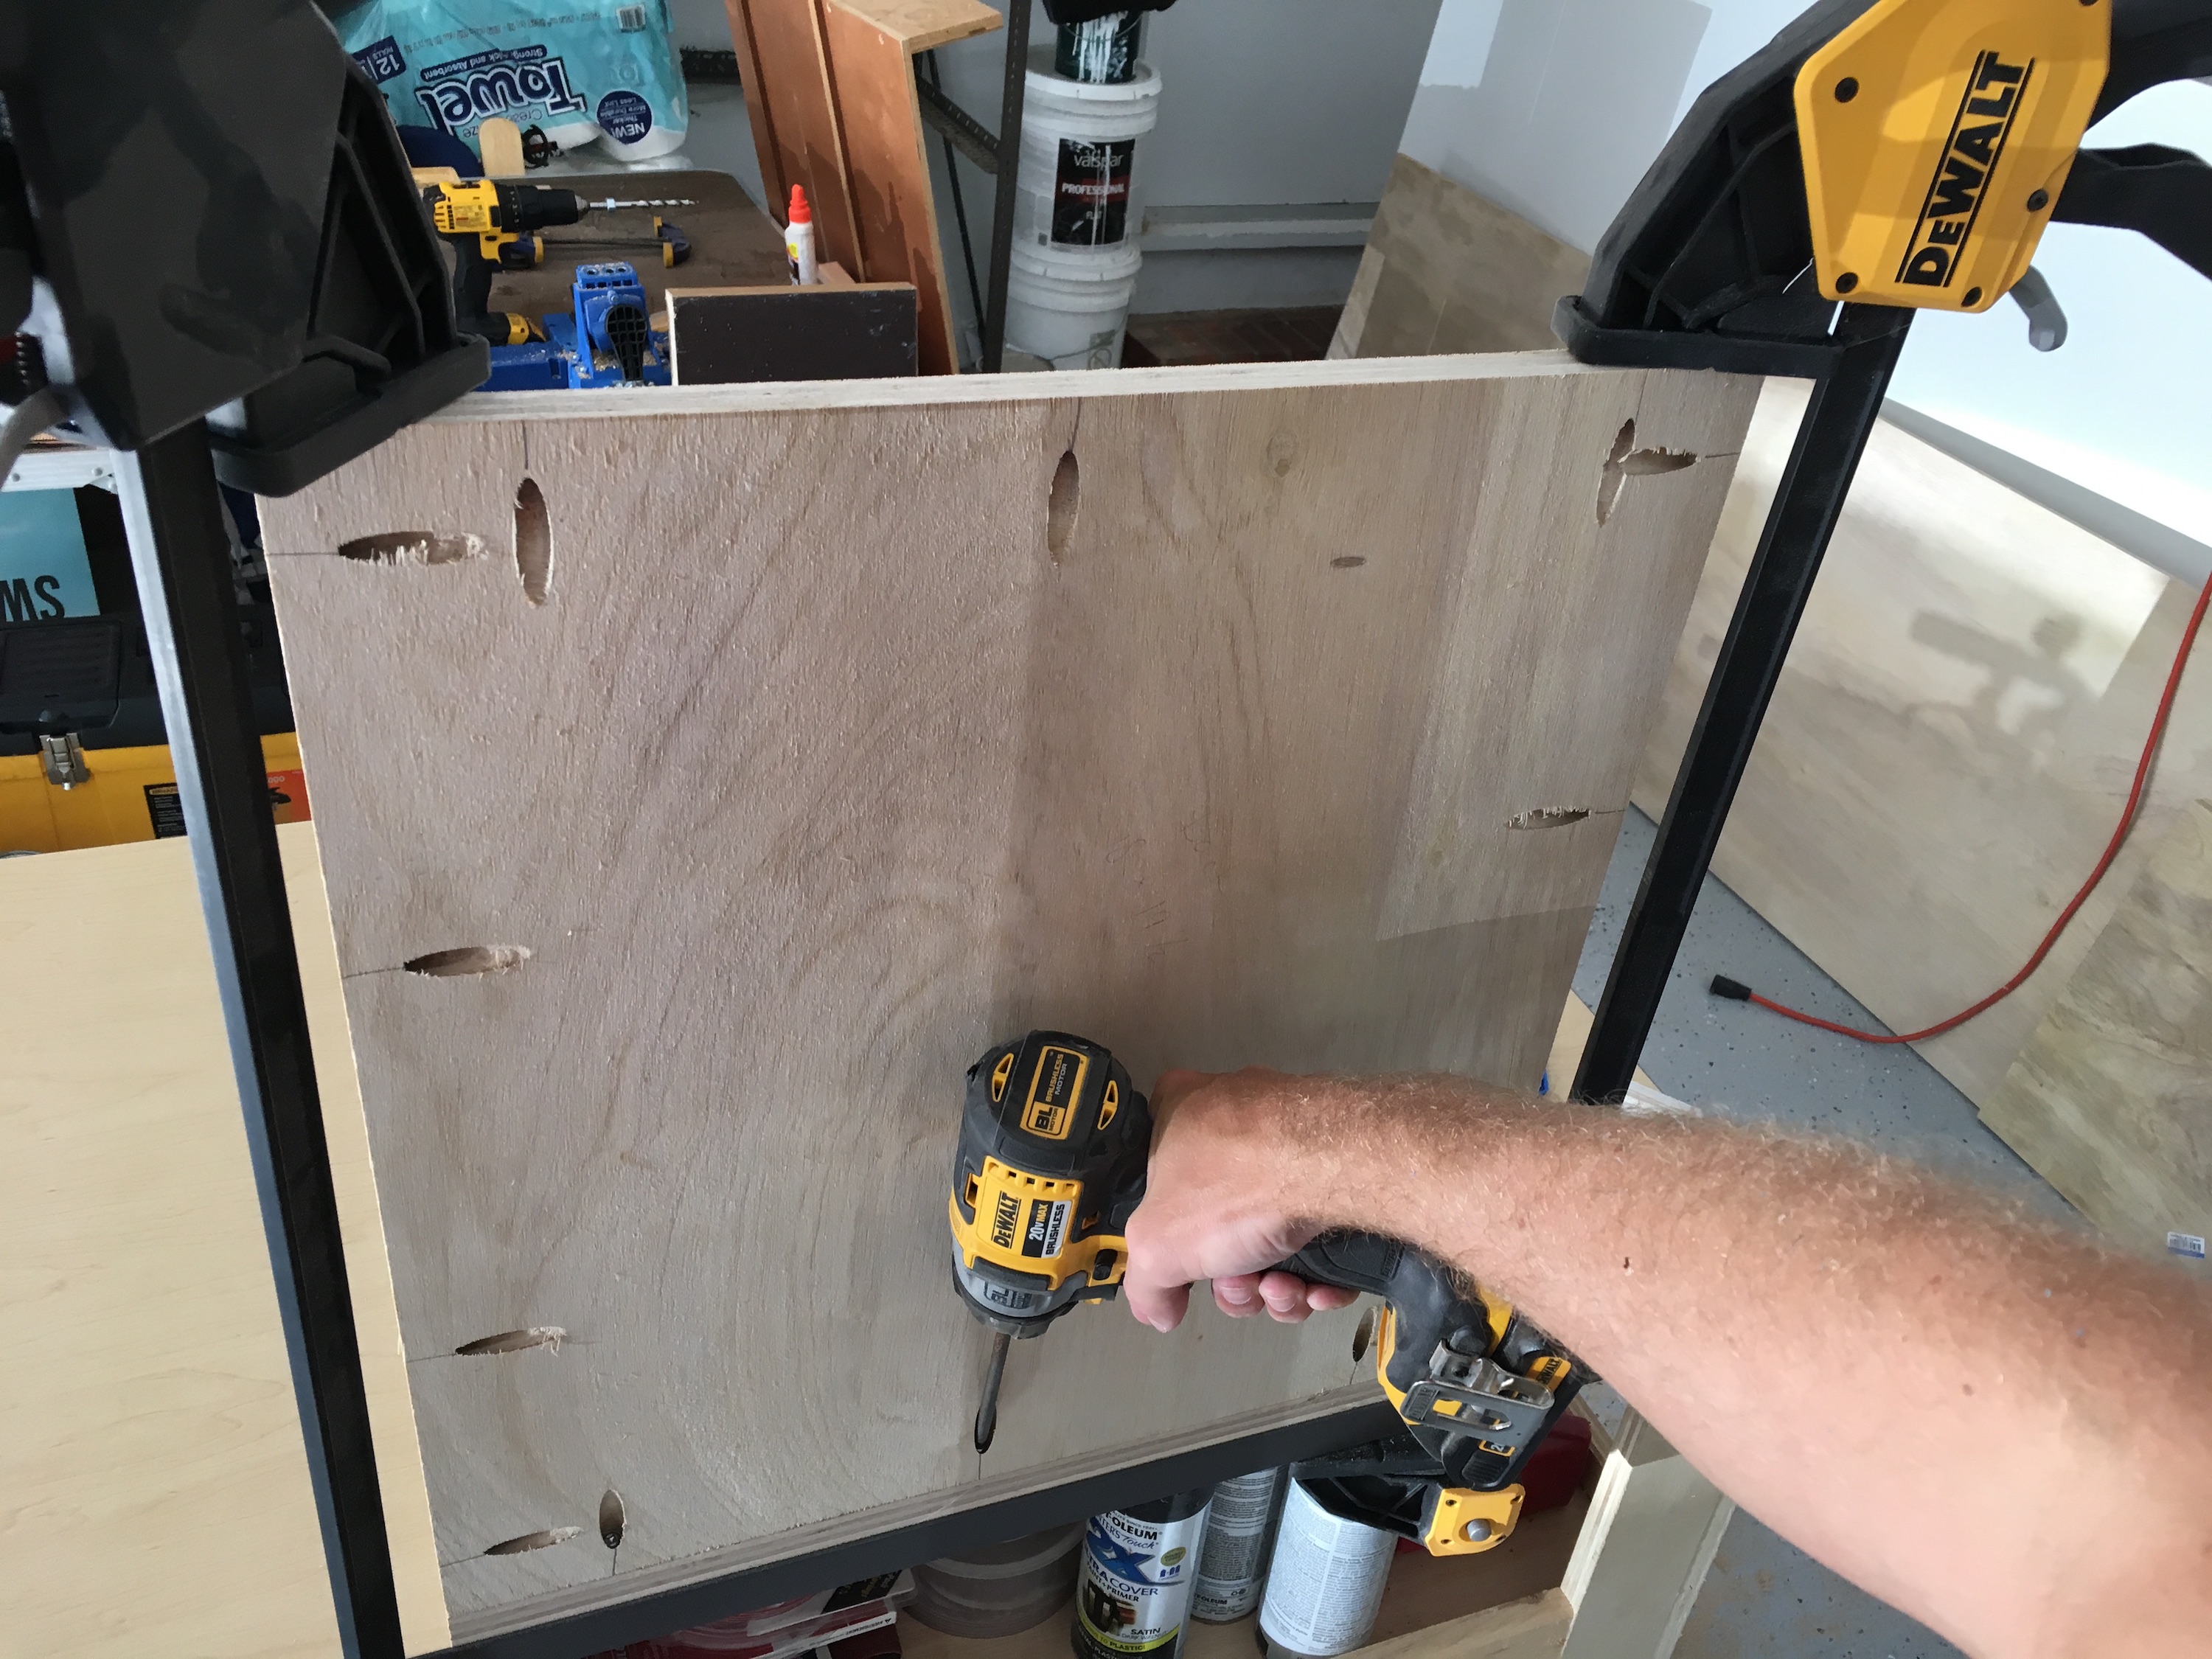
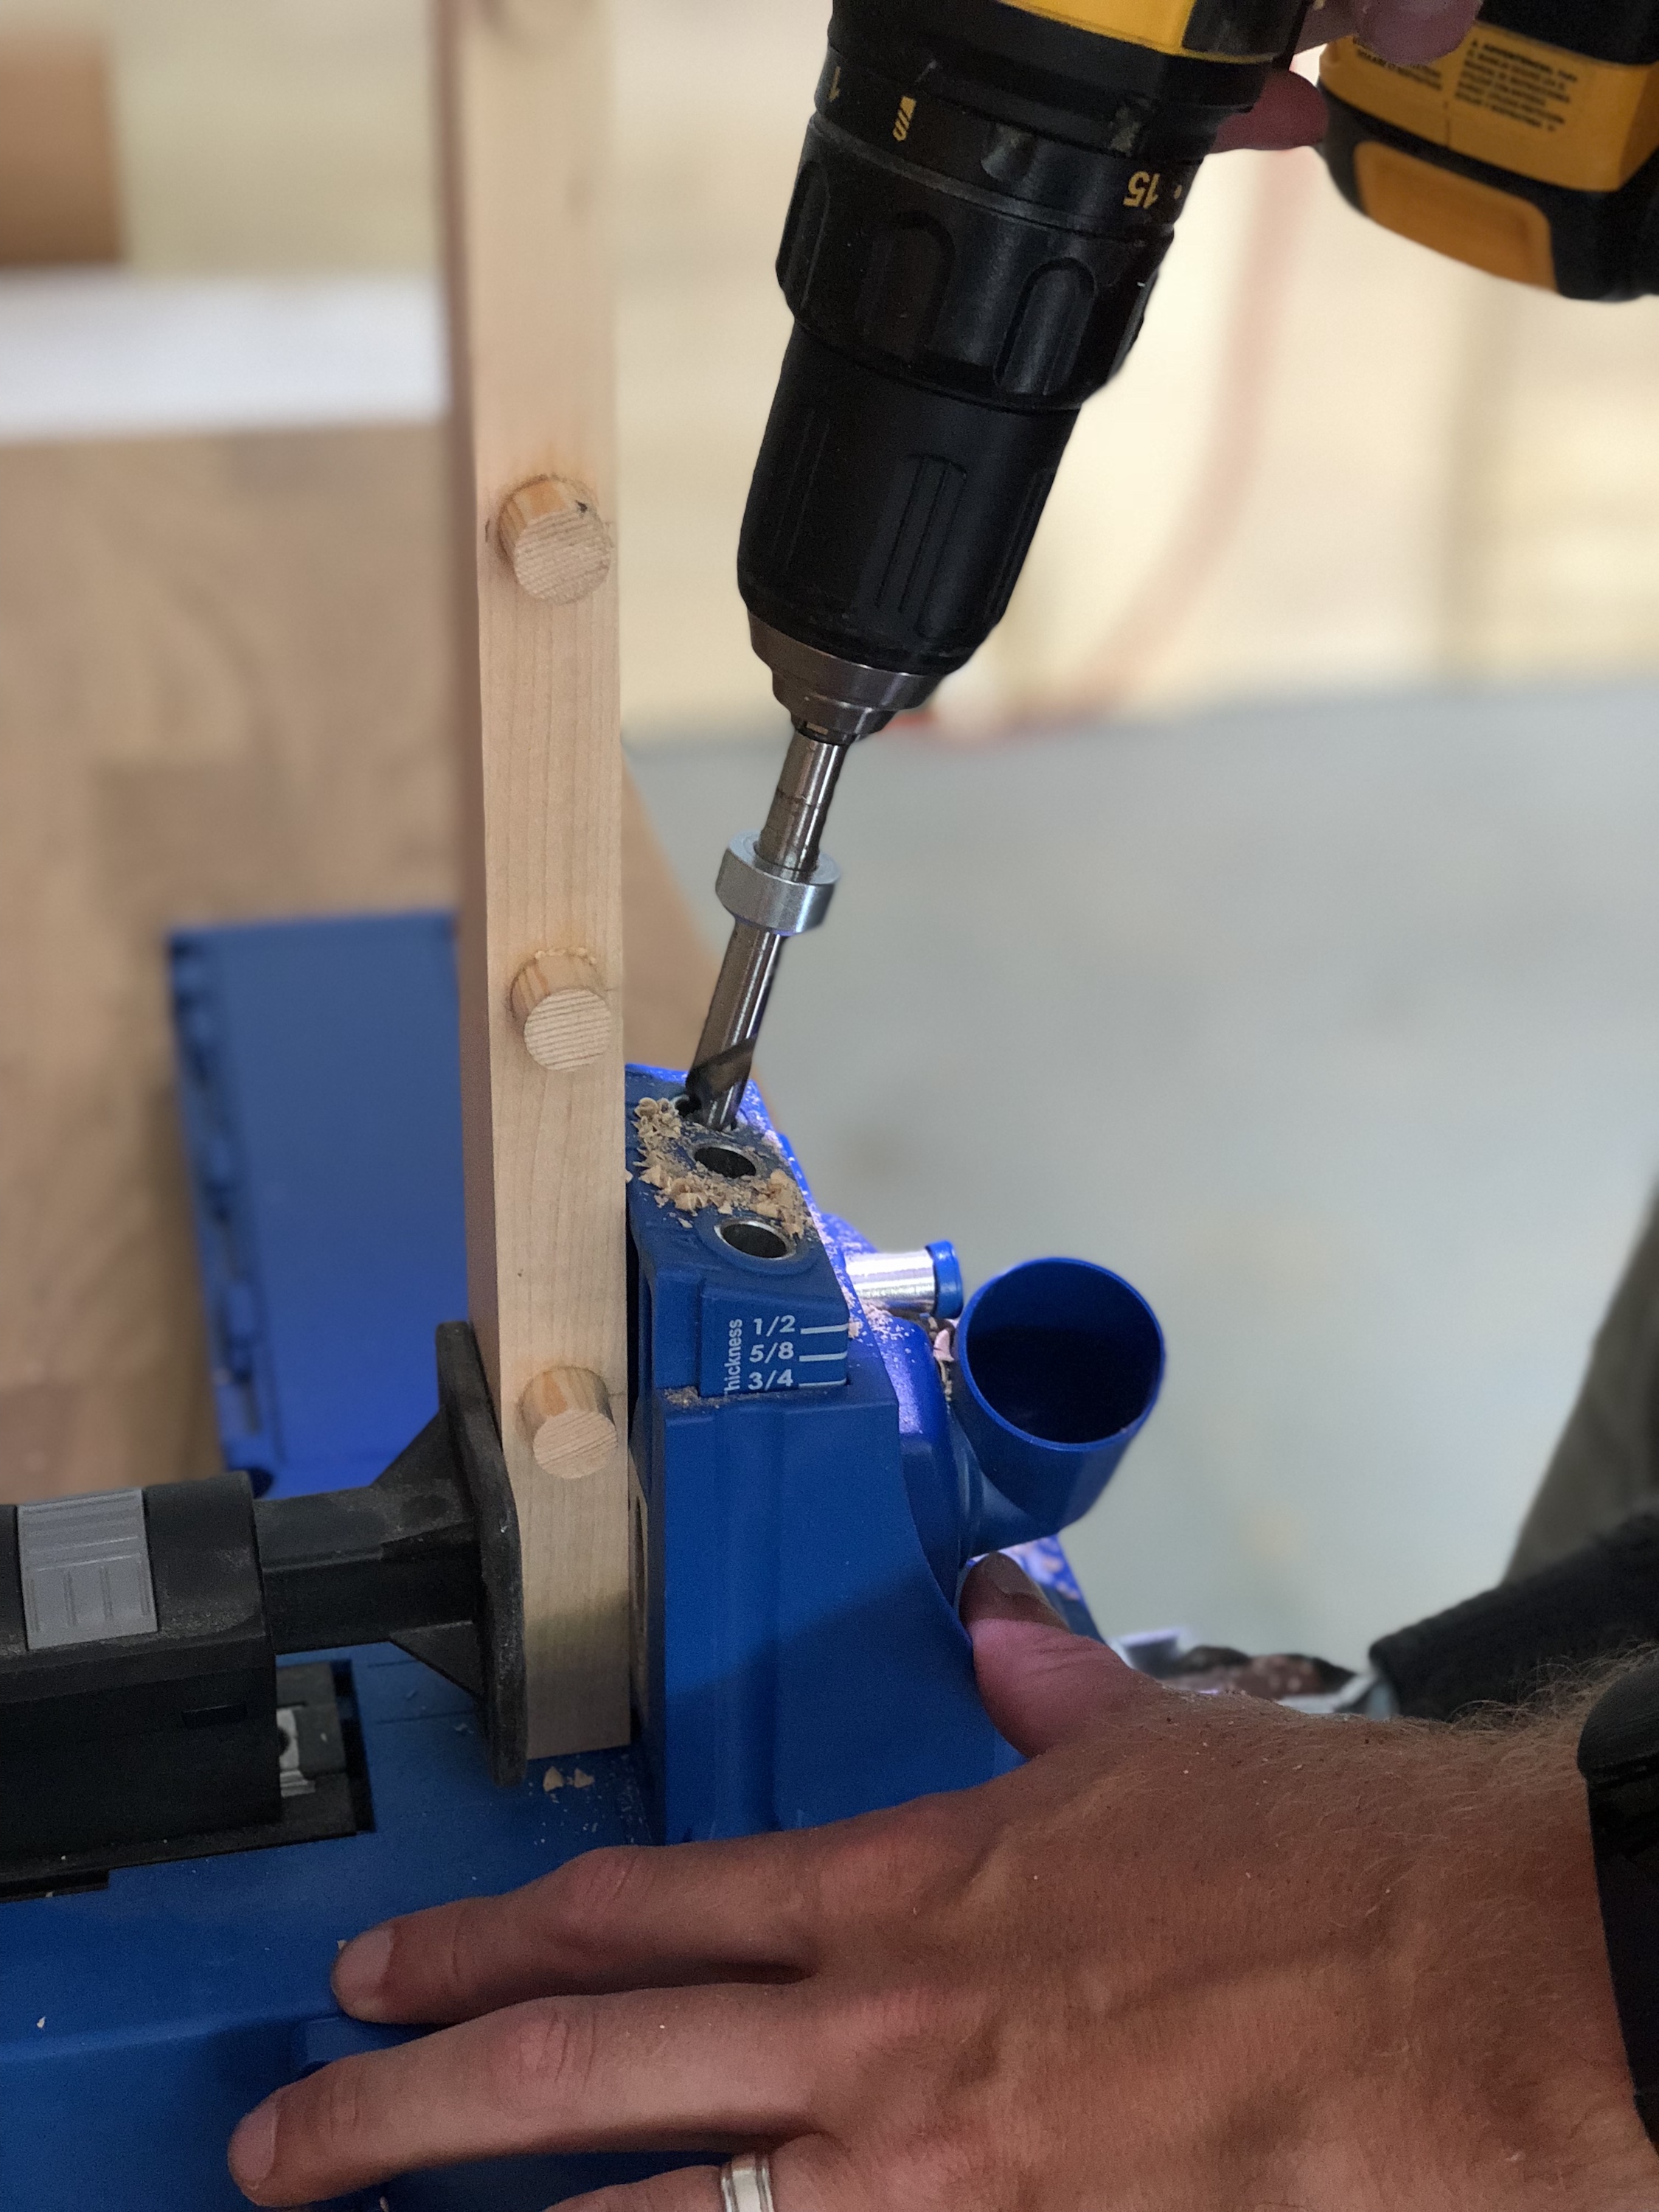
Next, I drilled pocket holes that would allow me to attach the bottom, top and sides.

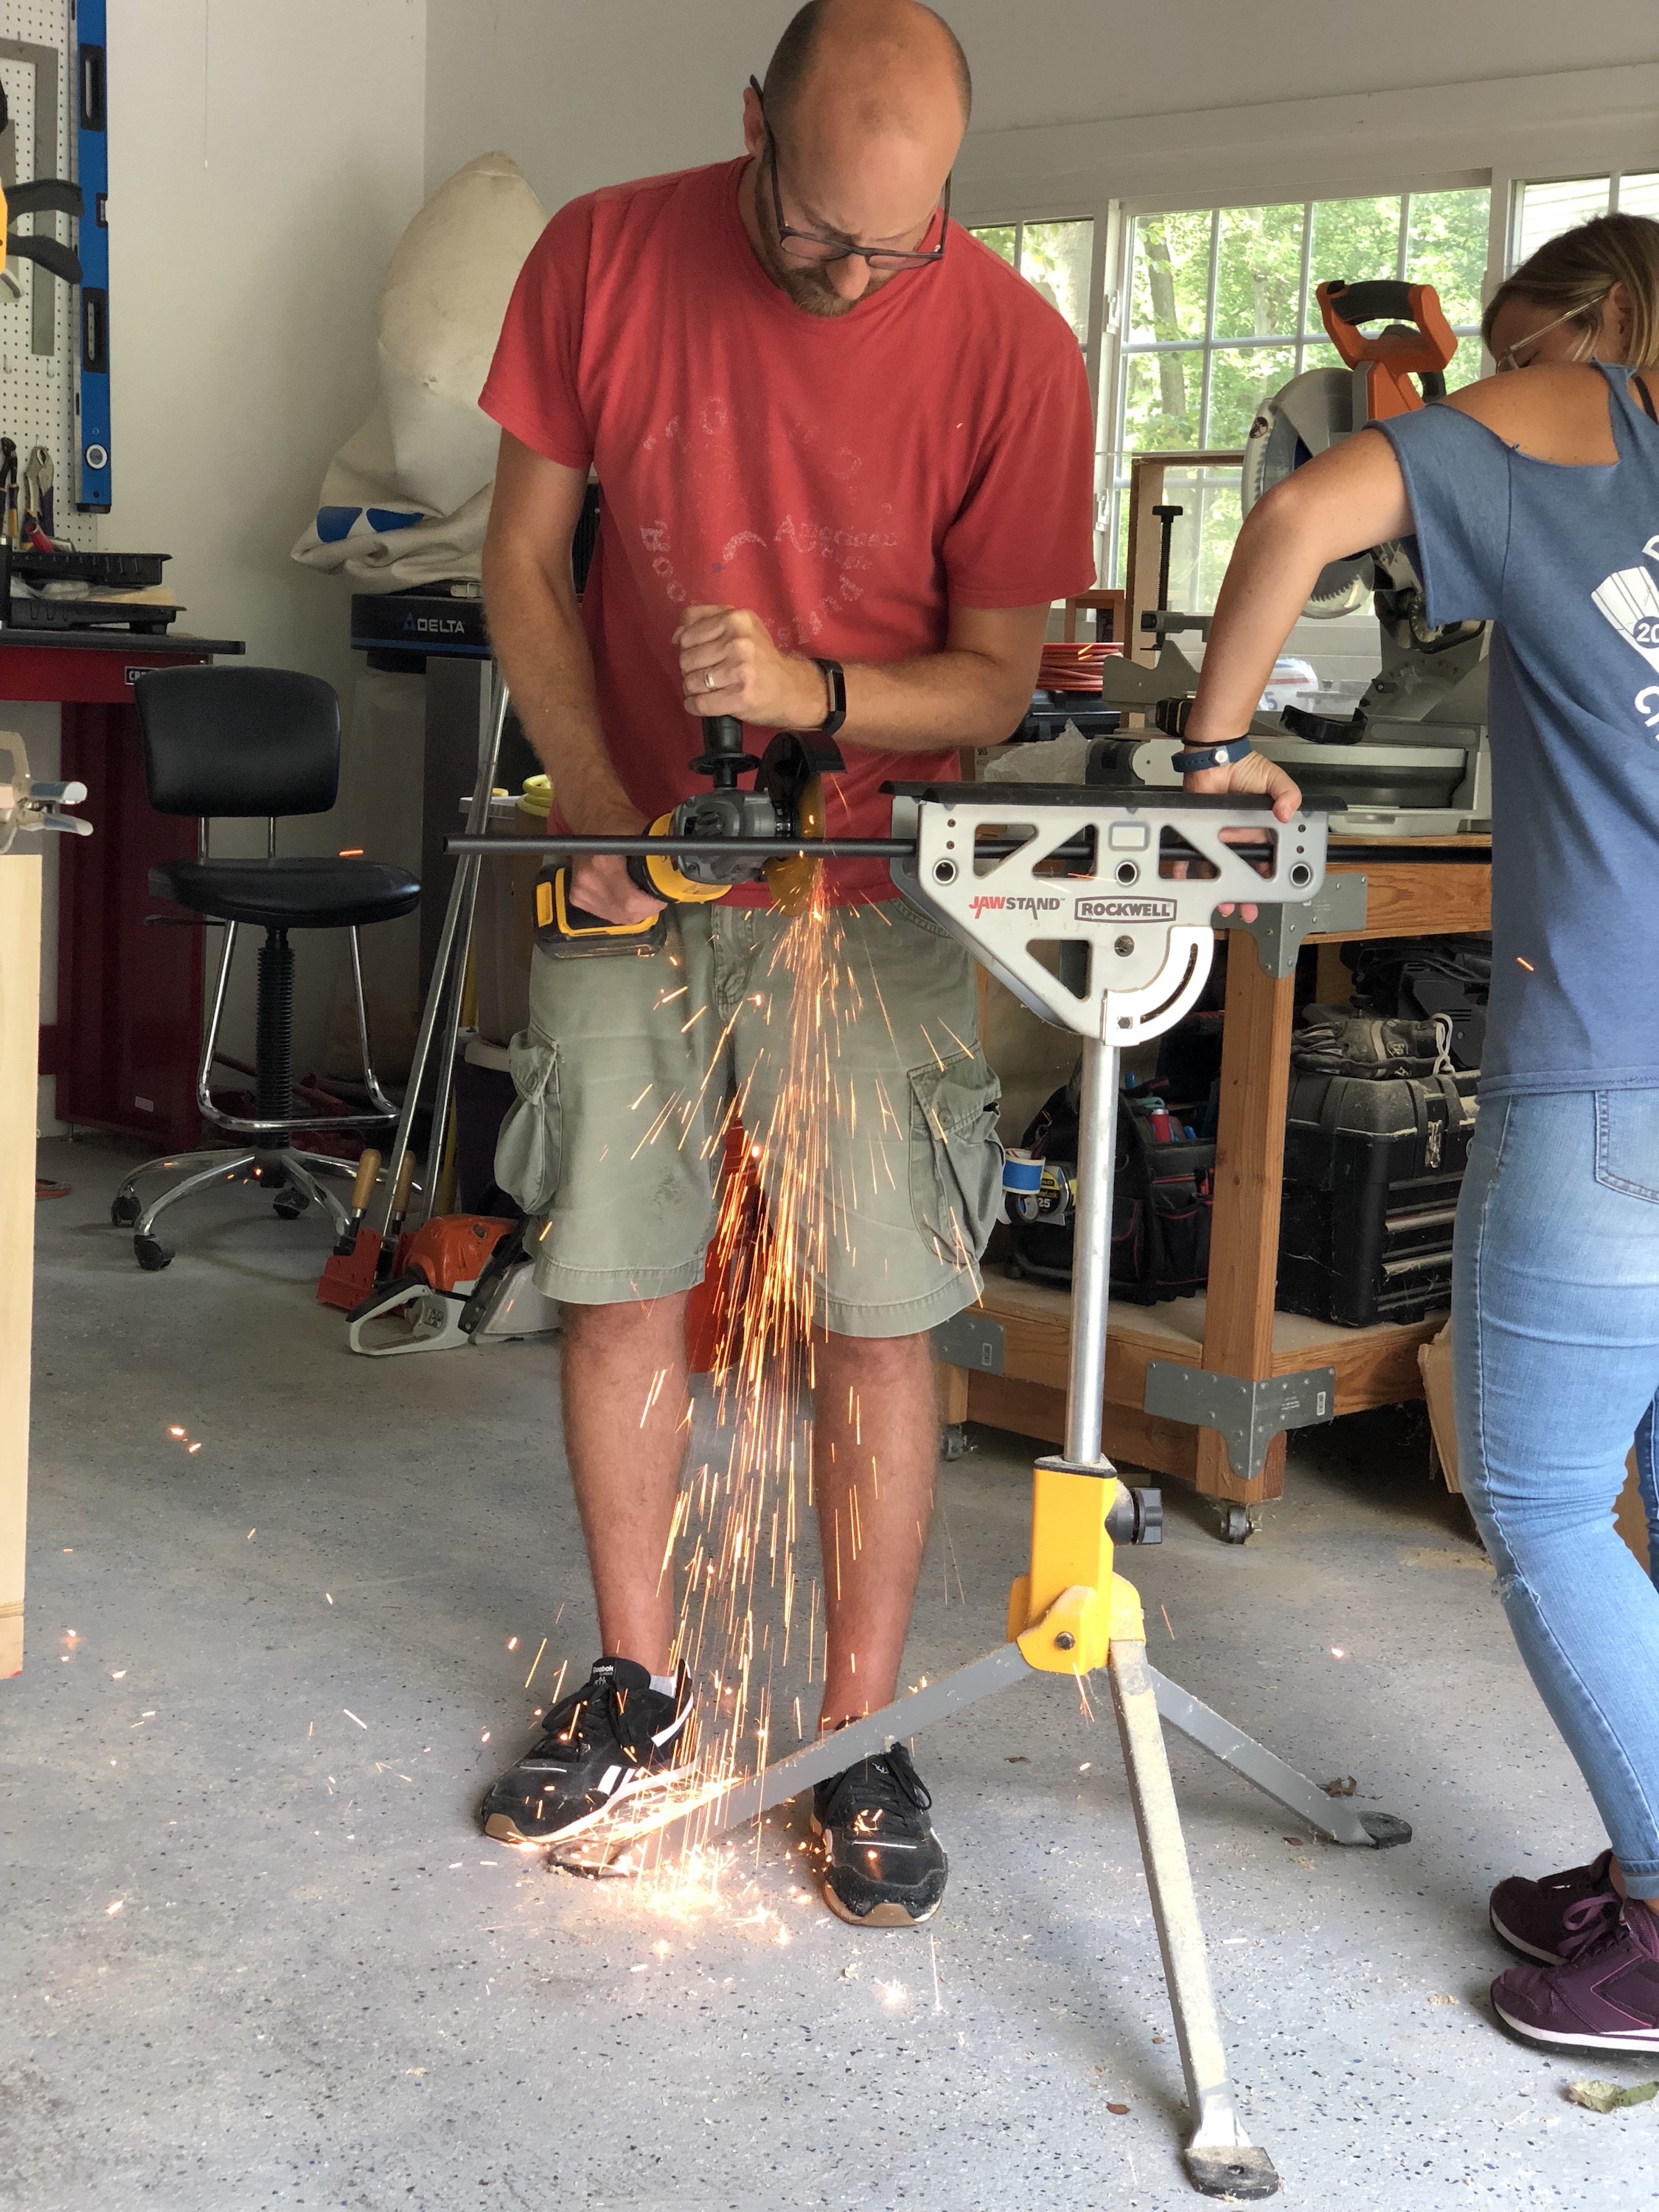
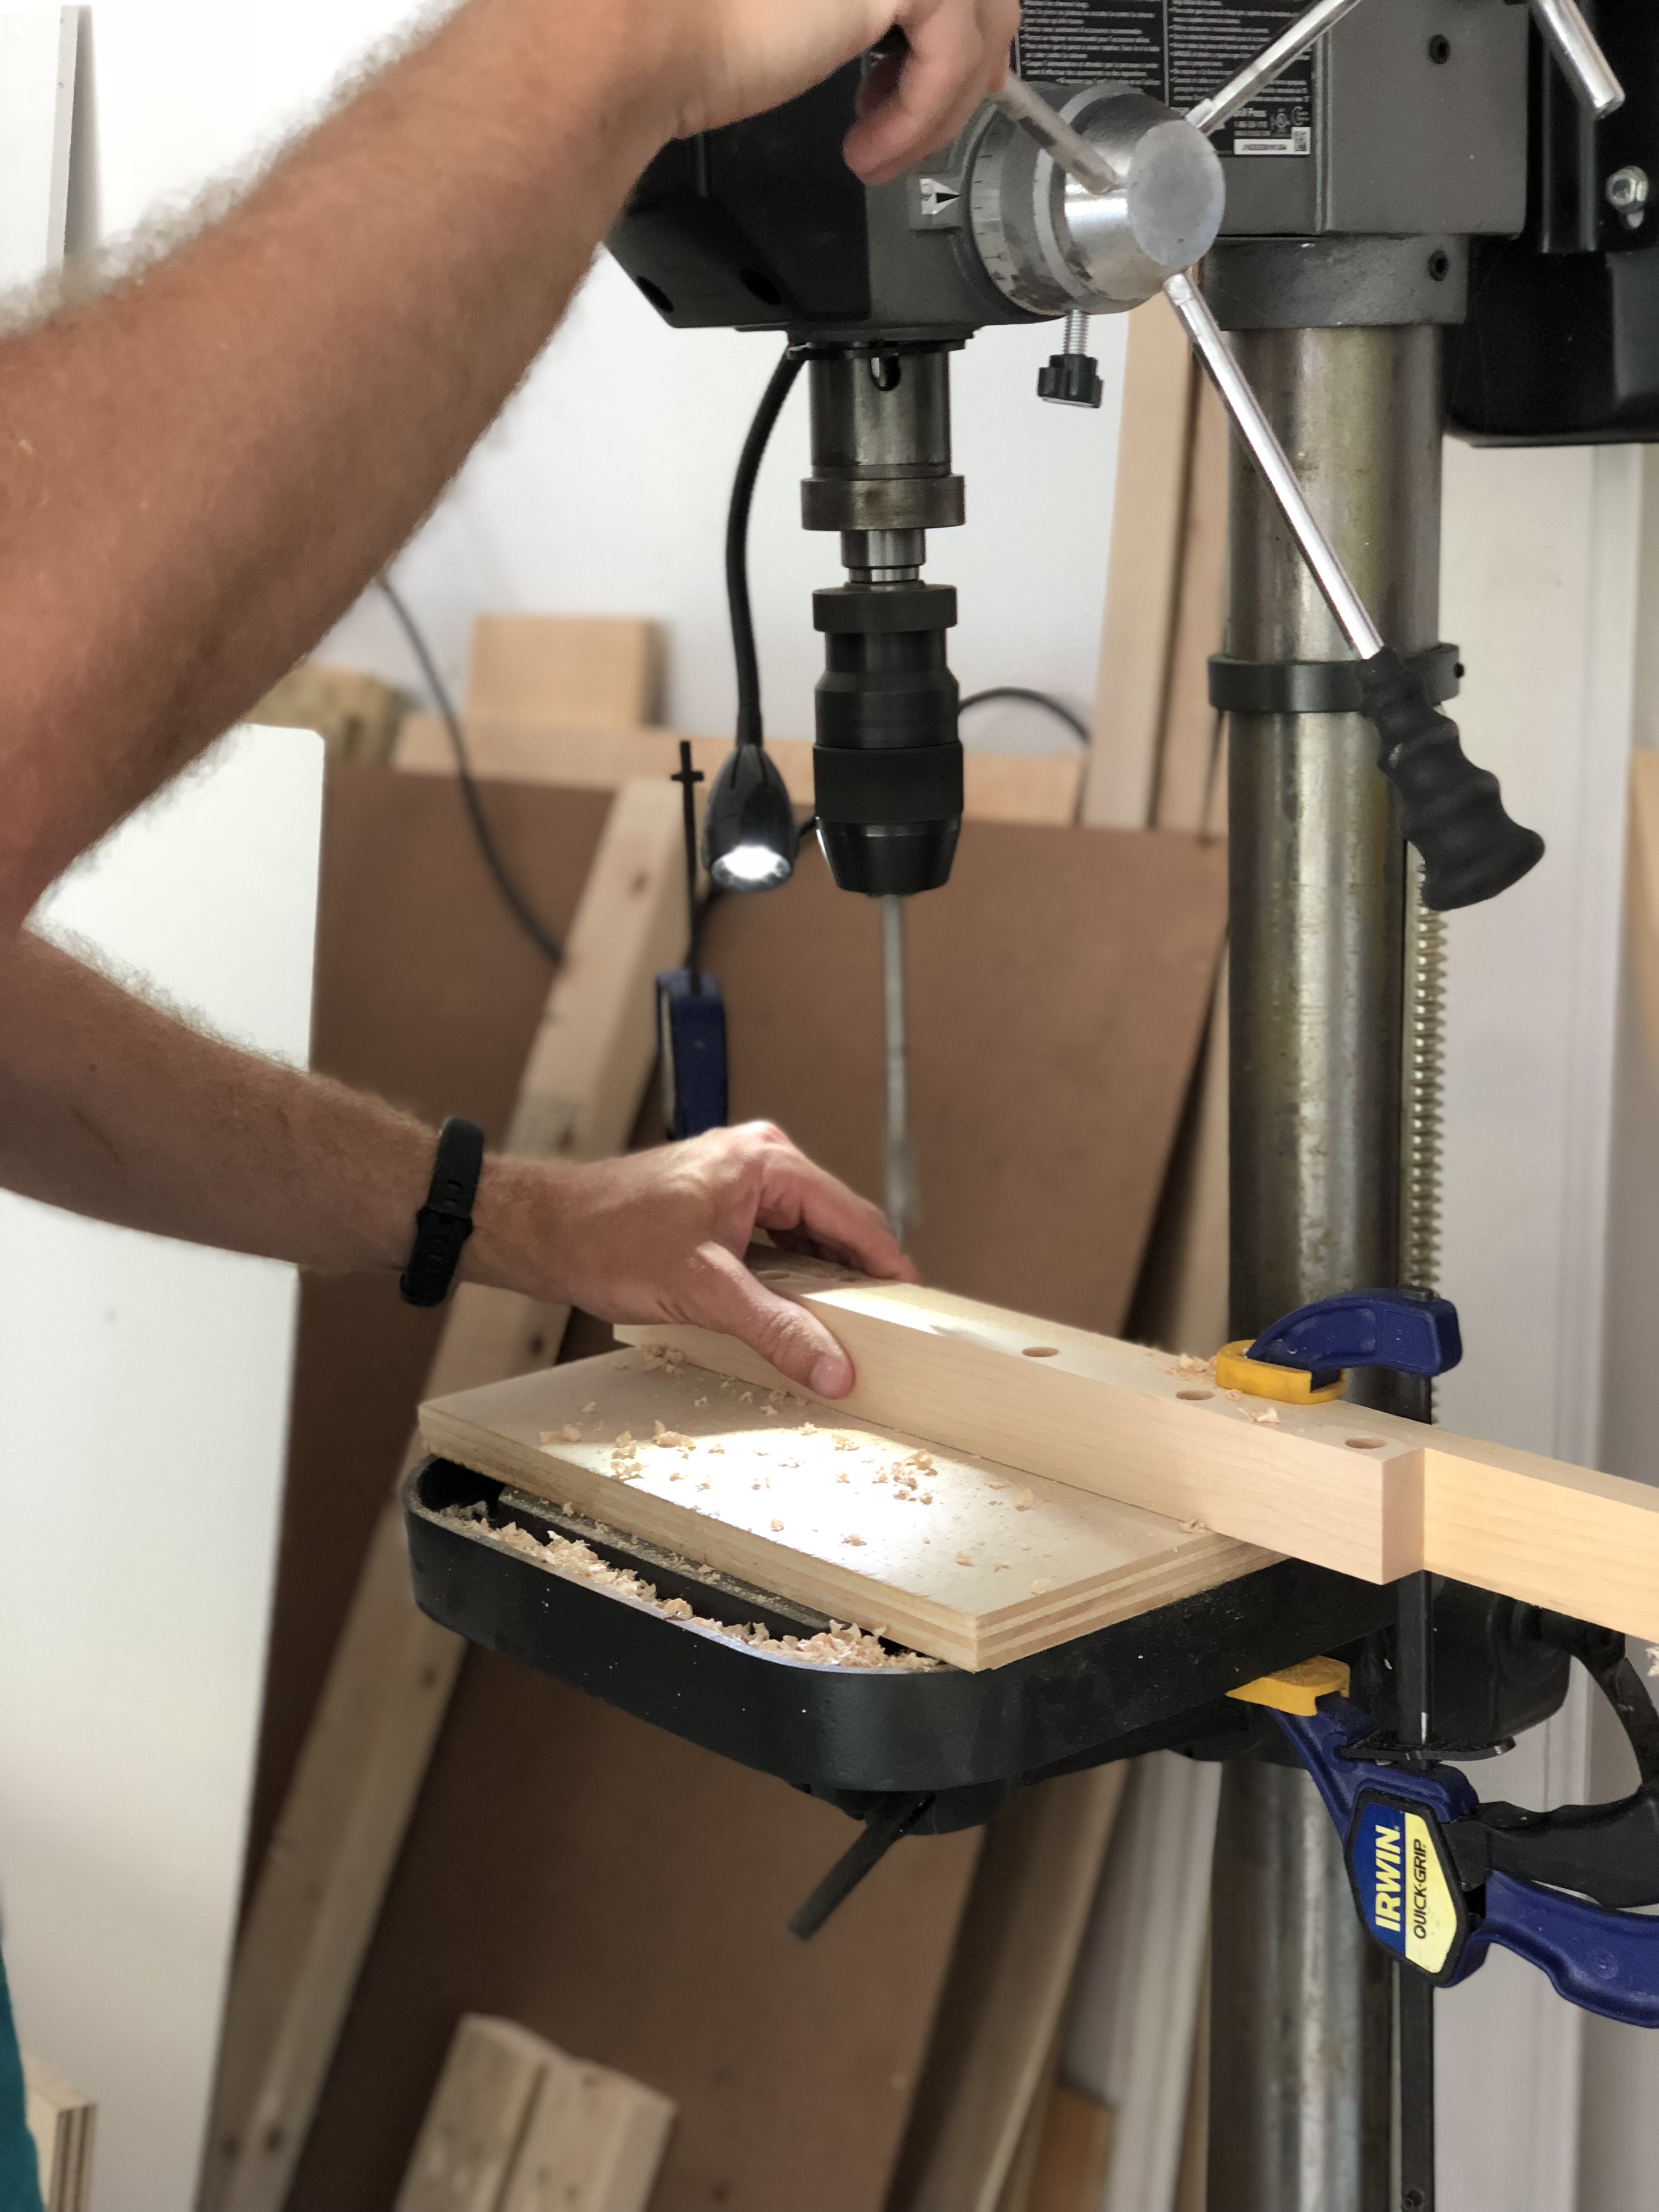
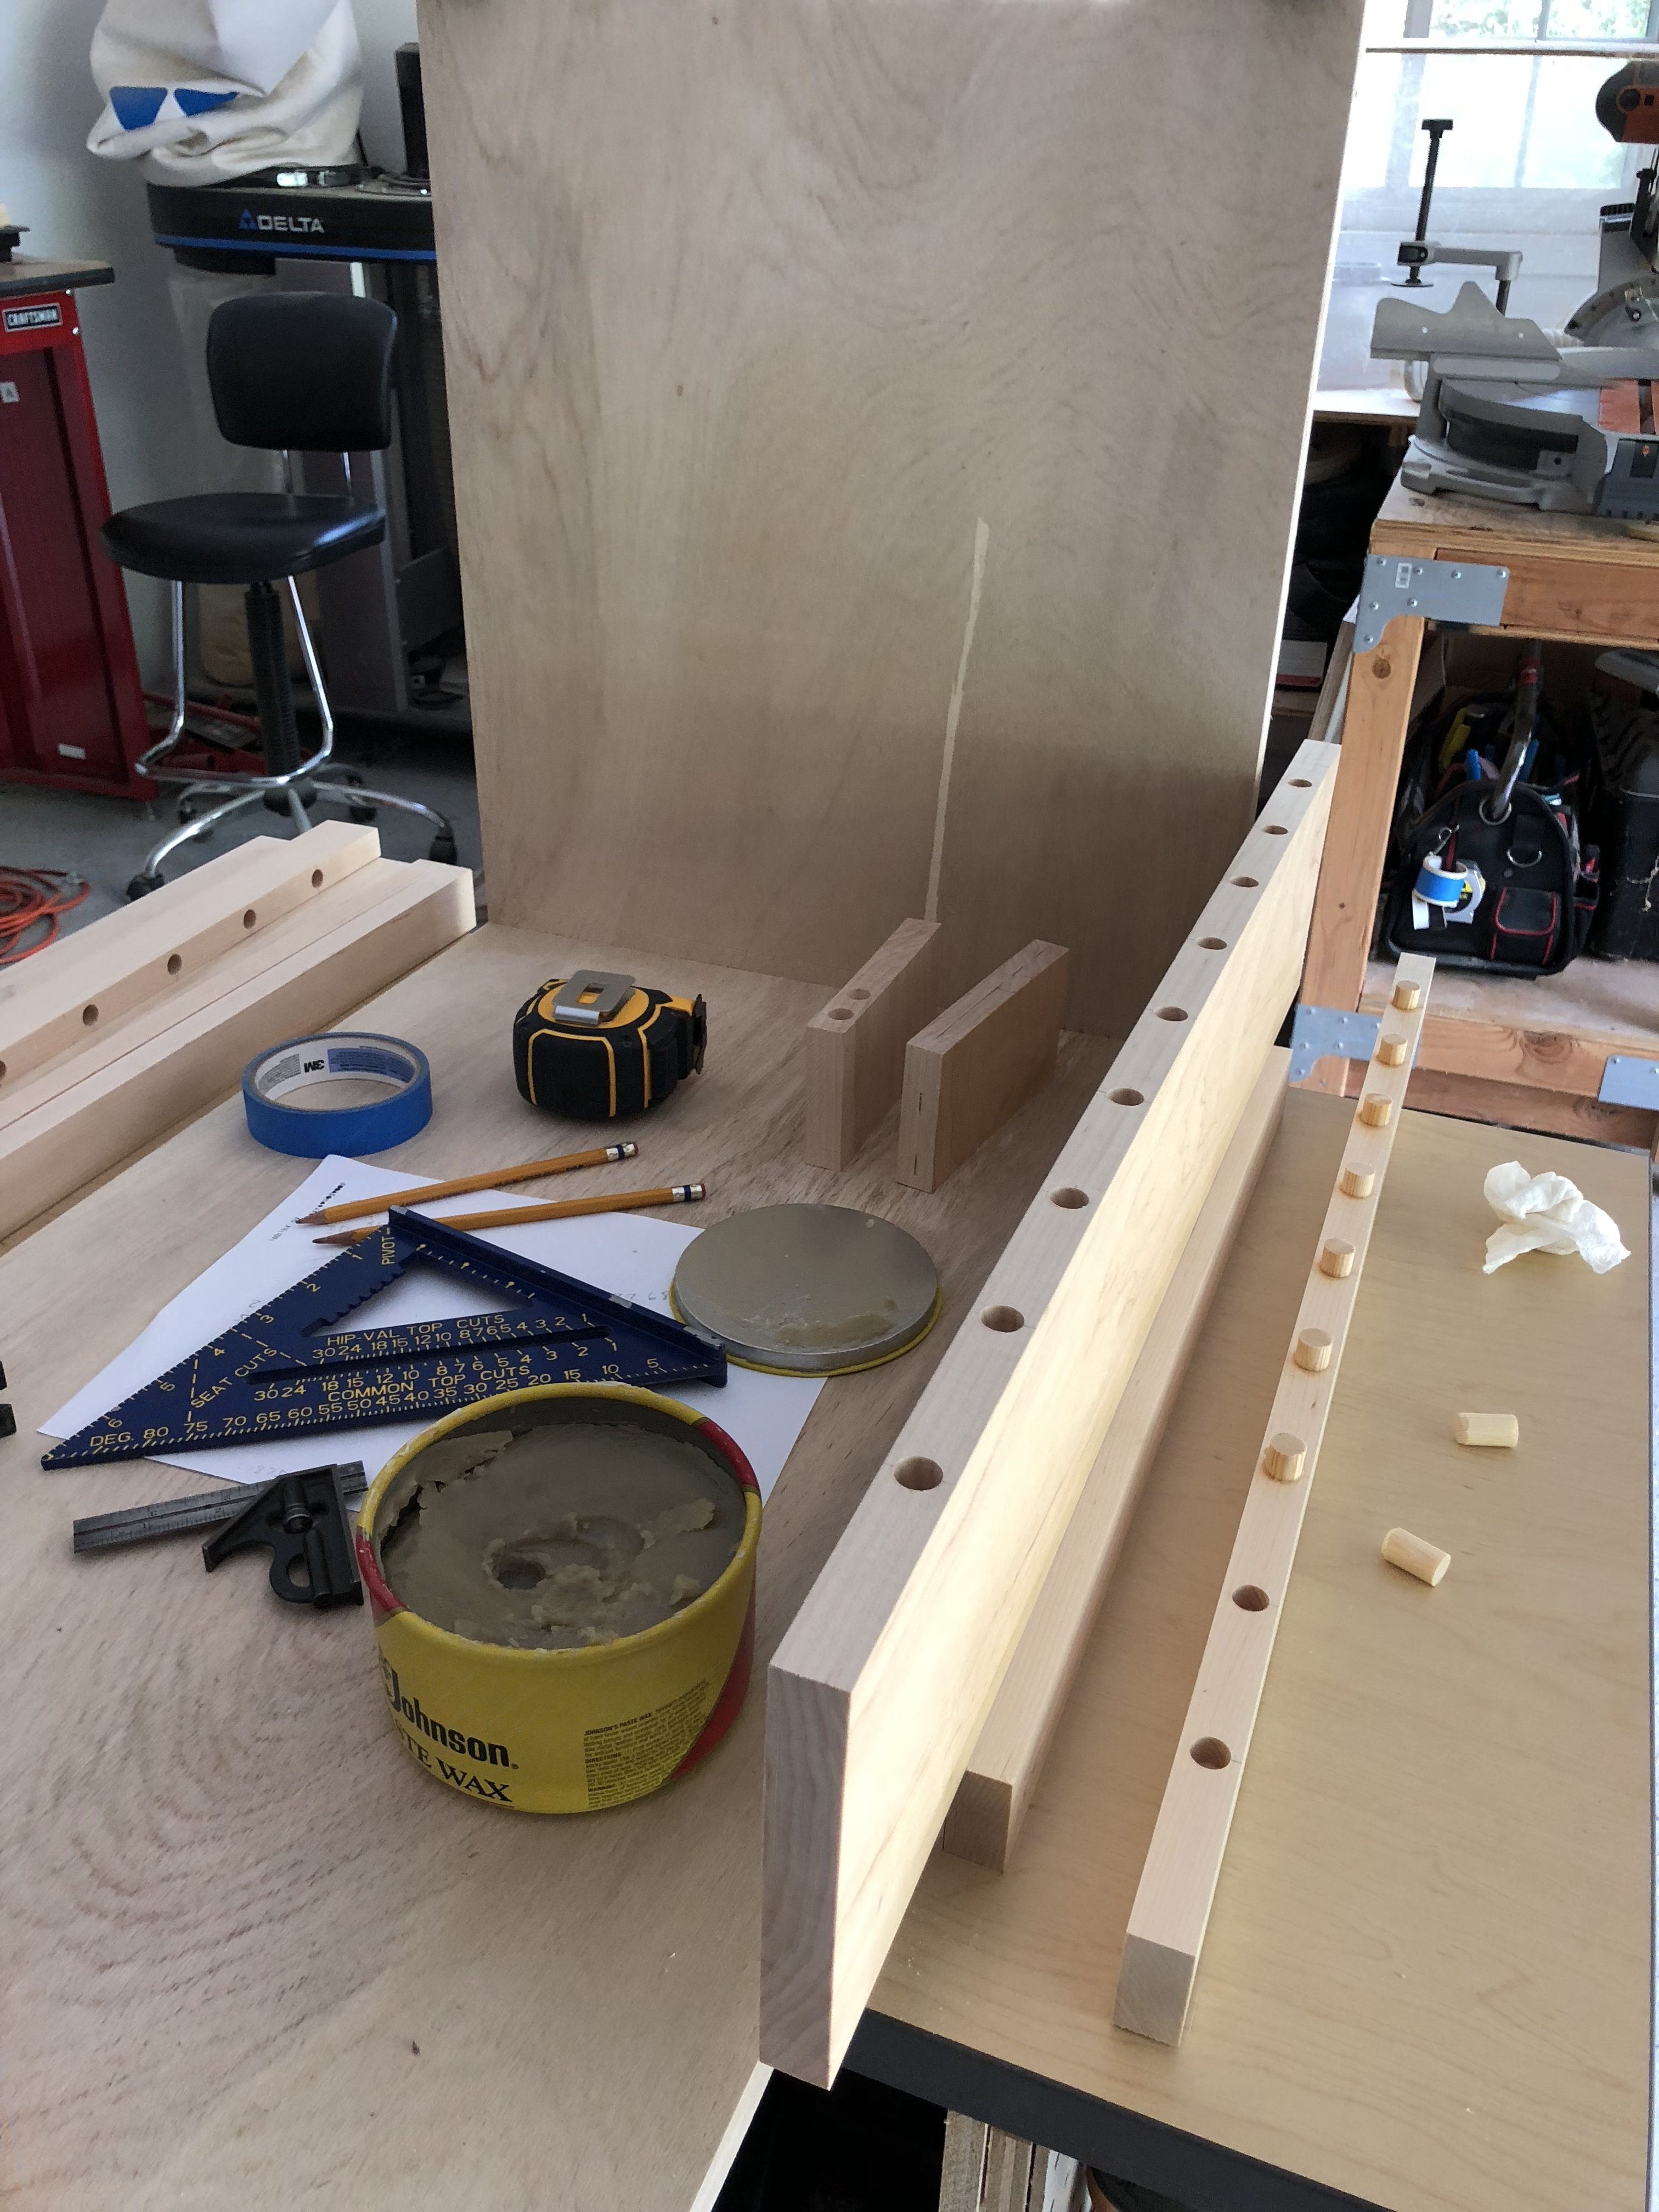
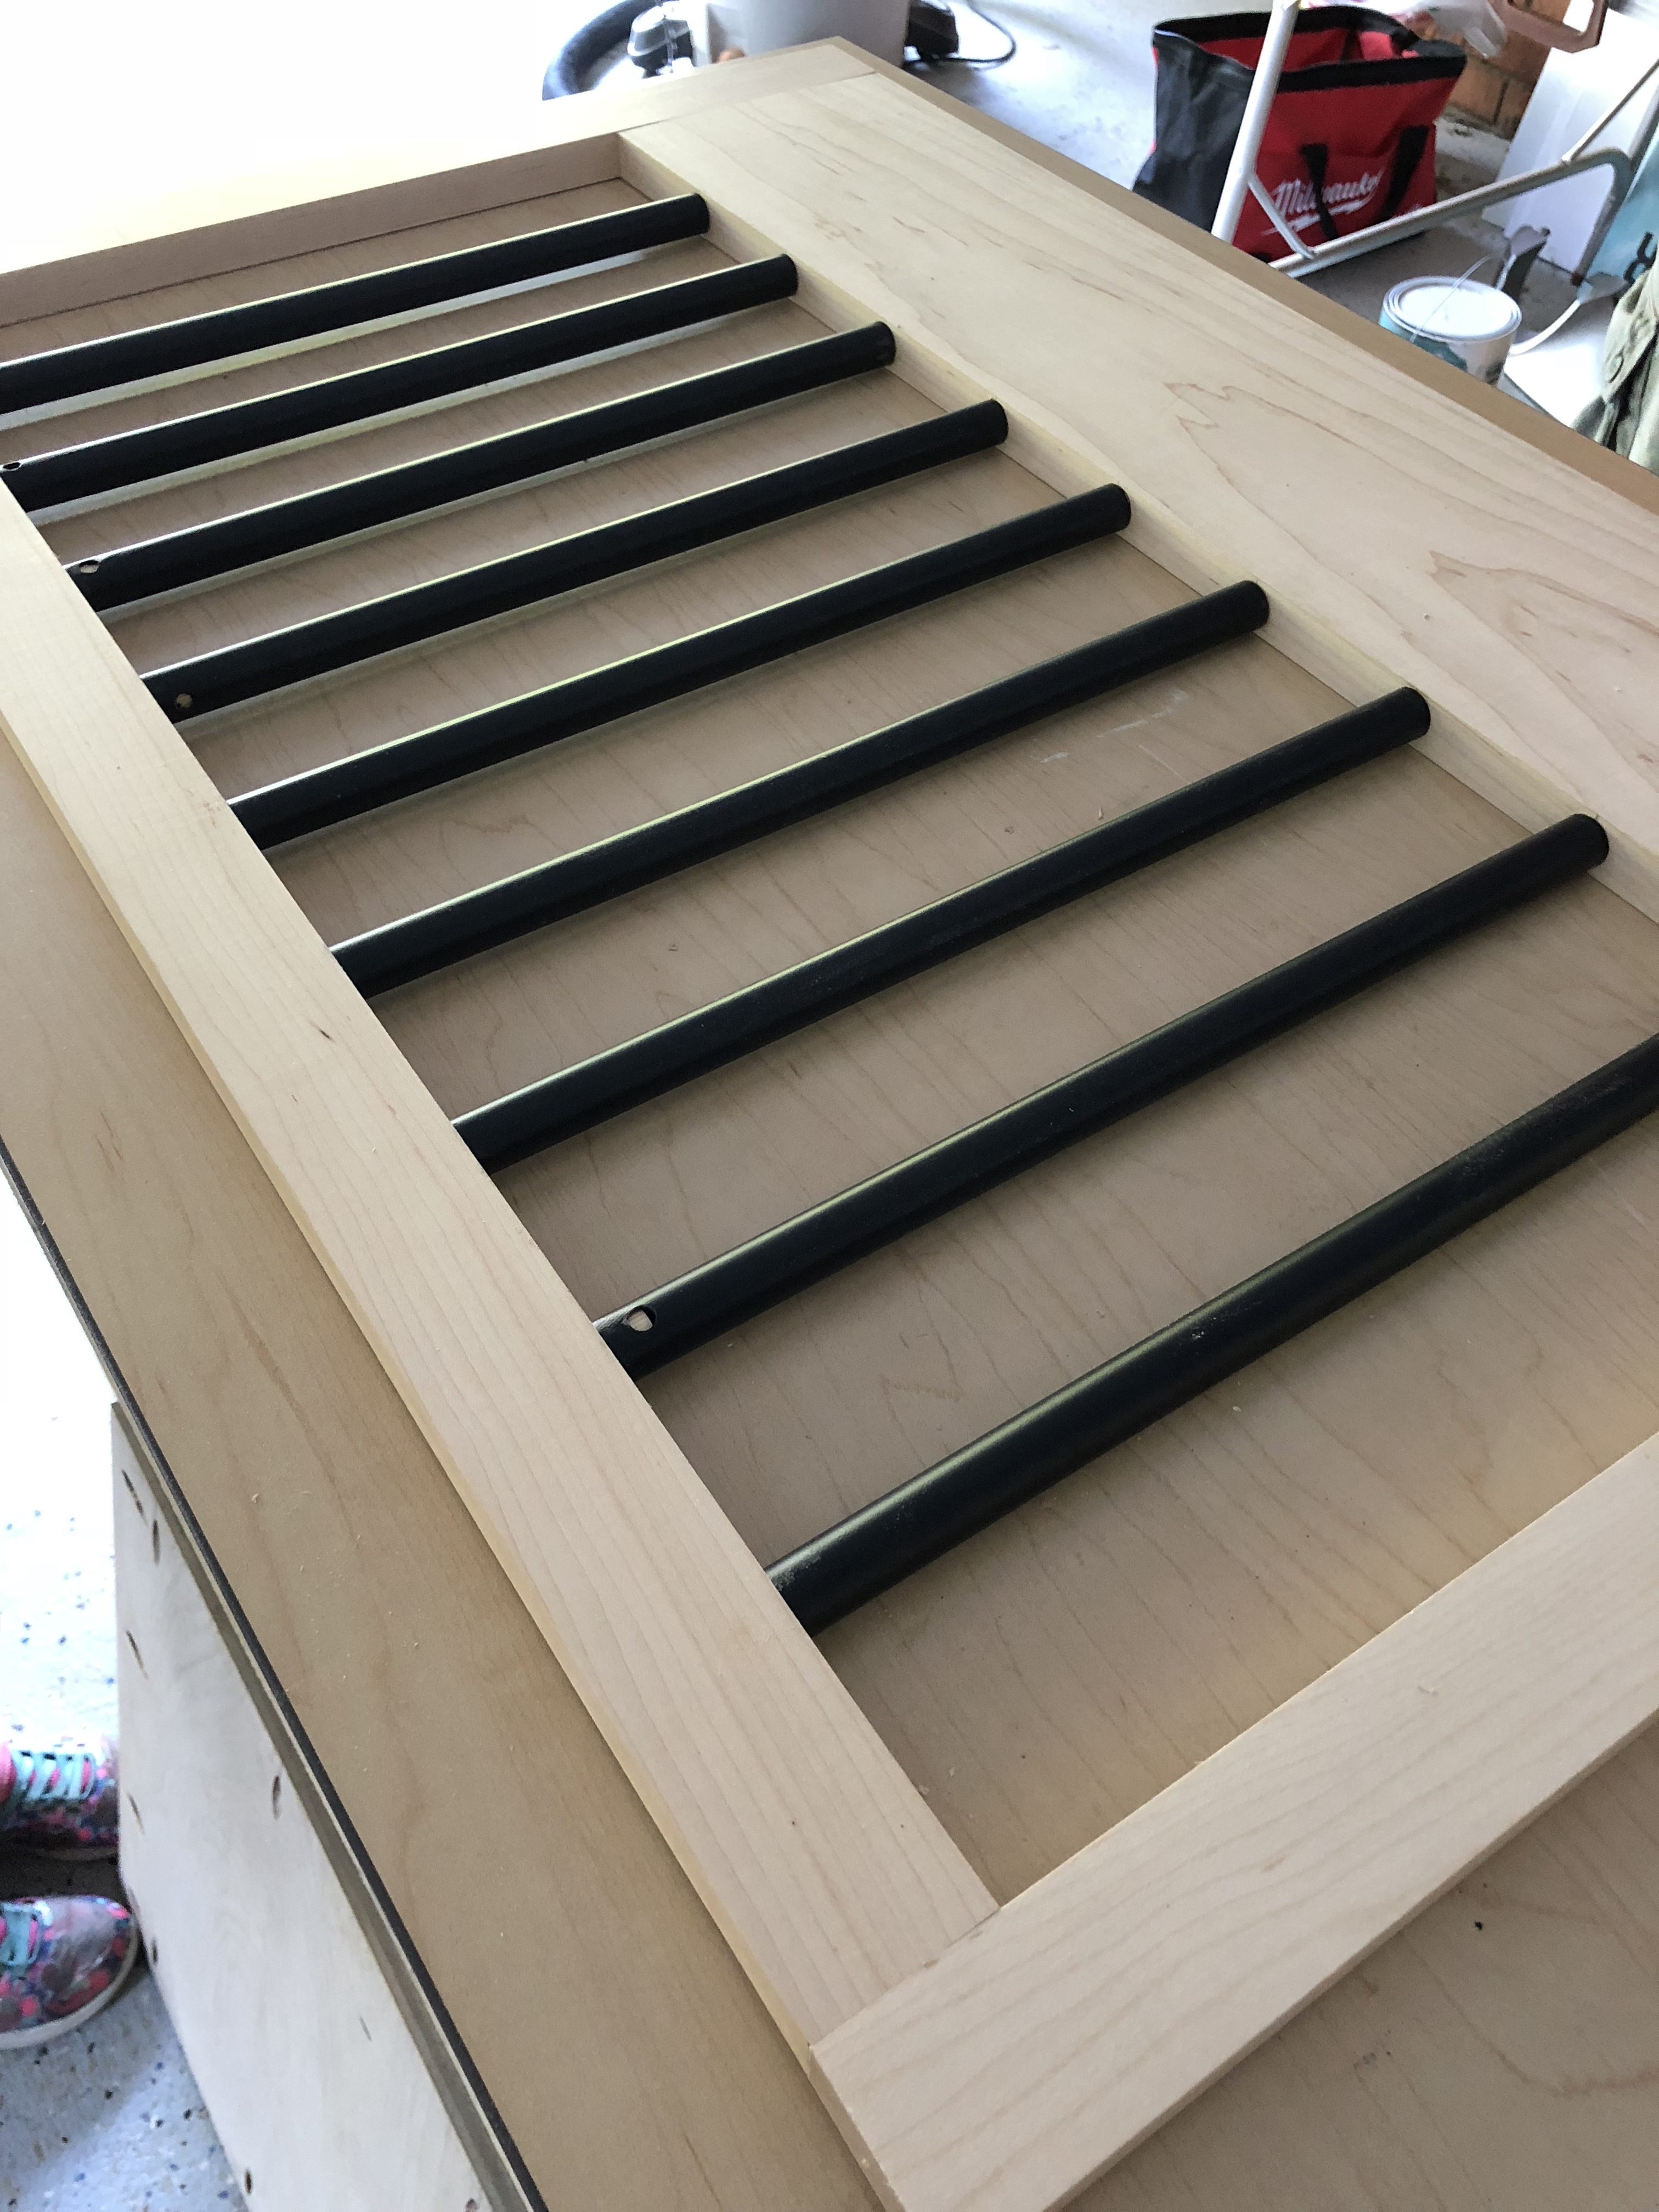
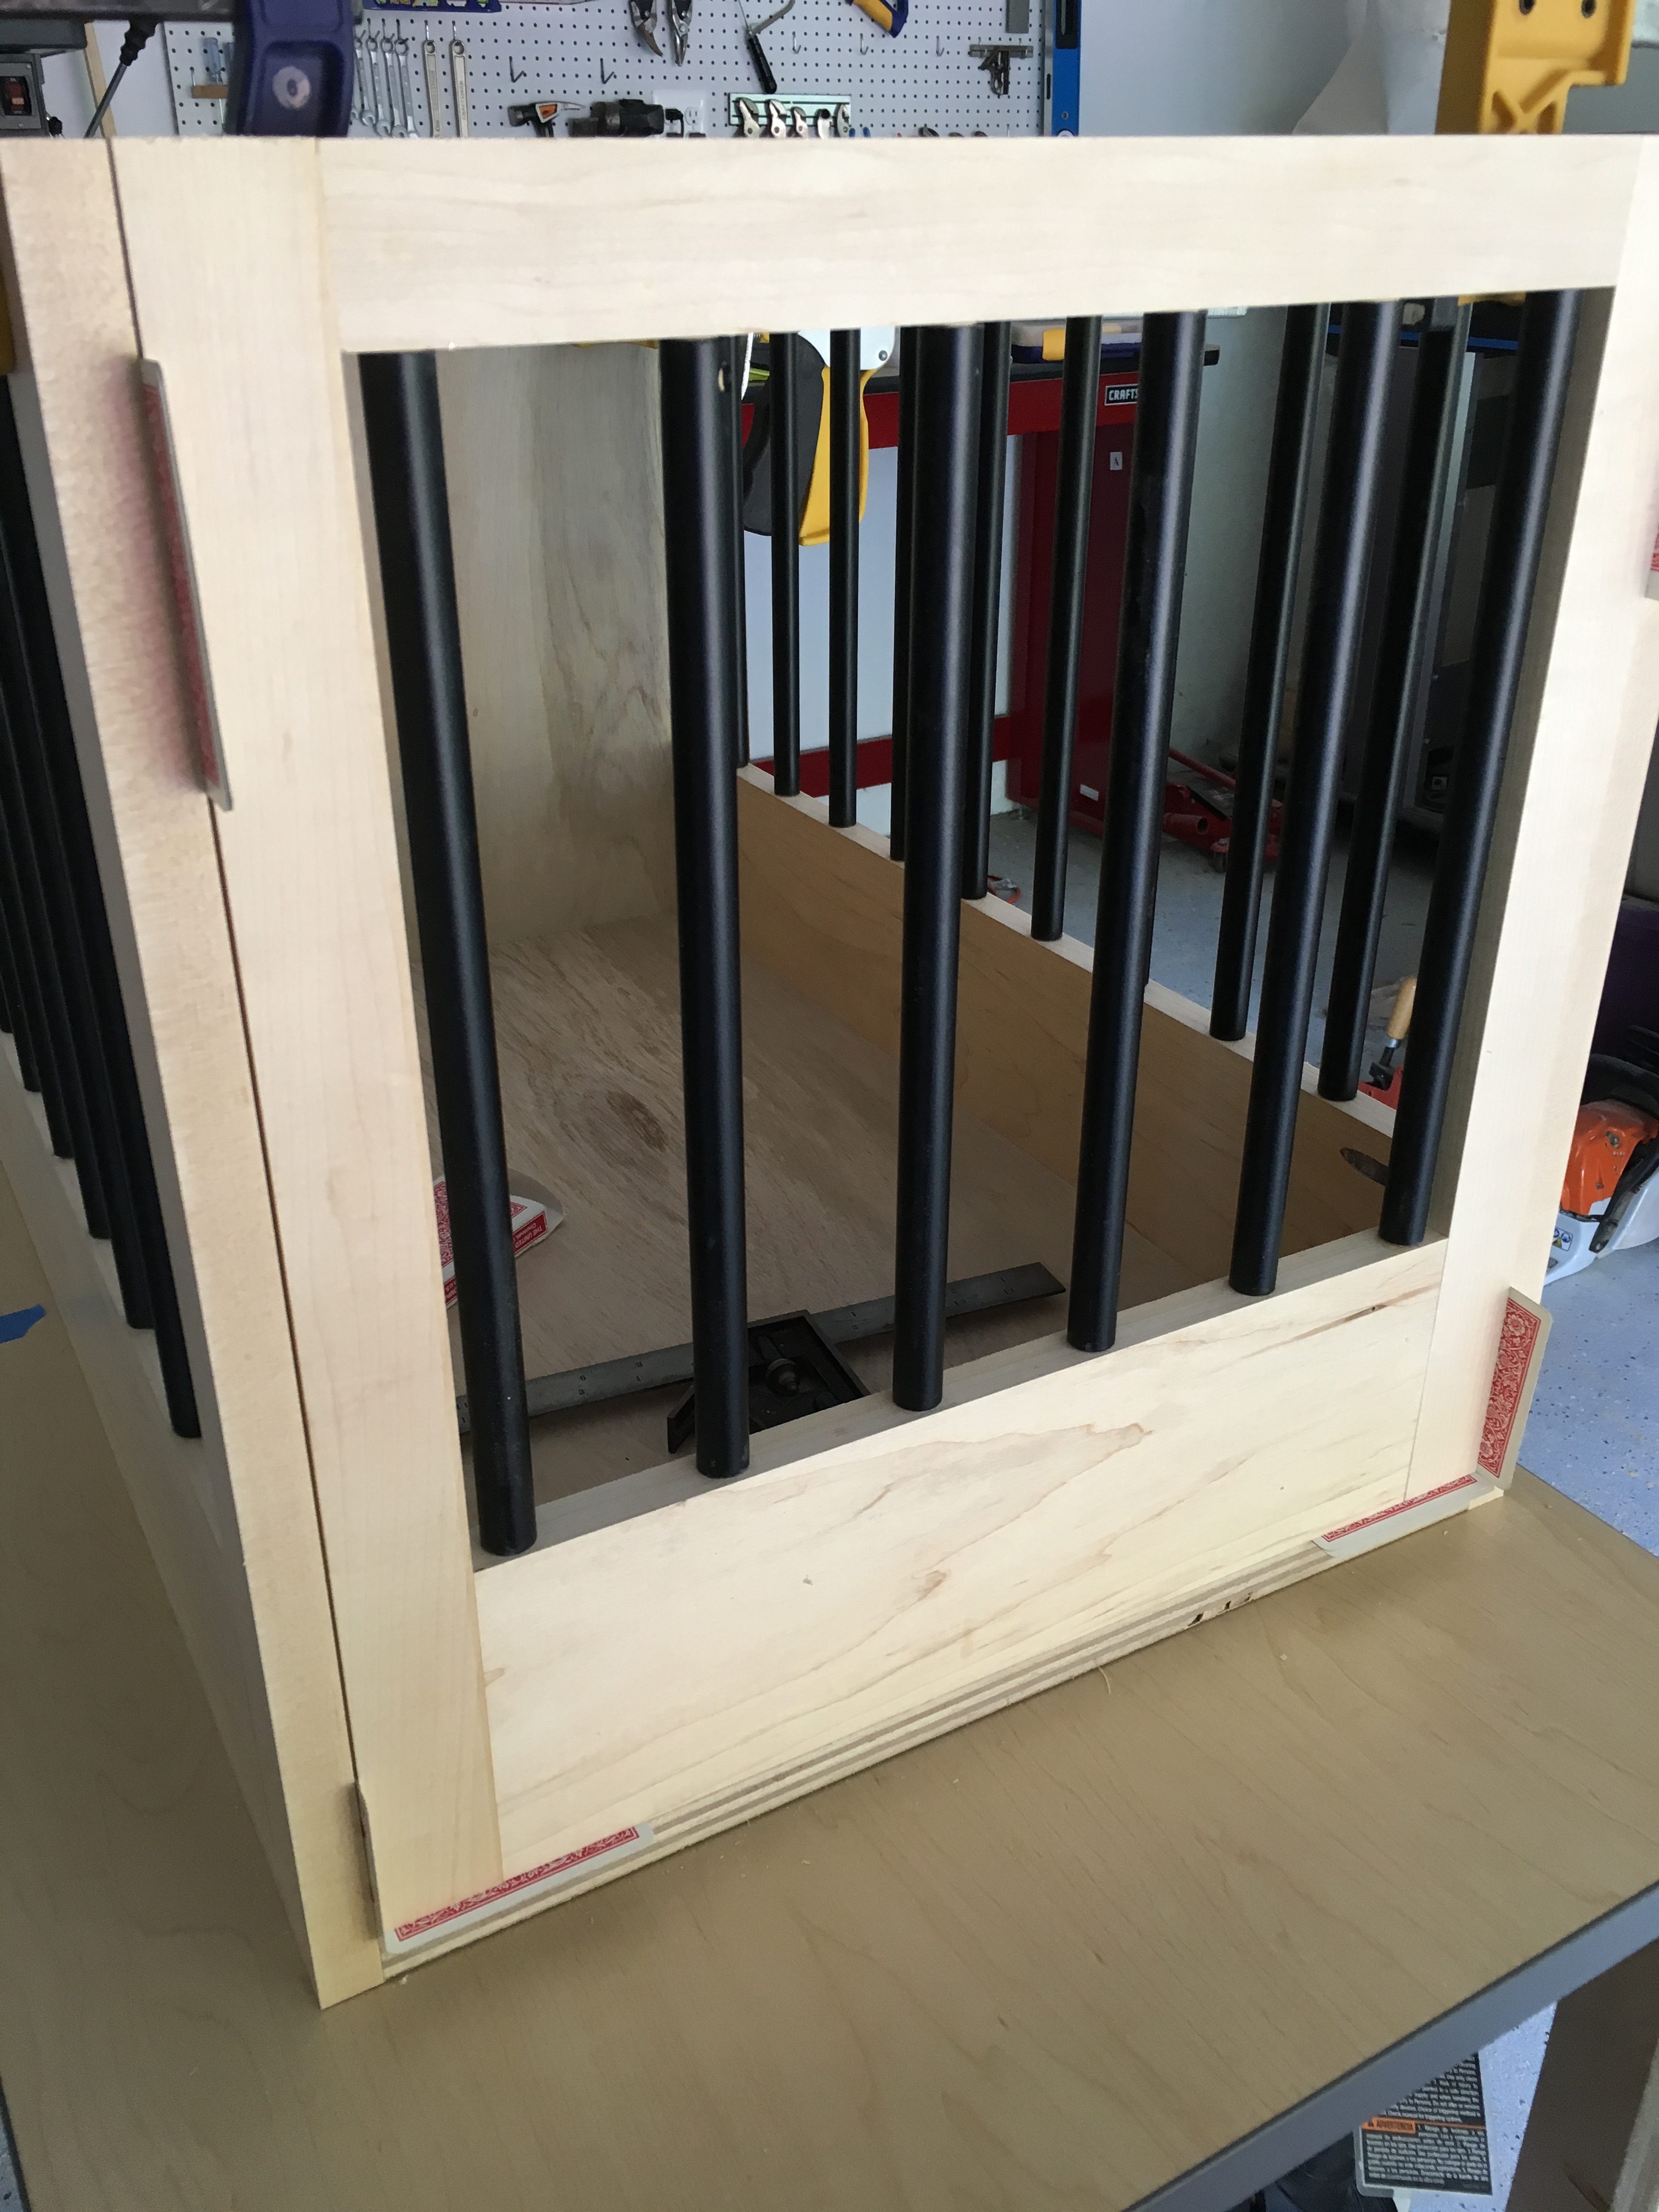
The sides are made from Maple and the round metal stair balusters. I began building the sides by cutting the rails and stiles to length. Here’s where I could have really benefited from a metal chop saw and dowel jig. Instead I made due with my grinder and drill press.
The stair balusters will be the metal bars for the crate, and I needed to cut three equal lengths from each baluster. With some help from Jocie and a lot of tedious adjustments, we cut the bars and sanded any rough edges.

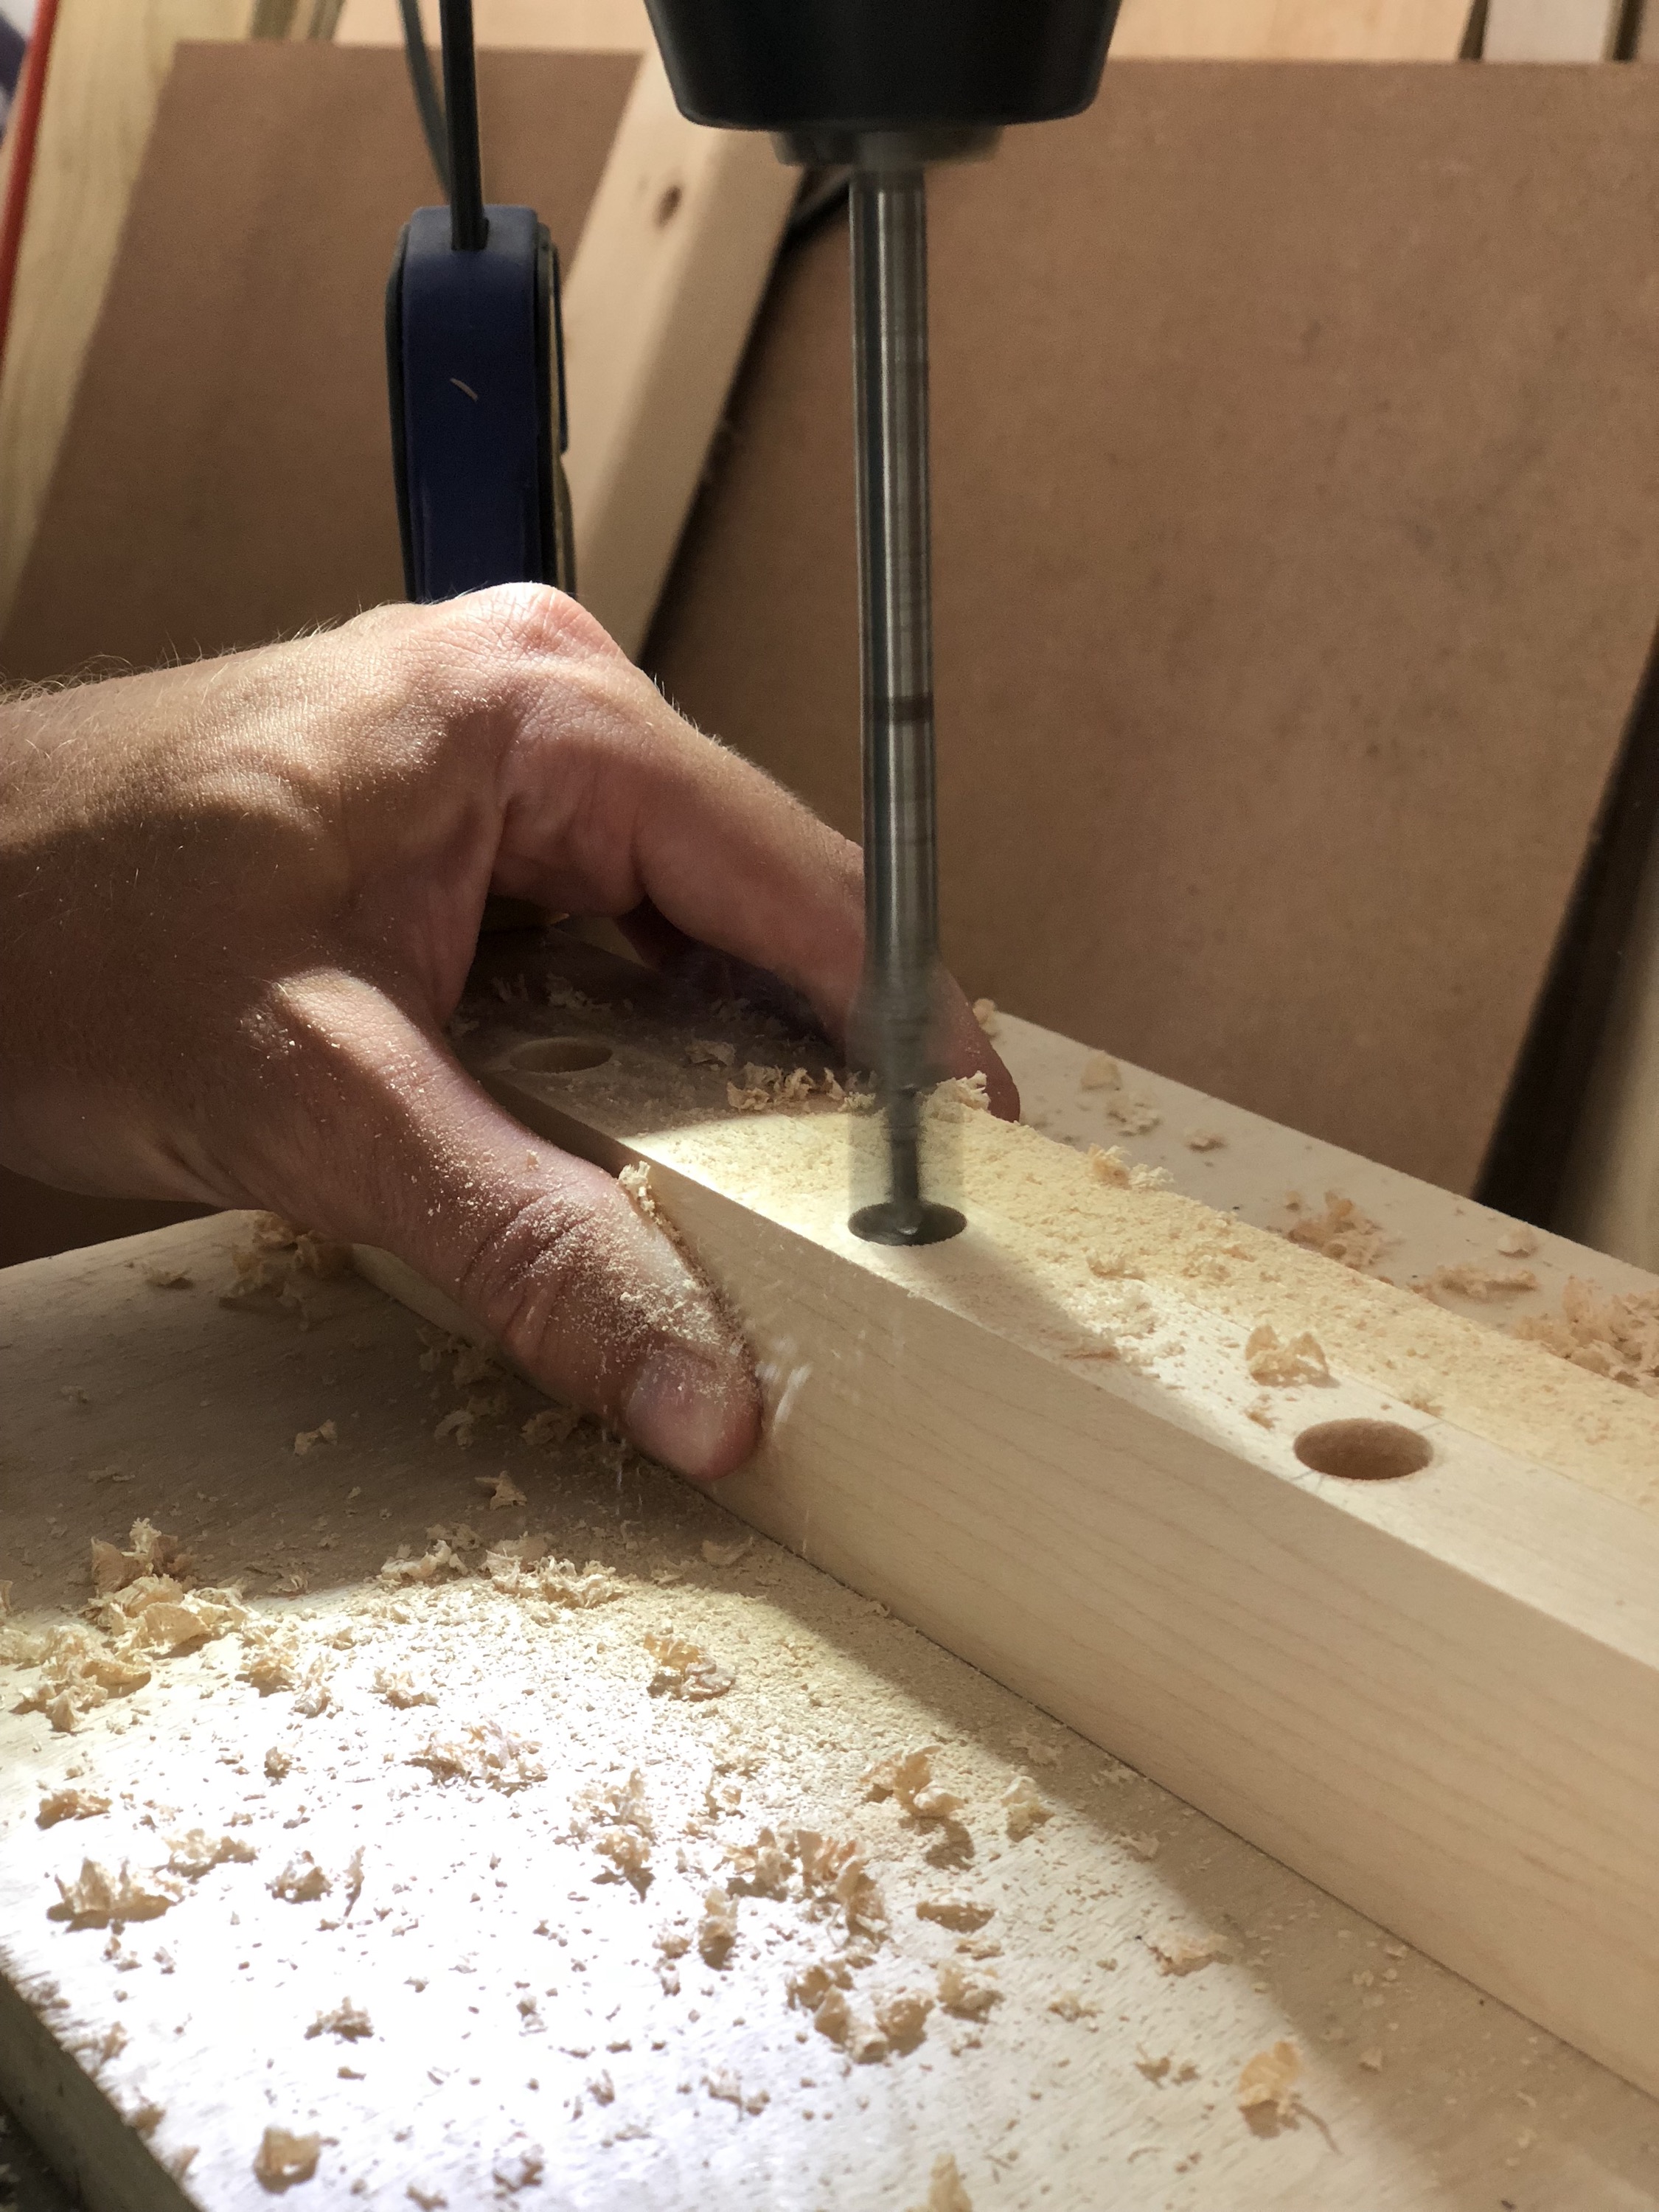
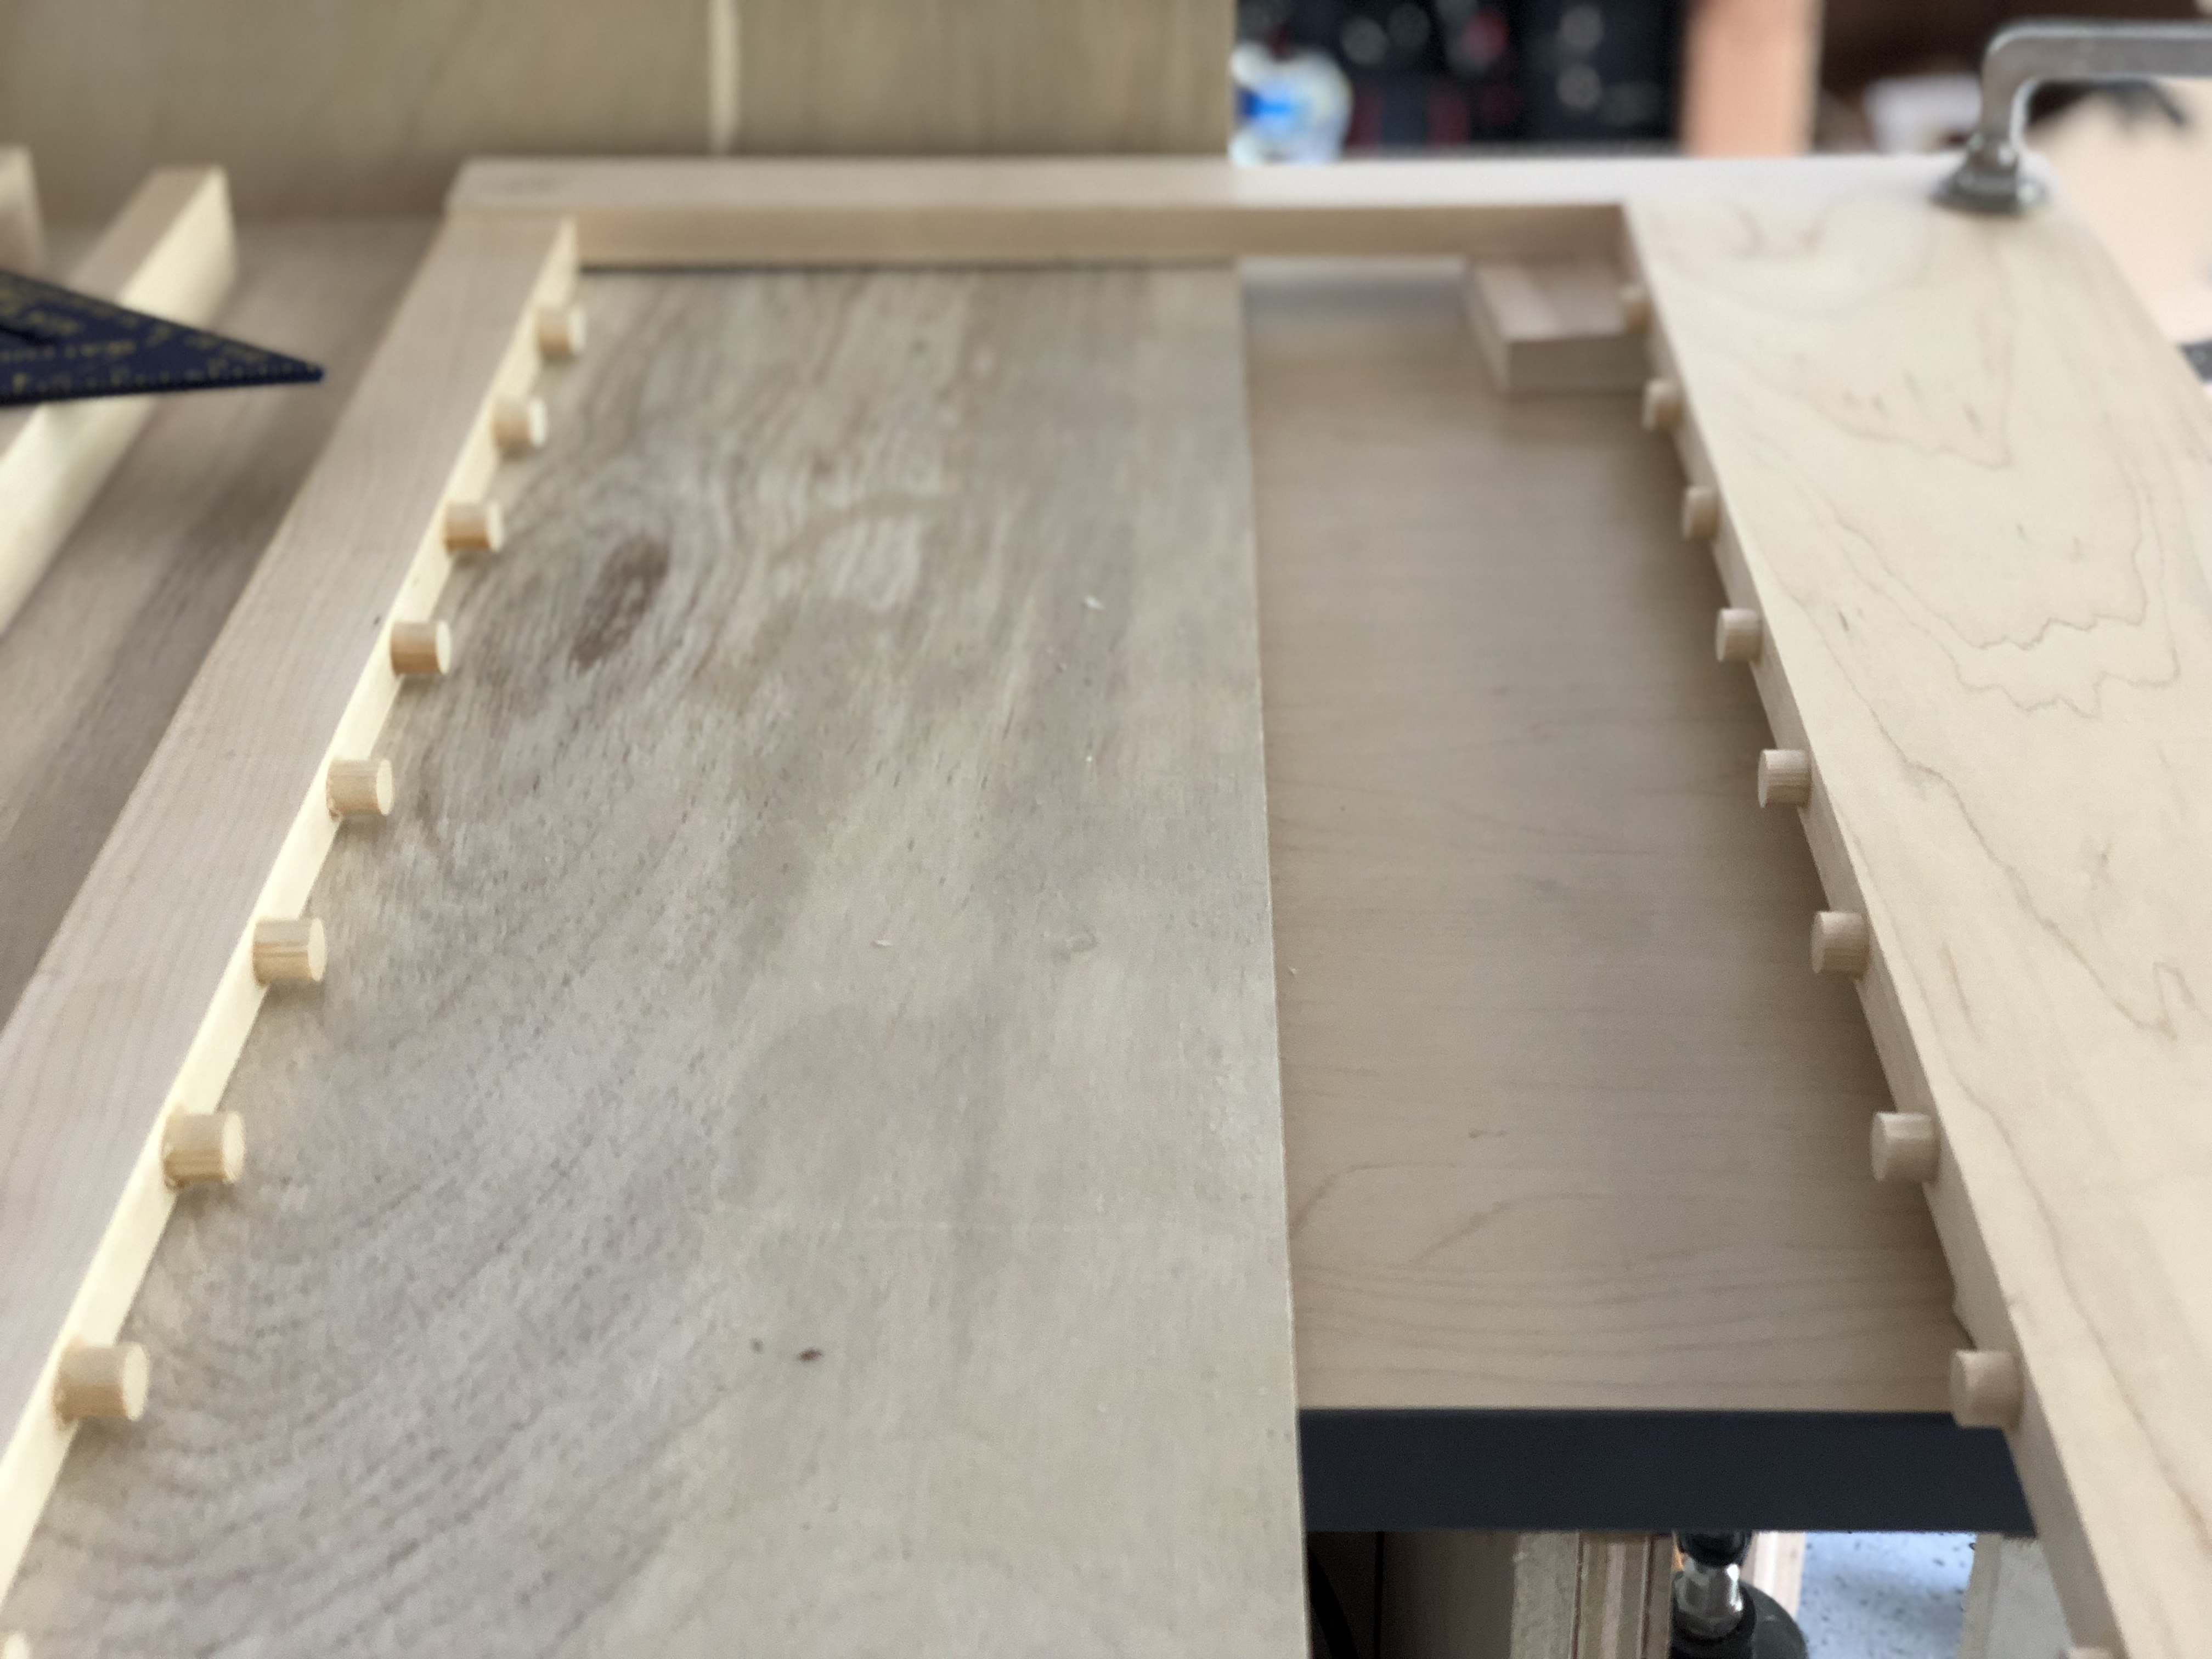
Next, I measured and drilled 1/2″ holes for the dowel plugs.
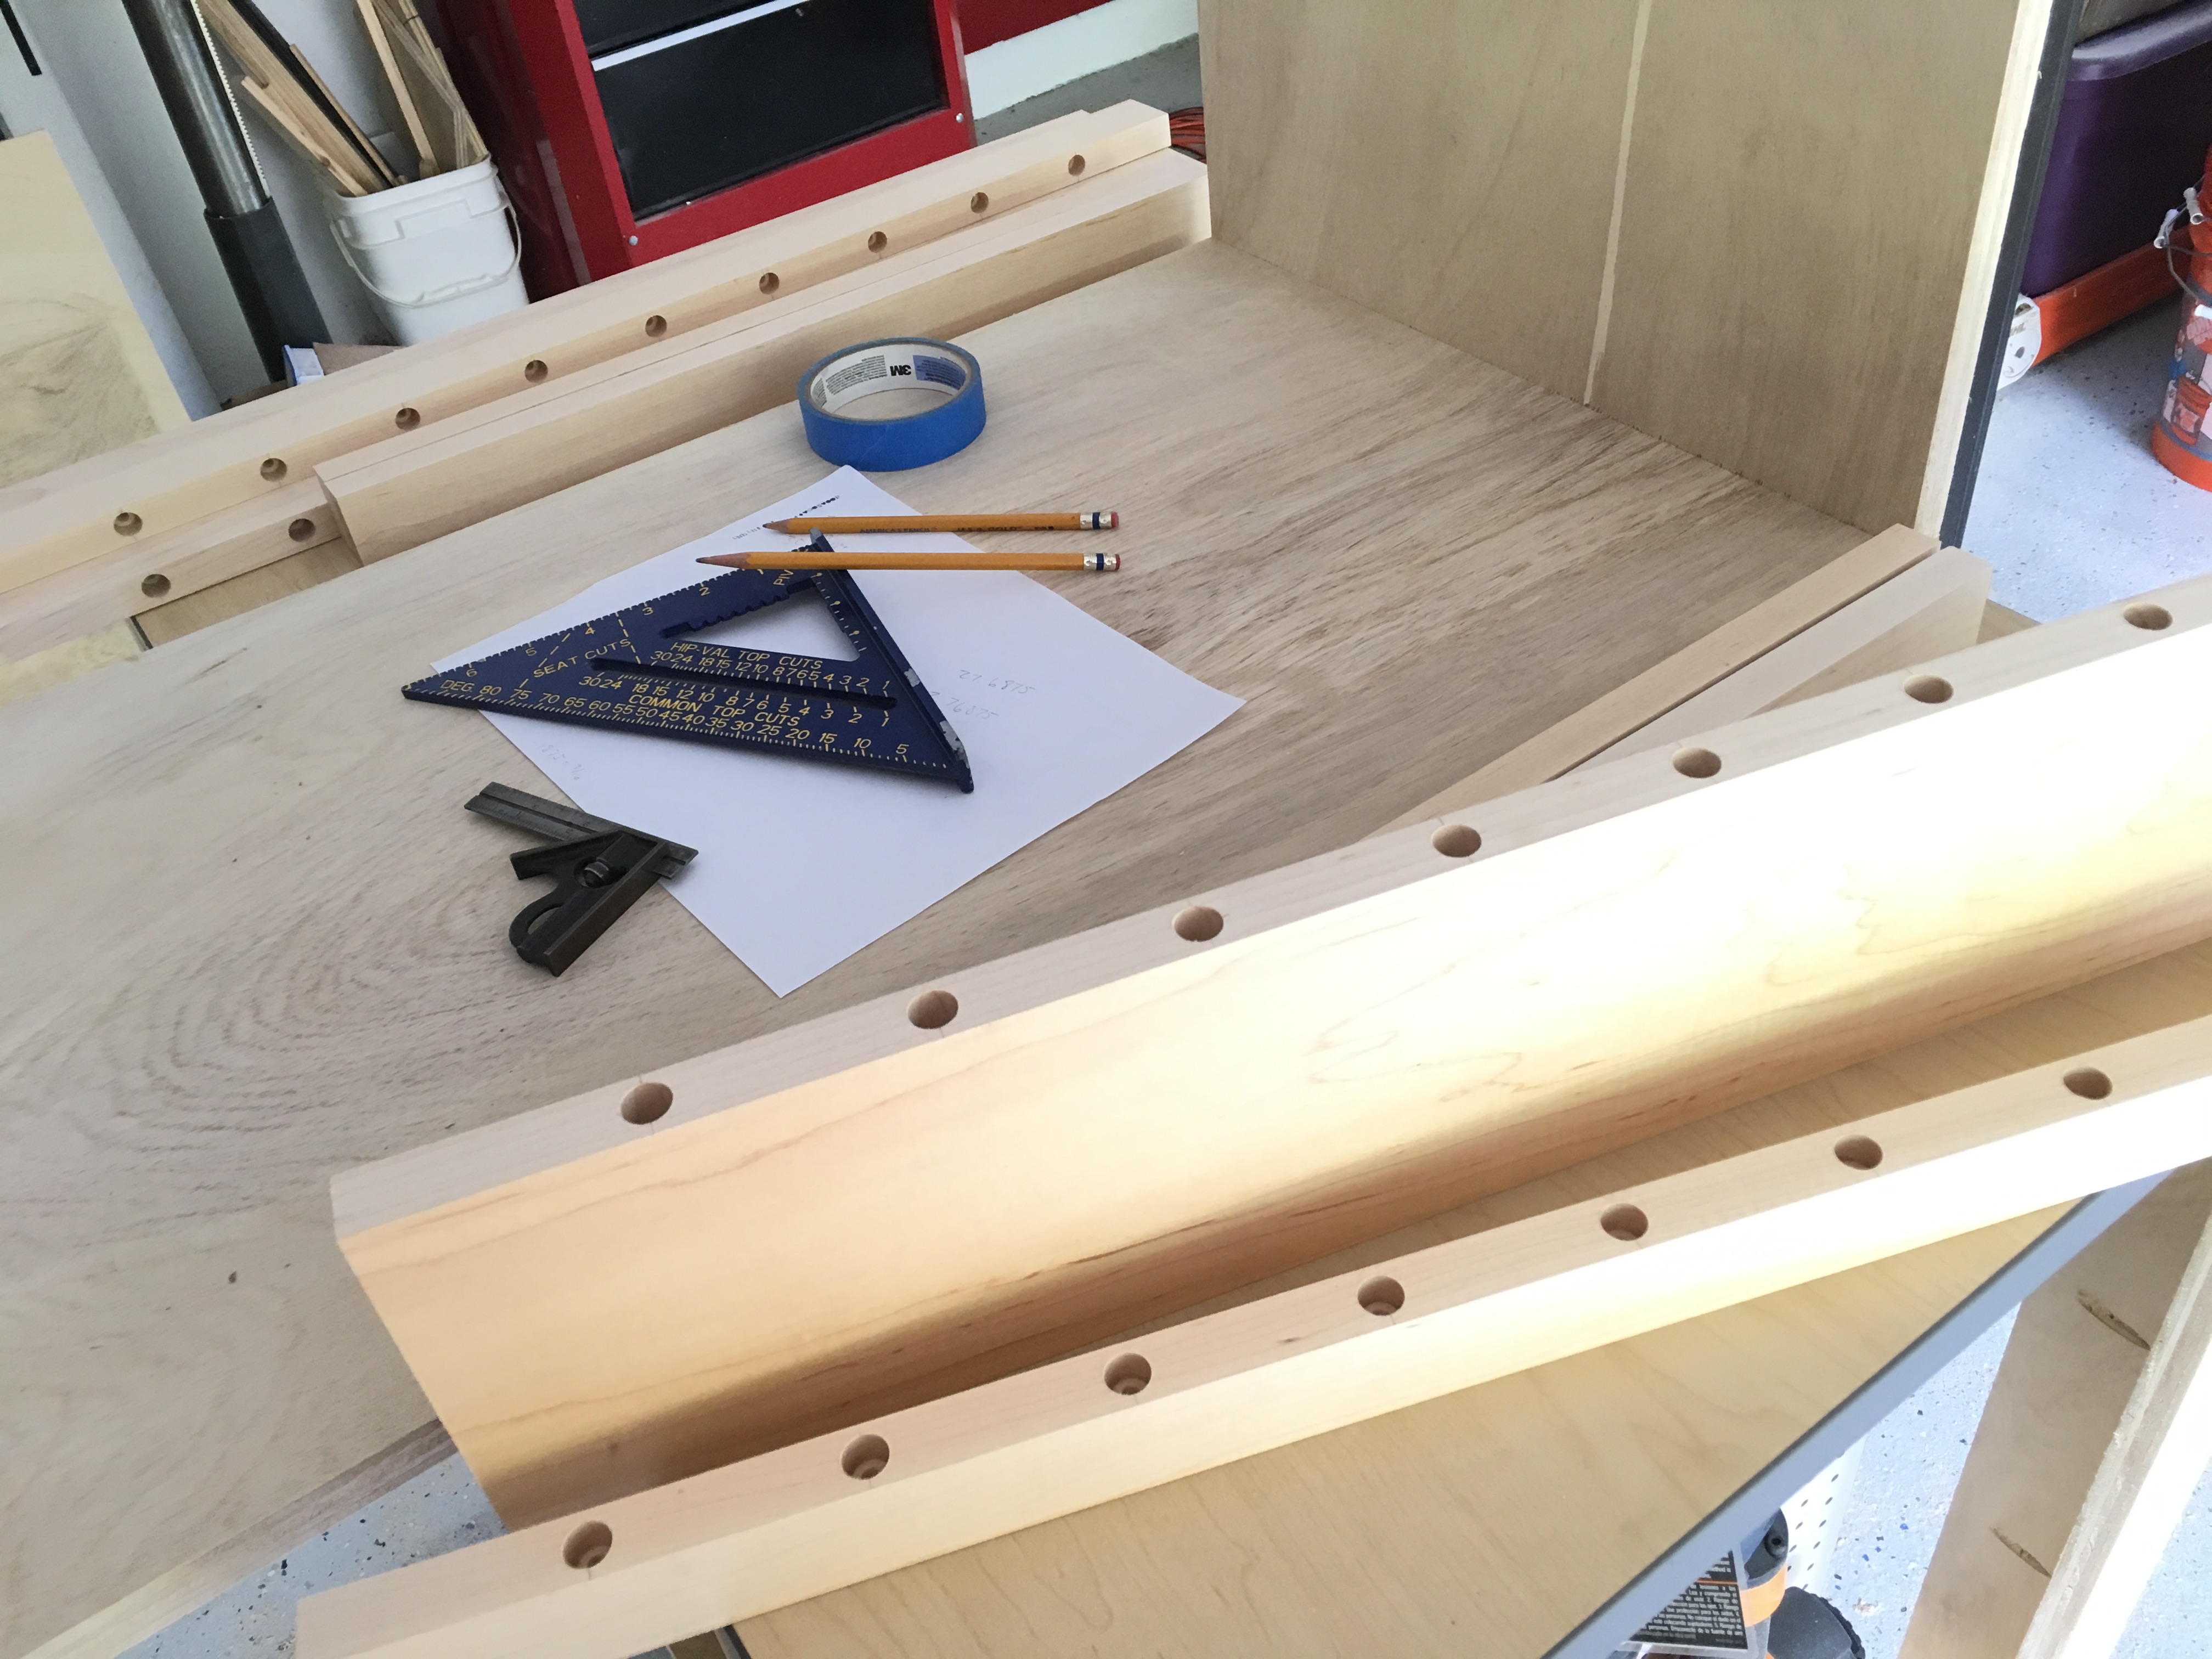
Full disclosure – Hopper’s head is smaller than I expected and he can slip through the bars. I spaced the bars at 2-3/4″ intervals. If you’re intending to build this dog crate, consider putting the bars a little closer together for dogs under 6 lbs. I’m hopeful that he will grow big enough that he can’t ninja his way out of the dog crate soon.
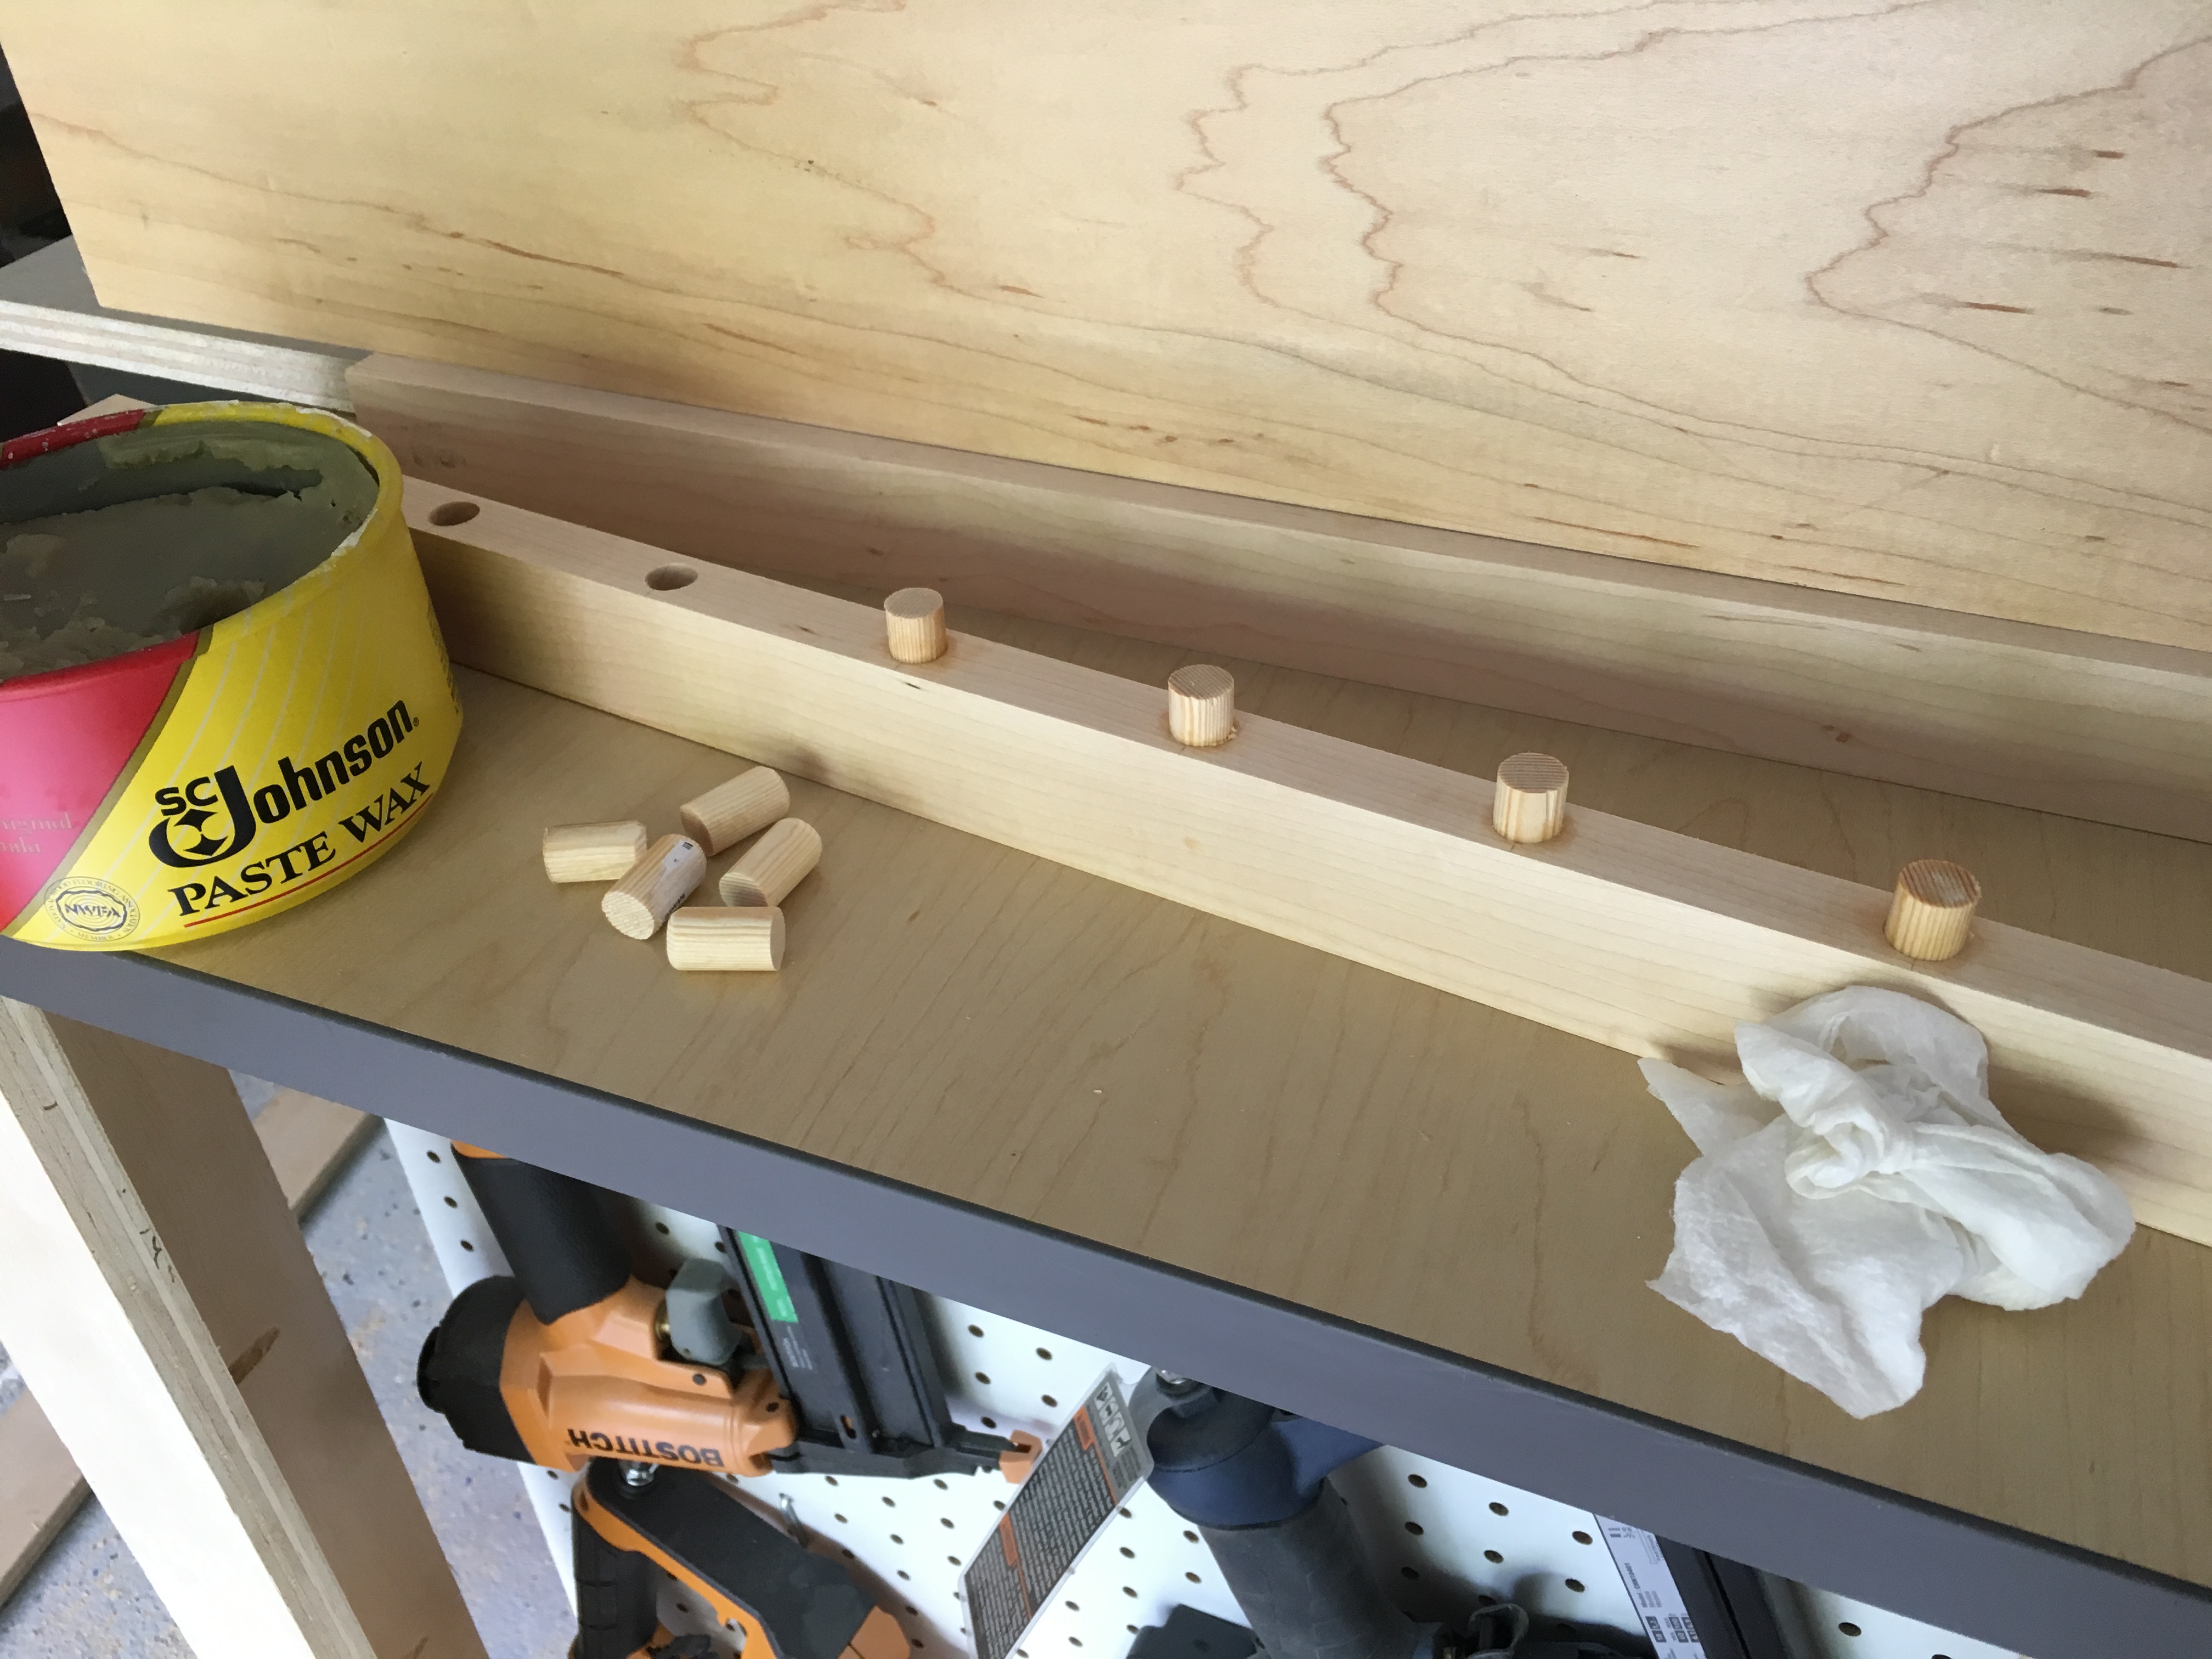
The 1/2″ dowel plugs are a very tight fit in the 1/2″ holes so I rounded one edge of the plug and smeared a tiny bit of paste wax before pounding them into place.
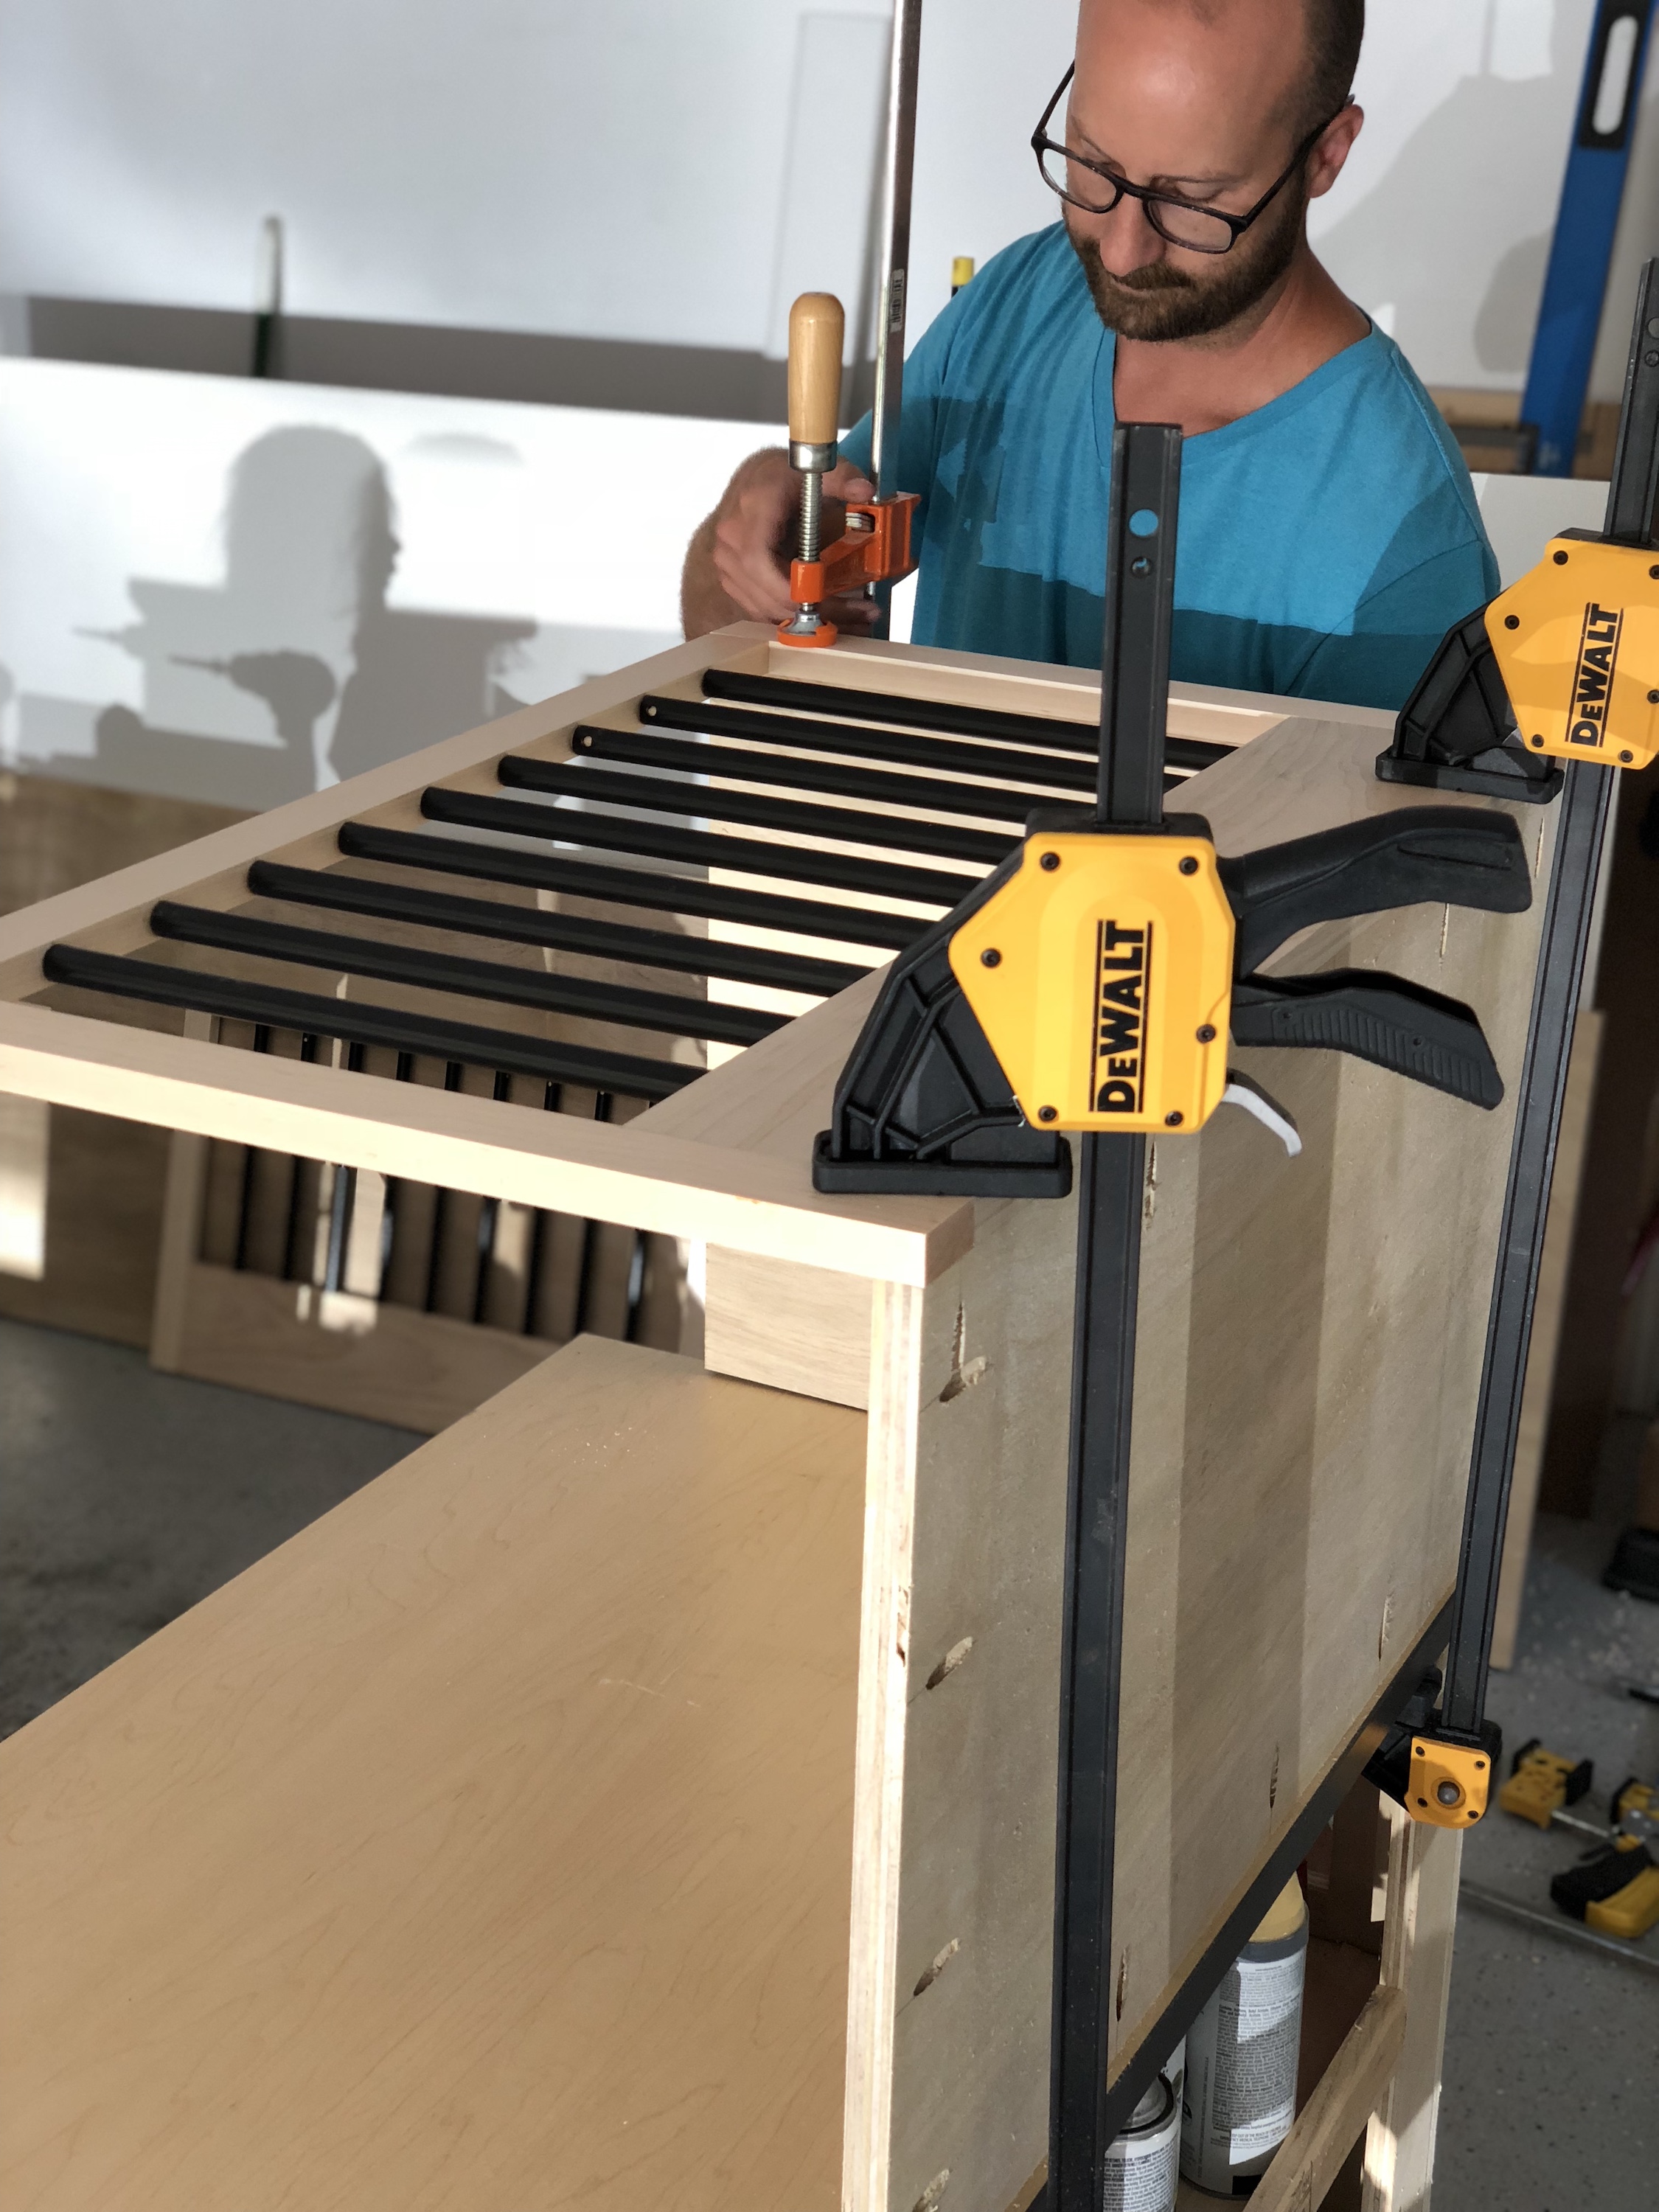
After a quick dry-fit, I assembled the two sides with more pocket holes.

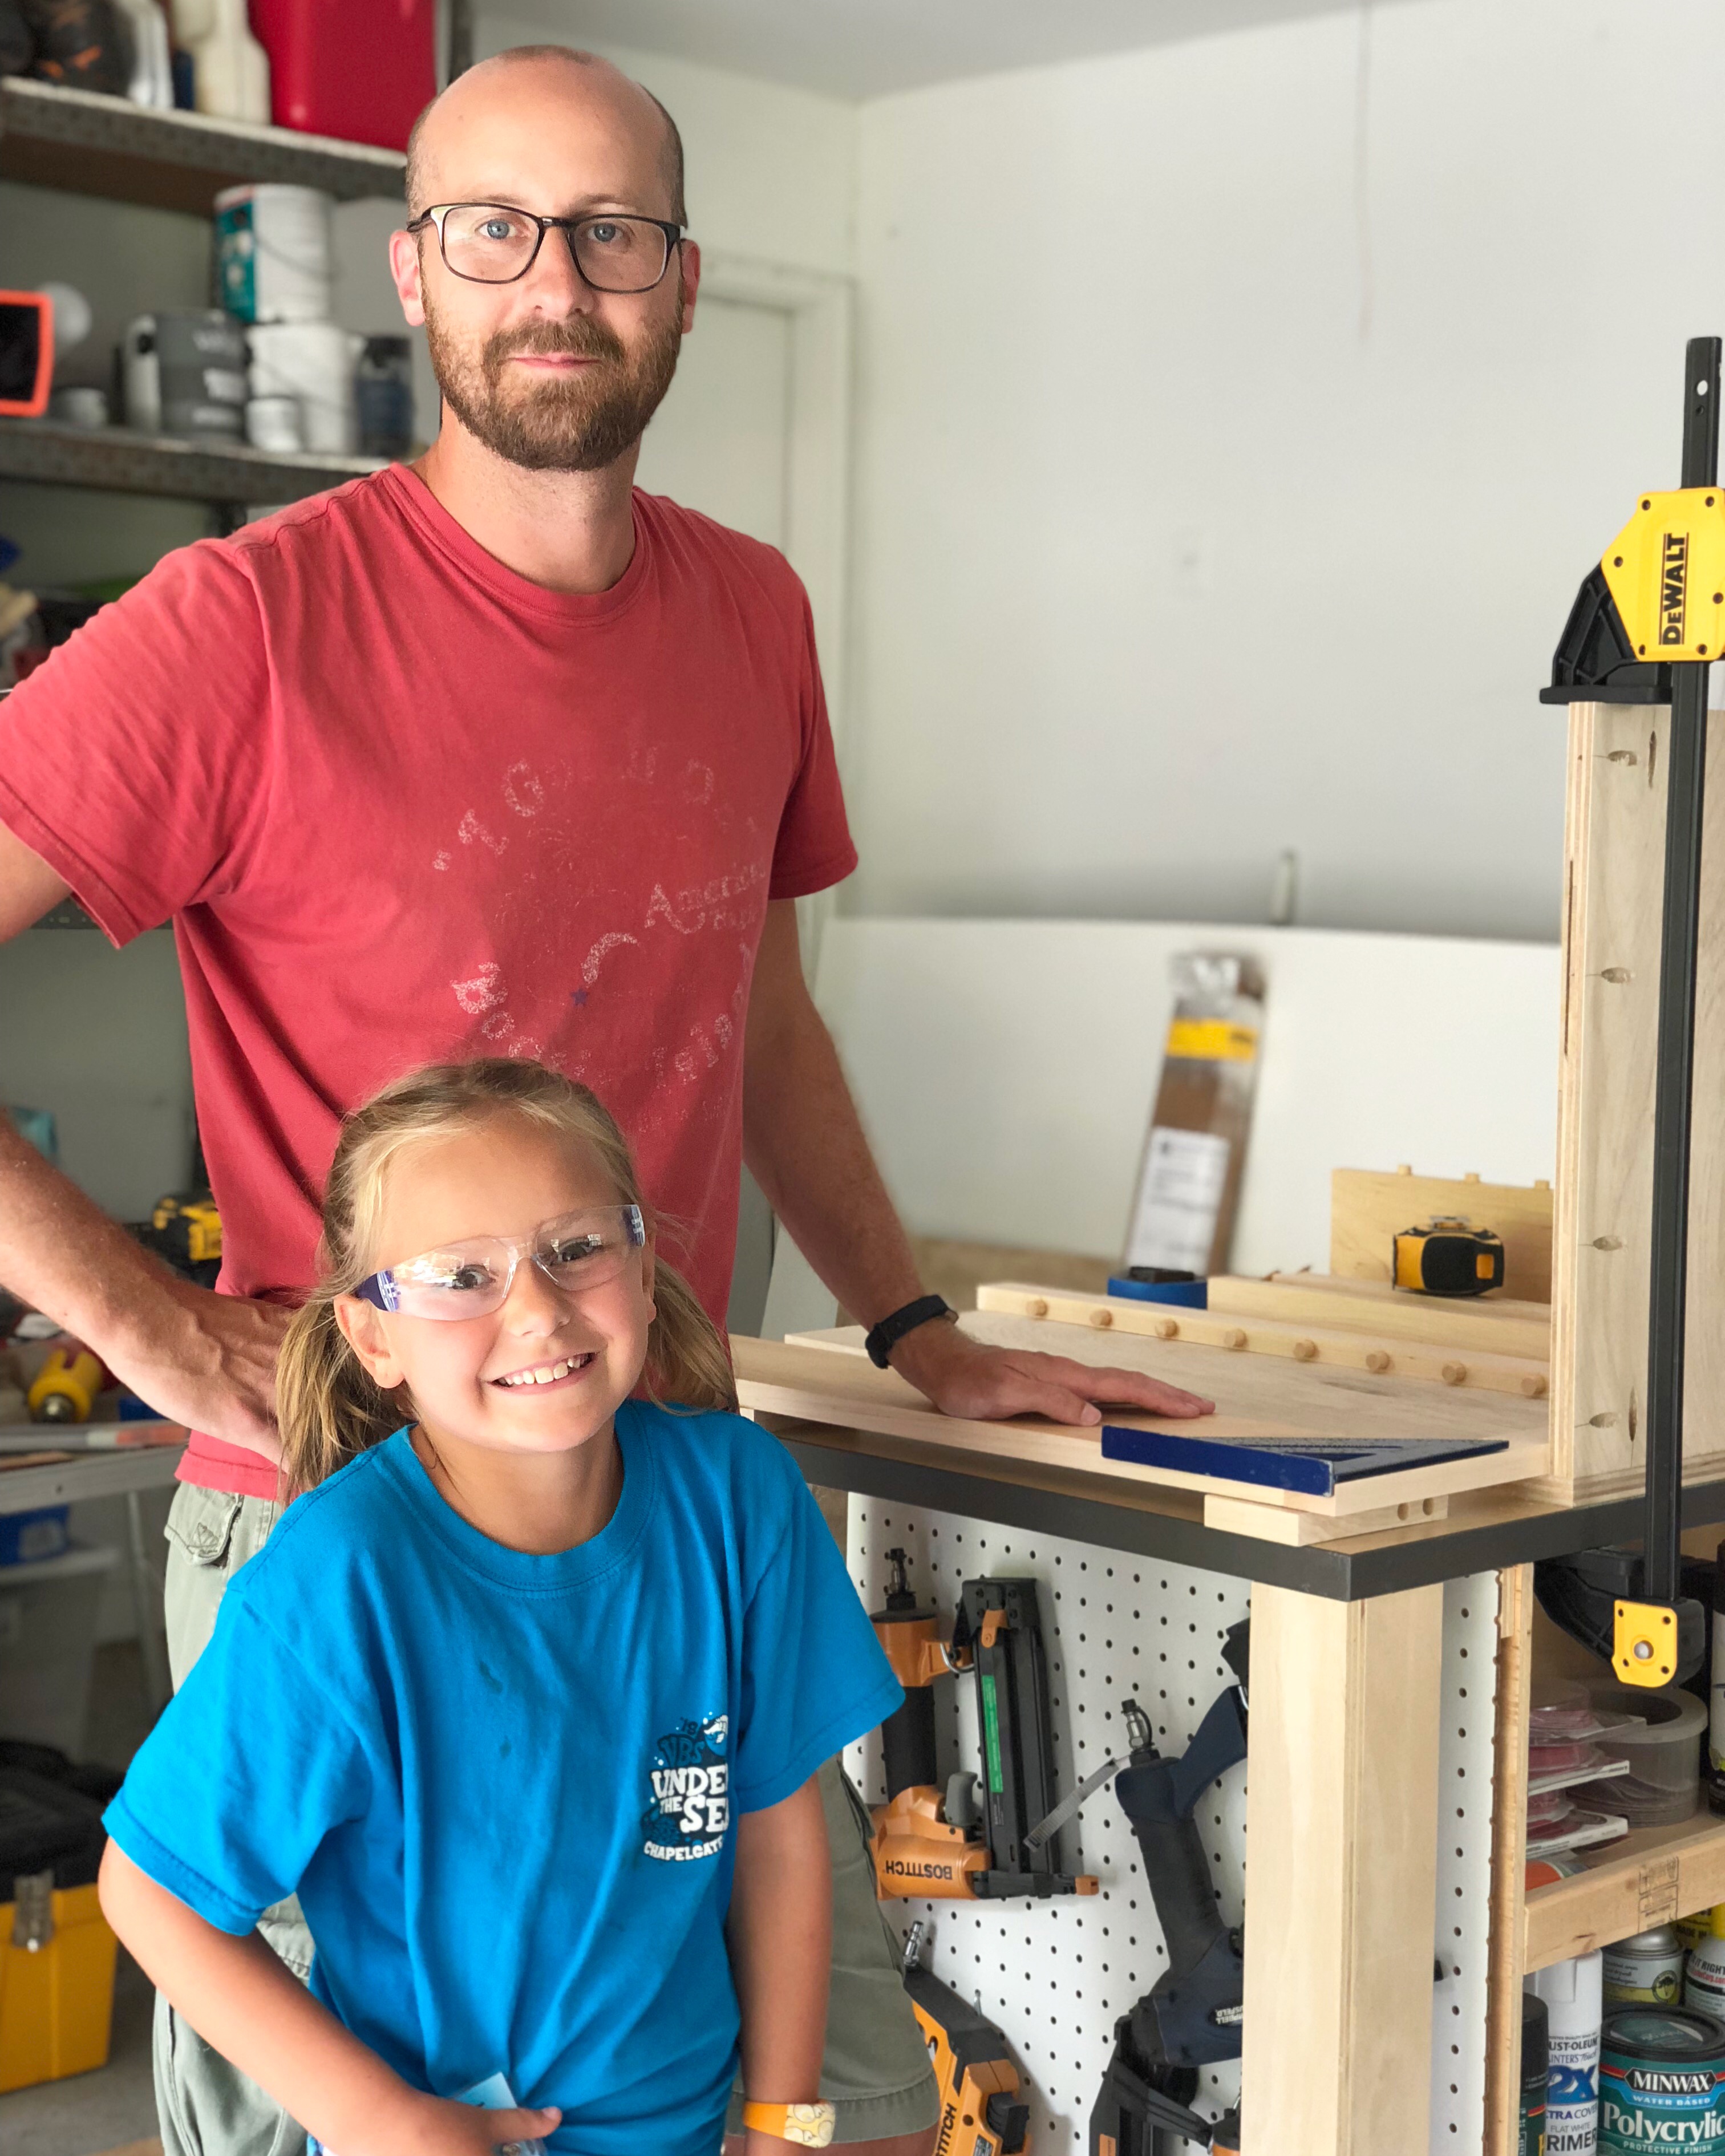
LuLu was my occasional helper. She’s so stinkin cute.
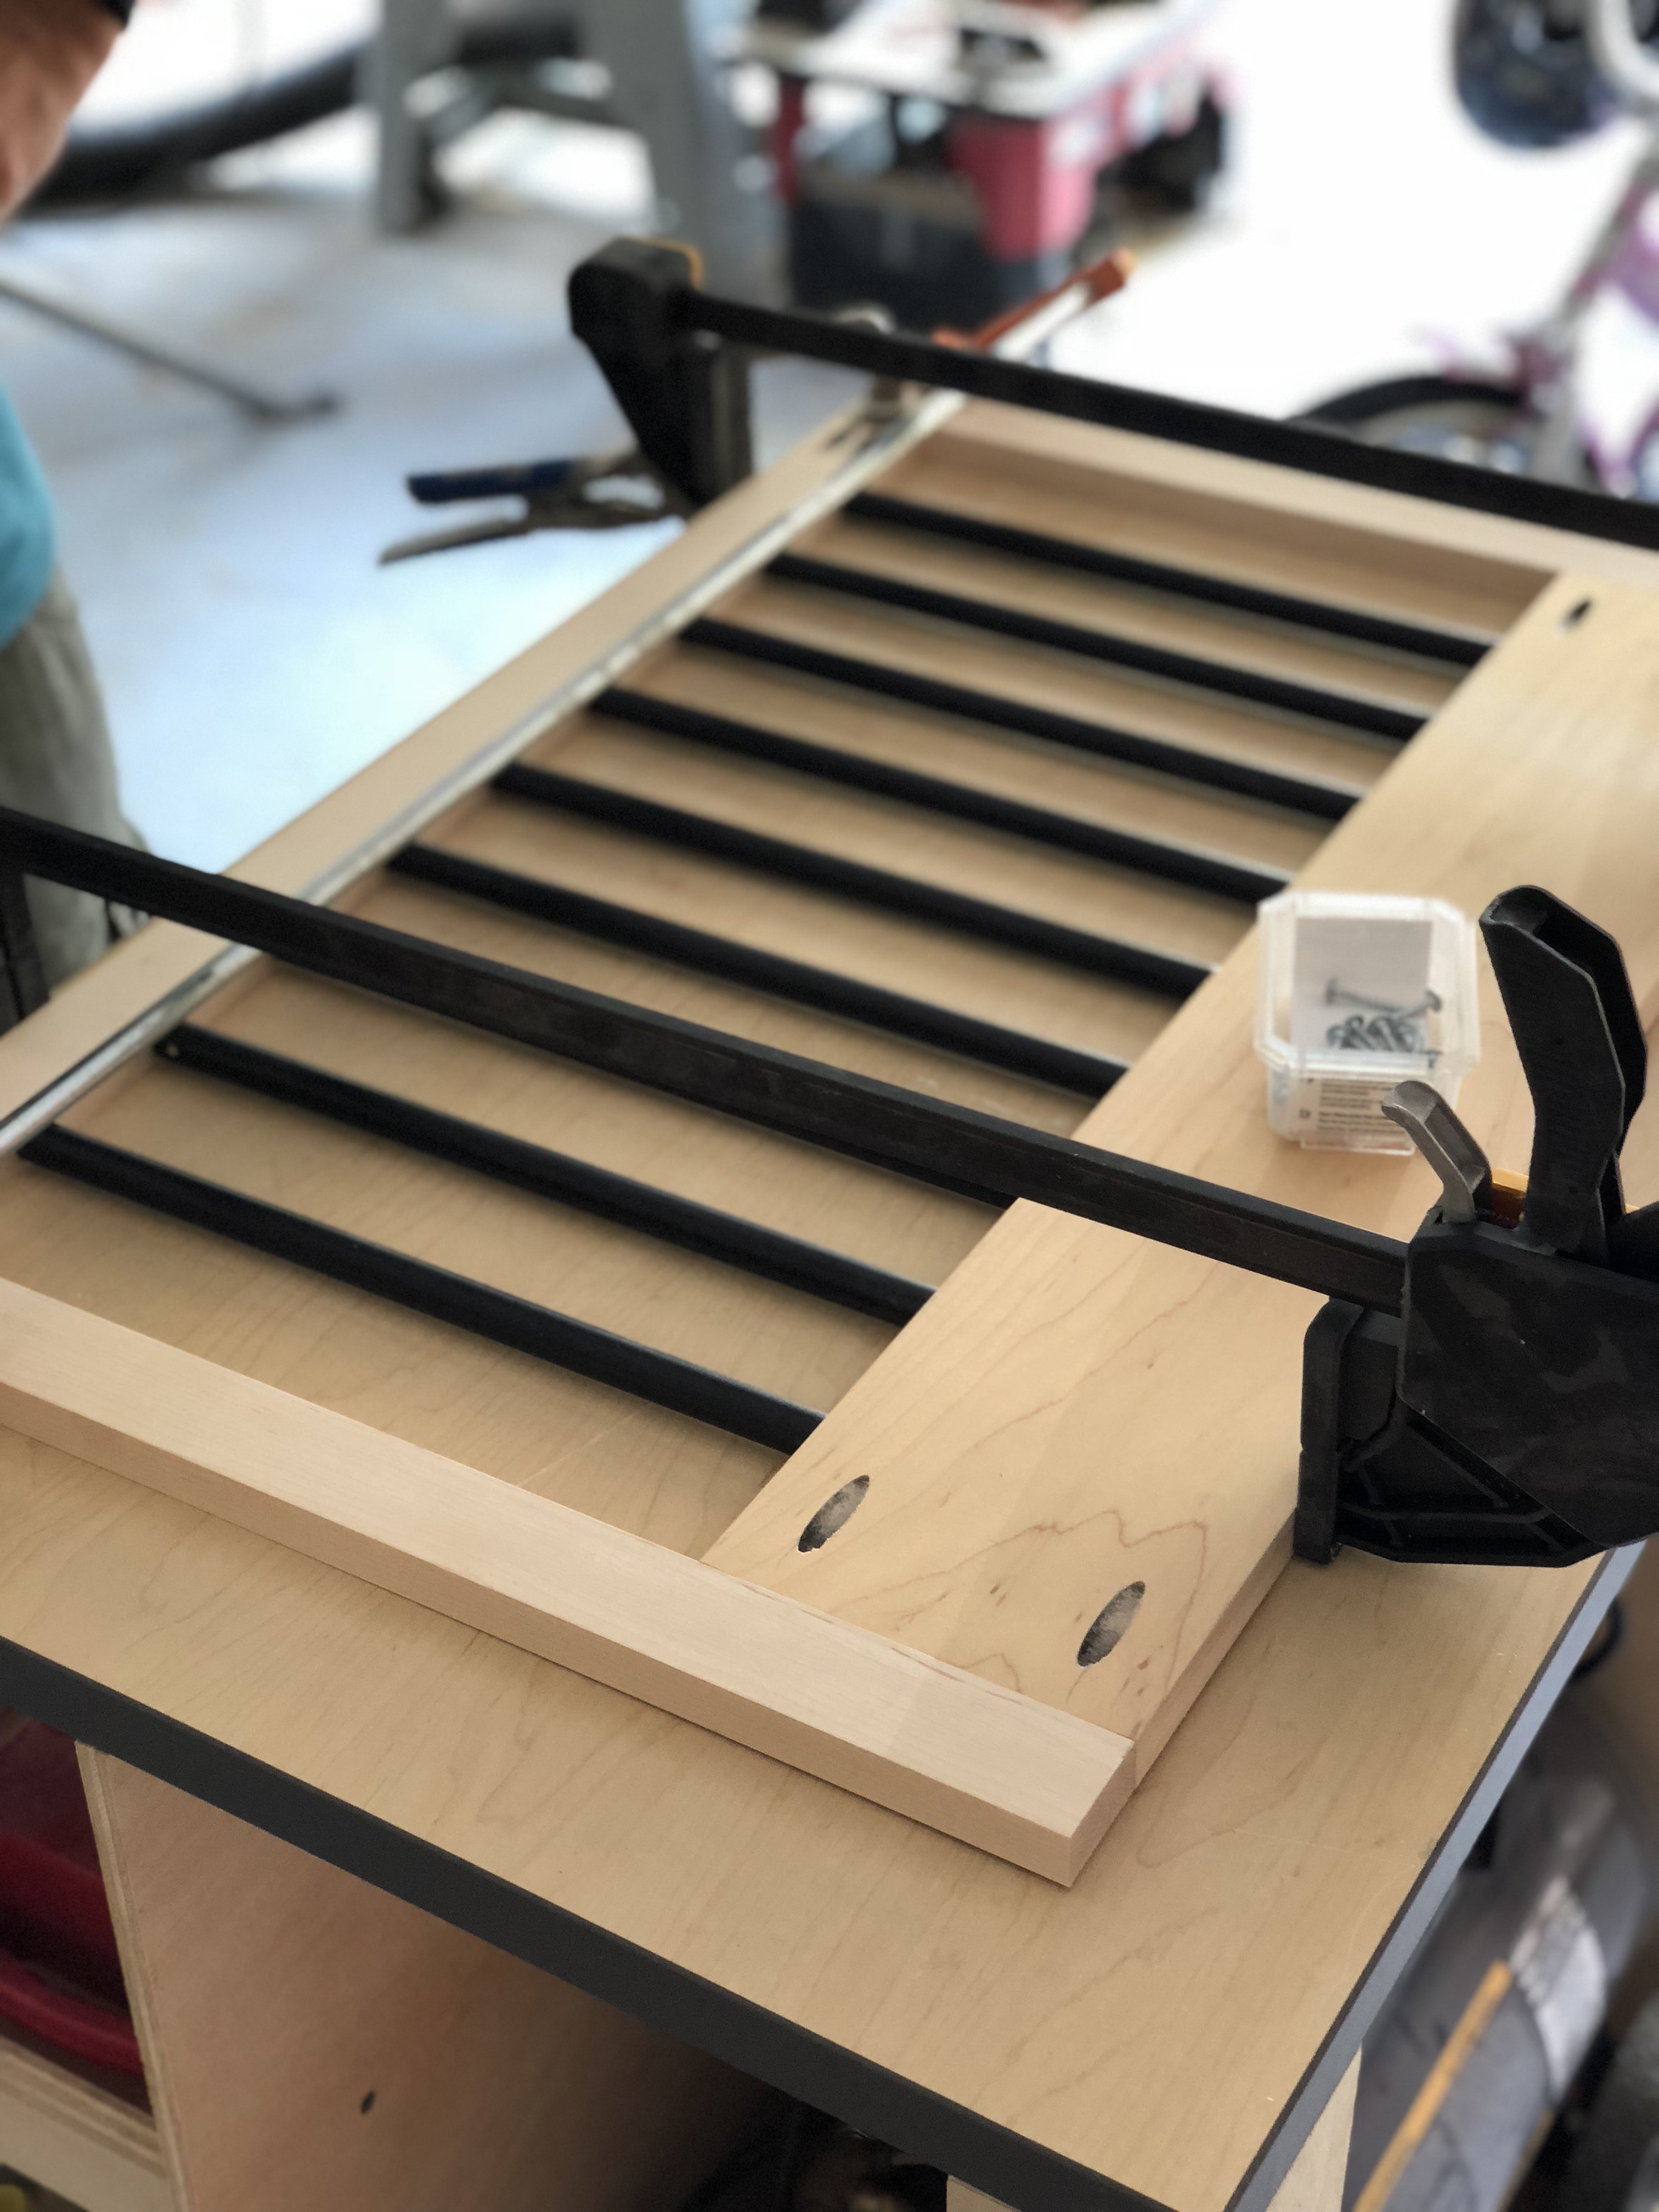
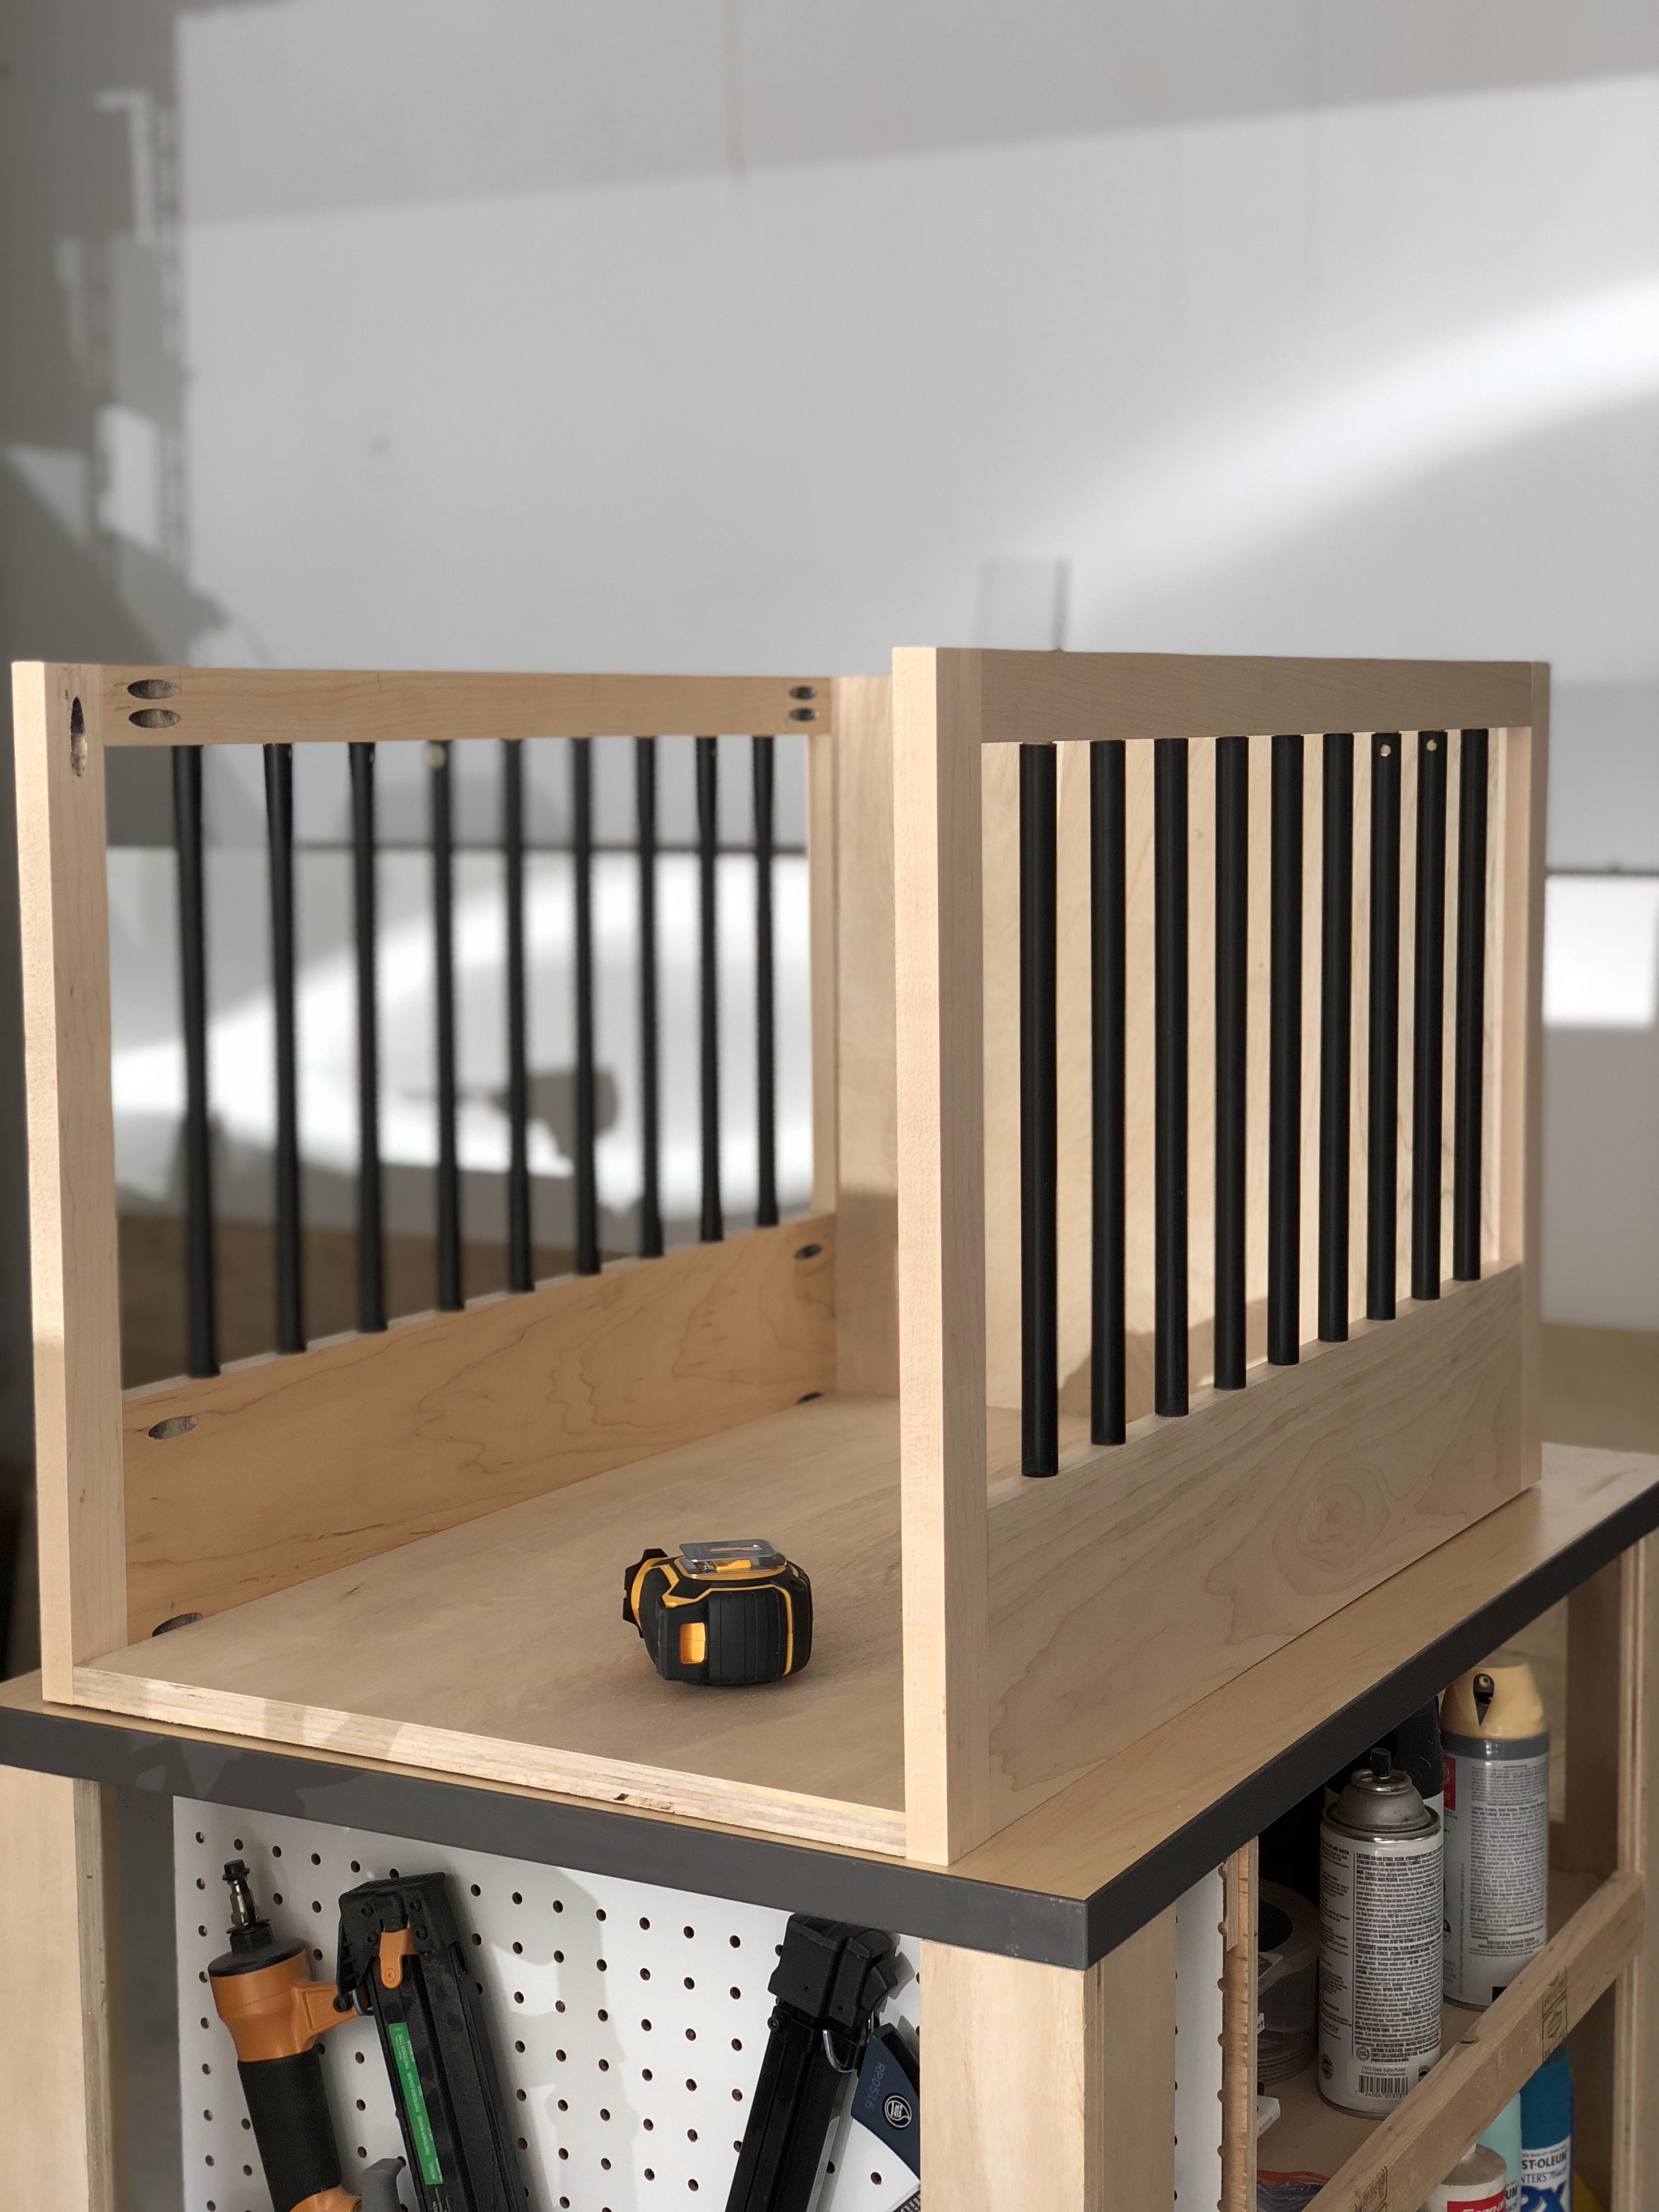
After the sides were assembled, I attached them to the plywood bottom and sides.
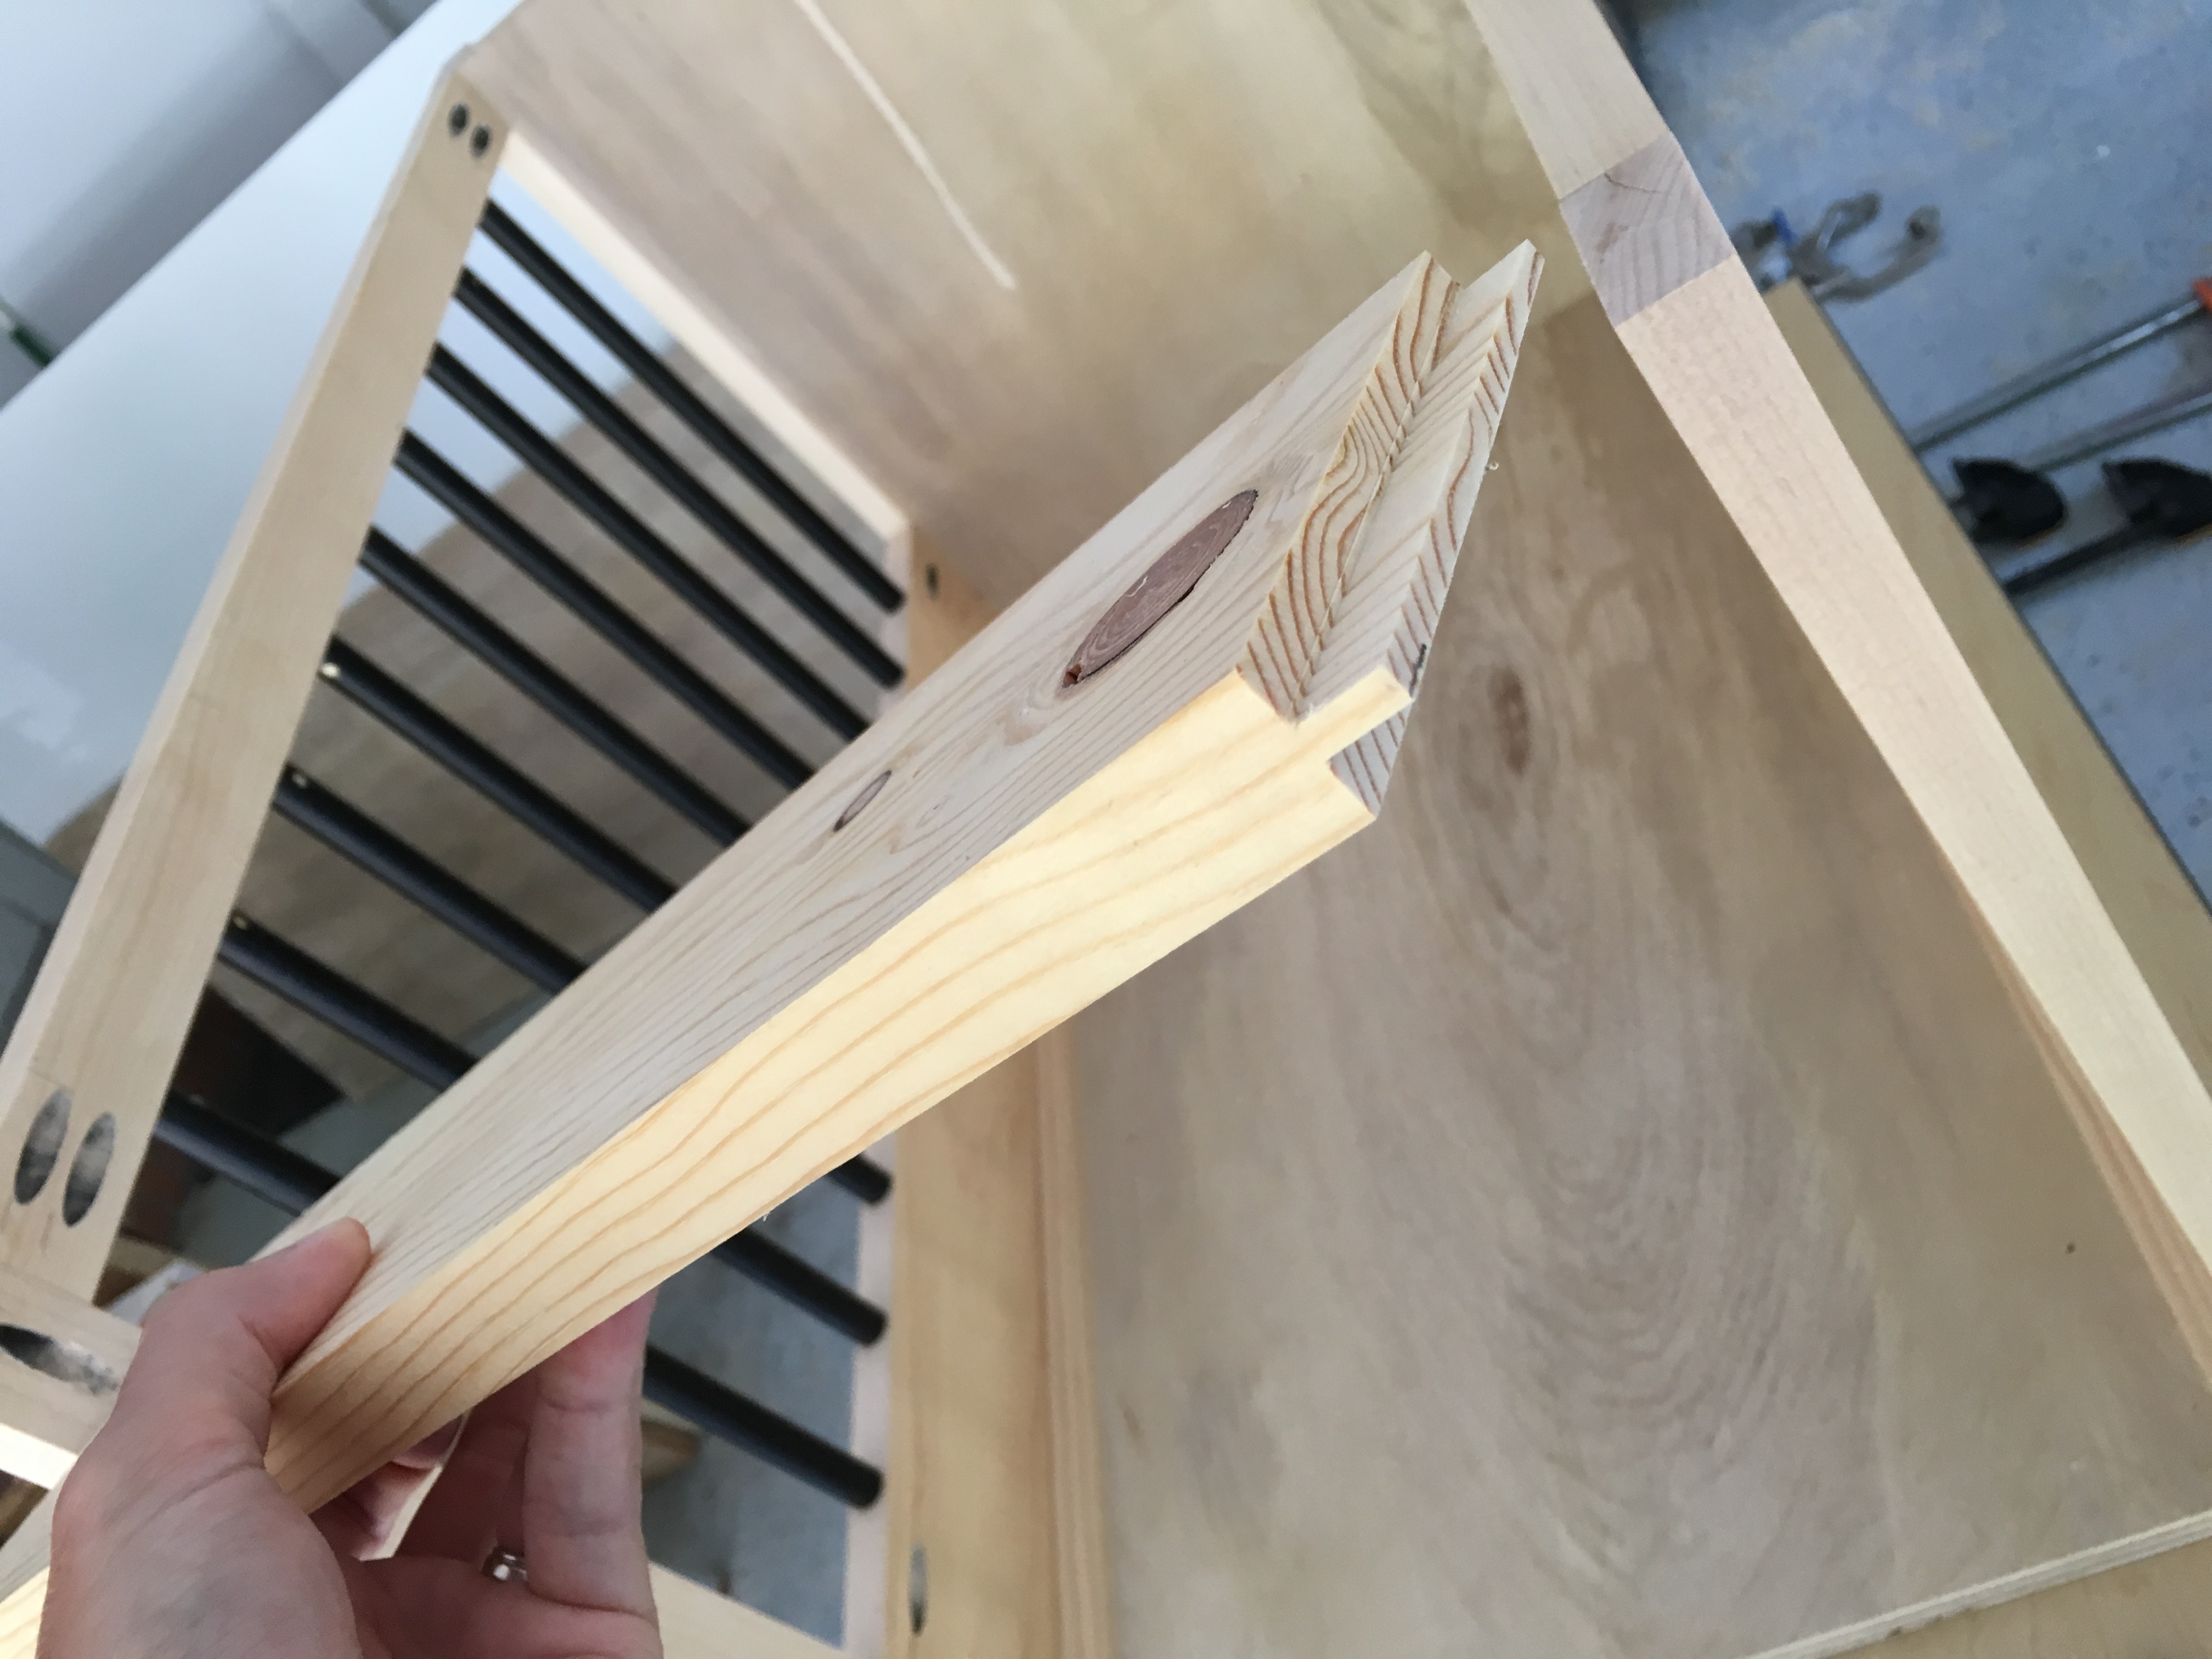
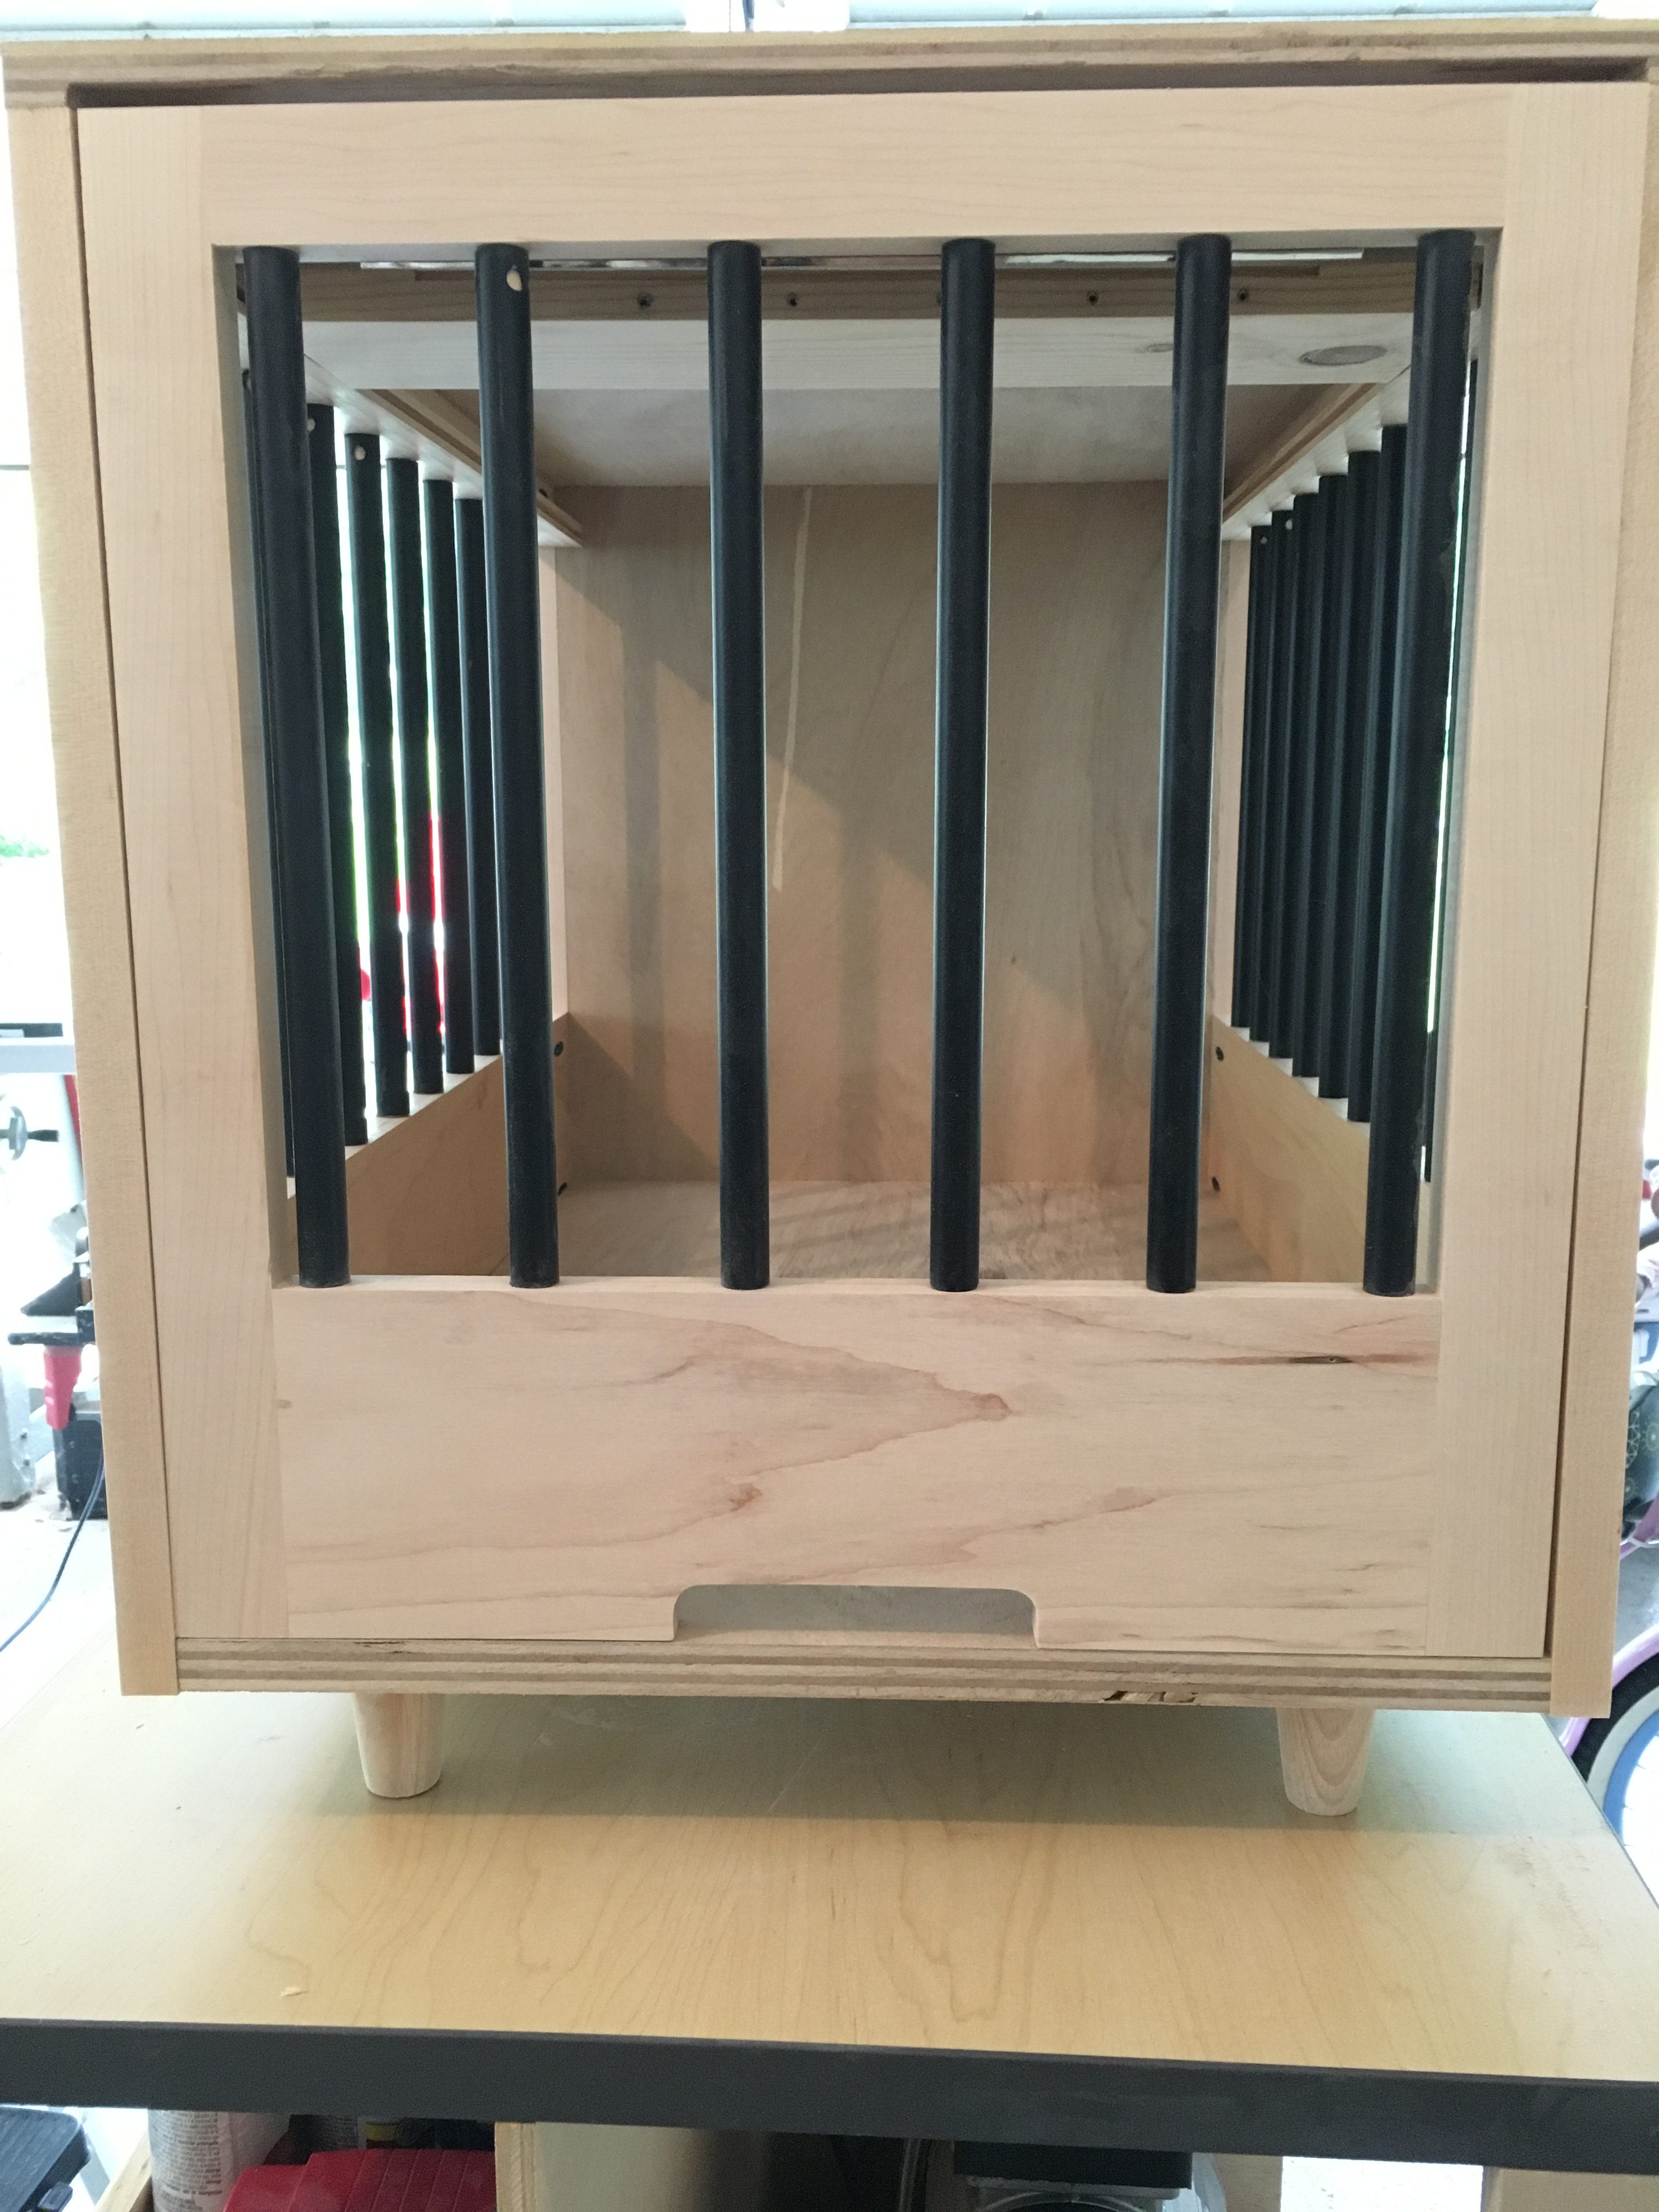
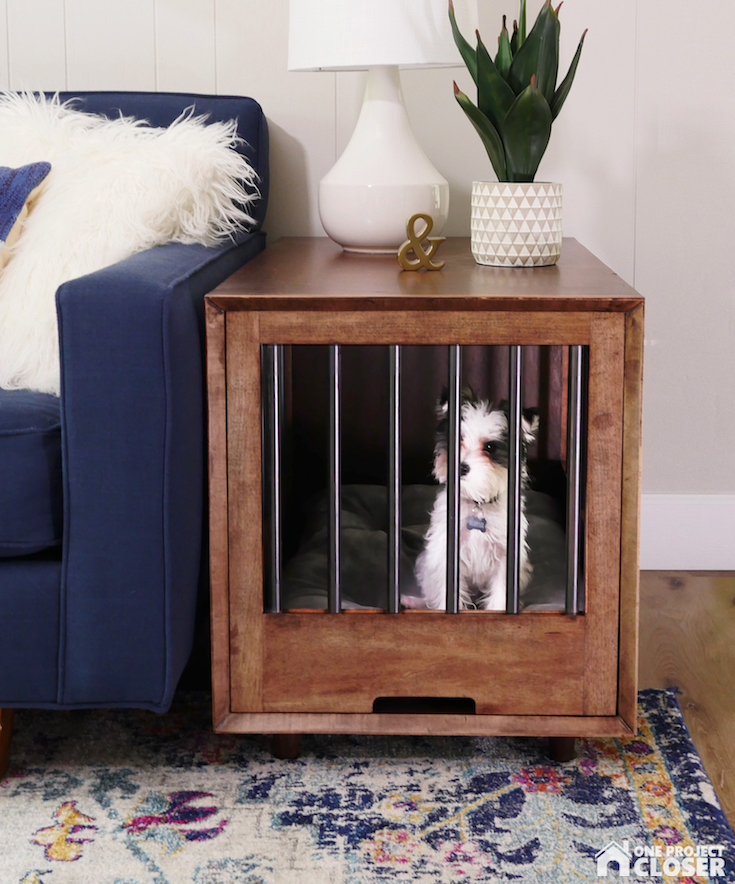
One feature on this dog crate is that I wanted a sliding pocket door. This enables us to leave the crate open for Hopper without having a crate door swing out into the room. To achieve this I cut a piece of scrap with tenons on both ends. Next, I cut a corresponding slot for the two slides. The crate door swings upward on the piano hinge and then slides back into the crate, resting on the side pieces.
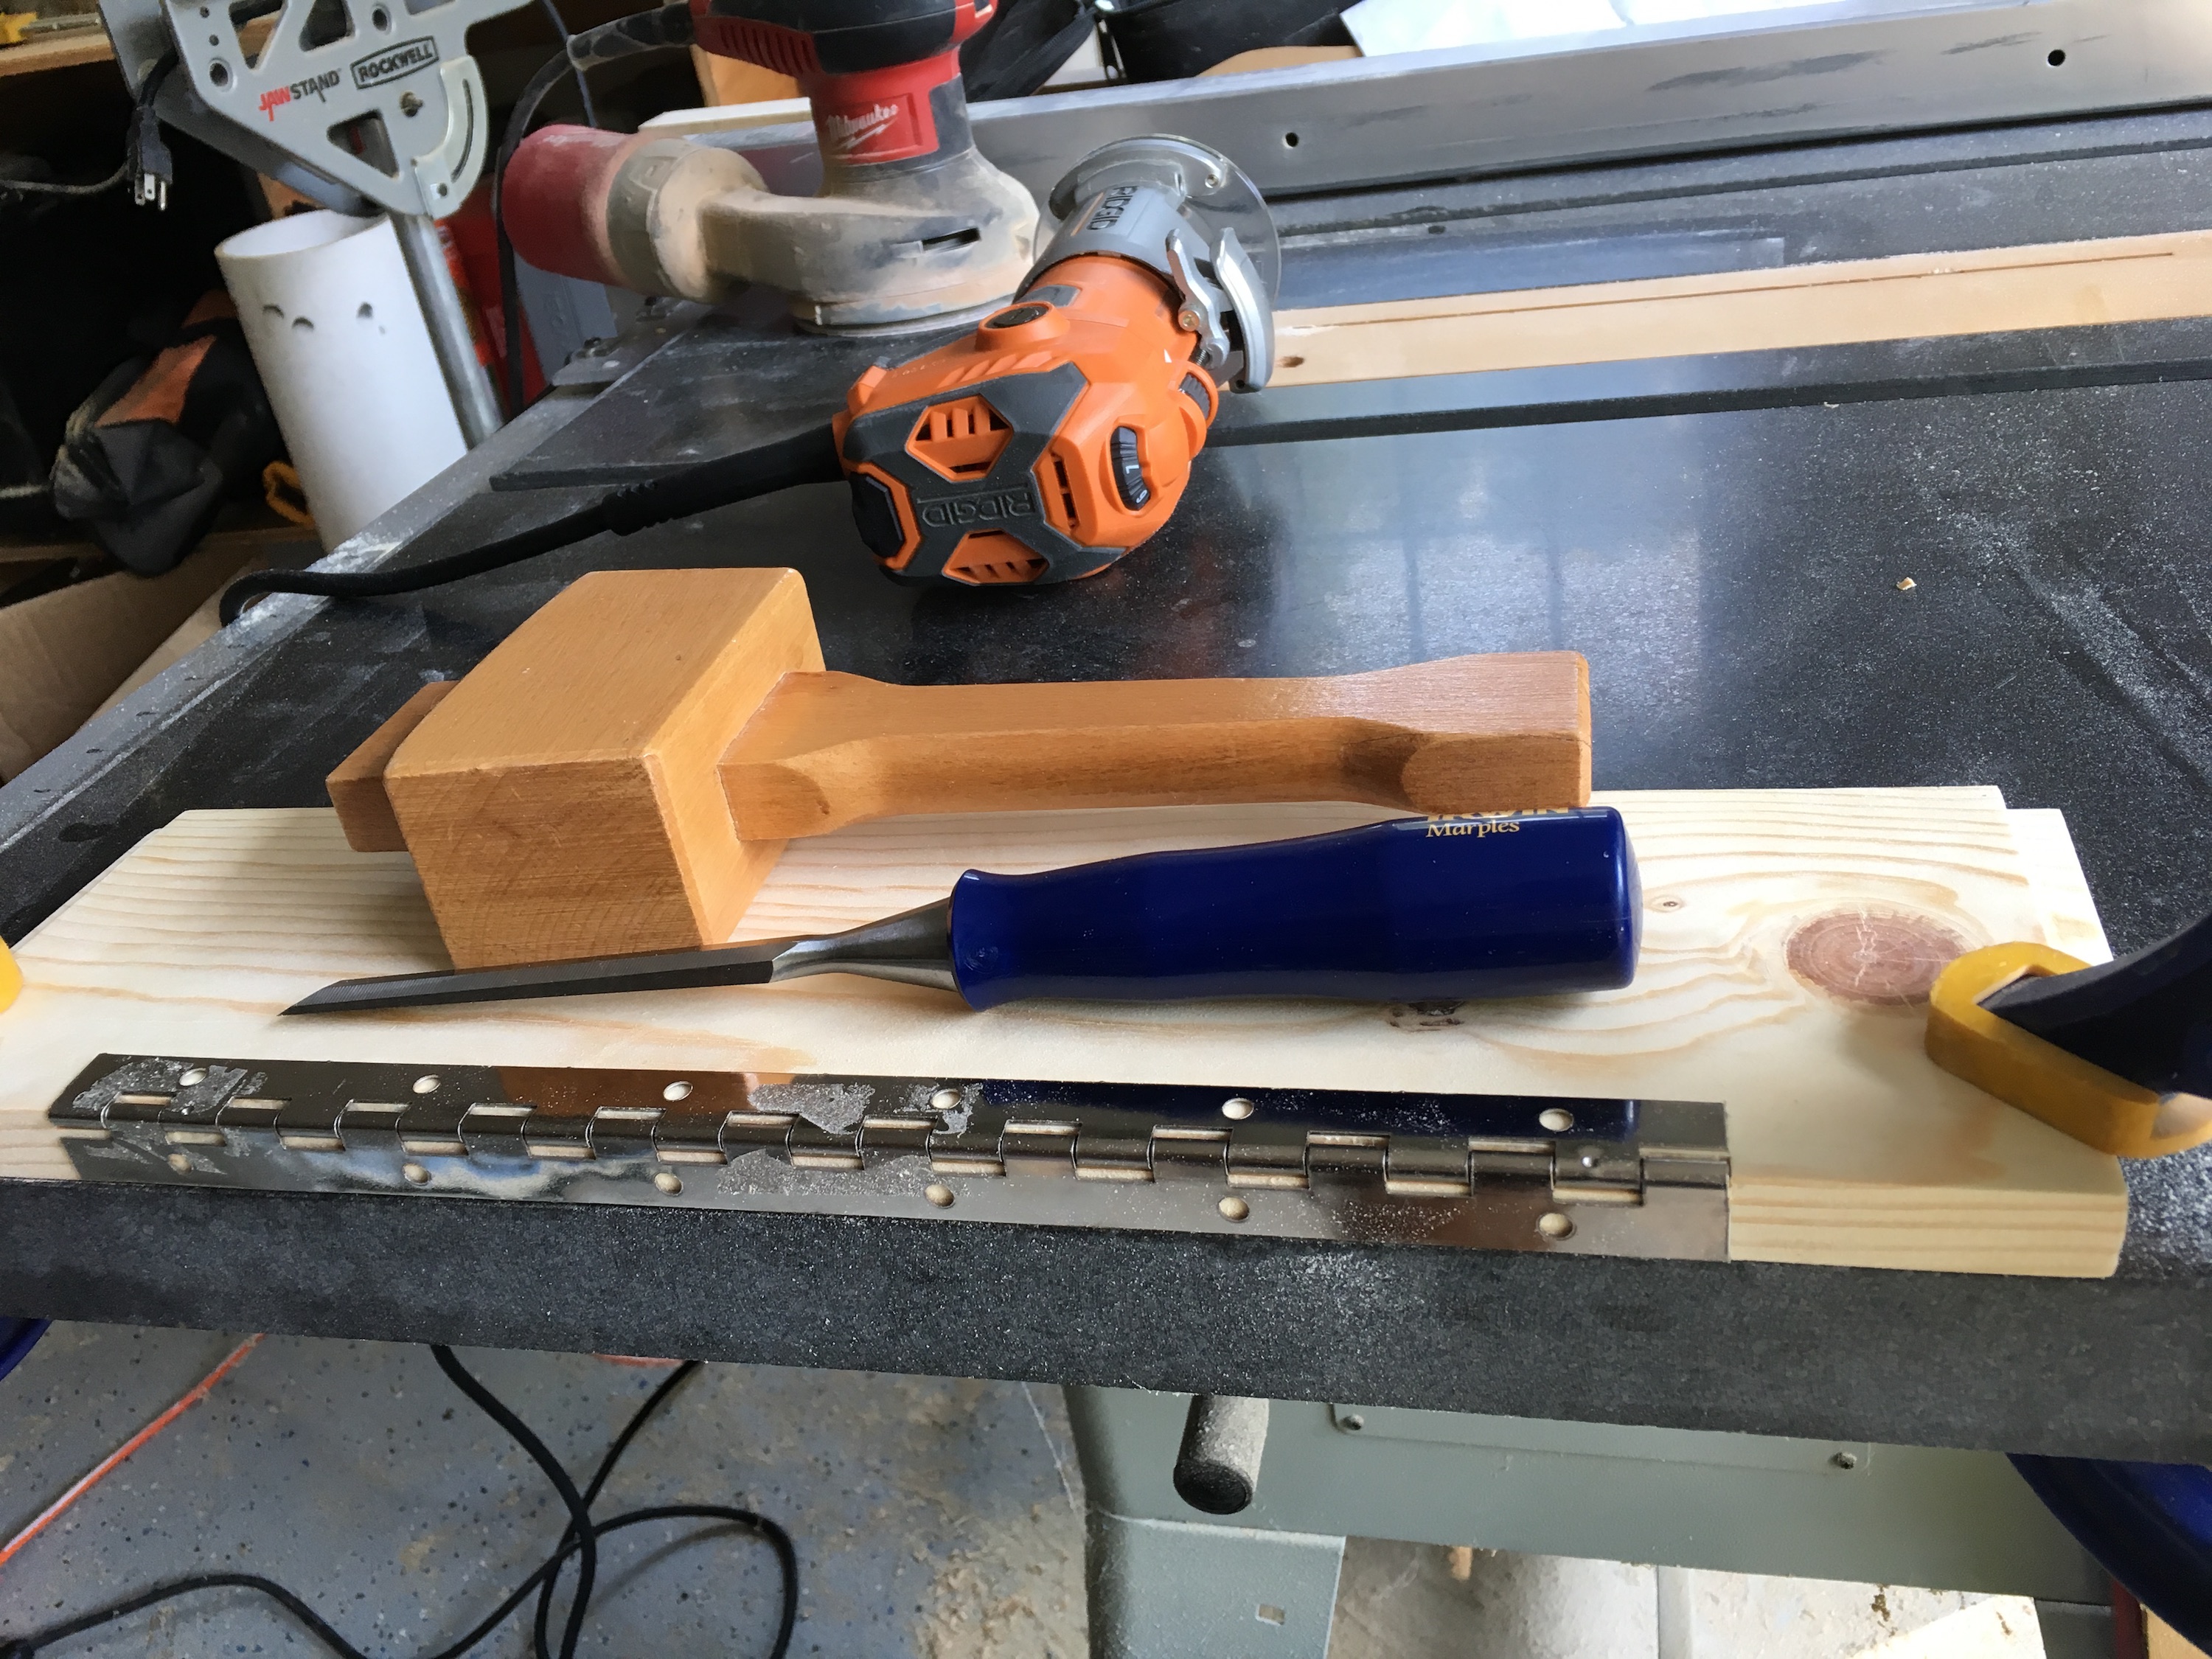
I used a router and chisel to cut a space into the slide for the hinge.
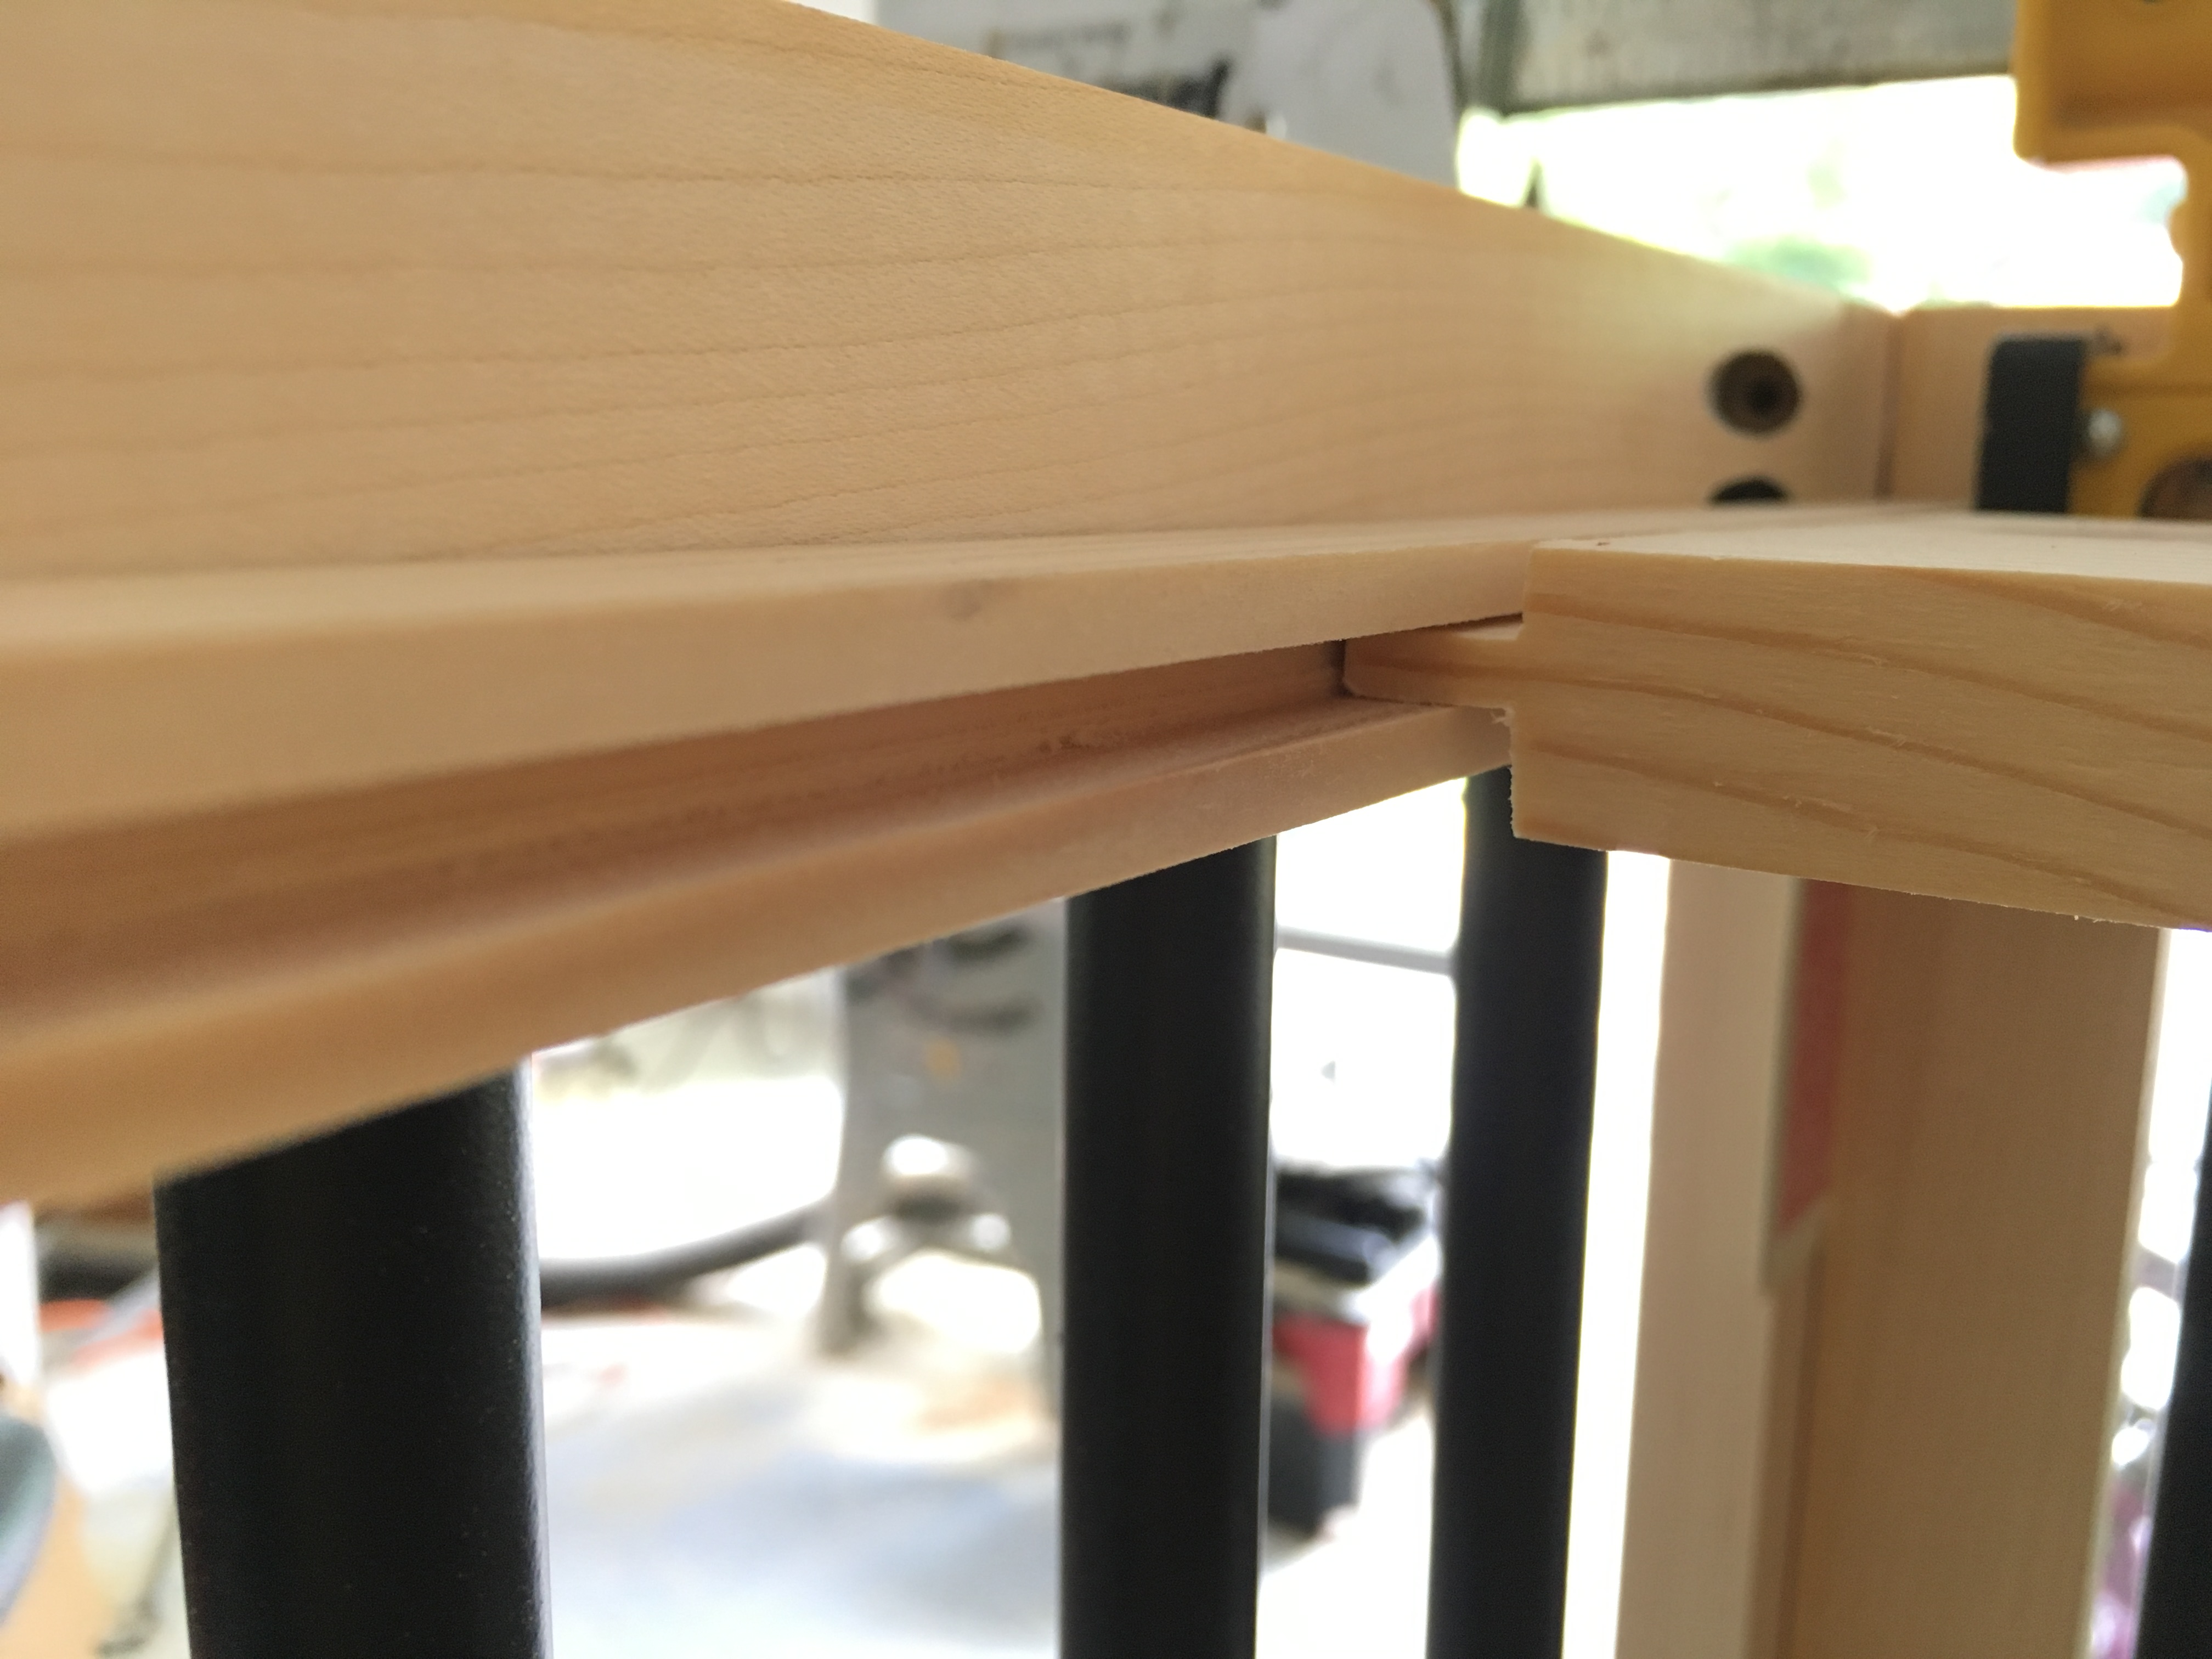
Once I was satisfied with the slides, I built the crate door much just like the sides. I used playing cards to create just the slightest space for the door to move.
I also cut a rounded slot for a handhold.

Next, I cut the plywood top to size. There was a bit of back-and-forth because I needed to account for the thickness of the edge banding on three sides, and I needed to cut some clearance for the top of the door to pivot. At this point I also attached the tapered legs. These I simply routed a shallow circle and glued into place.
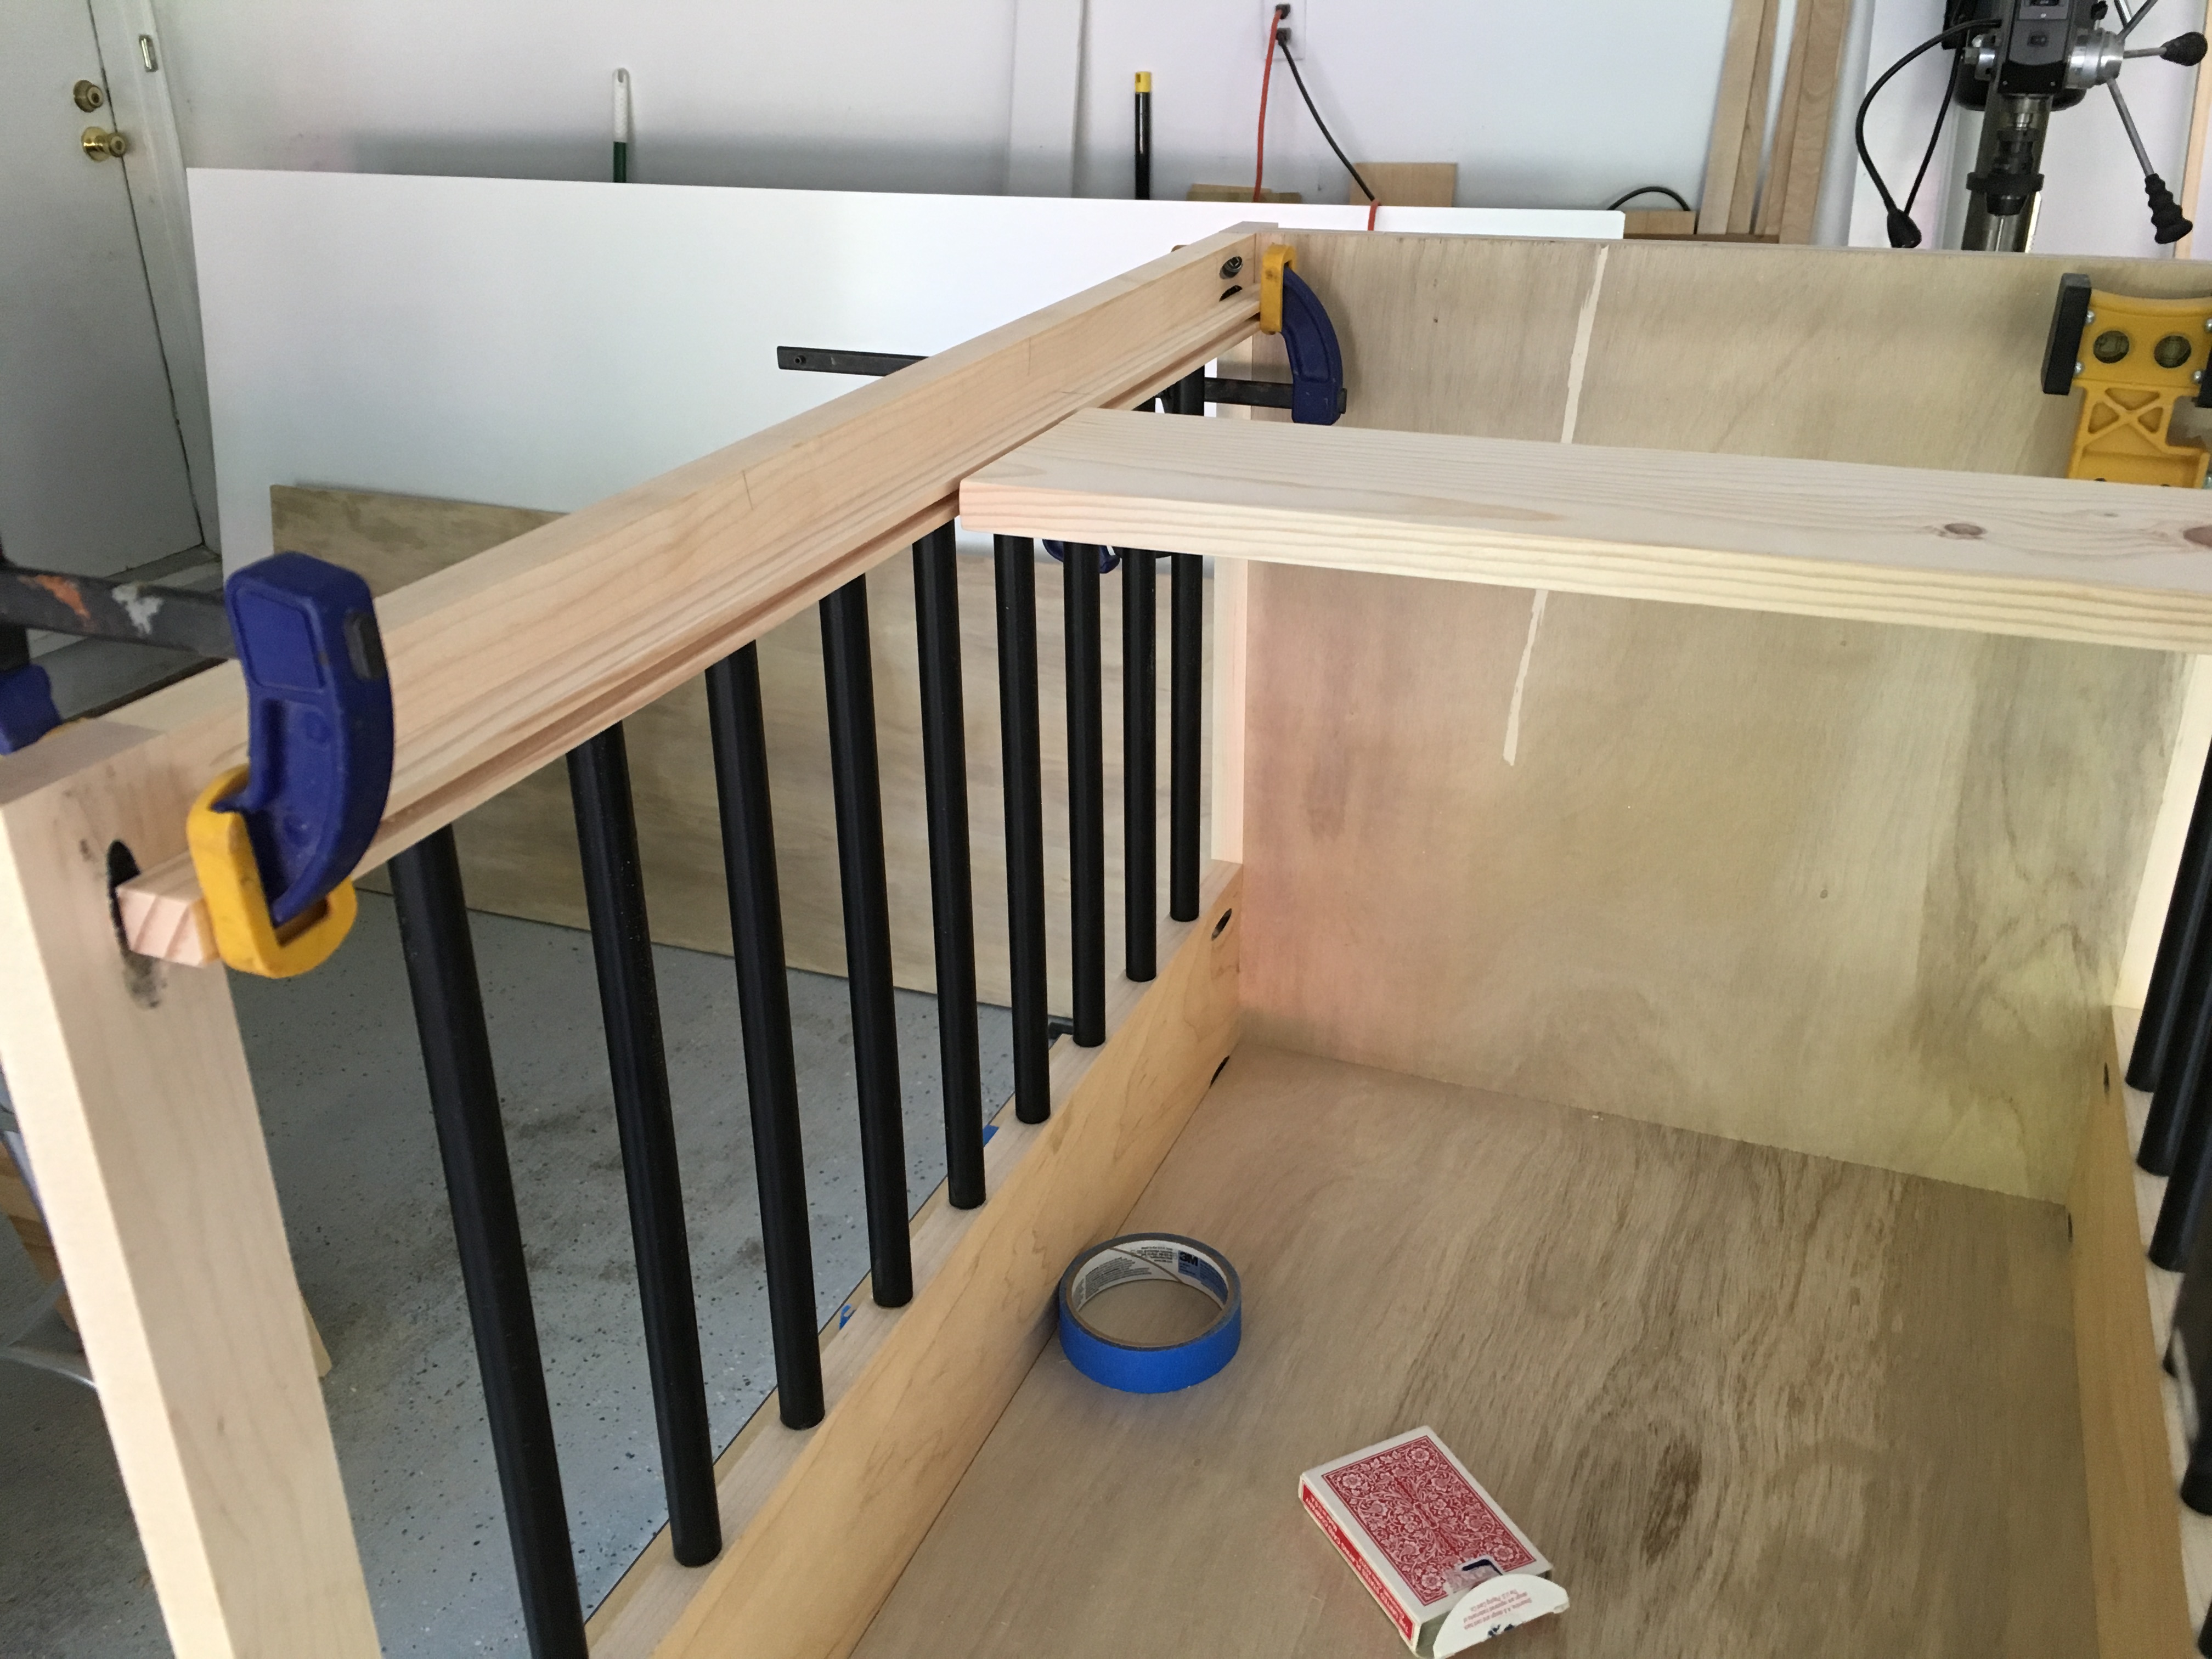
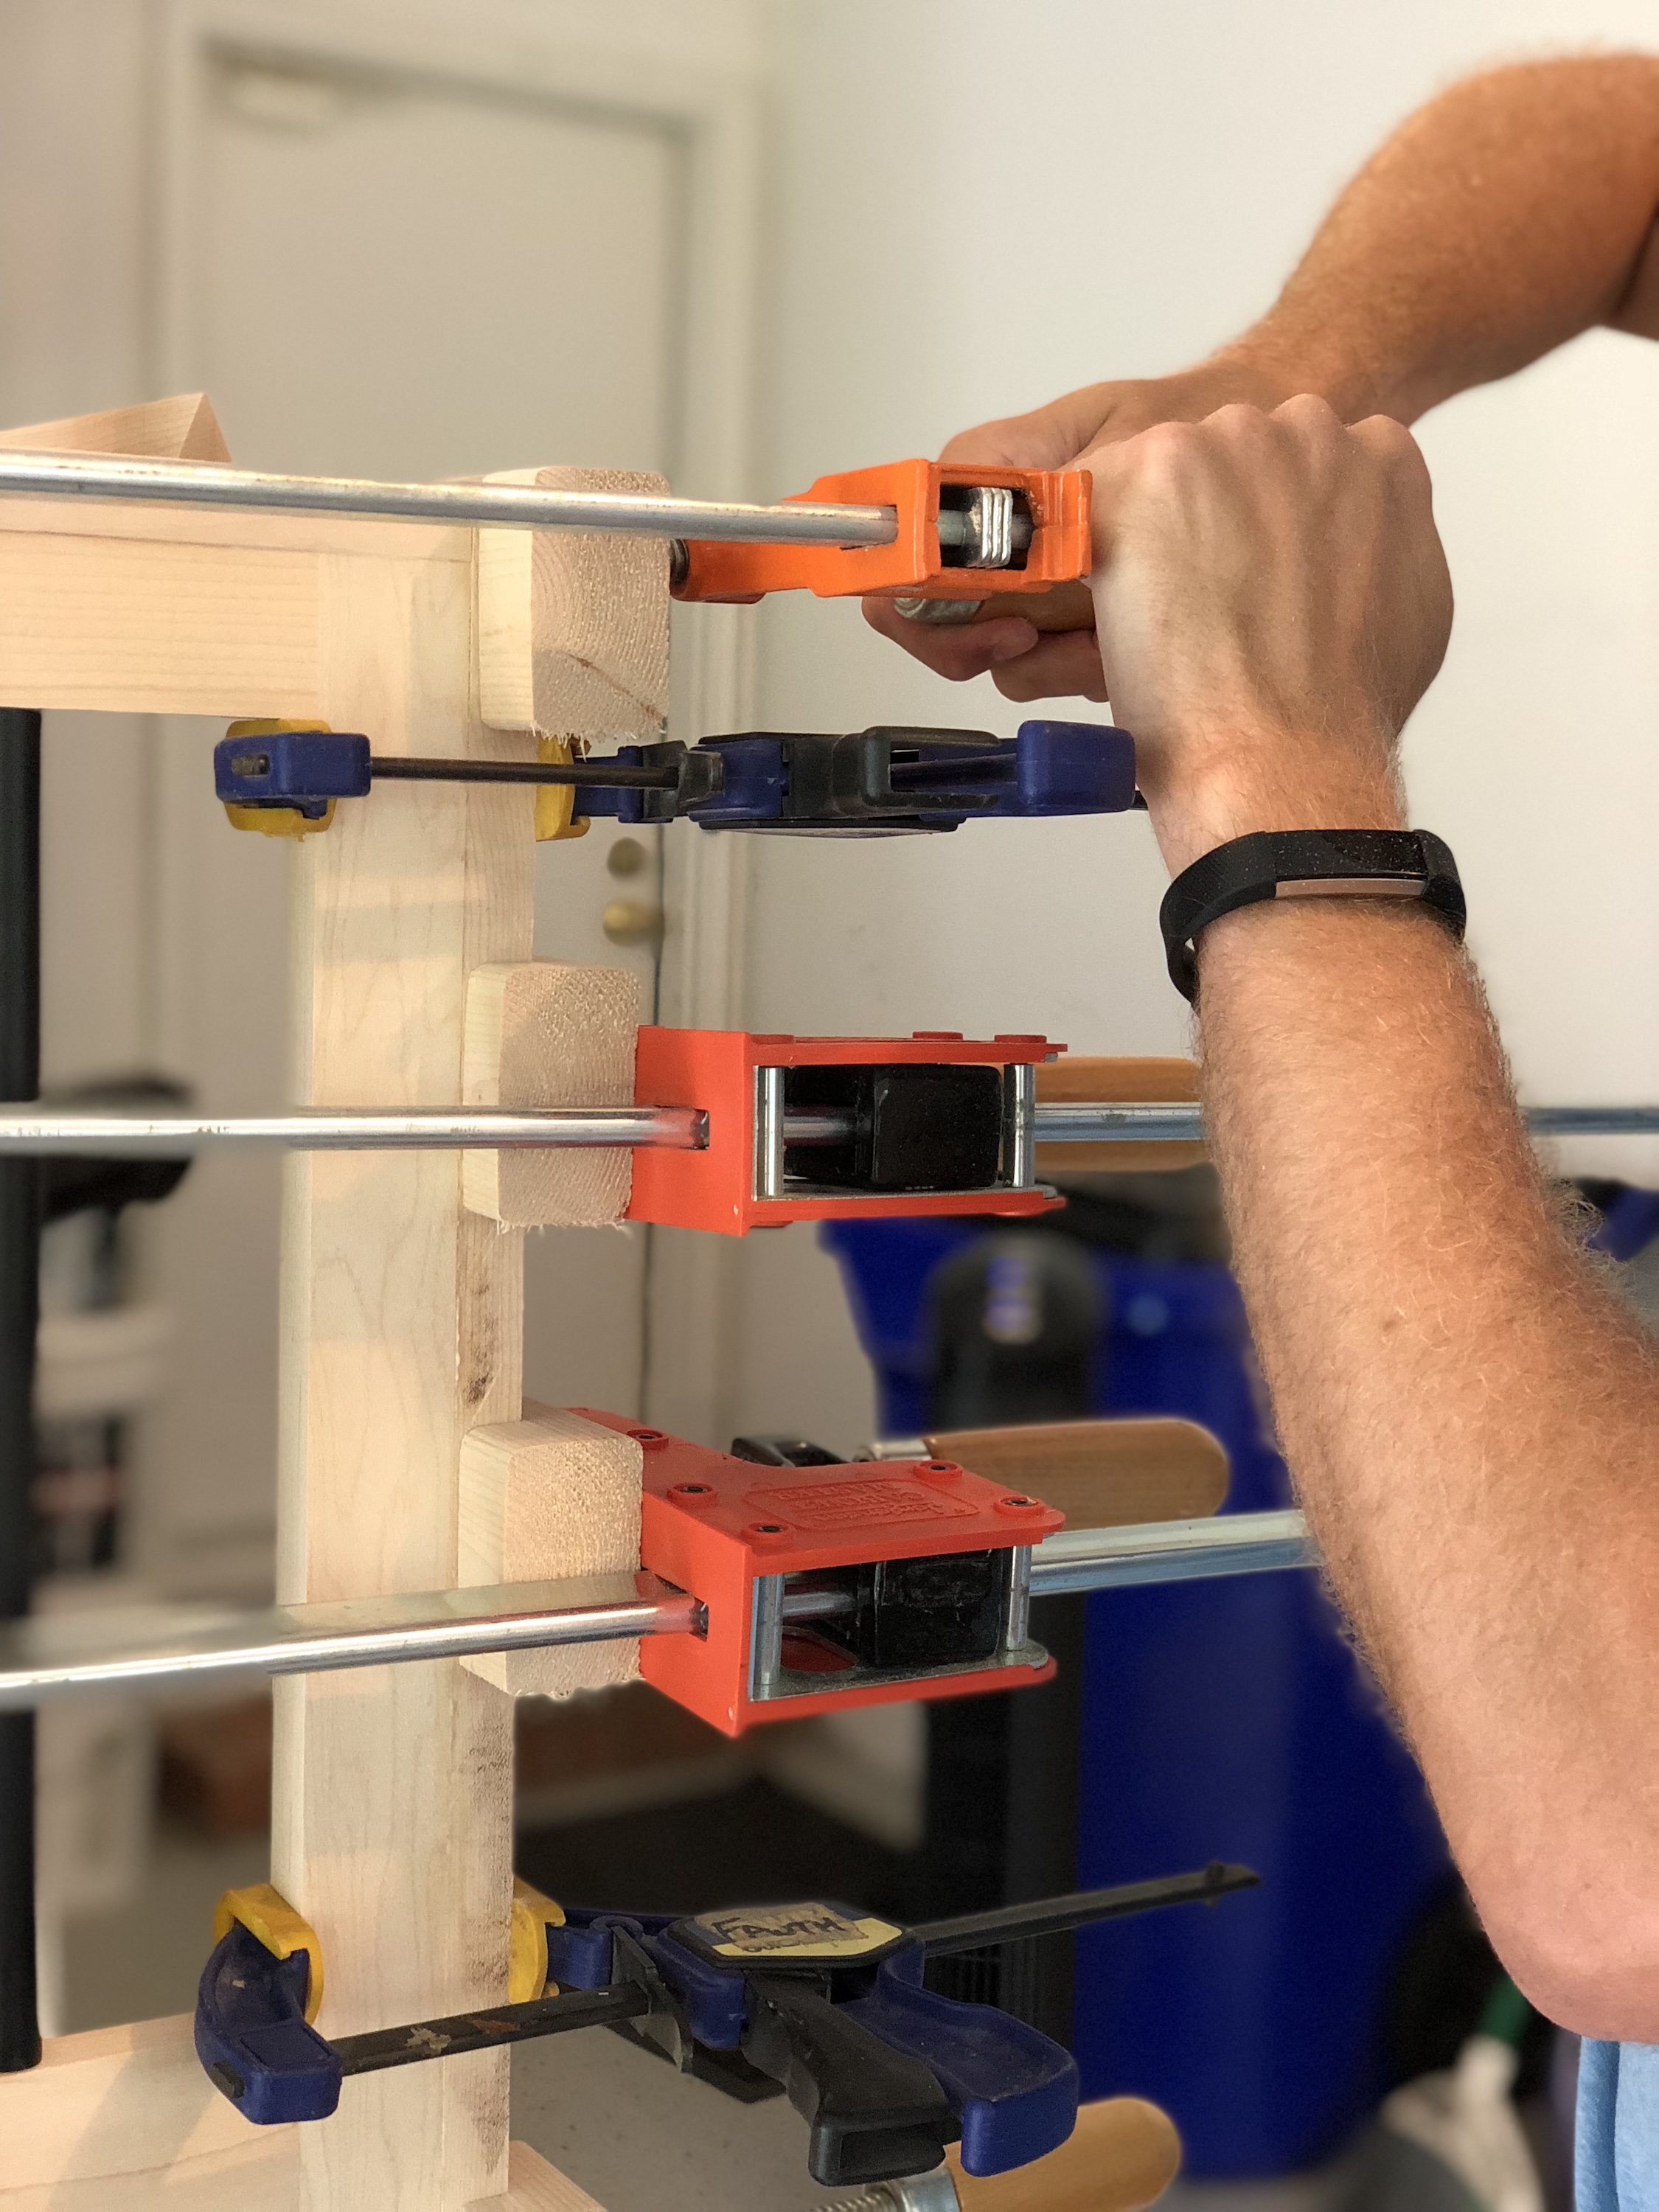
Once I had the top in place and the door able to slide as expected, I ripped some more Maple to create a flair trim piece. This was glued into place around the entire front face. You can see I cut some scrap wood to be able to better clamp everything in place.
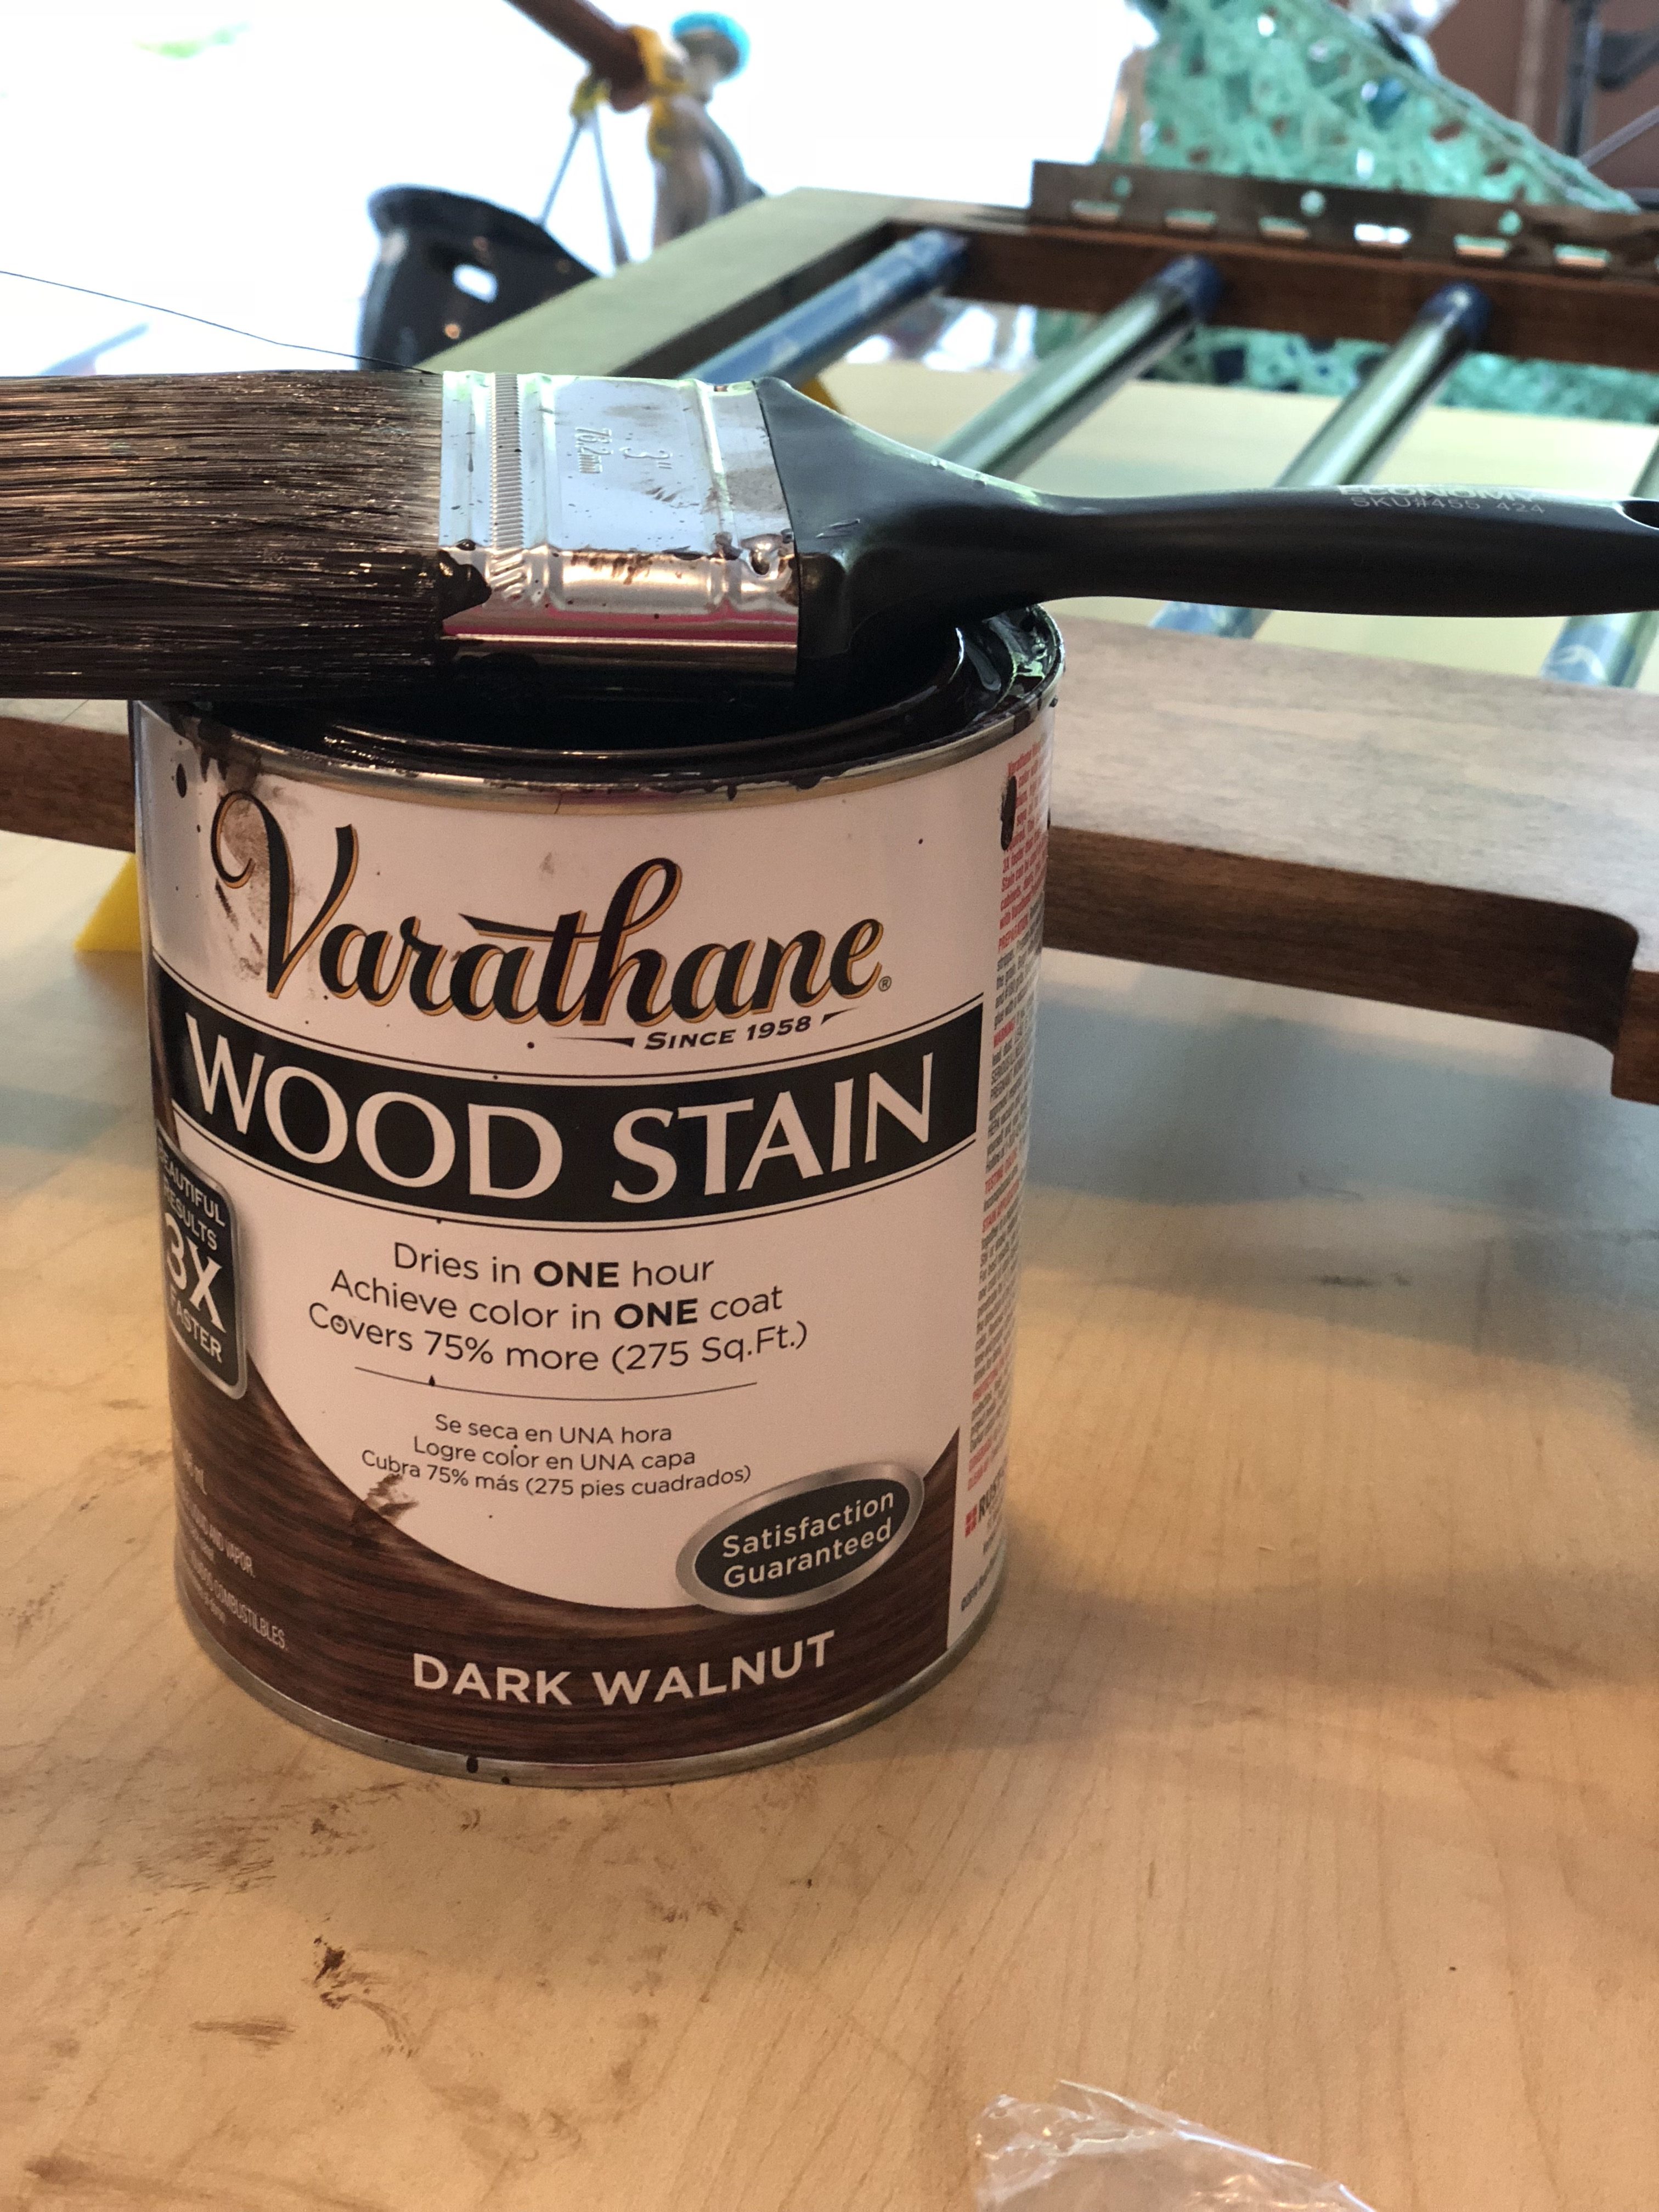
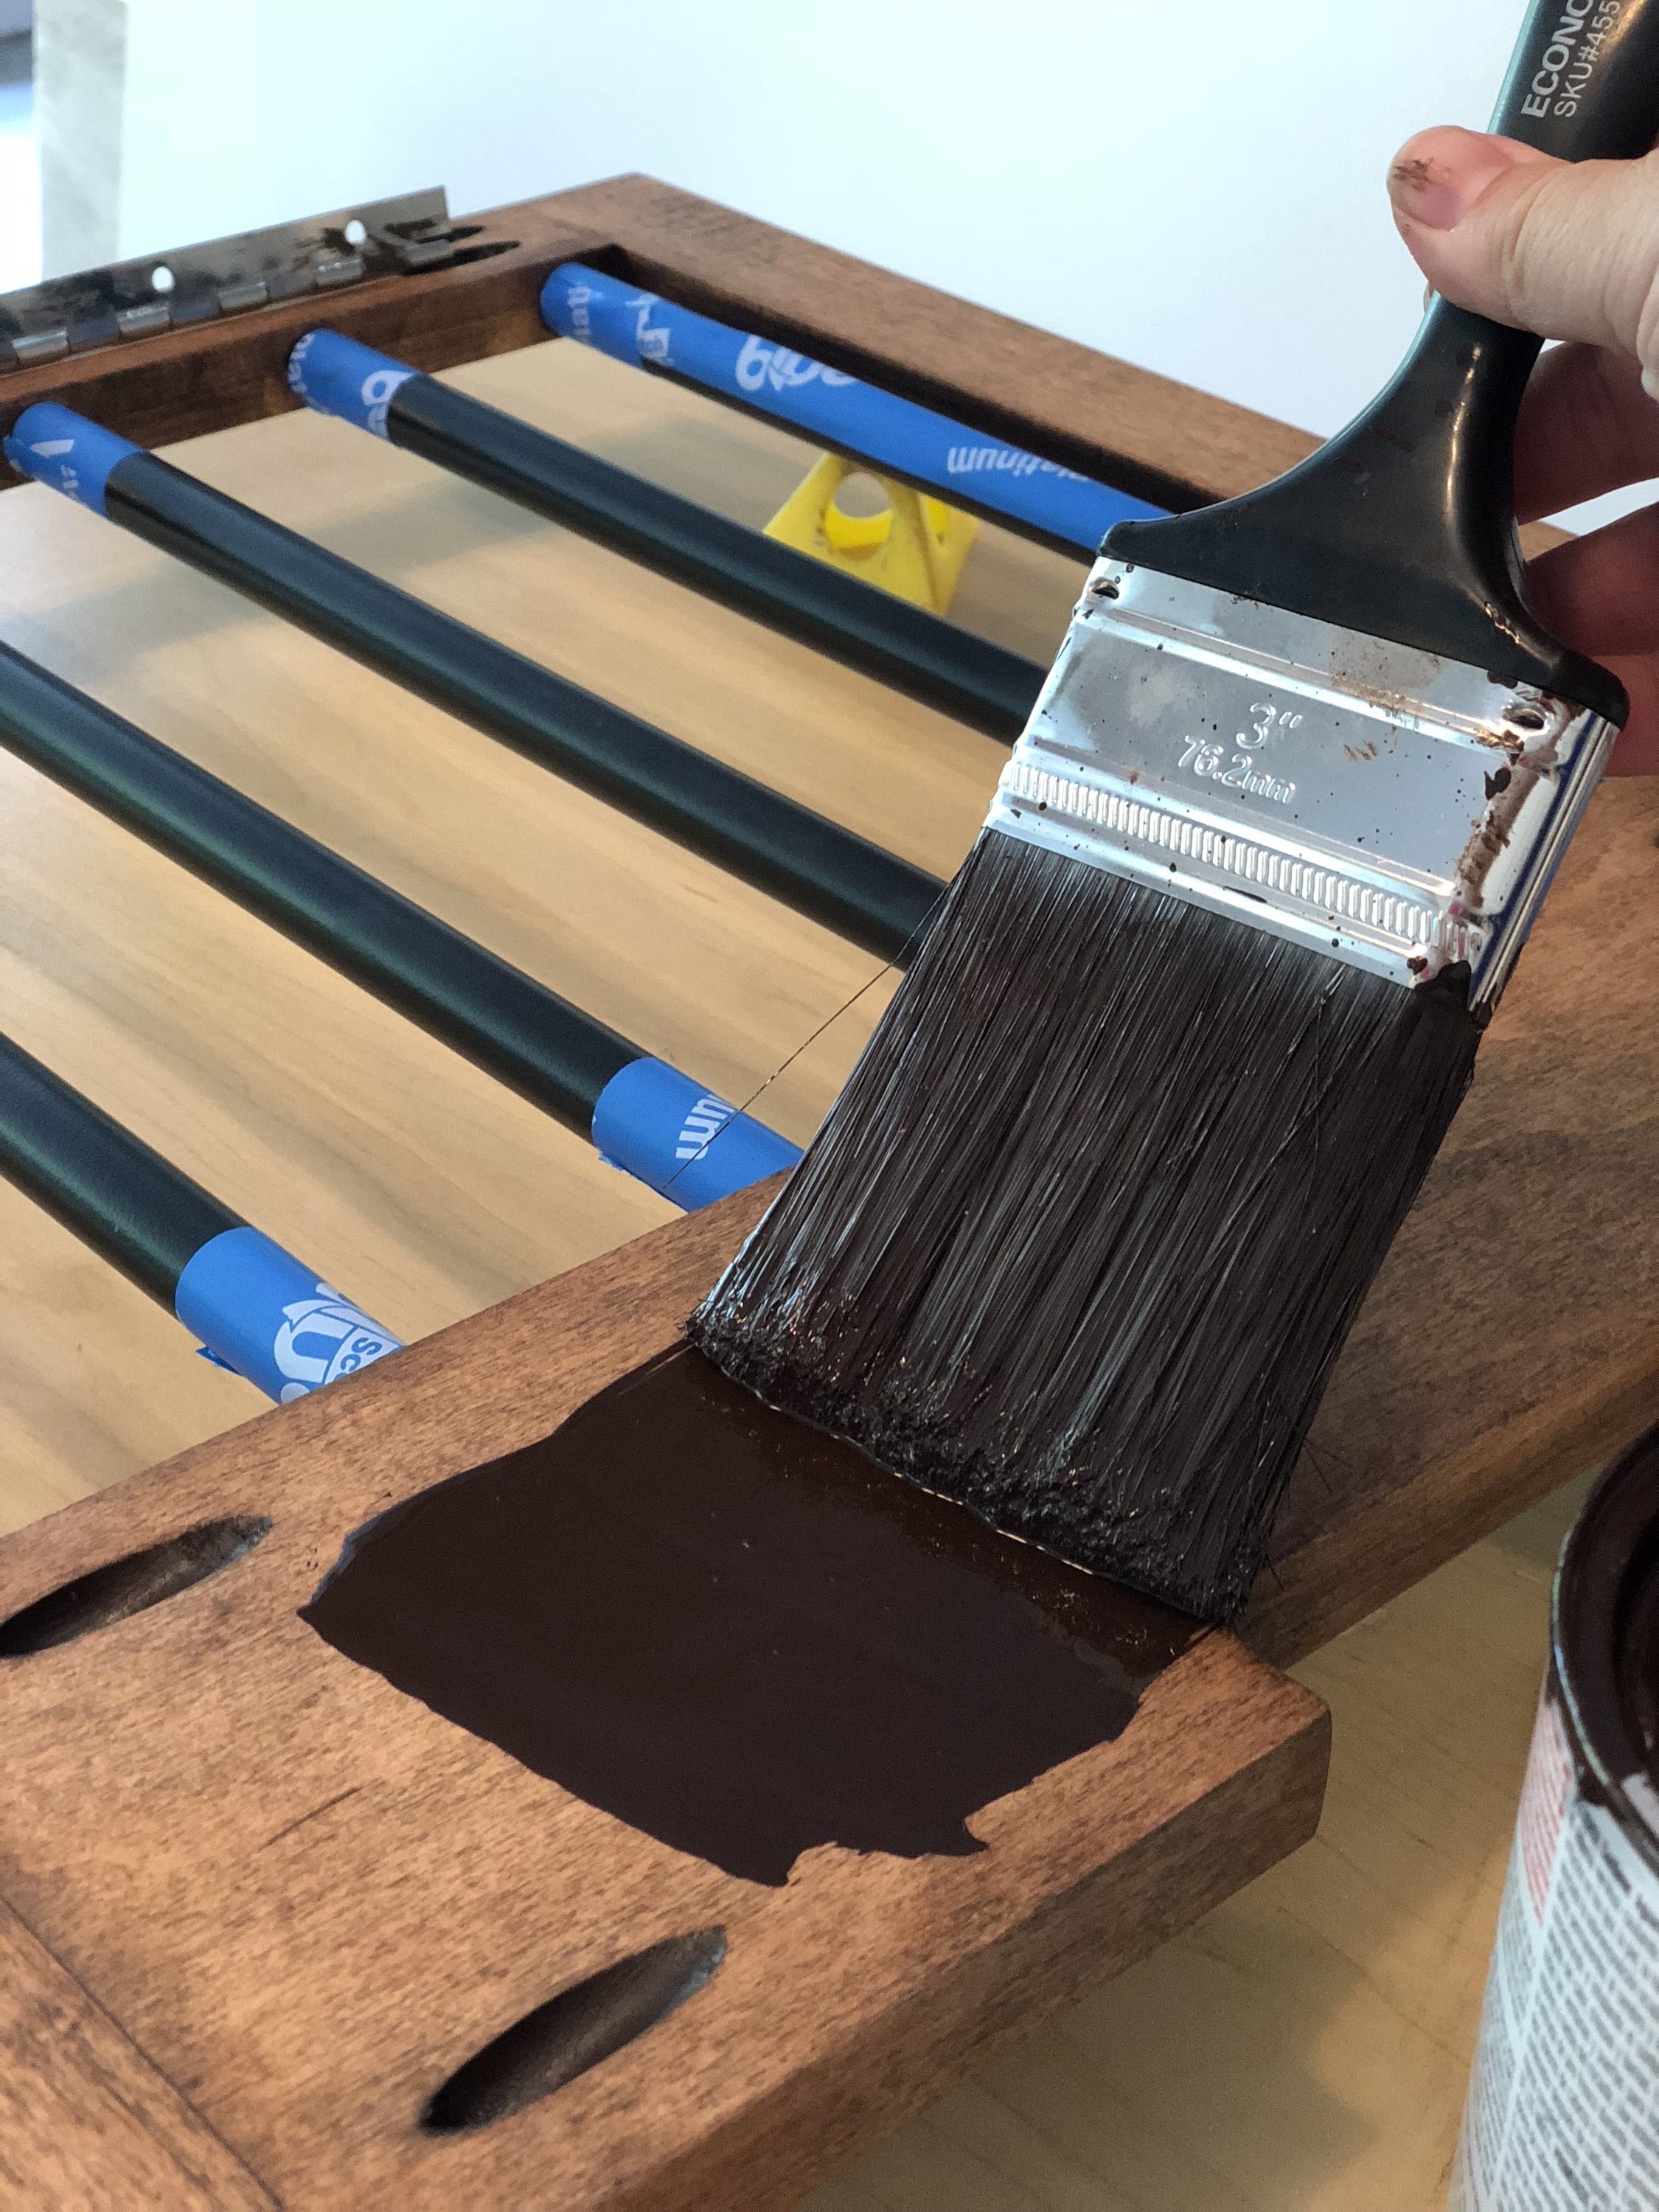
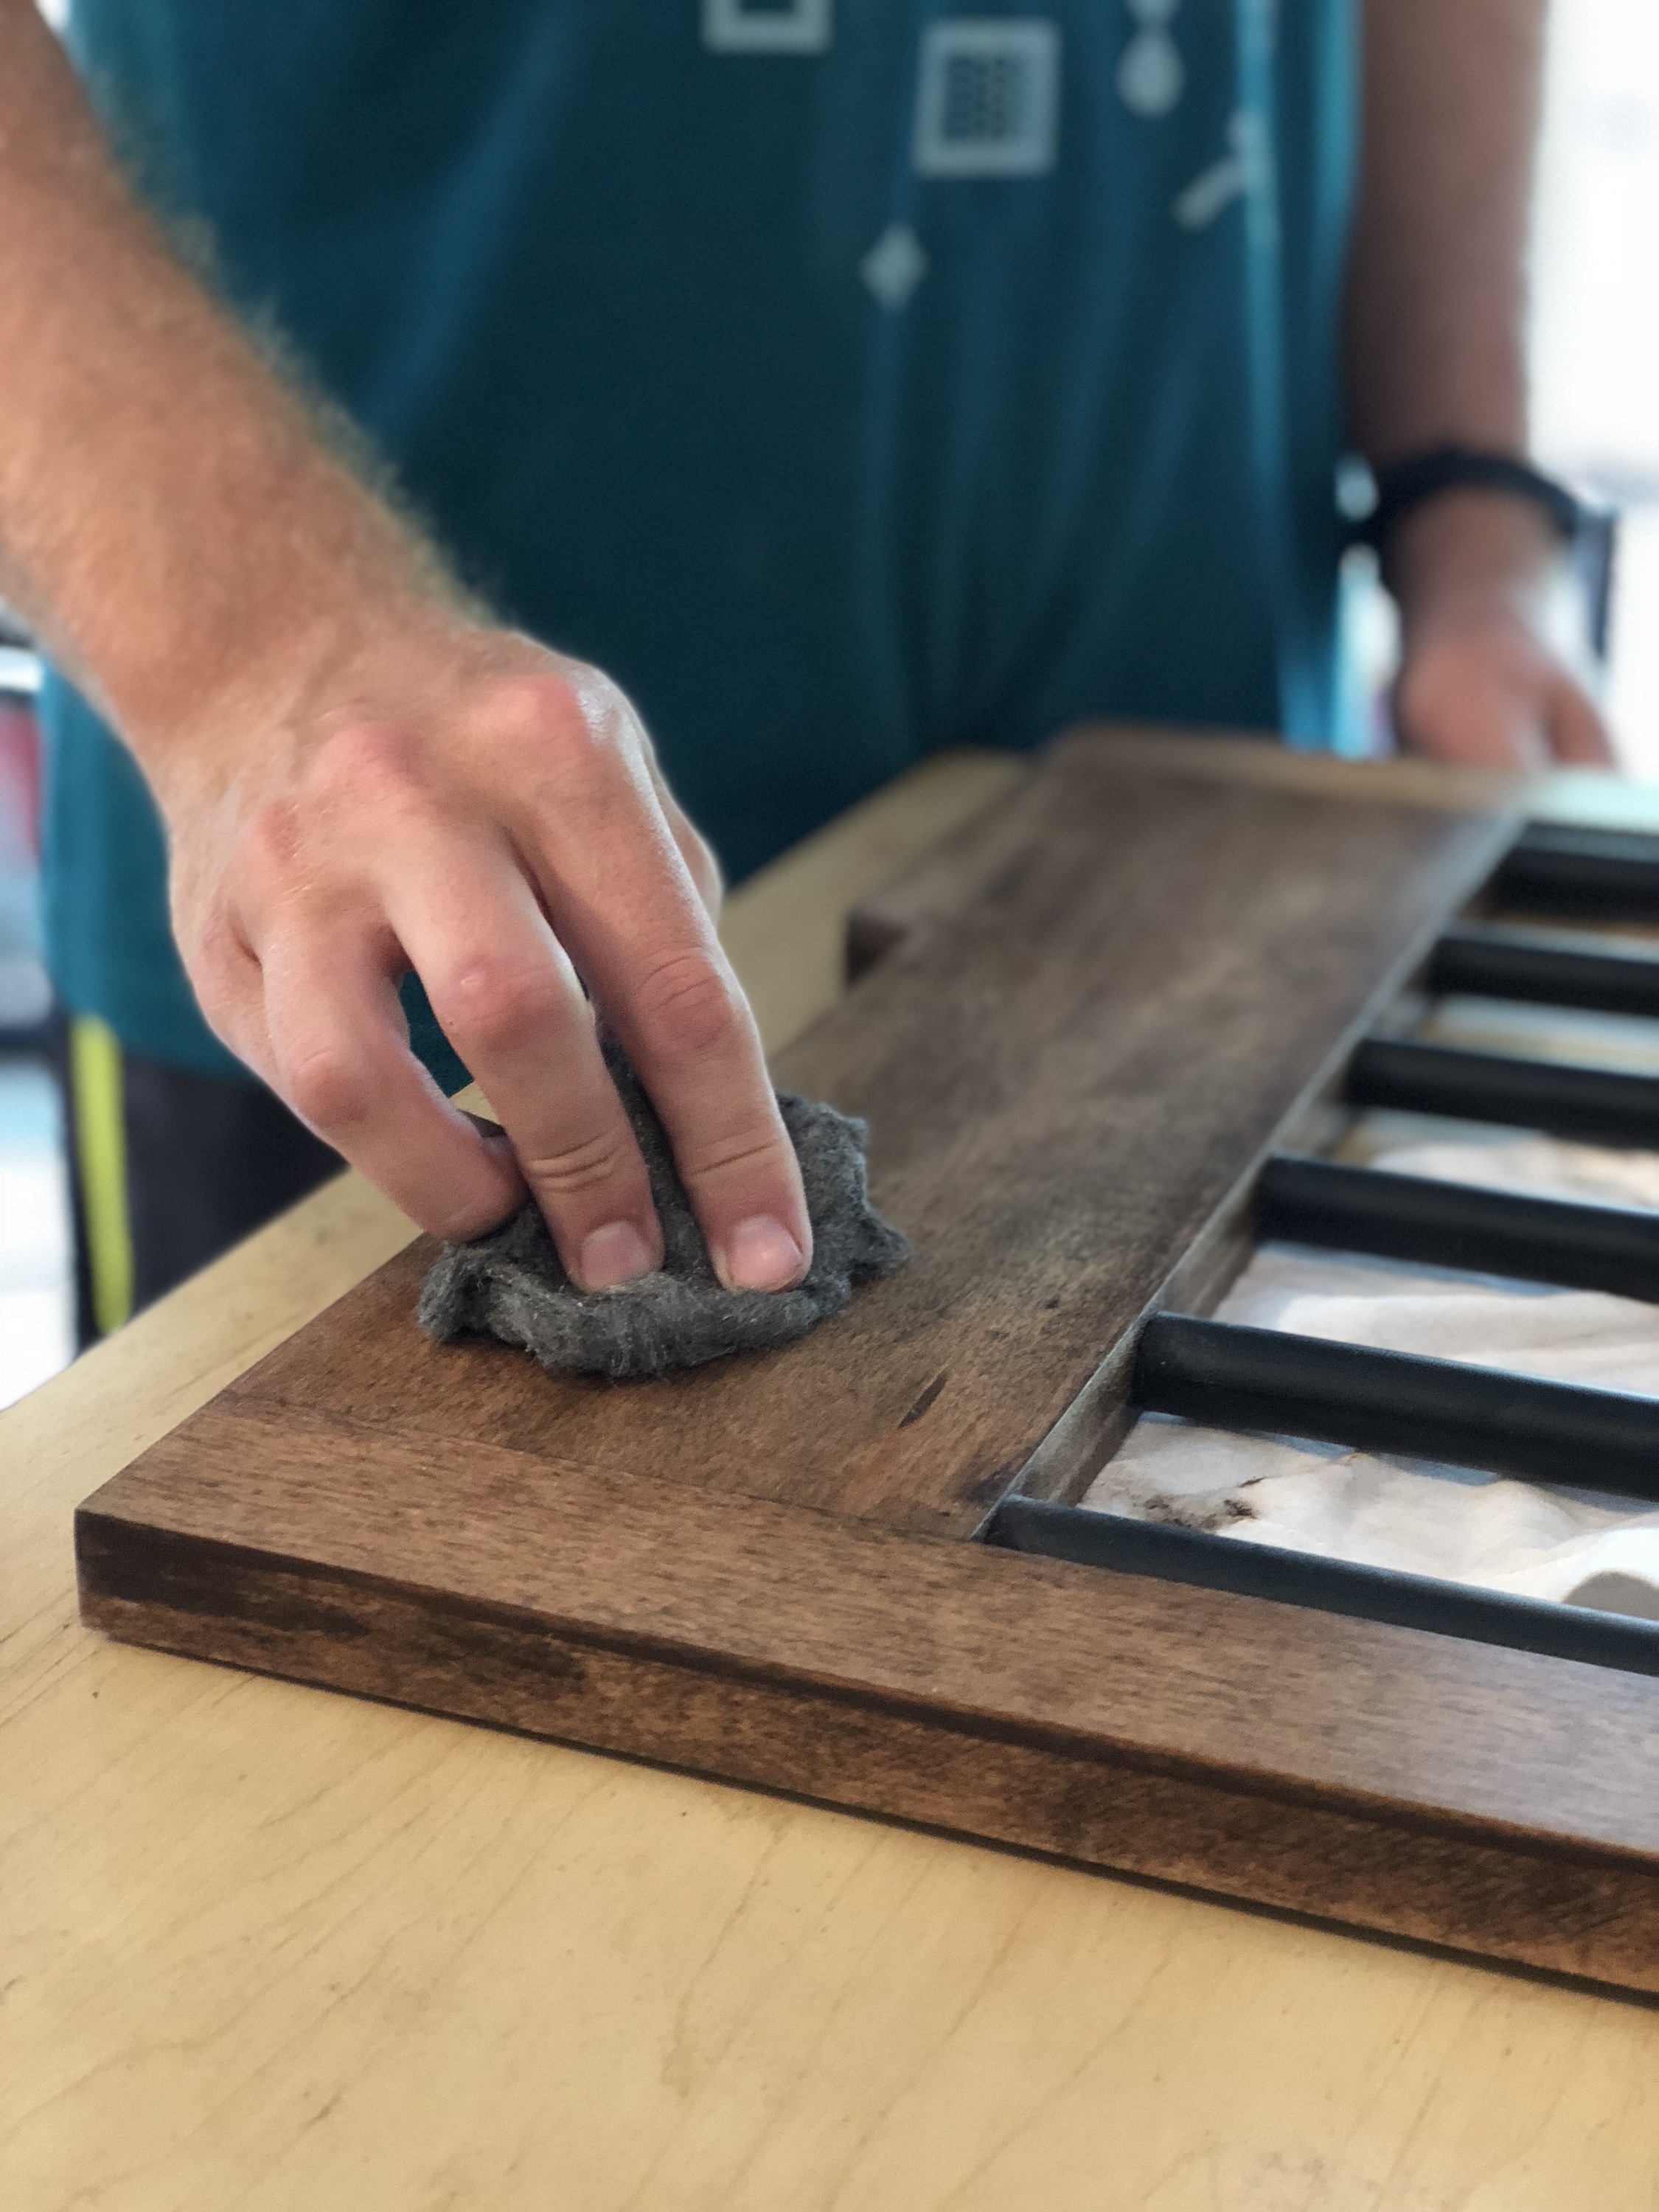
After going through progressively finer sandpaper, the dog crate was ready for stain. Jocie picked a dark walnut, and we applied two coats. Lastly, I sealed the crate with three coats of polyurethane.
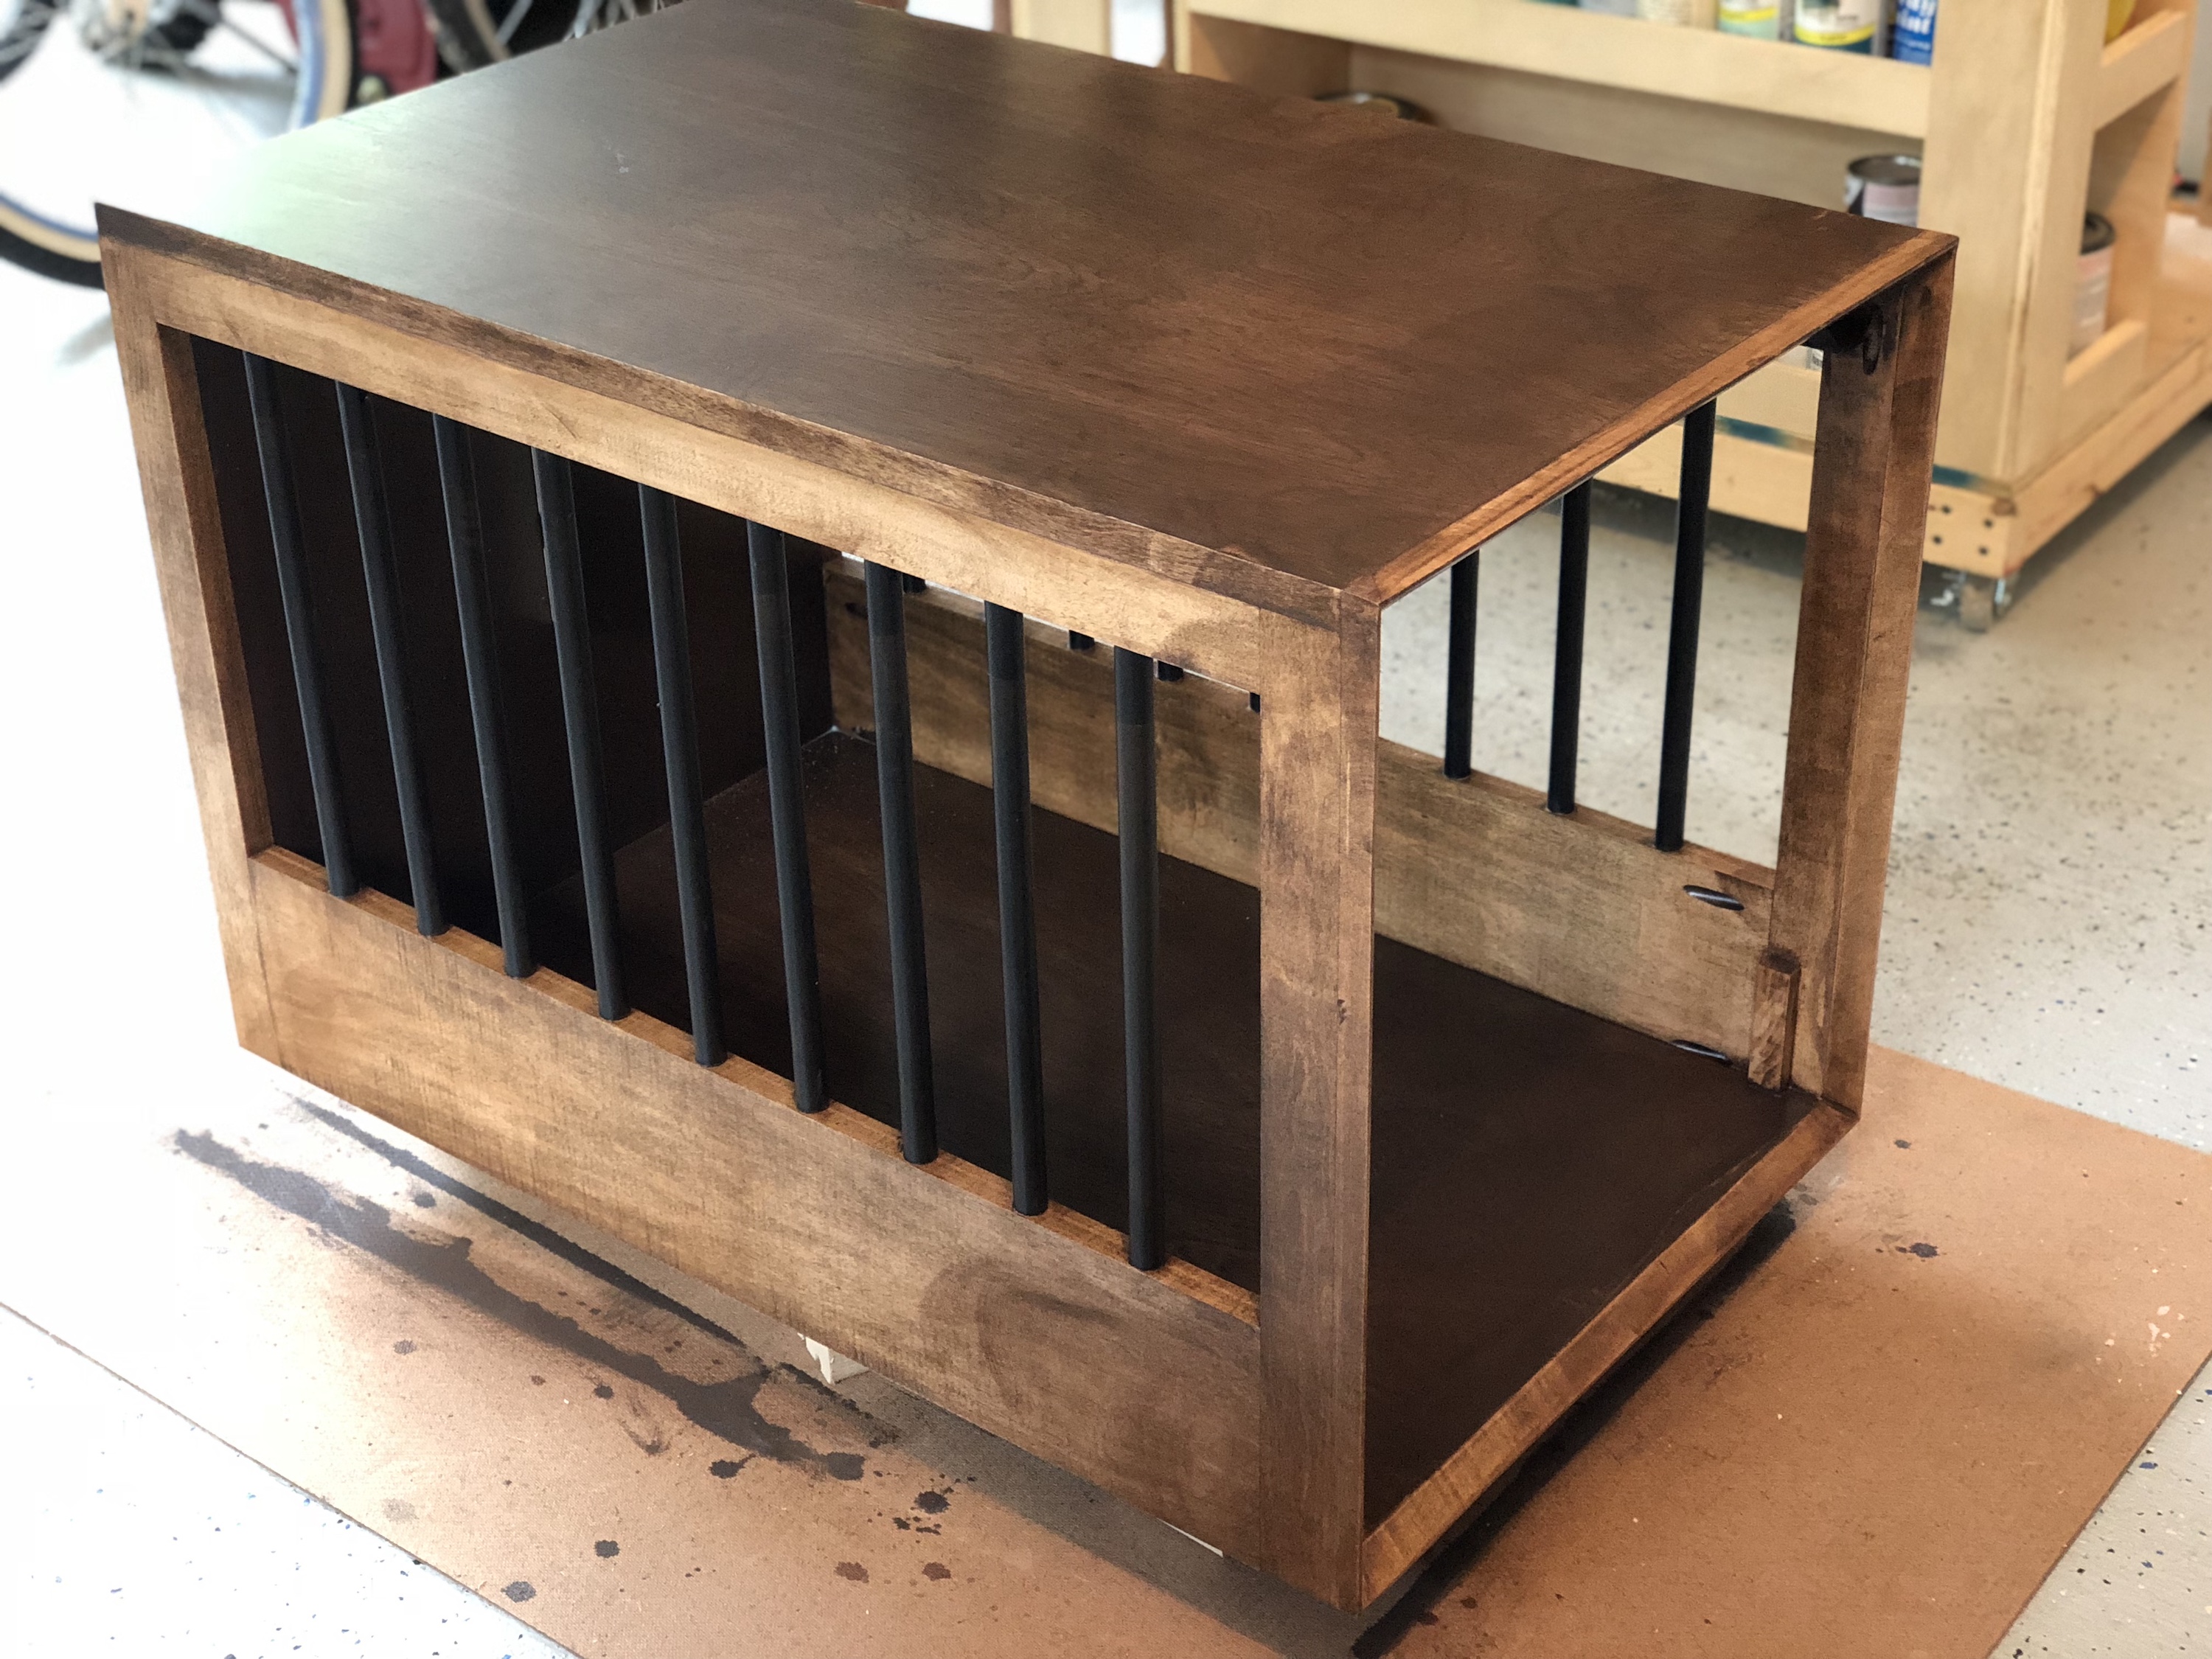
A few days later the poly was dry and the smell had gone. We moved the crate into the house, and I was rewarded when Hopper very quickly crawled into his crate and lay down.
Here’s a quick video showing how the door slides open and closed. I love that there isn’t a door hanging open for me to bang on legs on as I walk by. You know what I’m talking about!

What a great idea, useful and great-looking! The photos are great in showing exactly what to do. And the dog is too cute!
This is brilliant! Why doesn’t everyone do this? So much better than any other dog crate I’ve ever seen!
Couple of questions, If the door swings up to be put away, can’t the dog just push it up with his nose and crawl under? Also, what’s the average price of making it?
We estimate it cost about $150, largely due to the metal ballisters that were significantly more expensive than using wood dowels.
When our dog gets a bit bigger and stronger we are going to install super strong magnets to keep it closed. You could also easily affix a small latch on either side. for now, we don’t need one. 🙂
[…] Our Favorite Post of 2018: Mid-Century Modern Dog Crate and End-Table Tutorial […]
[…] Our Favorite Post of 2018: Mid-Century Modern Dog Crate and End-Table Tutorial […]
Hi, I love this dog crate that you made, i like hiw the door can flip ip and slide in. I want to make one for my new puppy, can you tell more on how to make the door flip up and slide in? What material did you use to make the door stop at the edge (on the top) when you close the door. Thank you!
What did you use to fasten/affix the slide rails to the crate? Glue? Nails? Screws? A combination of glue and nails?
Very clever! Table and doghouse, haha! Perfect for inside dogs.
This is exactly the crate I am looking for unfortunately living in the city there is no way I will be able to make it myself. You should sell this as well.
How the heck did you get jumper to sit so still??
Beautiful work! Do you have a cut list for the wood? I am a dog groomer and have been making dog beds to be sold for donations to local shelters, pup food pantries and foster homes. I would love to try this for my next project to be donated. You can email me if you are willing to share the cut list. Once again, what an amazing job and by far the best bed I’ve seen so far.
Hi! This dog crate is amazing! Also, really appreciate the tutorial complete with photos. However, there is absolutely no way I can make this. Would you sell it? Would love to buy one off of you.
What is keeping the door from just sliding out? I’m trying to replicate but since I’m new to the whole woodworking thing I cant wrap my head around how you did it.
Thank you for the inspiration!
I made one! (Now we need a dog 😂)
I’ve got all the pieces to assemble except the piano hinge. I’m having some trouble getting my head around the hinge positioning. Does it attach to the top of the door or the backside? I’m getting old. I can’t picture the physics without having the hinge in front of me.
Nice work I’m going to do something similar. I will have a drawer above the door. Instead of a hinge will have a dowel on either side to slide in slot. Like the stair ballister I was wondering why the dowels I am leaning towards just drilling holes to the size of the OD directly, does it stop them from twisting or rattling? I will have latches for the door as my dachshund is an escape artist.
I need help with the door. I can picture the hardware needed to make it slide up like that. I have existing tables I’d like to add a crate door too. Thank You!