
If you’ve been following along in the last week, you know that I have been a bit obsessed with redesigning our dining room to better organize and display our kid crafts and learning materials. What started as a simple idea got a bit out of hand, but it’s looking pretty fabulous!
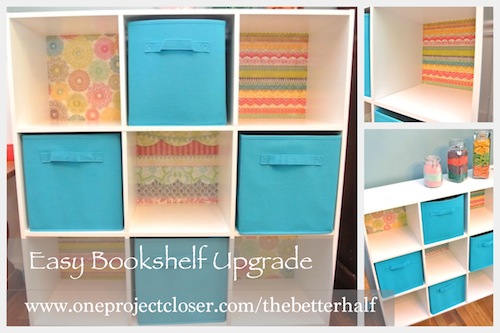
It started with sprucing up a 9 cube ClosetMaid organizer using scrapbook paper.
Then Izzie and I created a 16×20 canvas using painter’s tape and acrylics.
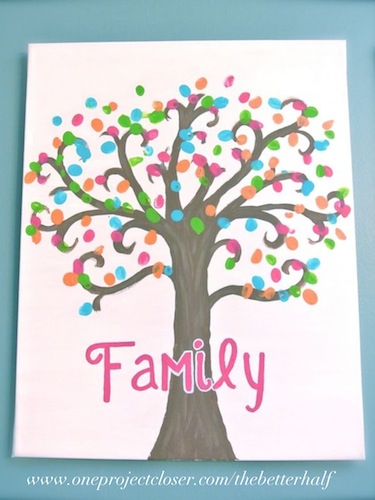
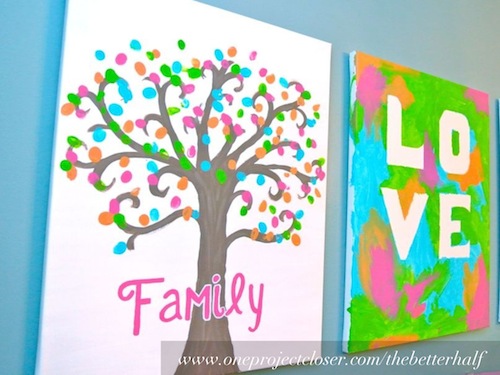
And now I present to you the second of the three canvases – a tree! Okay, so maybe it’s not exactly a “green” project but it is a tree and does have green in it, in addition to turquoise, pink, and orange! hahaha
Again, another project so simple, it seems silly to share, but it is really beautiful. Not only is it great for a kid canvas, but its a thoughtful keepsake for weddings and showers. I used this idea for an adoption shower for my cousin (post sometime coming in the future), and had all the shower guests leave their fingerprint.
I first painted a brown tree. I styled it with curls at the end of the branches to make it softer and more feminine.
I then had Izzie put lots and lots of finger prints. I tried to get Lucy to help too, but she didn’t like getting her fingers dirty (she’s so lady-like). 🙂
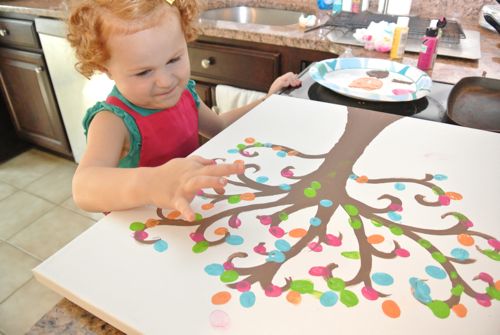
Izzie got a little over-zealous at times and put prints where they didn’t belong or worse, smudges really where they didn’t belong. I found myself a little frustrated and overwhelmed. But after I adjusted my expectations – that she is only three and very excited – and took a deep breath, we had a great time. Not to worry, if you also have an over-zealous child – the smudges and poorly placed finger prints were covered easily with white acrylic paint.
I ended up not covering all the imperfections because I also wanted the tree to look personal and as though Izzie had a big part in it – which she did.
After all the tree dried, I painted the word “Family” over the trunk. You could paint any words you liked, but I wanted the letters to be large and prominent, so I chose a shorter phrase. Had I thought ahead, I may have bought paint pens for this part – way easier!
All done!
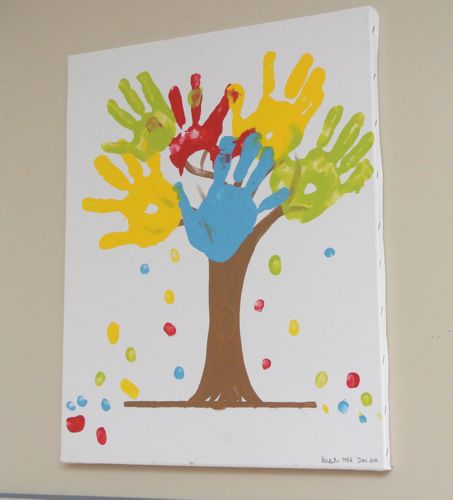
Here is another canvas art variation I have done with handprints, and I’m sure many, many more out there. I also made a hand-print Christmas tree last year, but forgot to get a picture. 🙁
What do you think? What projects have you done using handprints and fingerprints?
Stay tuned, tomorrow will be another hand print canvas, the third in the set!
As Always, thanks for reading!

Don’t forget to check us out on Facebook and Pinterest!


After organizing our kid crafts and learning materials last week, I went on a mission to decorate and craft with the kids. We had a blast, and now Izzie is a straight-up craft addict now. On friday, we did three crafts plus preschool work and she was begging for more. Who could blame her, though? Crafting rocks! 🙂
With all the decorating and crafting I did with Izzie last week, the next week or two will be dedicated to kid-friendly crafts you can do with your kids. Feel free to write in with your own ideas or additions – we love to hear from our readers and feature your works too!
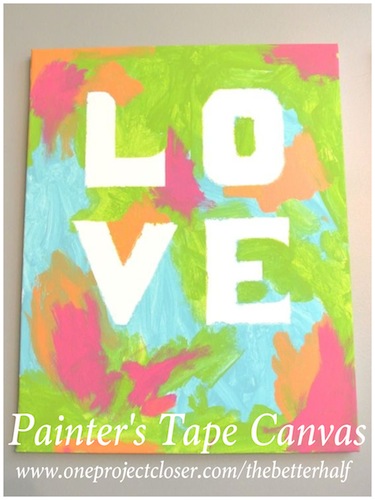
First up is one of the three canvases Izzie and I painted together. They turned out so beautiful and bring color and FUN to our dining room.
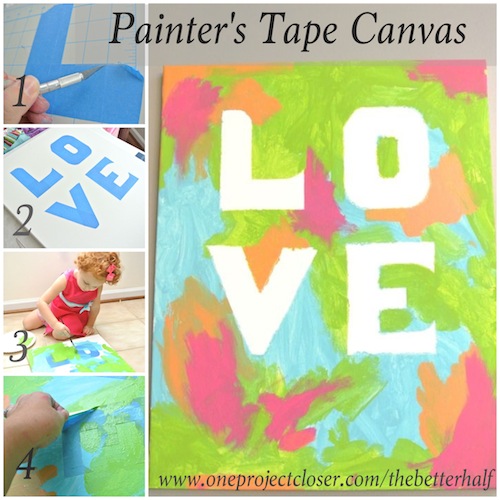
You may have seen ideas like this on Pinterest. It’s a fairly simple concept – use blue painter’s tape on a canvas and let your kids go to town with paint.
I love this idea and thought Izzie would love it too!
All the pictures I have seen have used plain tape, creating hard, straight letters (since tape doesn’t curve).
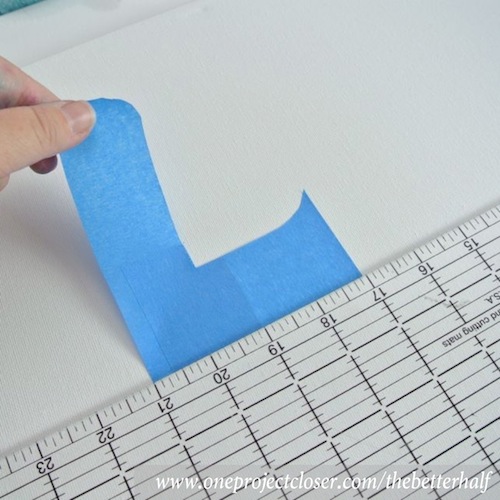
I decided to change it up a little and blue tape first my X-acto self-healing mat in a 4×5″ area. I probably could have made them a bit bigger, maybe 5×6″.
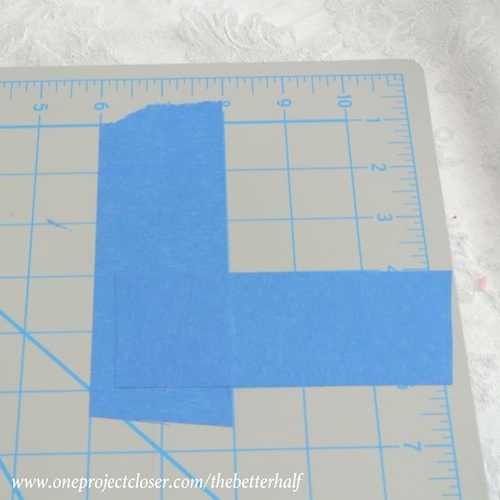
Btw, I love my self-healing mat, and if you don’t have one, you should buy one or check out our reader rewards program. You can currently get a PINK mat and blade for free by reading and commenting on posts on our site! You can also get free tools, gift cards and more. 🙂

I chose to spell out “love” but it would have also been fun to spell out the girl’s names or other meaningful terms like family, fun, faith, friends, the seasons, holidays….really, anything.
Once the tape was in place on the mat, I used my X-acto blade to cut out the letters.
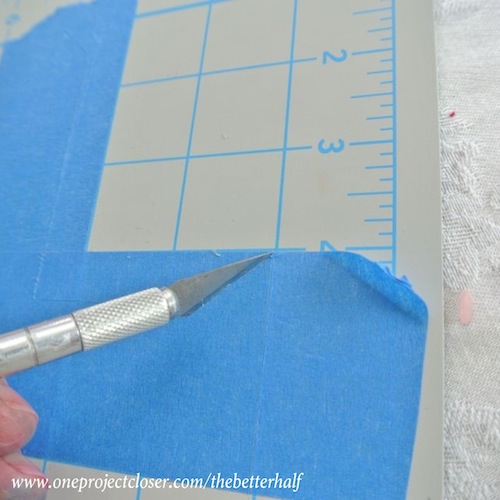
It was soooo easy and quick! It allowed me to make the letters plain, curvy, or ornate – whatever wanted! Way more flexible than just putting paint directly on the canvas.
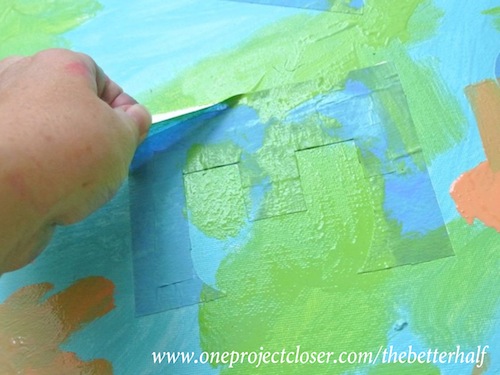
After you cut the letter on the mat, remove them carefully and place them on the canvas. Press down firmly to make sure the paint won’t bleed under the tape. You can even prime the tape with white paint or whatever color is beneath the tape to prevent bleeding.
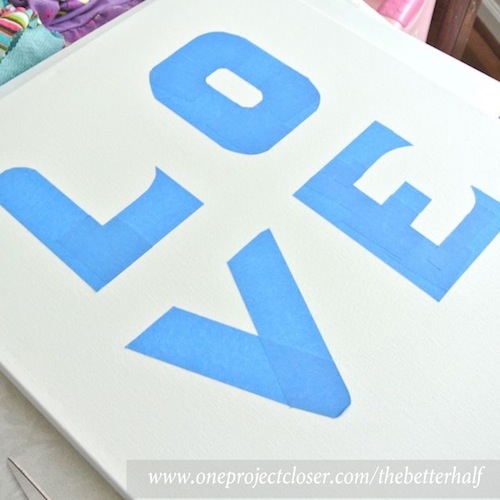
Tip: I used to look at Goodwill for canvases to repurpose because they can get pretty pricey when bought new. Then I discovered Hobby Lobby canvases! Two 16×20″ canvases for $7.99! That is crazy cheap. That isn’t even a sale. Use your 40% coupon pulled up on your phone in the store and you only pay $4.79 for two…that’s about $2.40 each!

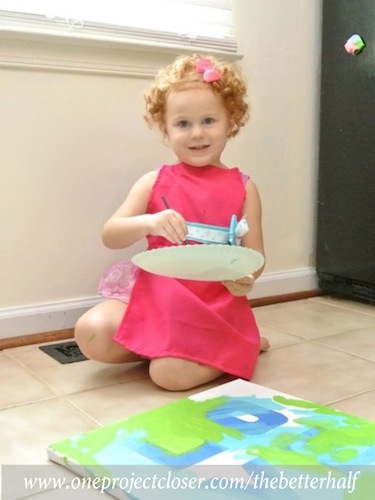
Then, PAINT PAINT PAINT! Izzie had a blast feeling like a big girl, getting to paint a big canvas like Mommy.
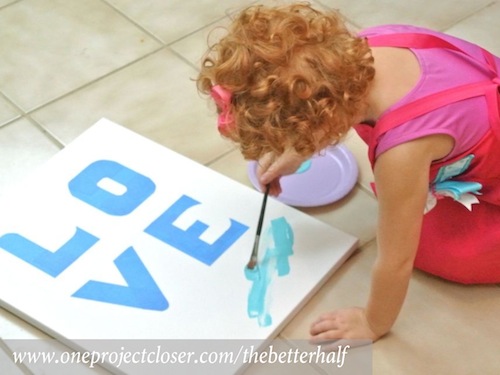
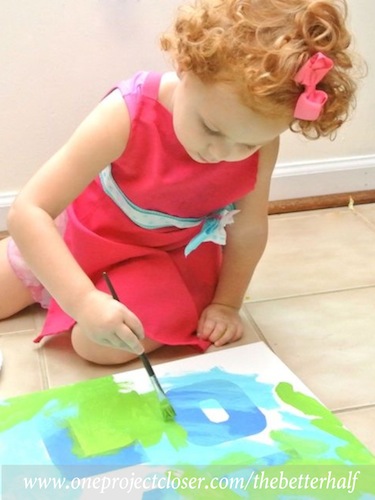
I did use acrylics, not washable paint, so she painted in the kitchen on the ceramic tile and wore an apron. Once acrylics dry, they will not come out of clothes, so don’t let your kids paint in anything you care about. 🙂
When the paint is soft – not runny wet, but not dry – pull up the tape. Go very slow!
Once dry, hang and admire. As always, I used my handy, dandy 3M command strips. I seriously love them. Ethan does too because he really hates putting holes in the wall (because he hates spackling and painting even more, haha).
Izzie was soooo proud of herself when I hung up her canvas. I was too!
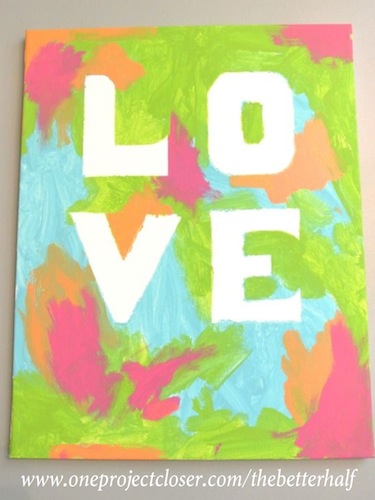
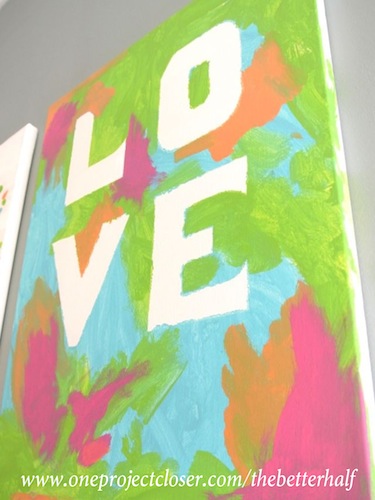
What do you think? Any guesses on my next kid canvas?
As Always, thanks for reading!

Don’t forget to check us out on Facebook and Pinterest!
Linking up at: Bear Rabbit Bear


