
I’ve been able to put in some good hours working on the almost-operational OPC workshop this past week. If you recall, we successfully hung all the drywall and did a fair amount of clean up. The next step was to mud and tape all the joints and screw heads. I’ll share with you that this was my first time ever taping drywall. I think it went really well, but I’ll let you be the judge.
This project started with a trip to Home Depot where I picked up drywall compound and joint tape. I purchased a pre-mixed, all-purpose compound, and Fred made the good observation that a fast drying compound would have been better for the first pass. That would have enabled me to mud the joints and sand them in one day rather than wait 24+ hours for the first coat to dry. Lesson learned.
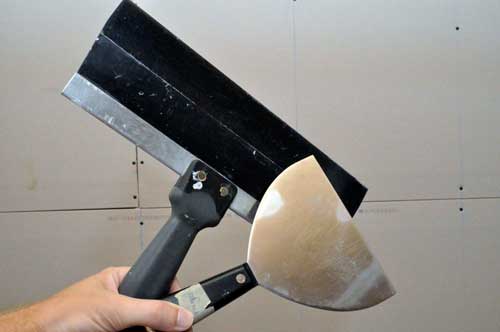
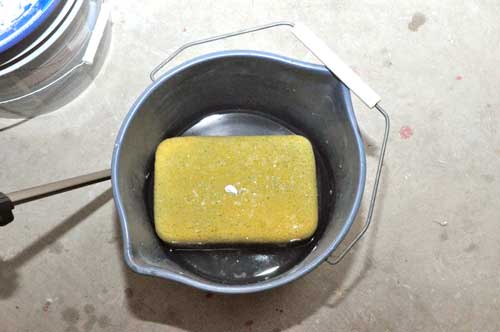
You only need a few tools to successfully mud over drywall. I grabbed a 6″ and a 12″ drywall knife, a water bucket and sponge.
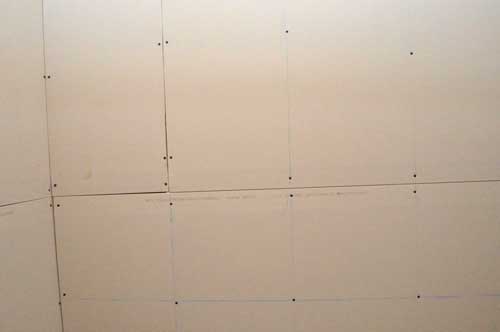
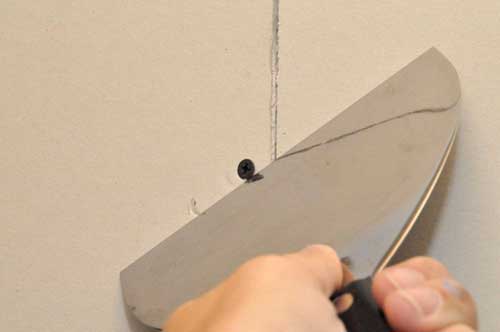
The first thing I did was make sure everything was clean and all the screw heads were sufficiently sunk below the drywall surface. An easy was to do this is run your blade over the surface and see what it hits.
From past experience working with drywall compound, I’ve learned a few “tricks” that came in handy.
- You should work as cleanly as possible. Spattering mud everywhere means a lot of unnecessary sanding later.
- Adding a tiny bit of water makes the mud easier to work with. Don’t go overboard, or the mud won’t bond properly.
- Don’t rush, and be prepared to apply a few coats.
- Take a moment to clean your drywall knife every now and then.
Working in small sections, I used my 6″ blade to apply mud over the drywall joints. I’d suggest starting with the vertical joints and doing the horizontal joints second. The long horizontal runs will better conceal where two joints meet.
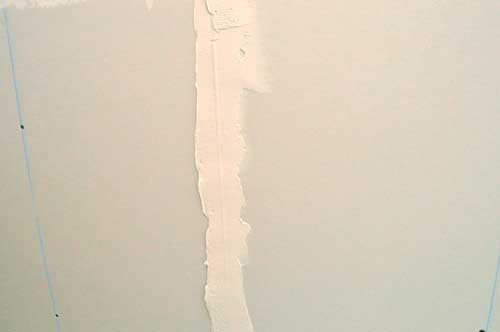
I centered the tape over the joint and pressed it into the mud using the excess to further embed the tape.
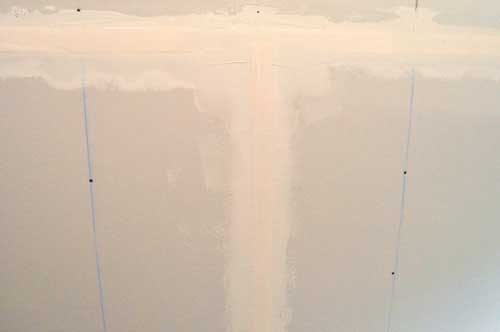
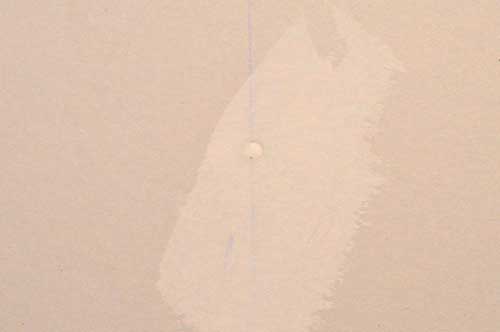
Covering screw heads is the easiest part. You press the mud in and scrape it clean.
Here’s how everything looked after the first coat dried.
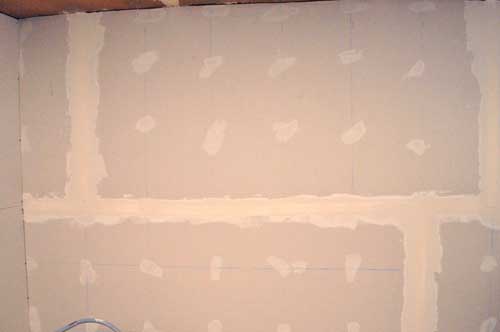
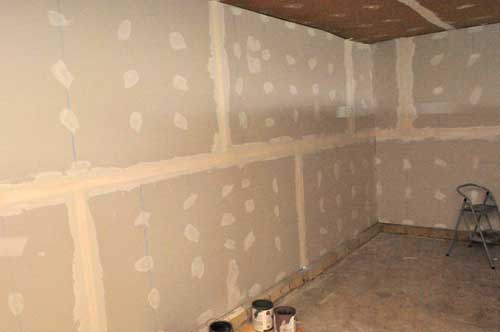
I used a medium grit sandpaper to smooth out the edges and rough spots.
For the second pass, I used my 12″ blade. It’s more flexible, and it makes feathering the edges easier. Not to mention, you can work faster. I also double checked all the screw heads because sometimes the compound can shrink a little, and I wanted everything completely flush. Here’s how it all looked after the second coat.
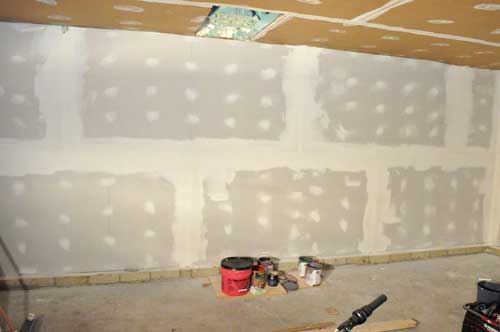
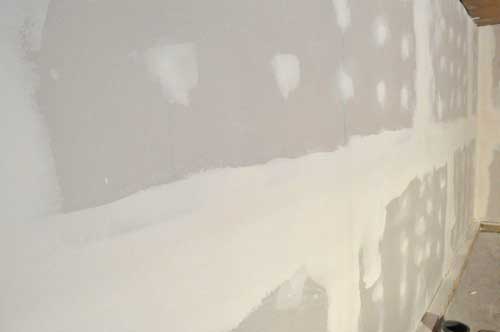
And after sanding.
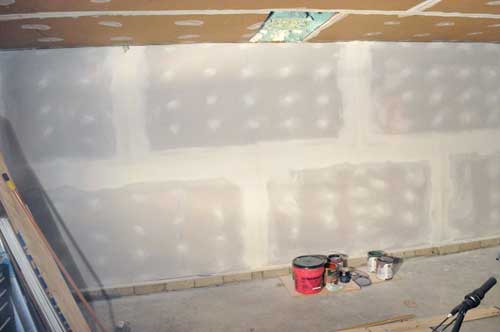
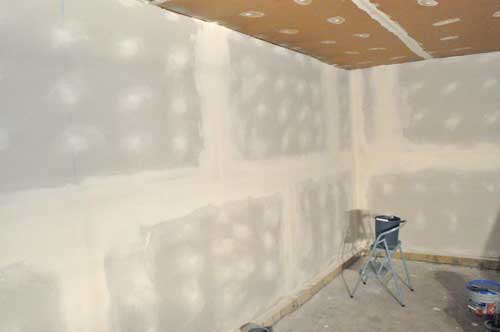
At this point, all the screw heads were done, and there were only a handful of places that needed further attention. I went around with a sharpie marking any spot that were I could still feel an imperfection. The X’s were really useful because I was able to gauge how much compound I applied for the third coat.
Here’s an X that’s barely visible beneath some compound.

Here’s how everything looks. It’s not completely dried and I’ll have a tiny bit of sanding left.
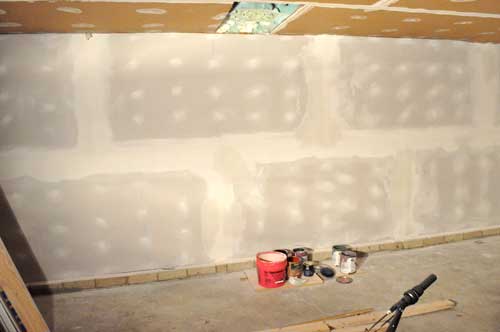
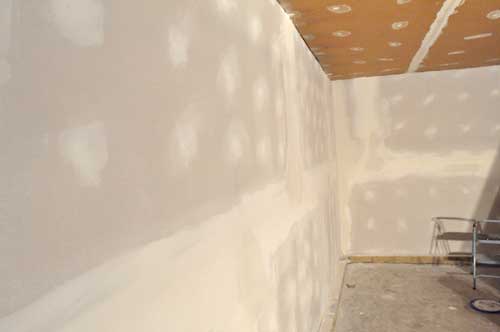
I guess that hole in the ceiling will need to be repaired, and I still need to tape the joint where the ceiling meets the wall. Overall, I’m very pleased with how things are progressing. The real proof will be how the walls look after we prime them.
What do you think so far? Any tips you can offer? Who wants to come over and finish things off?


Use setting mud (hot mud) on the first pass. It doesn’t shrink and can be hit with a second coat in the same day. I keep a bag of 45 on hand all the time. Clean your tools right away though because the mud will harden underwater (<-According to Concord Carpenter Rob R).
Also don't be afraid to crack out the random orbital for areas the mud is way too thick. It will knock it down in a hurry.
The great thing about mudding is if you sand too deep you can always add some back.
Umm .. you didn’t tape the corners? The pictures shown after a few sandings also show the corners un-taped. I hope those cracks aren’t full of mud 🙂
Hey Tim, I forgot to add that to the post – good catch. I did tape the corners but didn’t get good pictures. The only thing I haven’t taped is the corner where the ceiling and wall meet (as noted at the end of the post).
My mudding experience is limited to fixing some random holes in the wall from old pictures, towel bars, etc. and removing a phone box from my bathroom (really? phone in the bathroom?). I am a perfectionist, so it took a while, but you cant tell that I did anything there, which is a LOT more than can be said for the patches that are on the walls now from the PO (sanding? who does that?).
I decided to dive head first into the deep end and tackle finishing my basement as my first real drywall project. Learned a lot in the process (I was scared of paper tape at first, so I used the self-adhering mesh tape – just caused the mud to crack and I had to properly re-tape all the joints later) and it took me forever working a little each night after work, but it turned out ok in the end.
How did you do your sanding? I bought an attachment for my shop vac that used sanding screens and sucked the dust through the hose – it really kept the dust down in the room itself.
I would have liked to use a poll sander but didn’t have one handy. I just opened up the garage doors and got dusty. It wasn’t too bad.
I’ve been doing a lot of mudding on our current master bath remodel and I agree that the setting type mud is the best to use to avoid cracks. As Jeff mentioned above don’t go faster than the 45 minute or you’ll be saying some bad words trying to get it all done in time.
The sanding screens are the way to go. Sandpaper clogs almost instantly and becomes useless.
Also, my understanding is that it’s generally done in three knife sizes, but I could be wrong. Something like 6″,8″,10″ or 12″.
We have been mudding our upstairs reno. First time for me, as well. We used the self-adhesive mesh tape rather than the paper tape. I read good and bad reviews on it online. I liked working with it. Hopefully, the finished product will be nice. I have primed and painted two of the rooms. So far, so good.
I’m just about mudding a new wall I put in the un-finished second floor of my house. Good tips! Definitely strongly recommend the sanding mesh and a sander attachment for your shop vac. Just remember to change the filters too. A general dust filter won’t cut it with fine drywall and joint compound dust.
Good point about shop vac filters – the fine dust definitely clogs them up. I used the same filter for my entire project but would “clean” it out by pounding it on the ground inside of a garbage bag (to collect all the dust). My general rule was I knew to clean the filter when, with the shop vac turned on, the attachment couldn’t hold itself against the wall anymore because suction was being lost.
The fine dust filters clog up too. But they also catch a lot more of the dust prolonging the life of your wet dry vac and keeping more of that junk out of the air. But yeah I would take it out and clean it too. Gore makes some washable filters that are pretty awesome. They usually only cost slightly more than the fine dust filters but you can actually rinse them off with water let them dry off and put them back into service. I have two so I can wash and let one dry while I’m using the other one. I also find that these filters clean up much better than the paper filters because you can get rid of more of the really fine dust. Definitely recommend them.