
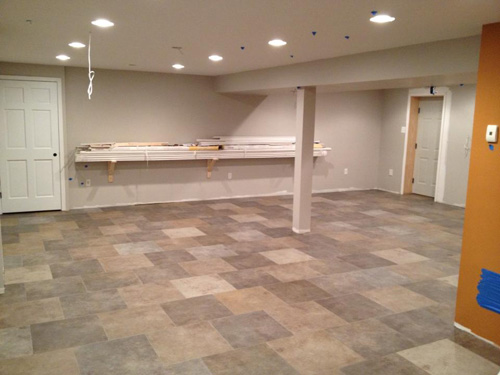
If you’re just joining us, we’ve been working through a series of articles all about installing a tile floor, and I’ve partnered Jim and Rich from Diamond Tile here in Maryland. Jim and Rich are expert tile contractors, and at this point the floor has been “leveled”, DITRA installed, and guidelines marked. Today’s article will showcase how they laid the tile and offer some tips for success.
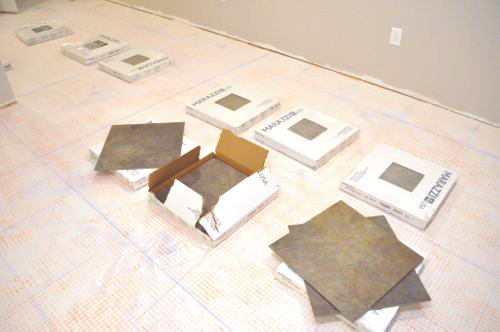
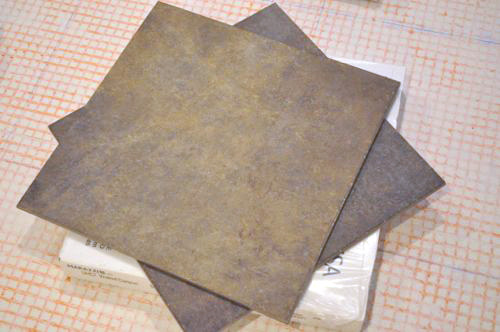
Step 1: Pre-Cut Tiles
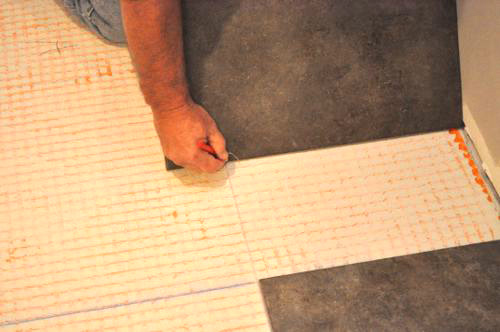
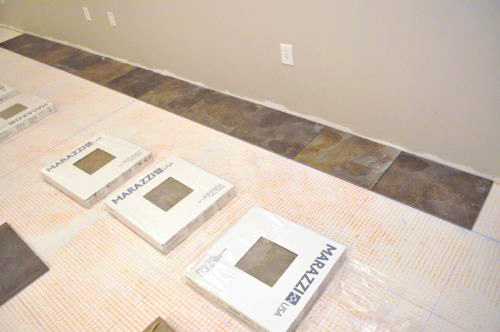
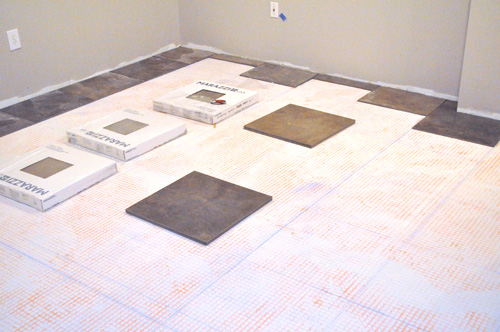
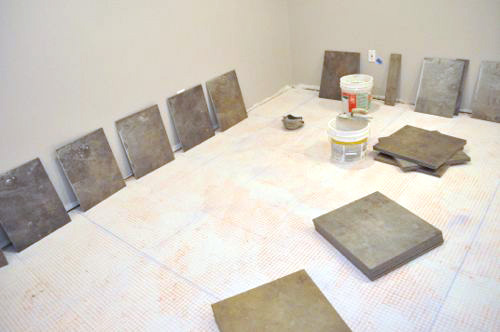
The precise guidelines enabled Jim and Rich to pre-cut all the tile beforehand. This was important because they could work faster, and they could address any difficult areas before laying tile. Otherwise, they’d have a time constraint as Ditra-Set has an open time of about 20 – 30 minutes.
Pro-Tip: Use a grease pencil (a.k.a. wax pencil, china marker) to scribe lines on tile.
Pro-Tip: Always examine the tile for a pattern and orient the tile accordingly.
Pro-Talk: The pattern on a tile is sometimes referred to as the “grain” of the tile.
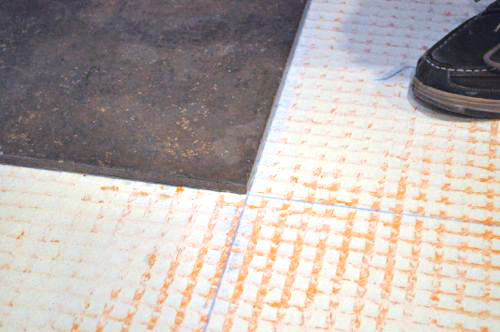
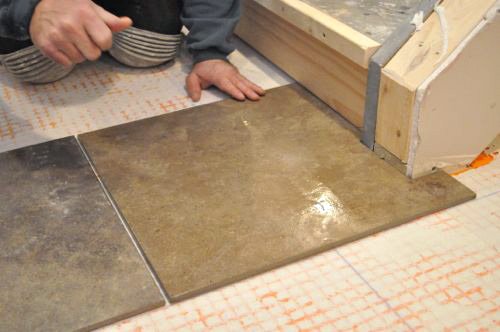
The guys cut all the tile adjacent to a wall with about 1/16 – 1/8″ gap.
If you read yesterdays article about marking guidelines for the tile, you know that the spacing includes a grout joint in both directions. That means that any given tile is tight against the lines on two sides (first picture below), and the other two sides have an 1/8″ gap (second picture below). Understanding the spacing is second nature for Jim and Rich, but it may be difficult to remember at first.
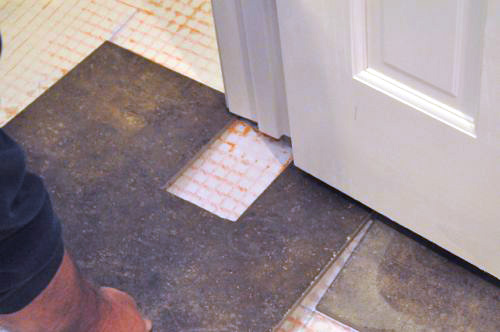
The guys also cut tiles around the stairs, posts and door threshold.
Pro-Tip: Flattening the floor and keeping cuts tight eliminates the need for shoe molding after the baseboards are installed.
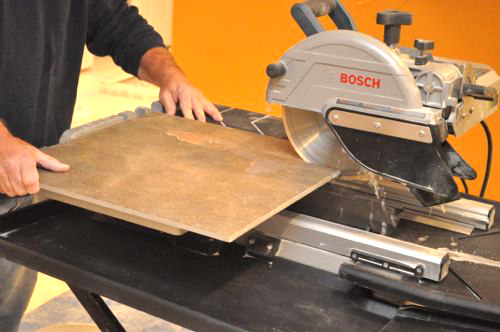
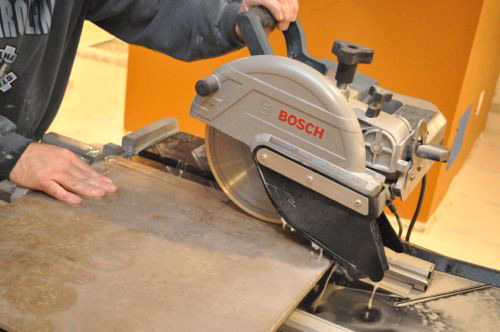
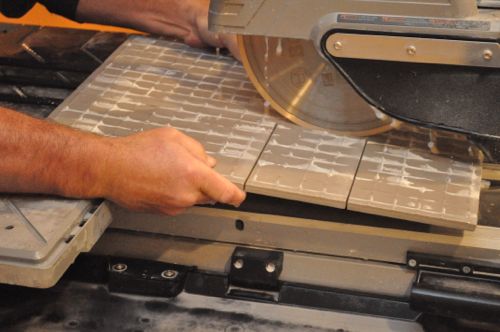
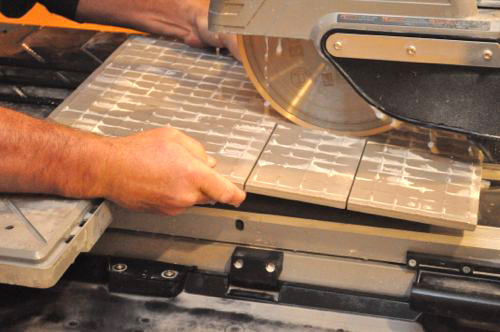
There’s a number of tools for cutting tile like nippers, a grinder or a tile cutter. The guys are still enjoying the Bosch TC10 wet saw (review), especially being able to make plunge cuts. Most of the cuts were straight across. Some of the cuts were L-shaped to go around a corner or U-shaped to fit underneath a door jamb or around a post.
Inside corner cuts are difficult because the cut actually needs to extend slightly past the corner to go through the full thickness of the tile. For these cuts, the guys would start the cut on the face of the tile, then flip it over and complete the cut on the backside of the tile. That way the face of the tile stays intact.
Step 2: Cut Door Jambs
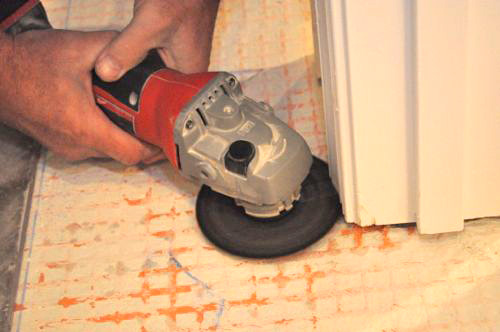
Often door jambs need to be trimmed so that tile can fit underneath. Jim and Rich lay a tile next to the jamb and scribe a line. Next, they usually make the cut with a grinder. However, you can use a flush-cut saw, OMT or a handsaw to achieve the same results.
Pro-Tip: The tile must fit underneath the jamb with a bed of mortar underneath.
Pro-Tip: Jim and Rich sometimes remove the doors to make it easier to work.
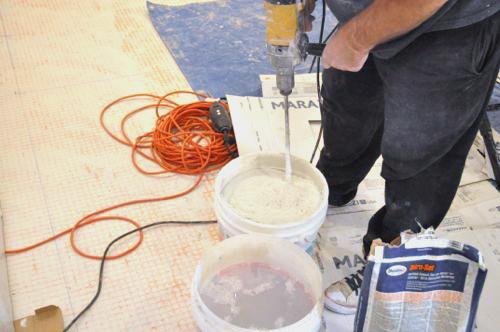
Step 3: Mix Mortar
With all the cuts made, Jim and Rich got started on laying the tile, and they began by mixing up some Ditra-Set mortar according to the instructions.
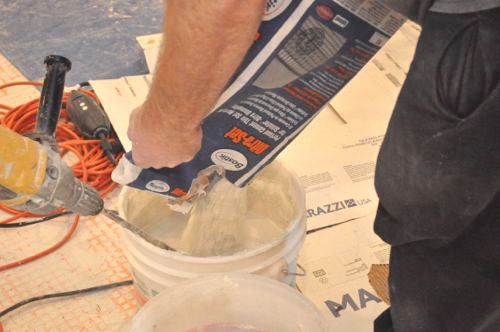
If you’re following along, don’t forget to let the mortar slake for about 15 minutes before remixing.
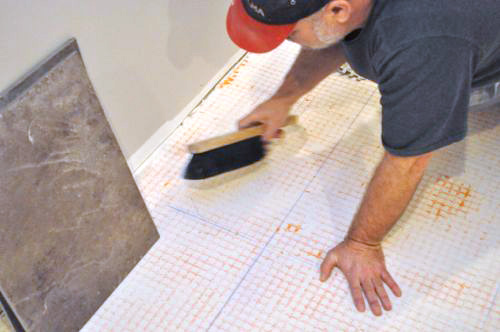
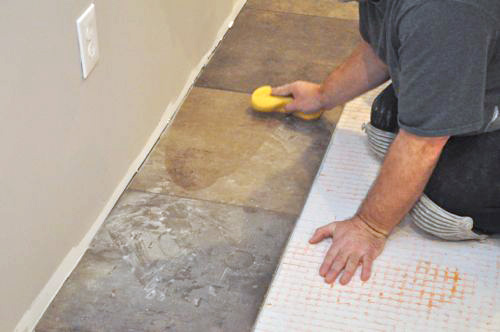
Step 4: Brush Clean
Jim laid the tile, working in small section, and he brushed each section clean before spreading mortar.
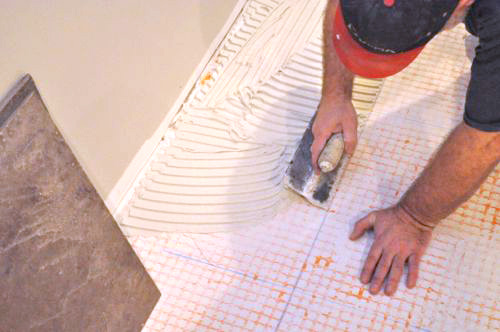
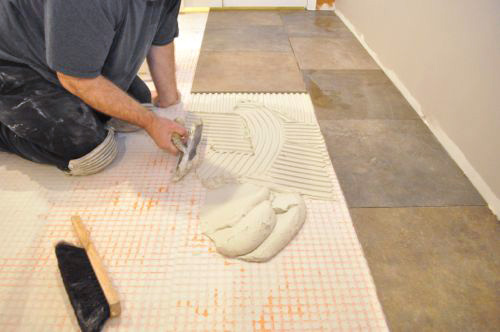
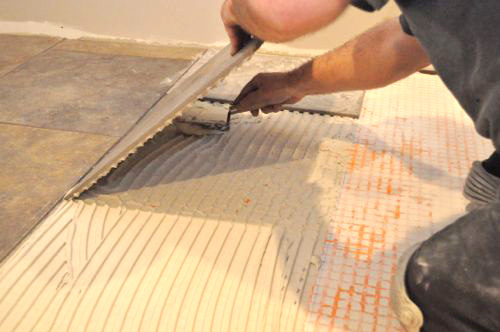
Step 5: Comb Mortar
Jim used a 1/2″ square-notched trowel to comb out an even bed of mortar. He spread the mortar right up to the guidelines, taking care not to obscure the lines.
Pro-Tip: Typically, the guys specify a 1/4″ square notch for 6 x 6 tile, a 3/8″ square notch for 12 x 12 and smaller, and 1/2″ square notch for anything bigger.

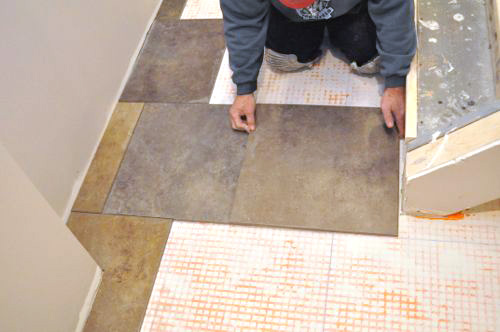
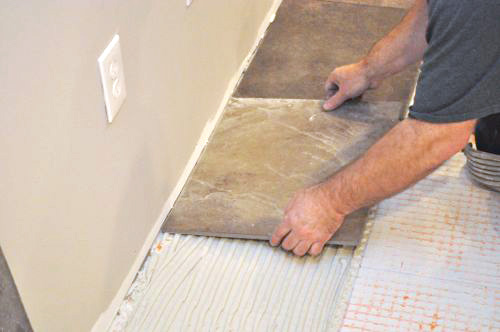
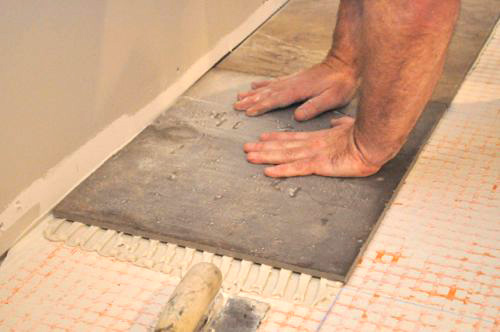
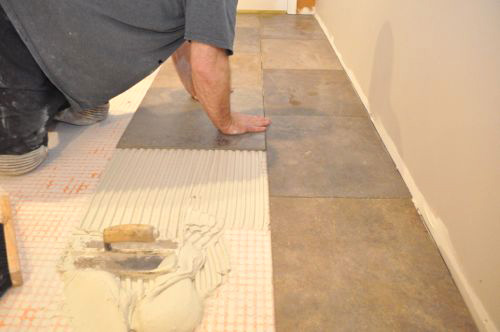
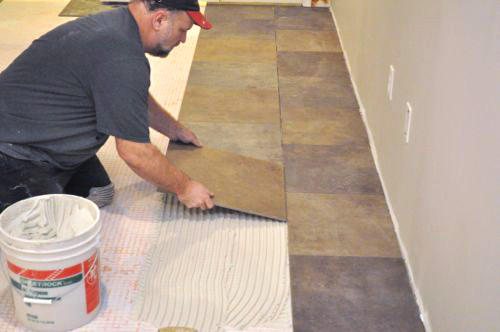
Step 6: Set Tile
Next, Jim would lay the tile on the mortar, pressing down firmly to ensure good coverage. At the same time, he was making sure the tile lined up with his guides, and making sure the tile was even with any neighboring tiles.
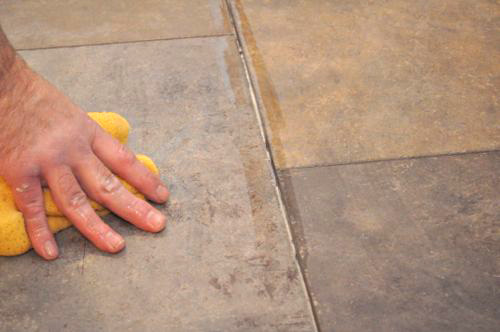
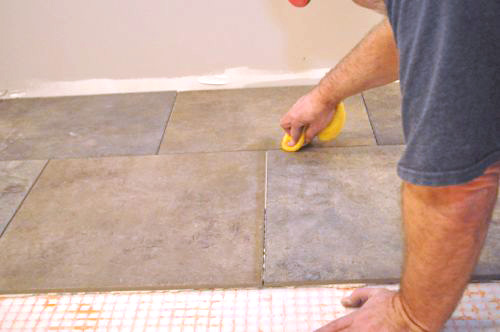
Step 7: Sponge Clean
After Jim was satisfied, he sponged the face and joints clean, and moved on to the next piece.
Too Much Mortar in the Joints
A common DIYer mistake when laying tile is leaving excess mortar in the joints, and this is a problem because it can show through the grout. Jim has a great trick for removing excess mortar. First, he pushes the tiles together, causing mortar to ooze up out of the joint. Next, he wipes the joint clean and moves the tiles apart. As Jim separates the tiles, the mortar is pulled back down. After one final wipe, the joint is clear and ready for grout.
Uneven Tiles
Every so often Jim wouldn’t be satisfied that a tile was even with adjacent pieces. In these instances, he would use a small, flat trowel to pull the tile up and spread additional mortar along the low side.
Pro-Tip: If you have to stop part way through laying tile, clean up any unused mortar. Otherwise, you’ll have to chip away the hardened mortar when you start again.
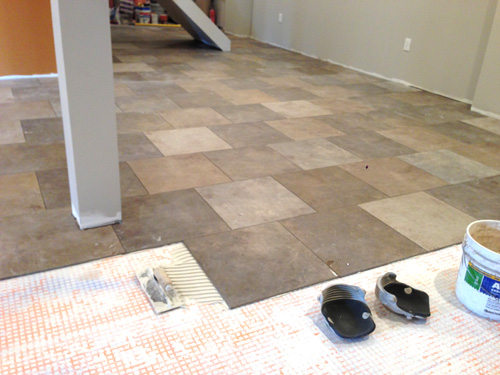
Allow to Dry
Give the mortar at least 24 hours (depending on conditions) before walking on the tile.

Looks good! I notice you are using an angle grinder to cut under the door jamb. The grinder has the guard removed. If that disk were to shatter, it would be a mess. I’ve heard stories of it happening and severing people’s femoral artery, and given the position of that grinder between your kneeling legs, that is a possibility here.
Hi Ducksarewet,
Thanks for the comment. Not sure I’ve seen you around OPC before so let me extend a warm welcome. It’s always best practice to use the safety guards with power tools. Thanks for the reminder.
Although I am not an expert with an angle grinder, this can also happen with a bench grinder, which I do have experience with. I think it’s very rare to have the disk shatter if you’re working carefully and slowly. Most of why this happens with a bench grinder is because someone abrades too hard too fast. The temperature of the wheel is a critical factor. This is my understanding at least correct me if I am wrong. I agree with you that guards should be used whenever possible though! Also, isn’t it true that ducks stay fairly dry due to the oils coating their feathers? 🙂
All the more reason to use an OMT in my opinion 🙂
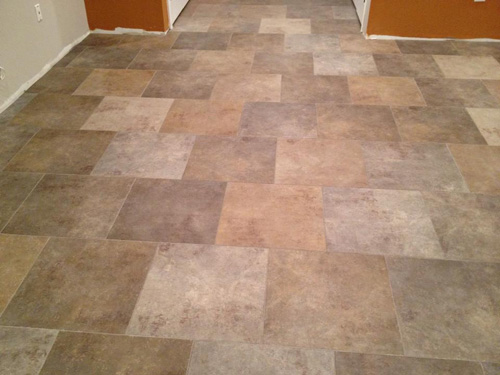
Love the look of the large tiles.
What determines if tile rows are staggered (like above) or laid in even rows? Just the finished look? Or are there other reasons to do one over the other
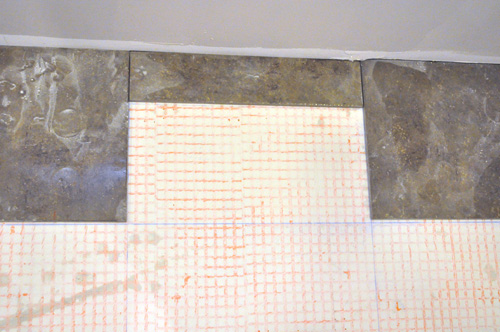
I forgot to mention that Fred & Kim opted for the broken joint pattern (a.ka. brick pattern) shown here. It’s just a preference.
I bet this pattern does a better job at hiding lines that aren’t completely straight, though, at least in one direction. Not that this is an issue for these pros. These guys are immaculate.
If anything it can be trickier to keep them lined up. I did a running bond pattern on my shower wall and it wasn’t quite as easy as the floor which was a simple grid pattern.
I love the trick for squeezing out excess mortar in the joints. I could have used that more times than I care to admit.
I think with the broken joint (also called “brick”) pattern, the guideline marking that Jim and Rich do is critical. The guidelines prevent errors from compounding as you’re working across the floor. This is the big problem with spacers. If you use spacers, especially on a floor this size, you are asking for compounding errors.
One thing that this series doesn’t really capture is the patience with which Jim and Rich work. They will admit they are not the fastest tile layers in the east, but what I noticed is that every tile fit perfectly (I mean within 1/16 of an inch) into it’s grid place. The joints are so perfect across the floor that variation is imperceptible. The work they did in prepping the floor to get it flat clearly has paid off. The finished product on this floor is truly outstanding. I am incredibly impressed with the job.
Now, all that said, Joe Bianco and SDG services are on the pricier side of home remodelers — so in that sense we are “paying” for it. I’m happy to see that the quality in the job is commensurate with the price.
Jim and Rich said that they would love to do more full custom homes, but that the big house builders, with a goal to putting the house up fast and cheap, are not willing to pay good prices. Those folks hire unskilled labor who simply follow instructions. One of my favorite tips from Jim and Rich was “If you see someone using spacers on a floor, they are amateurs.” I’ve learned a lot about tiling from watching them on this job. They are artists in their own right.
One thing people may want to consider is back-buttering the tile. I’m a recent convert but I’m not worried about Fred’s floor, the Ditra ends up assisting the adhesion of the thin set to the tile. BeThePro had a good article on back-buttering recently that’s worth a read (and watch of the video). http://bethepro.com/why-you-should-back-butter-tile/
Interesting article. I think it would have been helped by a review of the cost of additional labor required (e.g., is it 20% more time to back butter every tile?)
It’s interesting that there was no dissent in the comments of the article. I wonder what percentage of the folks over at JohnBridge feel the same way. I also wonder if it’s more important if you are dealing with a less perfect floor. The article says back buttering is essentially required for natural stone (due to natural variations that are going to negatively impact contact) – that I can believe. This ceramic was extremely uniform going onto a very (very!) flat floor.
I’d like some more guidance on the cost / risk balance.
As always, another good add, Jeff.
More and more pros seem to be recommending back-buttering on JB lately. I think the tide is shifting that way. I’m not worried about your floor Fred, I just think it’s a good idea for DIY-ers that don’t have the years and years of experience under their belts. A little extra time for a DIY-er is all part of the experience.
We are about to undertake a tile install, and we purchased spacers to use. The tiles are 12×12 ceramic porcelain tiles and we plan to lay them on the diagonal. The area is small (about 6×6) with an adjoining small bathroom and closet. Would it be useful to pop lines to use as guides but also use the spacers? Especially considering that we are using a larger grout line (I think we are doing 3/8?), I would think that it might be helpful. I’m very particular about even grout lines as I have had some bad experiences with uneven grout lines after a “pro” install.
Even though it’s a smaller area, I’d still set guides. I think you’ll find it easier to keep straight grout lines without the spacers and just lining the tiles on your guidelines. The size of the joint is calculated into the grid so they can be as big as you need.
I enjoyed your series on laying tile with ditra. I am about to lay tile over the ditra and have filled in the pockets like you have demonstrated but I am putting a 1/4 inch space around the perimeter of the room. You said 1/16 or 1/’8 but I read somewhere else to put a 1/4 space. Is this going to be a big gap?? I am going to have kitchen cabinets installed with granite countertops in one week. I am worried about the curing time for the thinset and grout. Is this enough of time to cure? I know there are factors to included like humidity. Should I postpone the installation>>
Diana
Hello.
I got a question for you. I decided to install tile in my whole house. However, I don’t know what type of material should I use. It is between Ditra and Cement Board. My house floor is made with a crawl space and I don’t know which material is best . I assume there is a plywood floor beneath the carpet and I don’t know, how thick the plywood floor is.
Can you give a suggestion.
Thank you..