
Our last Pro-Follow left off with Victor and the guys from Luciano Cristofaro Contractors building the block wall foundation, and before they can pour the slab, the plumbers need to complete their rough-in work. Steve brought in Dave Baker and the guys from Pipe Rite to tackle the plumbing. This in-law addition will include a full bathroom, kitchen, laundry and a water heater, and each of those elements will need a water supply and drain line. Today’s Pro-Follow focuses on the work Dave and his crew completed and the foundation guys beginning to parge the exterior of the block wall.
This Pro-Follow is part of an ongoing series as we shadow professional contractor Steve Wartman and his crew through the process of building an in-law addition. If you missed the progress so far, here are the links to get caught up:
All of our Pro-Follows are the product of spending time with licensed contractors on actual job sites. If you enjoy interacting with professional contractors, become an email or RSS subscriber and never miss an update. Do you live in the Baltimore area and are looking to hire a contractor? Check out our Meet the Pros page to get in touch with Steve Wartman or another one of our partners.
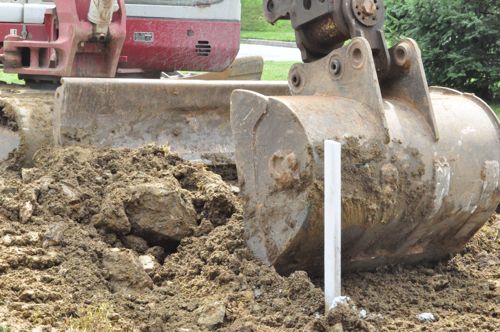
When Victor and his crew dug the footers, there were a couple of markers indicating buried pipes. These were water and sewer lines that had been extended before work began on the foundation. Now that the block was has been completed, the plumbers came back to complete their rough-in before the requisite inspection.
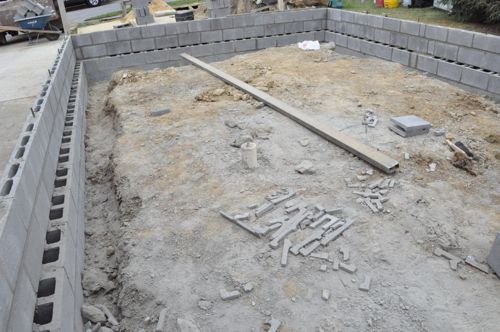
If you remember, here’s how everything looked at the completion of Day 4.
Here are the relevant areas on the blueprints for the plumbers.

Step 1: Dig Out Water & Sewer Line
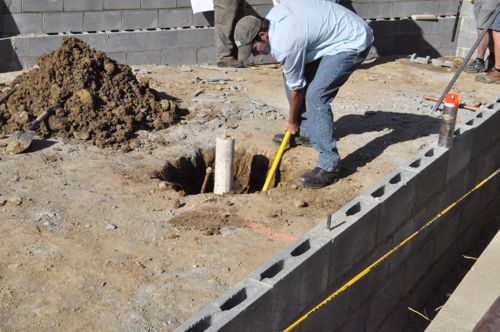
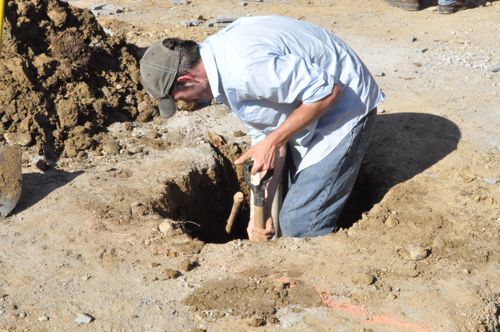
Work began by digging around the sewer and supply lines down to a fitting that needed to be removed, and it was slow going because of all the rocks.
Step 2: Drill Through Existing Wall
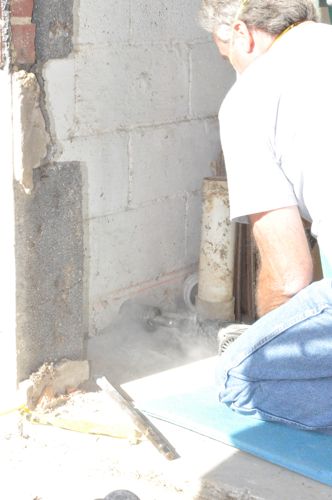
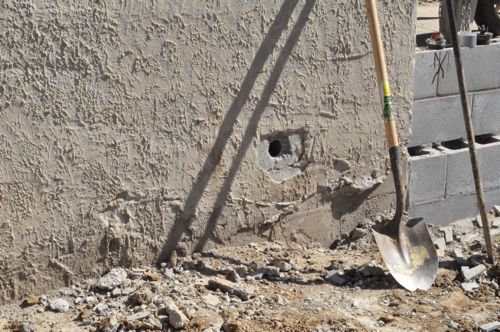
Meanwhile, another member of Dave’s crew cut a hole through the existing block wall for the laundry and water-heater area.
Step 3: Map out Walls and Fixture Locations
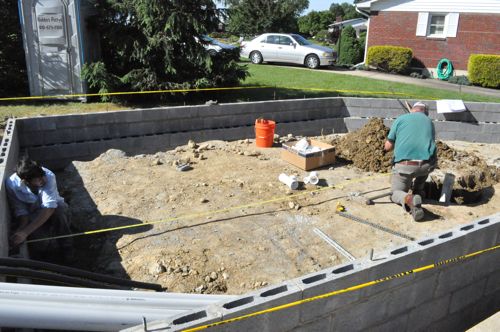
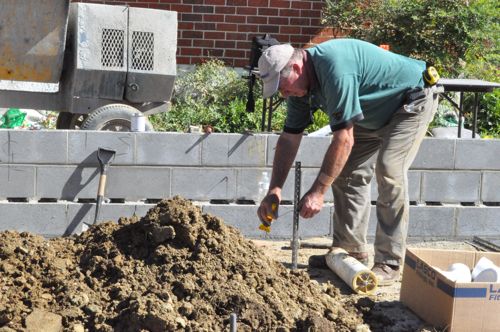
Dave and his team needed to determine the location of the walls and ultimately where fixtures like the vanity and toilet would be located. To do this, they began measuring out the walls, setting stakes in the ground and running string.
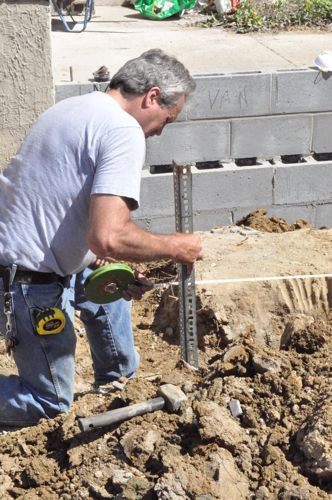
Step 4: Run Drain Lines
Next, Dave’s team began running the drain lines, and they used 4″, schedule 40, DWV, cellular core PVC.
Pro-Talk: DWV is short for drain, waste, vent.
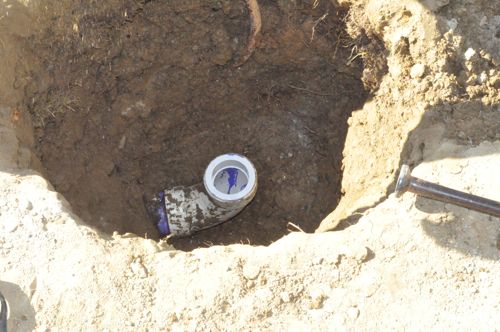
The plumbers were careful to maintain the 1/4″ per foot slope throughout the drain lines.

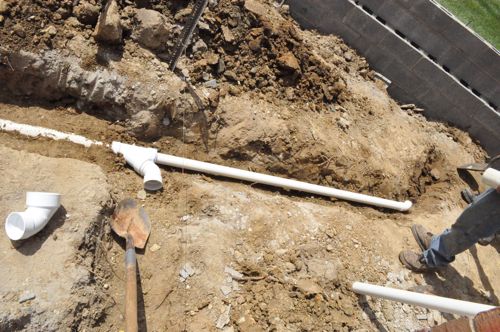
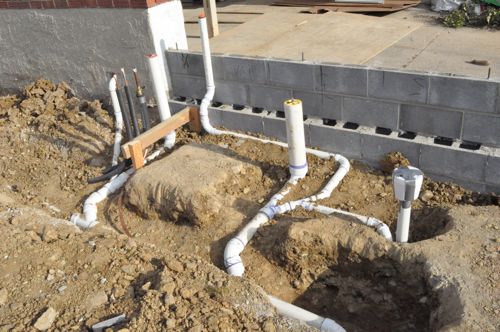
Here you can see that they’ve fitted a couple of wyes to branch the drain line to the bathroom.
Pro-Talk: Pipe wyes are similar to pipe tees except the branch line is angled to reduce friction which could hamper the flow. The wye connection is typically at a 45° angle rather than a 90° angle.

All the rough-in terminations needed to extend up beyond the surface of the concrete slab before being capped off.
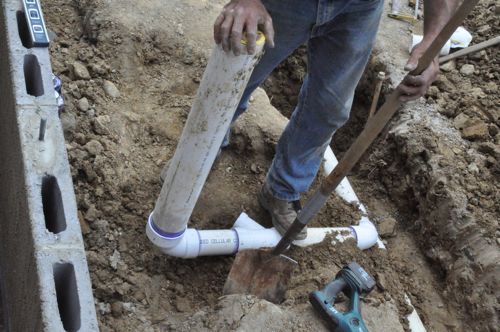

Here’s a look at the reducer and pipe they ran over to the kitchen area.
Step 5: Run Water Supply Lines
To run the water supply lines, the plumbers used 1/2″, soft temper L-copper pipe. Soft temper pipe is great because it’s very malleable and the plumbers could bend it into place by hand.
Pro-Tip: Tubing wall thickness is indicated (in order of thickness) by K, L, or M for any given pipe diameter with K being the thickest.
Pro-Tip: Make long-radius turns with soft temper pipe to avoid kinking (and compromising) the pipe.
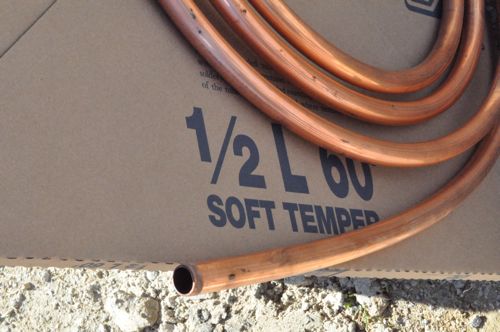
Buried soldered joints will corrode over time so instead the plumbers used a pack-joint coupling to connect the supply line.
Pro-Talk: Pack-joint couplings are sometimes called Ford couplings.

They ran the supply line a short distance away, and installed a ball valve. They also ran (but did not connect) two lines over to the kitchen area, and you can see they insulated all the copper pipe.
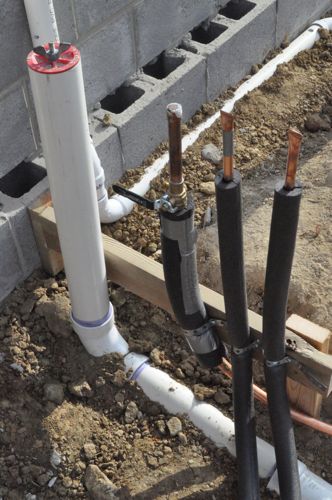

Here’s a look at most of the work the plumbers completed, and you can see (from right to left) the shower drain, toilet drain, vanity drain, vent pipe, supply lines and the laundry area drain running through the wall. At this point, the plumbing needs to be inspected before further progress.
Parging the Foundation
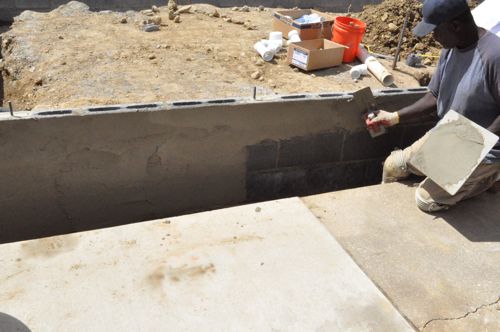
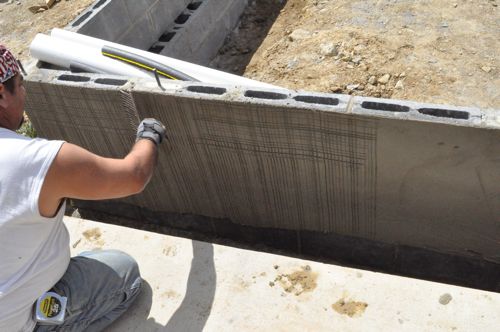
While the plumbers were working, Victor’s crew began the process of parging the foundation walls. Parging is done in layers and the first coat is called the scratch coat.
Pro-Talk: Parging is a technique used to finish the surface of a masonry wall with a thin layer of mortar.
Step 1: Wet Walls
Victor’s crew began by wetting the walls with a hose.

Step 2: Apply Mortar
Next, they mixed up a batch of mortar and began spreading a thin coat over the walls with a trowel.

Step 3: Scratch Coat
Using a scratch rake, they guys raked perpendicular lines in the mortar.

These lines provide a textured surface for the next layer to adhere to.
That’s all for today’s update. Barring any problems with the inspections, Victor’s team will be laying rebar, putting down plastic sheeting and pouring concrete in the next few days. Part of this week, I’ll be attending the Milwaukee and Bosch media events so look for pictures and info on soon-to-be-released tools from both manufacturers. Send me an email if you have feedback that you want me to pass along.


Why the second water heater? wouldn’t it have been more efficient to replace the existing one with a new larger one that could service everything?
also, being from the northeast (the land of basements) the idea of plumbing being under a concrete slab really makes me uneasy.
The current water heater isn’t very close, and there isn’t a good way to run supply from it. The buried plumbing is pretty common around here. It’s a pain when you have to jack hammer to get to it. How’s it done at your house?
as I said, the land of basements, alot of basements are unfinished, so there is no plumbing under the slab (other than service entrances/exits). The first floor is done like any other house with plumbing between the joists. My basement does have a bathroom, so the toilet does go into the slab, but other than that, its just stacks going down from the first floor (then under the slab), all of the supply plumbing is in the walls.
I guess having the supply plumbing under the slab is the thing that is really odd to me, it just seems like it would be better if it come through the walls wherever possible.
The only Supply in the land of basements that is in the floor is the main.
yes this is how its done here in my igloo lol or as I call it my home in Canada. Seeing it done this way is strange.
My main supply is actually through the wall (less than a foot off the floor)
I can see the advantages and potential disadvantages of running the plumbing under the concrete slab. Underneath saves you pipes running through your walls. However if something goes wrong, you have to tear up your floor.
I agree with those concerned about running stuff under the slab. The builder did that on my 1972 house. Copper supply lines eventually developed pinhole leaks at the concrete. What a mess. They also installed ducts under the slab, which became rodent racetracks over time as they settled. Finally, when I had to replace the copper supply line, I went with K-thickness; a little extra cost for peace of mind. Future lines for me will always be accessible for inspection, cleaning, and repair, never buried under concrete if I can help it.