
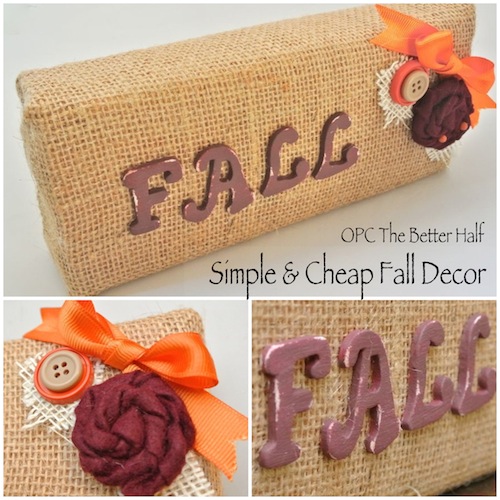
Last week you may have read that after 31 years, I decided to act like a grown up and create my first fall mantel. Yeah, so every other woman in my family has been doing it forever, and yeah, it’s not that hard, but it sure did feel like kinda a big deal. I guess it wasn’t that hard, and it does look really cute.
Burlap is kinda the essence of fall…okay, maybe not the essence. Most would say that pumpkin and football are the essence of fall, but burlap is so hot right now.
So I wanted to incorporate burlap into my mantel in a big way. I started first with a multi-color burlap bunting that I made. Super cute, although I learned later from a reader that my head is crooked, or the bunting is…. hahaha All fixed now! 🙂
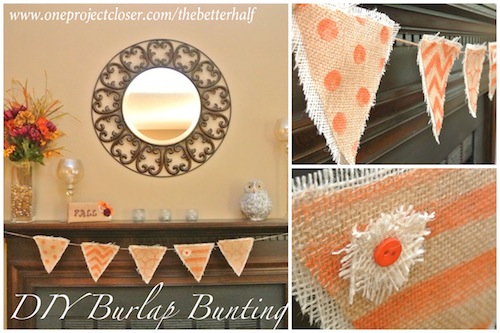
Next, I thought about doing a cute picture frame with burlap on the inside, maybe some flowers or a wooden letter. But….I couldn’t find a cute frame the right size in the back of my basement (you know, that stock pile of frames I hold on to, just in case).
Instead, I decided to wing it using supplies I had on hand. I’m not sure what I should call it, but its a cute little decorative block that adds some color and festiveness to the mantel and it was SUPER cheap.
Fall Burlap Block
Materials:
- 2×4 block
- Burlap
- Wooden Letters
- Fabric Flowers
- Hot Glue
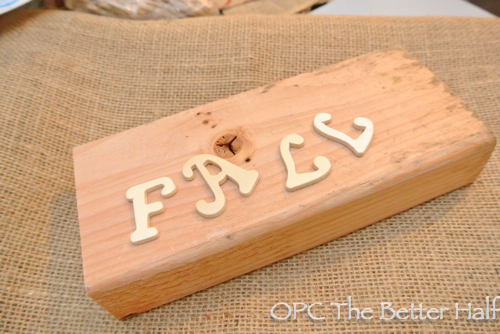
Step 1: Cut It Up
We have a ton of scrap 2×4 sitting around the workshop and Ethan was more than happy to bring me home a block about 8 inches long. It isn’t a real pretty piece of wood – kinda dirty, knocked around, but perfect for what I needed.
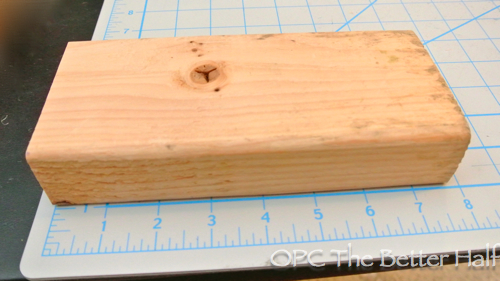
Step 2: Wrap It Up
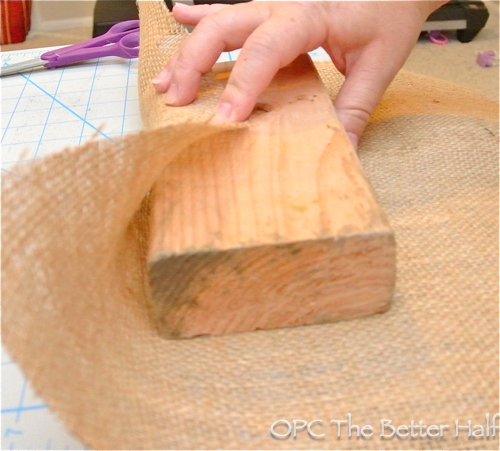
I wrapped the wood with burlap, much like I would wrap a present. Instead of tape, I fastened the burlap to the wood using hot glue.
The sides were somewhat difficult to get to lie flat, but after A LOT of hot glue the sides looked taught and tight. 🙂
Step 3: Fancy It up!
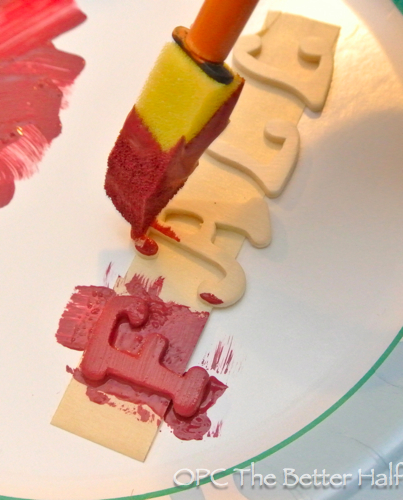
Time to get creative! I painted a few wood letters left over from some letters I bought for our bedroom makeover, but they are a great thing to have on hand anyway.
Quick Tip: Use tape facing up to hold your wooden letters in place while you paint.
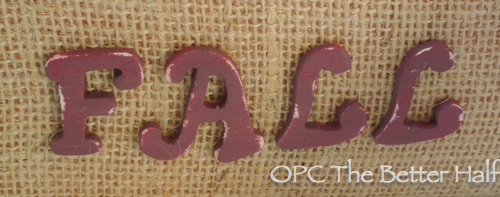
After the paint dried, I lightly sanded the letters to make them look more rustic.
Then, using hot glue, I added some fabric flowers, ribbon, contrasting burlap, and buttons for color and interest. Be sure to check out my awesome fabric flowers tutorial, if you haven’t seen it.
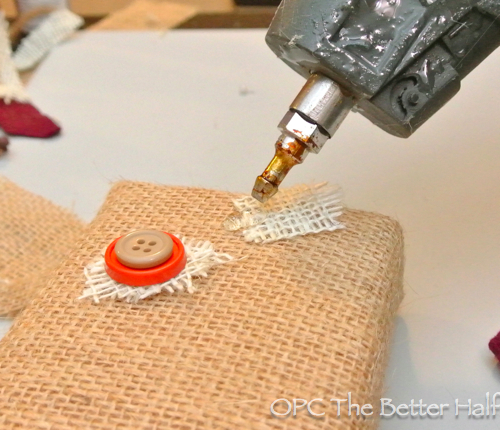
I used felt for the one flower and I love it. I’m not always a fan of felt flowers, but now that fall is almost here – bring it on! I also added some small orange balls to accent the flowers to balance the color better.
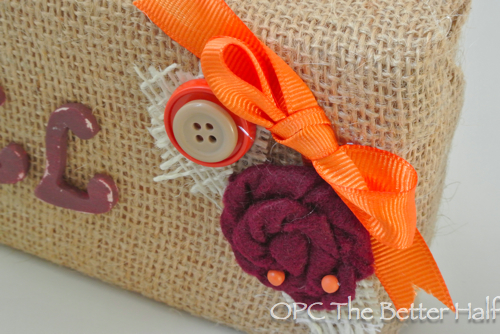
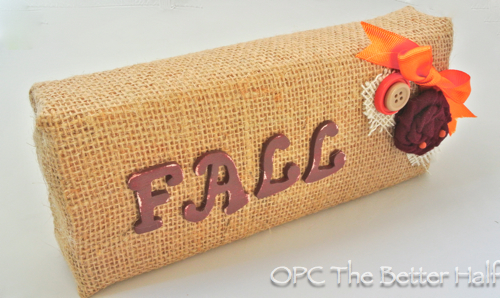
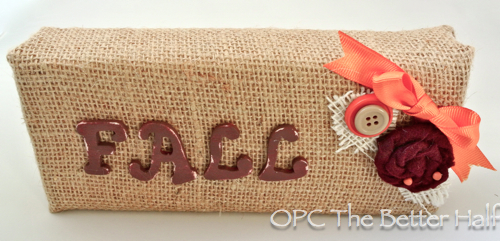
What do you think? What would you put on your burlap block?
As Always, thanks for reading!

Don’t forget to check us out on Facebook and Pinterest!
We linked up at: Southern Hospitality, DIY Show Off


Very cute Jocie. Though burlap isn’t my favorite fabric (it fights with my allergies) I have to admit that it does have that fall feel/look to it being it’s dry and rough around the edges like leaves drying.
Thanks, Just Me! I didn’t used to love burlap, but what can I say? I’ve been caught up in the burlap craze! lol! I had no clue that one could be allergic to burlap! that stinks!
Yep, that’s part of the problem. It stinks. Ha ha. It makes my eyes burn and itch like crazy. When I worked in fabric stores we were to pull a thread before cutting it. I couldn’t do that because all those little fuzzies would fly and make my allergies go nuts. I did manage to hold my breath long enough to carefully cut between the threads taking gasps of air only if I absolutely had to. That at least didn’t bother me quite as bad as pulling the thread. Because of my allergies, I just can’t get into the burlap craze.
That is horrible! I totally know about those fuzzies now – my craft table was COVERED in them. What a mess!
Matches nicely with your bunting. Looks great!
Thanks, Poiboybf!
Very cute! You could also use a brick in place of the wood…
Thanks, Erin! Did gran have something like that?
That looks pretty cool. My mom and sister have done similar things with bricks to make door stops. Just pick some type of fabric that you like (or have leftover) and wrap it. They learned to only use the least amount of glue you can on the brick. That way it’s easier to get the fabric back off if you want to change the look
Thanks, Chris! Now that I think about it, I think my Grandmother had a burlap doorstop, maybe that is how I got my inspiration…without realizing it! 🙂 Thanks for the great tips!
Turned out adorable. May just need to whip one up for my office
Thanks, Jen! As always, you are so kind! 🙂
I love the finishing touch by sanding the letters. That looks awesome!
Thanks, Trebor!
So cute! What a great and simple idea! 🙂
Thanks so much Ashley!
This is such a cute idea! I’m a huge fan of simple, easy, and inexpensive. 🙂 I love the Burlap Bunting too!! Thanks for sharing! Found this over at Southern Hospitality.
Thanks, Ellora, and thanks for visiting! 🙂 (what a pretty name, btw)
I love this idea it’s so pretty 🙂