

Last year I made a paper advent calendar. It was really a special time for our family that we used to move the focus of Christmas away from presents on onto Jesus, family, and togetherness. Each day we would read the Christmas story and act it out using the plastic Nativity set from my mom. Then, we would read that day’s activity from the calendar. Izzie LOVED it. Seriously, about once a month since last Christmas she asks when it will be #6 with hot chocolate! lol! I guess that was her favorite advent activity.
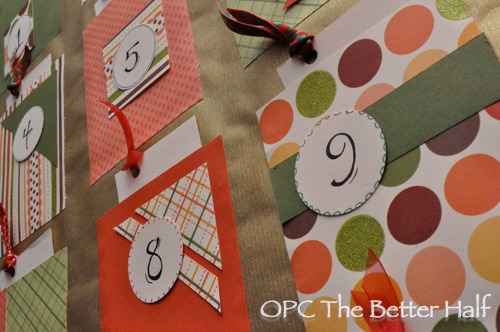
While the paper advent calendar worked in a pinch and was super cheap), I wanted a calendar a bit smaller, more colorful, and still cheap! haha Don’t worry, the paper calendar isn’t being sent out to pasture; it will be going to love with my cousin.
Felt Advent Calendar
This felt advent calendar took slightly more time than the paper calendar since I cut out all the felt numbers but the time was comparable. And while a little more expensive, it still only cost about $5 to make, maybe less.
Materials:
- 36 in x 36 inch felt
- 4 – 6 sheets of contrasting felt
- Scissors
- Glue (Felt glue or hot glue)
- 3 ft Wooden Dowel
- Ribbon
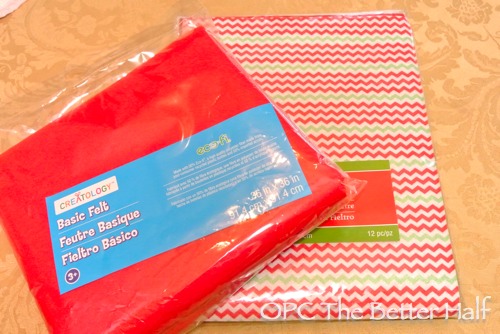
I found the 36 x 36″ felt pre-packaged at Michael’s for $3.99. It may have been on sale for less than that, but it was fairly cheap. They also sell it in white, green, and blue, if red doesn’t speak to you. 🙂
In addition to the large piece of felt, I bought a holiday pack of felt with assorted colors and patterns. I think it came with around 20 sheets, but I only used 5 – 4 patterned for the pockets and 1 white sheet for the numbers. (If I used the same color for the pockets, I would have only used about 3 sheets of felt.)
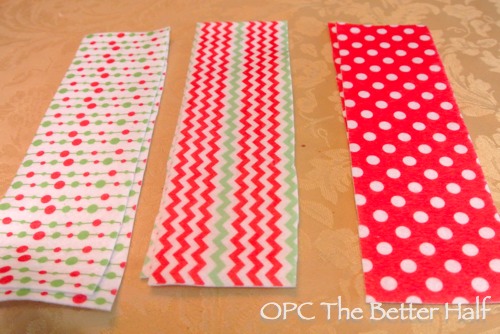
Once I determined the general shape and layout for my calendar, I started cutting the pockets. The size of the pockets (felt rectangles) didn’t matter much as long as they were all the same size. I eye-balled it, cutting one template and using that to cut the rest the same size. The pockets ended up being about 2.5 x 3 inches. I cut 25 of these using 4 different patterns.
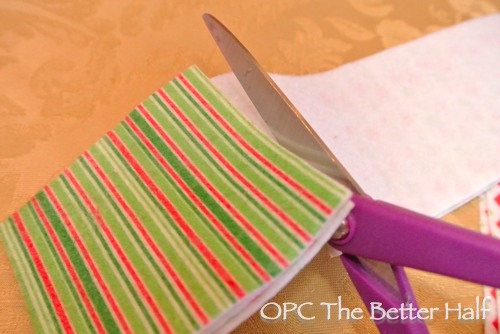
After the rectangle felt pieces were cut, I went about cutting out numbers. Michael’s sells pre-cut felt numbers along with letters, but I would have had to buy multiple packages to get enough of the frequently used numbers (1 and 2). So to save some money, I just cut them out myself. This was definitely the most time-consuming part, although easier than expected.
I cut small rectangular pieces of white felt approximately 1.5 x 2″, enough for numbers 1 – 25. I used these felt rectangles as the general shape of the numbers so that they were all the same size.
After A LOT of cutting and little pieces of felt all over the dining room, I laid out the pockets and numbers on the red 36 x 36″ felt, giving special attention to the spacing of the pockets and the pattern of the different pockets. I also left a large space at the top and bottom for the dowel pocket.
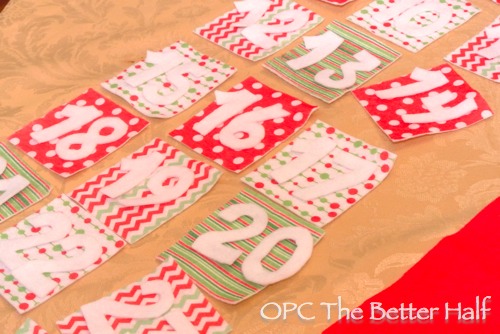
20 minutes later I was happy with the placement, but seriously, I’m a little ridiculous and anal about it.
Then, I started gluing. I started with Elmer’s because I didn’t have any felt glue on hand. It didn’t work great – some parts stuck and others didn’t, so I ended up going back and using hot glue, especially on the pockets.
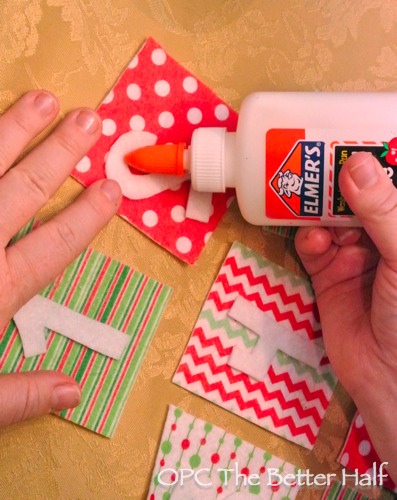
When gluing the pockets, I glued back of the felt rectangles only on the two vertical sides and along the bottom, using the felt backing as the back on the pocket.
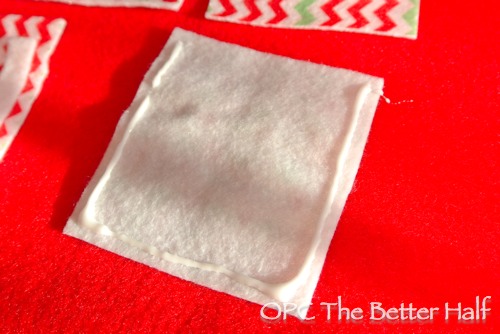
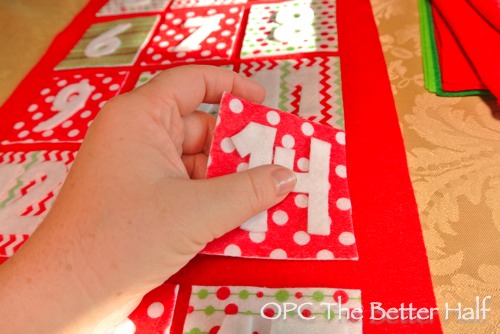
Once the pockets and numbers were glued and dry, I cut the red base felt on the sides so there was a 2 inch margin on each side – about 12 inches wide.
I then grabbed a hand saw and cut the dowel into two pieces about 15 inches each. I then placed the dowel at the bottom of the red felt (face down). I then wrapped the felt up around the dowel to create a pocket and hot glued the bottom edge in place. I did the same process for the top.
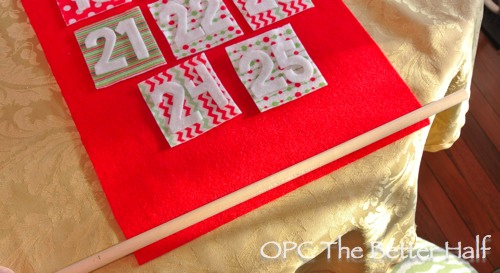
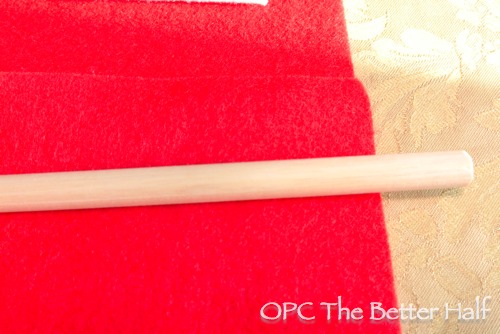
Finally I added a ribbon and hung it up! Right now, its hanging on our door because I waiting on a trip to the store to get some more Command hooks. 🙂
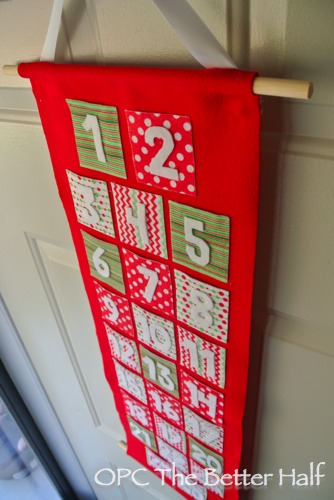
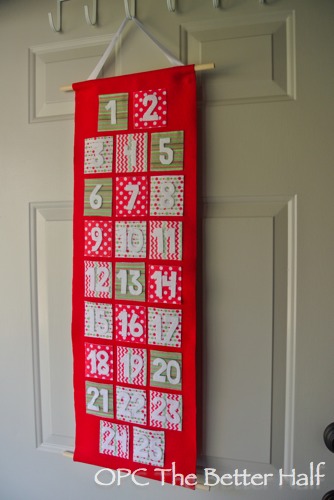
I filled the pockets with daily advent activities for the season and now its ready for December 1st. For all our advent activities, check last year’s post and making the paper advent calendar.
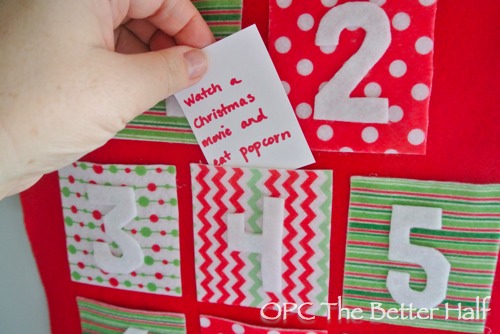
Do you do an advent calendar? If so, what kind and did you make it?
As Always, thanks for reading!


Oh this is adorable, no sew is right up my alley. I have purchased the traditional chocolate advent calendars for my 5 this year. It is a new tradition.
Oh how fun! I bet they will be super excited!
My sister and I would always get them when we were kids. She still sends me one of the cheap ones from the grocery store with strict instructions not to open them all on the same day.
hahaha so do you follow her strict instructions? 🙂
I usually hold out for about half the month…
I figured with the trend you’ve been on you’d be making a burlap advent calendar 😀
Looks nice! Felt is super cheap too so that’s nice. Sounds like a fun time with your family
*Head Slap* Why didn’t I think of burlap?!? 🙂 you know me too well, Trebor.
Looks great! I wish I had the time to make one!
This is darling!! Pinning and doing this with my kiddos 🙂
xoxo, Tanya
Thanks, Tanya!!
I really want to make something like this for Jesse and I for December, even though we dont have kids I miss our families advent calendar!
I love the advent calendar as much as the kids for sure! 🙂
Advent calendars were one of my favorite childhood memories of Christmas. Yours looks great!