
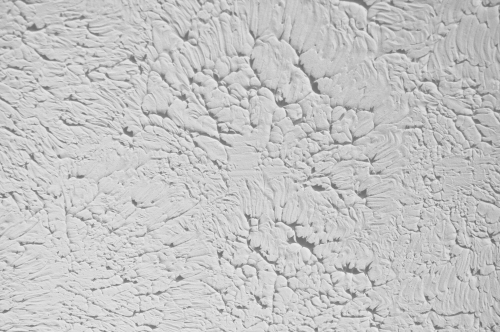
Stipple. It’s the little brother to popcorn texture that was popular on 60s- and 70s-era ceilings. Unlike popcorn, which is sprayed-in-place using specialized equipment, stipple is applied by dipping an applicator in drywall compound, sticking it to the ceiling, and pulling it away to create a pattern of pointy stalactites. The result is a ceiling that looks darker (because it casts hundreds of tiny shadows) and one that pops every balloon that floats up to its thorny surface.
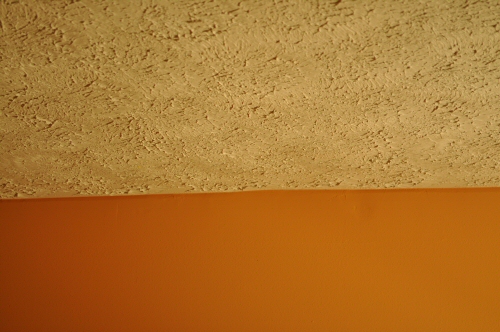
Home builders in the disco years sold popcorn and stipple ceilings in droves, mostly touting their acoustic benefits. Of course, it didn’t hurt that both popcorn and stipple are less labor-intensive–and therefore cheaper–methods of finishing a ceiling.
We know now that neither texture looks as good as a plain, flat ceiling. But just like bell bottoms and leisure suits, we didn’t realize the gravity of our collective error until well into the 80s. And that’s being generous. Our house (a Ryan Shenandoah A) was built in 1984 and it had this texture all over. There are still a few builders using this technique today, especially on less expensive homes.
We’ve been flattening out the stipple in this home for the last few years as we tackle one room after another in our remodeling escapades. We’ve recently turned our attention to our twins’ upstairs bedroom, which provides the perfect backdrop for this tutorial.
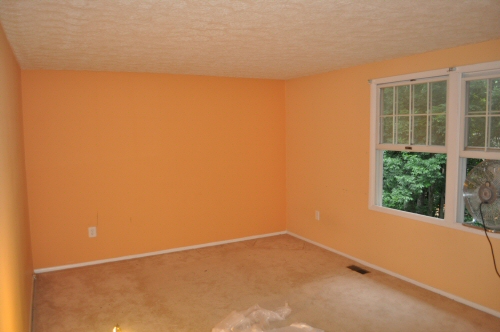
Here’s a shot of the bedroom. This particular vantage point makes the stipple look relatively unoffensive, except that you can tell the ceiling has a sort of shadow to it.
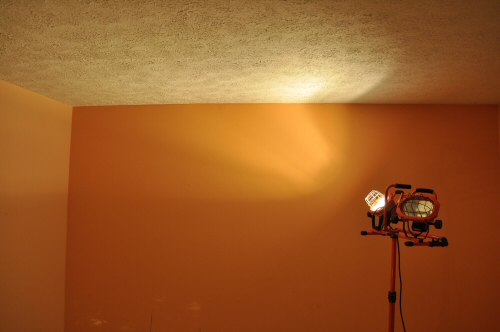
With artificial, floor-based lighting in use, the stipple shadowing effect becomes more obvious.
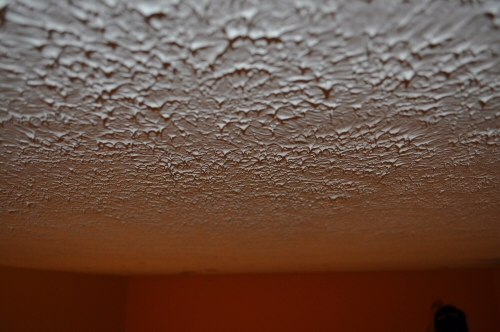
Up close, you can see just how sharp the ceiling is and just how many shadows it casts.
How to Remove Stipple
After trying several different methods for removing this stuff over the years, we’ve settled on what we think is the best method for getting the job done: sanding the stipple with a random orbit sander using 80 grit paper. This method works well to get the ceiling mostly flat. If you want to get the ceiling completely flat, you’re going to need to spend time sanding with a pole sander after knocking down the majority of the stipple using the power sander. If you use the power sander too long, you’ll inevitably run through the paper backing on the drywall.
Before we get started, it’s worth noting that this method works best when the ceiling hasn’t been painted. If it’s been painted, the effort required to tear down the stipple is significantly greater.
Step 1: Check for Asbestos.
In all likelihood, your stipple ceiling probably doesn’t have asbestos in it. But it’s not out of the realm of possibility. Asbestos was legal in the United States through 1978 and was an ingredient used in some textured ceiling compounds. Even after asbestos was outlawed, builders were allowed to use whatever remaining supplies they had on hand that contained the ingredient. There are several asbestos testing labs around the country. You can Google for “asbestos testing lab” or read our experience with Western Analytical Laboratory for more information. It’s about $20 to get a sample tested. We had three samples tested from throughout our house.
If you discover asbestos in your ceiling, you should leave it completely undisturbed or consult a professional for removal. In many states an asbestos abatement contractor is required to tackle projects were asbestos is present.
Step 2: Cover Up Floors. You Might Consider the Walls Too.
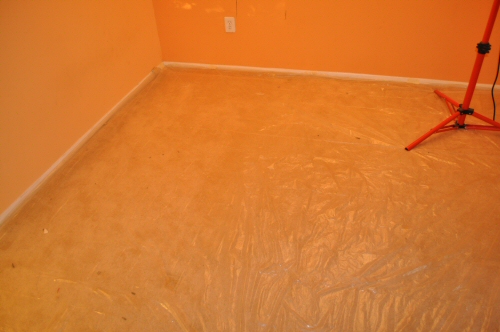
Tape plastic over the flooring surface. You’ll need to throw it away after you sand as it will be covered with powder, which easily kicks up into the room, so using something cheap is a good move. We used the thinnest .3 mil plastic available at Walmart and it works just fine.
If you’ve already painted the walls, you may also want to tape plastic up to the walls. This job is better performed before painting.
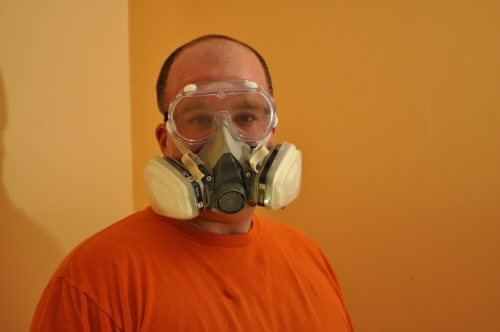
Step 3: Don the Appropriate Safety Equipment.
While a simple dust mask will provide some protection, we prefer a negative pressure mask like the one in this picture. It should go without saying that safety goggles are a must. The sanding process throws off a hefty amount of debris.
Step 4: Vent Outside Using a Fan. Turn off the A/C fan.
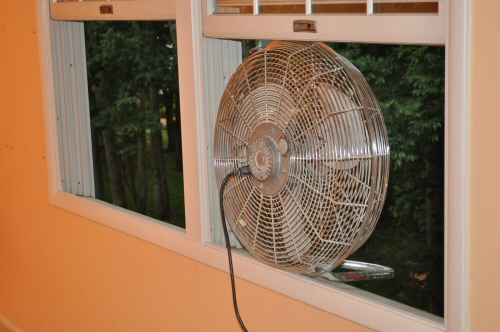
Set up one or more fans to blow air outside. You’re going to get a lot of dust through the sanding process. You’ll also want to turn off the A/C fan in the house to prevent the dust from blowing or recirculating.
Step 5: Sand. Sand. And Sand.
You can use any pattern/approach you want. We suggest the following:
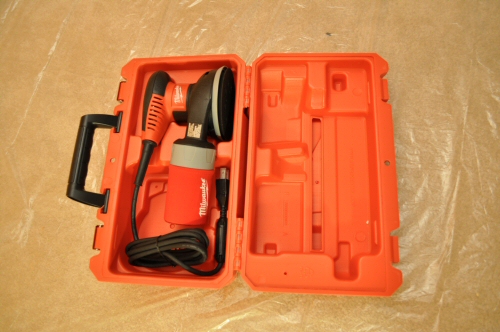
- Use a random orbit sander like this Milwaukee version we reviewed.
- Start with 120 grit paper and working up to something more powerful if you need it.
- Start with a slower orbit speed and working up to something more powerful if you need it.
Be careful NOT to hold the sander in one place too long. You can eat through the drywall paper if you go too deep.
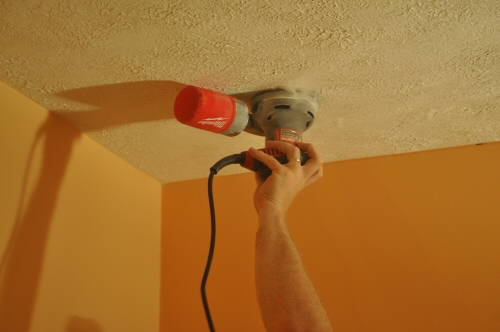
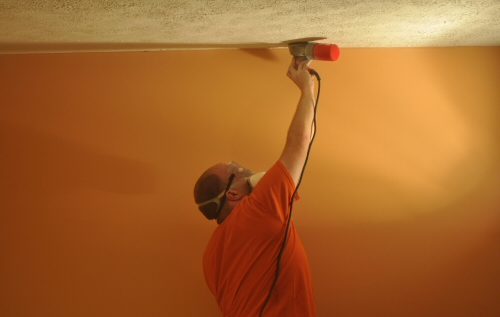
You’re Done!
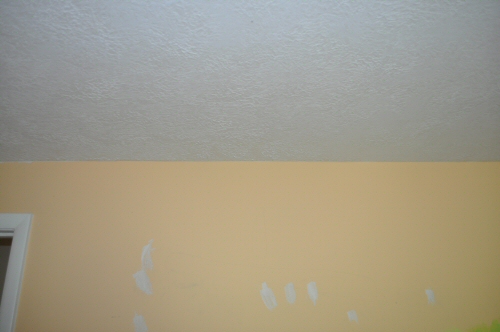
After the ceiling is finished, you should have something that looks like this… (You can ignore those patch marks on the walls… but it is worth pointing out that this job should be done before you paint the walls, if you’re doing that in the same overall project).
And here’s an up close shot of the ceiling. Balloons everywhere will be thankful.
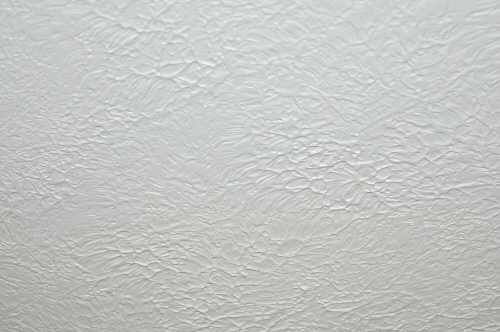
For the sake of contrast, here’s a very similar shot, before the sanding, so you can see them next to each other.
I’d love to show you a picture of the end product of this room, but you’ll have to wait a few days for the complete picture. Kim’s running that along with a review of a new paint kit we used for the room.
4 Key Tips for Sanding Stipple
- Make sure to get the ceiling checked for asbestos before starting this job.
- Ventilate well. Turn off your home’s A/C fan.
- Put down plastic. This job is a mess.
- Start sanding at slow speed and with fine grit paper. Increase grit and speed once you get the hang of it.


I removed mine using the wet and wipe method. It was a MESS!!!! However the end result was worth the effort.
Something to remember is textured ceilings are used to hide goofs. Be prepared fro surprises once you remove your texture. Our big surprise was to find a swirled ceiling hiding under our texture from the 50’s. The pattern was inconsistent from removing the texture so we mudded the entire ceiling!!
Richard, that’s another good approach to consider (and messy). We tried that in our bathroom and it didn’t work out. The amount of water required to loosen the drywall compound was overwhelming. I’m convinced that for wet-and-wipe to work you need to have a certain type of drywall compound, and ours wasn’t that type. However, some friends of ours have used wet-and-wipe successfully and you can find instructions for that on the web too. If you happen to have pictures of your before/after/in progress I’d love to run an article on that!
I’m being brave and taking on the project of removing the stippled ceiling from my laundry room. I started by spraying warm water with a spray bottle and then scrapping it. I then tried using the orbital sander with 80 grit. Works like a champ but it is a cloud of dust. Can’t see in the room after a few minutes. My problem is the dust is so bad that within a few minutes the round sandpaper disk falls off the sander. It has a dust collector attached to it but the dust it so fine it collects on the velcro. Anyone have tips on how to prevent this? I plan to remove the stipple from my entire house once I get the method down.
Fred, Many rental centers have a pole mounted sander that is perfect for this. It uses 12 inch sanding disks that you buy when you rent the sander.
The sander comes with a dust collector ring and hoses for your shop vac so the dust is kept to a minimum. I removed the “popcorn” and sanded a 12 X 20 foot ceiling smooth in about 2 hours.
Paul, great tip. We have 2 more rooms to do and for the sake of sharing the experience with you all, I’ll see if I can find a rental center around here that has the device and we’ll give it a while. Does the sander stand from floor to ceiling or do you hold it on the pole? If it’s on the floor, is carpet a problem?
Fred, It’s a pole mounted unit. The ones around here are on an 8 foot pole (kind of looks like a pole pruner) The power cord and vacuum hose attach to the bottom of the pole.
Do a Google search for “Porter Cable model 7800 Drywall Sander with Dust Collection” to see a typical example.
Paul, can you give me some more info on using a drywall sander to smooth stippled ceilings? I was strongly advised not to do it by a worker at Home Depot, but it seems like it would work and be very efficient.
Um wow, how long did that take? You might want to consider renting a drywall sander next time like this one from Porter Cable (http://www.portercable.com/Products/ProductDetail.aspx?ProductID=11616)
If your house was built before 78 & was painted you might want to make sure the paint (if any) has lead in it & if it does, make sure you have any sander hooked up to a hepa vac, the duct work is sealed (should be done no matter what) & no fans should be running to the outside if they are not HEPA filitered also (negative pressure machine).
Now as of three years ago for pre78 houses, I still would have run a fan outside & simply added a cheap AC filter to the inside to help catch the big dust & prevent buring out the motor which many contractors stilldo.
Hey Sean, great pro tips. I will update the post for lead safety. The process took 45 minutes after sanding was started.
Wow, that is a lot faster than I would have thought, of course with the typical pro problem (rotator cuff) I would be dying about 15 minutes in thus the power drywall rec. Sorry I forgot tosay it above great article & now replies – Hope you & Ethan have had a great week
I have popcorn ceilings here and I hate them so much!
I recently bought and older home, it’s about 50 or so years old and it has stipple ceilings in three rooms. I started to sand by I found it was so hard to keep my arms in the air to do the entire ceiling. It is a lot of work, your ceiling looks great!
Thank you thank you! I was begining to feel I was alone on this. The method you provide seems to be very very good. I like the fact you suggest starting with a more fine paper until one gets the hang of it. I have found myself in the past working with power sanders and have thought to myself……. self, how hard can this be? And started with the more textured paper…. BIG mistake, I found my self chasing my tail for a while. I think if I take on a ceiling like this in the future, I will most definitely do some weightlifting before begining the project. I dont think I can handle having my arms over my head for very long. Thanks again! Dave
Maybe I’m old school, but I don’t mind the look of a well done stipple ceiling. My house has rosebud pattern stipple ceilings and I’ve never thought about removing them – maybe there is just too much else to do first. That said, I definitely don’t like the look of popcorn ceilings.
The patterned versions of the ceiling, especially those that became more popular towards the early 90s, are not nearly as offensive as the original. The patterns I’ve seen are also much less exaggerated than the non-patterned ones. Our house’s stipples topped out at taller than an inch in the worst spots. Crazy.
My house is only a few years old and the stipple isn’t very heavy, so it doesn’t have the shadow issue you mention in the article. It really depends on who does the work, because my neighbors have the same pattern ceiling I have but the compound was applied much thicker – their ceilings look vastly different from mine.
So, what about big brother “popcorn”? How do we get him to move out?
Essentially wet it down and scrape it off…. but you should get it tested for asbestos before doing that!
As we are quite likely to be moving and finding another home, this information could prove very helpful, especially the asbestos concerns. Appreciate your work!
I have a very heavily stuccoed basement ceiling which I believe homeowners applied. It is a 1979 house. I have removed some lower ceilings, and now am wondering if there is asbestos in it. Can’t contact previous owner as he passed away. (natural causes) Some pieces are up to 3″ points. So should I have it tested?
Faye, I think it would be wise to have it tested given the build era. There’s probably no asbestos in it, but the testing is relatively cheap ($20/sample) for the peace of mind. That’s just my $.02. I had ours tested even though the chances of asbestos in the ceiling were low.
After sanding what is the next process to get a smooth surface. On the after pic you still see the design. Will this be covered by paint or was that the look you were going for? Im using the scraping method and it looks like yours. Just wondering how to get the clean flat look
Adam,
Our experience is that it is a lot of work to get down to the actual “smooth” surface. What you would need to do is continue to sand using finer and finer grit sandpaper, being careful not to cut too deep into the drywall paper (really, not to cut into the drywall paper at all). We elected for the “mostly flat” look because the time and effort investment is considerably less, and we actually like the way it looks. It hides some minor ceiling imperfections that might become visible if it were totally flat. This is important because when builders used stippling on ceilings, part of their motivation was to avoid having to neatly finish all the drywall. Imperfections in the hanging/taping job are masked by the stipple. Go too deep and you might uncover them.
That’s not to say it can’t be done, we just didn’t go that route.
Thanks for the comment. I hope you’ll make OPC a regular stop!
Fred
I am so stealing this line as a future FB status update or comment “But just like bell bottoms and leisure suits, we didn’t realize the gravity of our collective error until well into the 80s.”
I have never thought of sanding the nasty-ness of my ceiling. I hate the look of the little guys hanging down. Thanks a million for sharing! Cannot wait to pin and do!
We have a stippled cathedral ceiling in our summer home that was build in 1976. What is the best way to take a sample to test for asbestos?
I just scraped off a little bit into a bag. Google for asbestos testing and you’ll find a few places you can ship samples and they usually give you instructions on the best way to take samples.
I bought a porter cable drywall sander…
the problem is I have paint over my stipple ceiling. Makes water and scraping useless….
I have to break through the paint. I am using the drywall sander with 80 grit and I apply side pressure so the sand paper pad does not load up. I tried holding it flat like you sand when doing tape edge cleanup an it loads up. I get some gouging and I have scuffed down to the drywall paper(but never cut through).
I will skim coat the entire ceiling to get it flat. I hate the guys who stippled this… talk about doing the job cheap.
I have read all the comments about getting a smooth ceiling and what it takes to get it that way but has anyone out there got a contractor to do it? and if so can you shared with me hoe much it cost.
We just started doing this to the house we moved into. We have this same texture and it’s gloopy and makes our rooms look dark. We were quoted to have the texture removed and it was way beyond what we wanted to pay, so I scoured the internet trying to figure our an alternative. We ended up finding a hand held drywall sander that attaches to our shop vac. It’s quite a job to manually sand, but the mess is fairly minimal and the suction makes it somewhat easier because it holds to the ceiling a bit. We’re about halfway through the house and I think we’ll throw some bright white paint on it when we’re done, and it’ll be pretty great. I’d love to have completely smooth ceilings, but these subdued ones are the next best thing! Thanks for the post! It’s what led us to finding our DIY solution!
We have a stipple ceiling and it looks like it was painted over – can we still sand? Is this something you have run into before?