
We are back with professional contractor Joe Bianco as he walks us through the process of remodeling a basement. Just like our latest series for building a deck, these Pro-Follows will (eventually) wrap up with an all-encompasing guide. It’ll be a great resource for anyone looking to finish their basement. So far we’ve covered:
- Day 1: Framing the basement
- Day 2: Rough-in plumbing
- Day 3: Rough-in electric
Today’s update focuses on hanging drywall as two separate subcontractors work to get everything ready for painting next week.
Step 6a: Hanging Drywall
Joe had arranged for all the materials to be delivered the day before, and they decided on 4 x 12′, 1/2″ sheets of drywall. To get everything into the basement, they actually needed to cut a hole in the first floor because there wasn’t enough clearance to carry the extra-long sheets of drywall down the stairs. A two man crew arrived the next day to hang all of the drywall in the basement. I was surprised it was only two guys, and they didn’t unload very many tools. However, if I ever doubted their ability, it was quickly dispelled as these guys worked fast and efficiently.
Pro-Tip: Using 12′ sheets of drywall (rather than 8′ or 10′) results in fewer joints to be taped and concealed with joint compound.
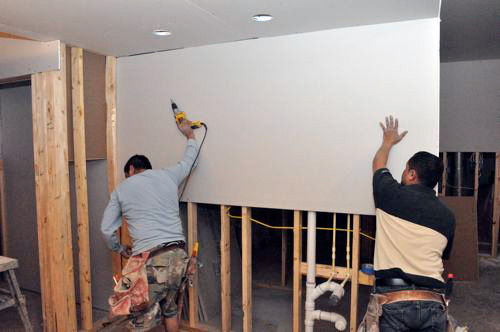
They started with the ceiling, putting down a bead of Liquid Nails on the joists. Next, they would move the drywall in place, and each guy would support the drywall with one hand while driving fasteners with the other hand. The first guy used a screw gun while the second guy used a hammer and nails.
Pro-Tip: Screw guns allow you to quickly drive screws with a consistent countersink depth. They are extremely useful for hanging drywall because you can work fast and avoid over-driving the screws.

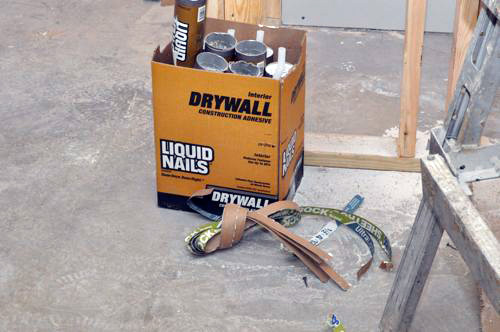
Each piece hit the joist (or stud) at the center, and they made sure to stagger the joints.
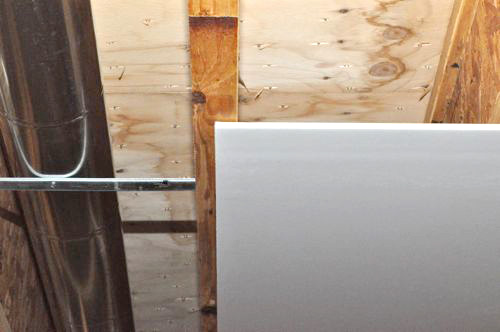
The sprinkler heads protruded below the ceiling so they needed to measure and pre-cut holes.
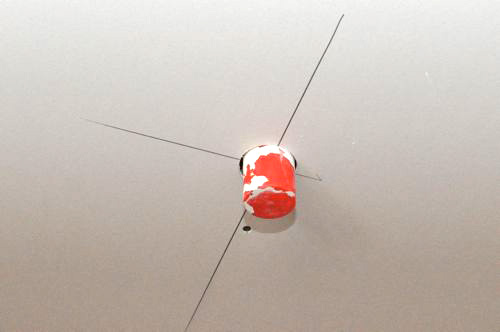
They used a drywall circle cutter to score the surface before knocking the circle out with a hammer. I was really impressed with how precise they were with all their measurements.
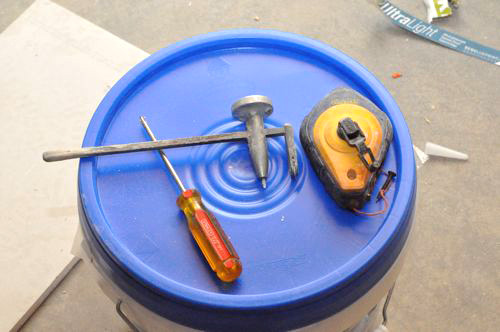
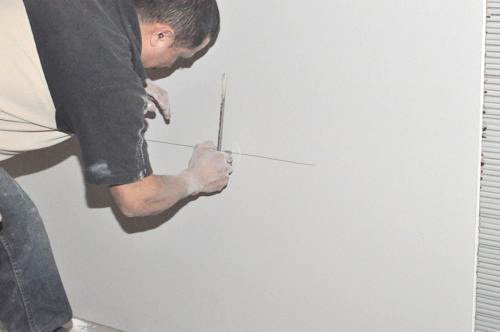
They did the same for the smoke detector boxes.

I had expected them to make all the necessary cutouts before hanging each piece of drywall, but often they secured the drywall then used a rotary cutting tool called a Roto-Zip to cut around ductwork and recessed cans.
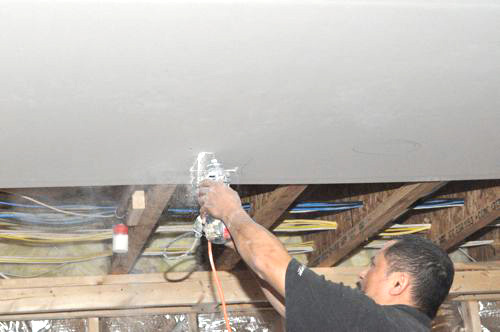
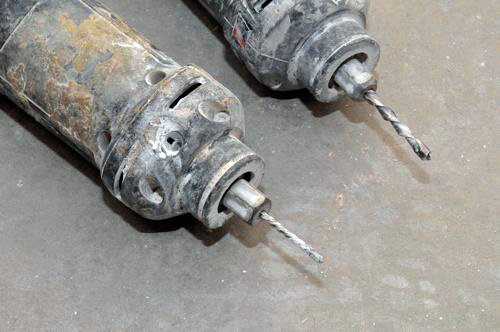
To do this, they would plunge the Roto-Zip into the middle of the fixture, find the edge and move to the outside perimeter. Then, they would just trace the shape. This is also how they cutout light switch, cable and receptacle boxes.
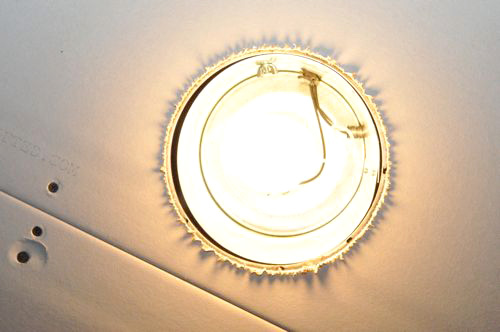
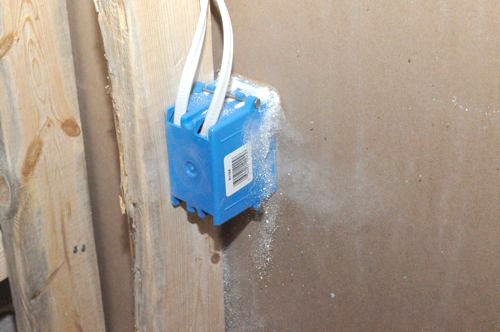
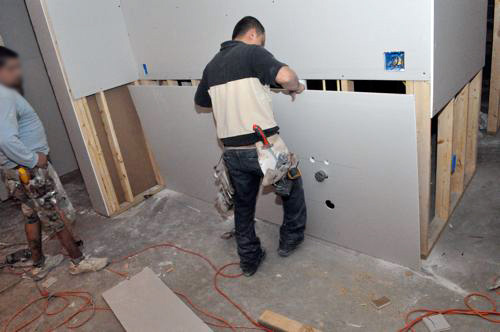
In this way they completed the ceiling and moved on to the walls, again working from the top of the wall down to the base.
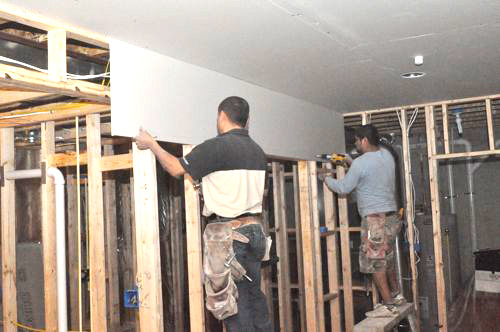
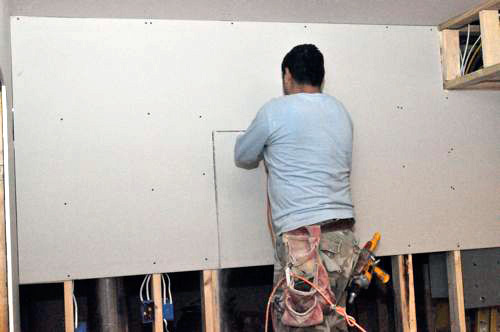
These pictures also show that often they would put up a large section only to cut out the opening for a door afterward.
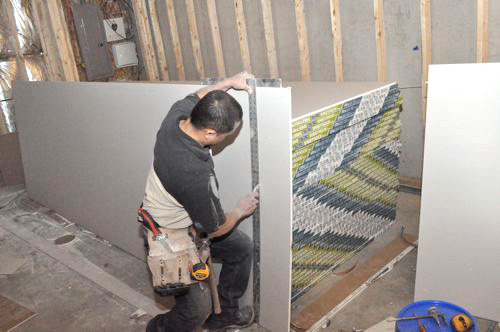
When they did pre-cut the drywall, they often used a combination of a utility knife, drywall knife and straightedge (like the drywall square pictured below). To cut the drywall, they usually pressed the square tight with a foot and scored the surface with a utility knife. Next, they would apply some pressure and fold the drywall along the cut. Lastly, they would use the utility knife to complete the cut on the opposite side.
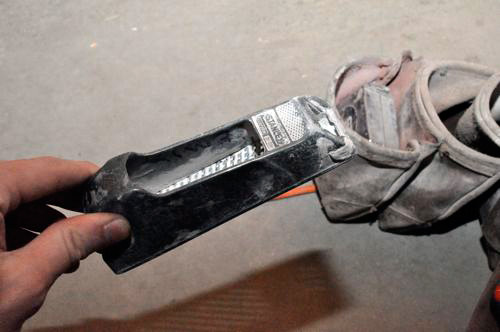
A pocket plane, which works much like a cheese grater, is another useful tool for cleaning up a cut edge or shaving off a small amount of material.
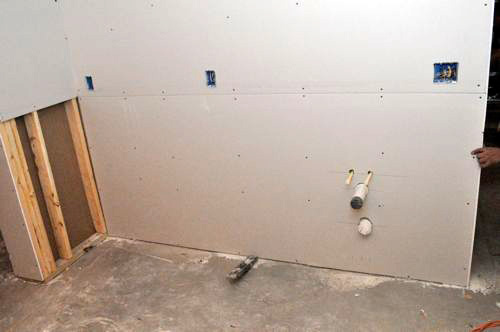
They also used this handy, foot wedge to push the drywall at least 1/4″ up off the ground. This is important so that the drywall doesn’t come in contact with the moisture from the concrete.
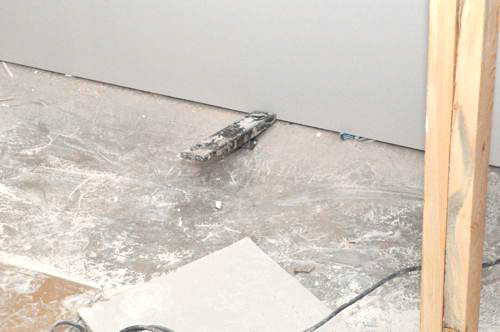
Step 6b: Nail Corner bead
All of the outside corners get this metal channel called corner bead to protect and even out irregularities.
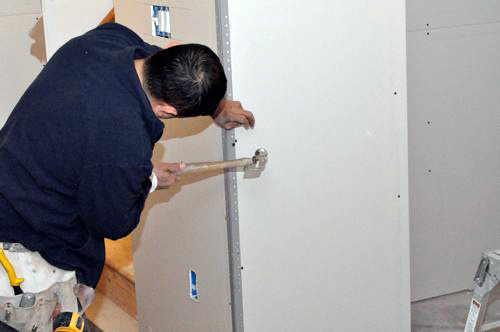
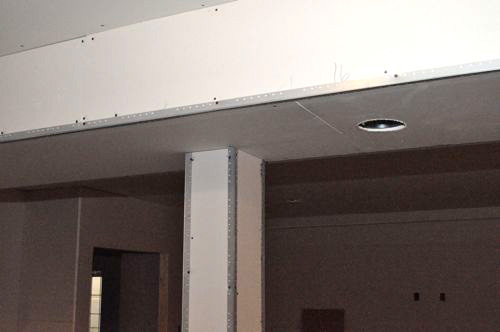
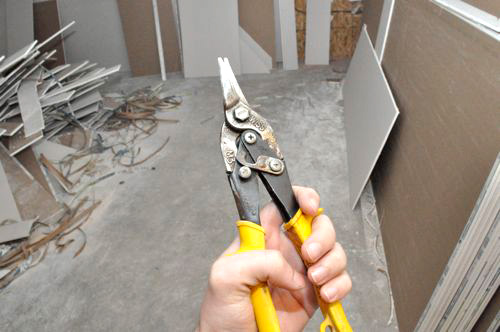
Aviation snips are great for making clean cuts through corner bead.
For long, continuous runs the corner bead overlaps, and the crew mitered all the corners.

Step 6c: Taping and Joint Compound
Unfortunately, I was not present for most of the taping and mudding. I do know that the “finishers” made three separate visits to apply compound, allow it to dry, and sand it down.
Drywall tape is used to bridge small gaps and increase joint strength.

Depending on conditions, joint compound can take several days to fully dry.
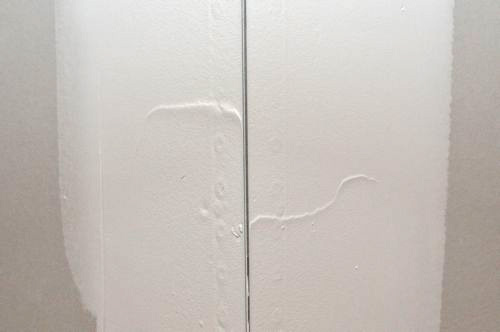
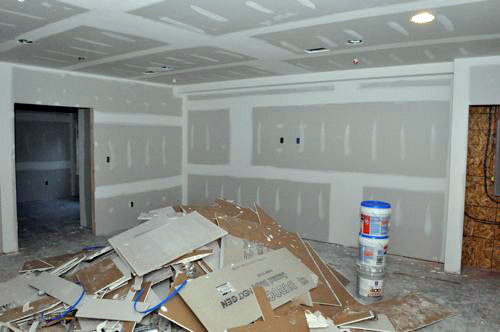
Here’s how the joints looked after the first application. You can see they filled all the nail and screw holes, covered all the corner bead and taped all the drywall joints and inside corners. The only thing the finishers didn’t need to worry about were the door frames because they’ll be covered with trim.
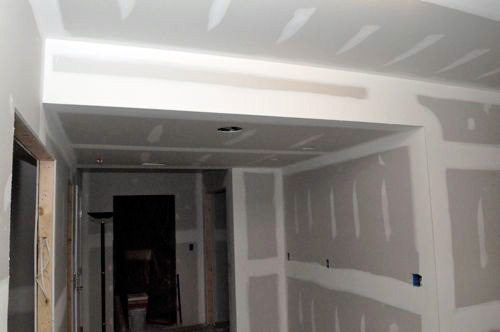
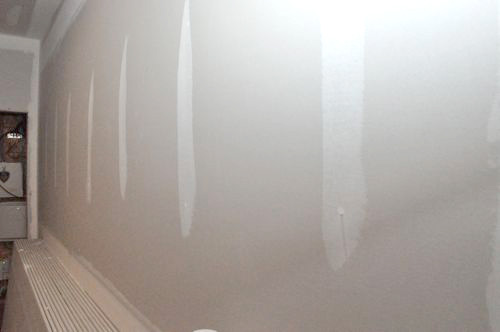
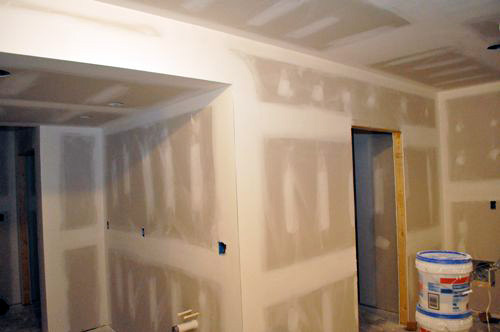
The finishers have taped each joint and inside corner and applied joint compound, feathering it to ensure a smooth appearance. Here’s how everything looked after the last visit.
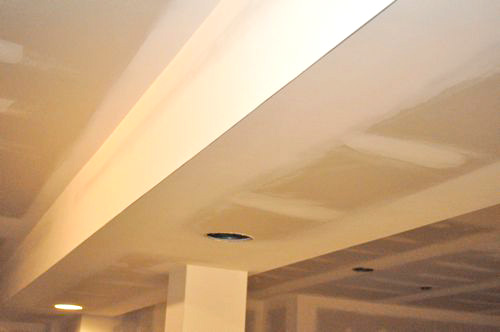
That’s it for this update. Joe expects to have painters in sometime this week, and we’ll hopefully get to installing radiant heat flooring soon after that. We will also be putting together a drywall patching tutorial in the next few days so stick with us!


I am surprised a professional crew didn’t use hot mud to do the joints, I know it dries much faster (hours) so they could get more done in a single day.
This is a serious house! with sprinklers and an elevator.
I usually use hot mud (setting-type joint compound) for the first layer. I have a bag of 20 but only use it for quick repairs. 45 or 90 get the most use with me.
I’m double-checking about the mud, as I thought they’d have used a faster drying compound first too. I’ll let everyone know what I find out.
The time savings for using hot mud come from being able to do more in the first trip. These guys are working on several homes in the development so being on-site isn’t a problem (they can bounce between several projects), and they elected to not have to stop and mix batches of compound. Using the pre-mixed, all-purpose is actually faster for this scenario, although they typically use 90, 45 or sometimes 20 minute compound.
I see what I think is a scrap of Durock cement board in that pile of debris. Did they also hang that in the bathroom? I’d be curious to see how they did that and how they transitioned it to the drywall.
Good eye! They did the cement board in the bathroom, and I’ll take some pictures next time I’m there.
Couple comments/tips for your readers.
– Using 1/2″ drywall on the ceiling like they did without strapping isn’t a great idea. Either insist on 5/8″ or 1/2″ with strapping. This helps avoid cracking due to movement of the floor joists above.
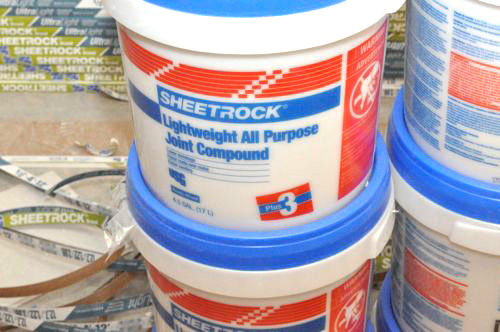
– Lightweight joint compound should never be used for the base mud layers. At the very least regular weight should be used but preferably a product like Durabond (Hot mud) as it’s MUCH stronger and less likely to crack. Light weight compound will crack and look like hell within just a short period of time. Contractors use it to save time resulting in a poor quality job.
Great tips, and I’ll be sure to include these suggestions in the final write-up.
My basement ceiling isn’t strapped, and no cracks have developed yet (25+ years). Even so, I’d feel more comfortable not taking the chance. I’m double-checking about the mud since I wasn’t there. I’ll report back to everyone when I get more info.
Thanks for the project update. I see they used paper tape, which all pros seem to do. I started using the mesh tape with adhesive on one side when I was doing my basement, frankly because I was scared of trying paper tape. One of my neighbors, who is a contractor by day, showed me how easy using paper tape was and warned about the dangers of using mesh tape, including cracks developing down the road. Sure enough, it didn’t take long for some hairline cracks to develop in spots where I had used the mesh tape. I have seen a lot of DIY type stuff online that recommends using the mesh tape because it is easier to apply, but I would highly encourage everyone to use paper tape.
One other thing everyone should be aware of is the importance of driving the nails/screws to the proper depth – just below the surface but not so far to break the paper of the drywall. I’ve had to fix countless spots in my house where the builders drove the screws in too far. When that happens, the screw isn’t holding the drywall and it will flex, but the screw won’t – so you end up with a round “nail pop”. In the picture above where they used the rotozip around the recessed light, there is a big mark where the head of the hammer hit the drywall and drove the nail in too far, but they corrected the problem immediately by driving another nail to the correct depth right next to the damaged area to hold the drywall. My builder would have left it for me to worry about later.
I know several people who really like the mesh tape, and there’s plenty of debate online. When I did the workshop, I used paper tape and it went on pretty easy.
I too have nail pops in a couple places, but it hasn’t made it to the top of the priority list yet. These are great tips!
Also, what about moisture resistant drywall? it looks like they used the normal stuff, but this is a basement (and I can never really trust anything below grade).
From what I have heard, the paper tape does a better job (stonger??) than the mesh stuff.
Unfortunately, this is another question that I don’t have an answer to. I’ll get back to you on the moisture resistant drywall.
What about the floor? How will that be protected from moisture or even worse water damage? I like the product Dricore. Which has the plastic on the bottom which lets water run underneath the floor. I’m assuming this wont be used as its recommended to lay it down before you frame(so the water can truly run under the floor and not get stopped at walls.
I’m not familiar with Dricore, and I’ll see what the plan is for the flooring. I think at least some tile is planned (if not all tile).
Does the side of a rotozip bit not damage light fixtures and outlet/switch boxes?
And what about the hole in the floor? How’d that get fixed?
You have to really push the Roto-Zip to dig into the plastic and I doubt it’ll even nick the metal cans. This method worked really well, and I’ll probably try it next time I do any drywall.
The hole they cut was 14″ x about 10′, right in between two floor joists. On the first floor, it’s underneath some carpet so that helps. To repair it, they added some blocking and a new piece of subfloor.
The drywall rotozip bits don’t have a cutting edge the whole way down. It stops about 3/4 down and the tip is just smooth. This allows it to ride the boxes or whatever is behind the drywall. It acts much like a flush trim router bit. Also, they aren’t very sharp. I made the mistake of trying to cut wood with one (forgot I had the drywall bit in) and all it did was burn the wood real good.
I’m also very curious about the hole they cut in the first floor. What kind of hole? Where? It sounds very strange.
See my response to William for more info, and the hole was in the middle of their living room! I think the homeowners had a hard time accepting this one until they understood that it wouldn’t ever be seen.
good post. looking forward to the follow up with the radiant heat.