
Since I’m one of the OPC team, I’m NOT in the Before & After competition this summer. However, I just spent two months renovating our rental property (aka “The Tiny Townhouse” I bought when I was 23). So I’m throwing a B&A post in here mid-week. Hope you all don’t mind!
This May, our renters of 5 years bought a house of their own. We knew it would happen sooner or later because they were fresh out of college when we first met them but are both go-getters and really needed more room for their expanding family (only in pets so far, but no doubt actual kids will follow).
Coinciding with their leaving, the house turned 20 years old this year, so aside from in-between-renters work, it also needed those items that wear out in that time: new roof, new water heater, new range and range-hood. Turns out new gutters and downspouts (the front ones fell off this spring) and new windows and a new patio sliding door also joined that list.
Aside from those items, we needed to eliminate pet and smoking odor, recarpet, repaint, update fixtures and finishes, de-clutter, re-landscape and just generally scrub everything till it shone. Turns out it was worth the effort because I was able to SIGN THE LEASE with new renters just five and a half days after I posted the property as available! So, SO glad to be done for a while, especially with homeschooling starting back up later this month.
But as we went along, I took tons of pictures so that I could show you all what we did. I enlisted the help of a handyman friend, and then Fred pitched in as he was able to on Saturdays or occasional week nights. I was there almost every day for the whole two months, though, so I told him he wasn’t allowed to write this post. Point of pride. 🙂 And here it is: MY summer “Before & After.” 🙂
EXTERIOR WORK:
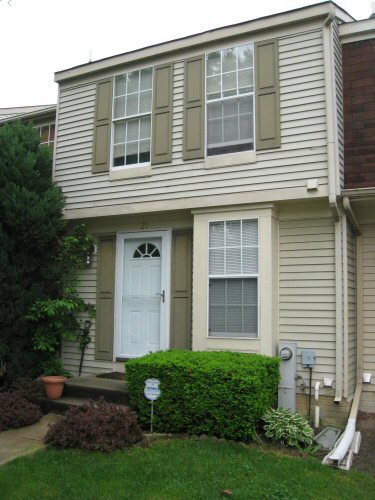
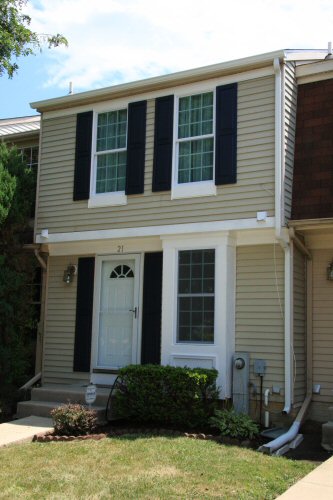
IN FRONT: New roof (trust me, it’s up there) and new windows. [We had just replaced the front door in late 2008, so that’s basically new, too]. Color scheme change: we replaced the gutters and downspouts with white ones, changed much of the wood trim to white PVC board (including the frieze board just above the upstairs windows), painted any remaining trim white instead of beige, and painted the shutters navy blue. We’re hoping the HOA doesn’t mind but chose to go the “better to ask forgiveness than permission” route; we’ll let you know how that one ends up. 🙂 Finishing touches: we powerwashed the siding and sidewalk and replaced the numbers above the front door with new reflective ones that make them easier to read at night.
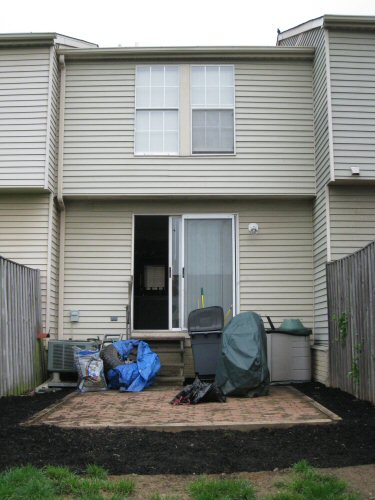
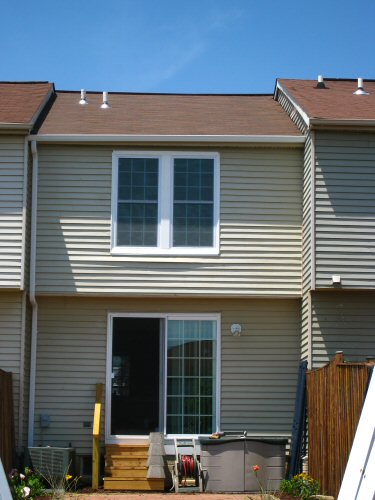
IN BACK: More new windows, new PVC trim and a new patio slider and screen door. We replaced the rickety steps and handrail to the patio with much sturdier ones with posts set in concrete.
LANDSCAPING:
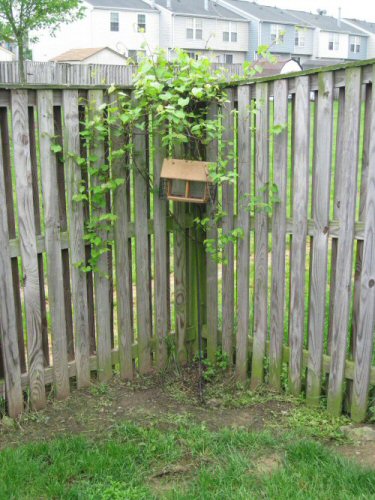
Most of our landscaping work happened in the backyard, although I did add one small euonymous and mulch the front beds. The backyard was a whole other matter. Over the years, our tenants’ dogs had either dug up or killed our plants and grass. So first I re-seeded the bare patches, and then my “Handy Andy” friend and I resealed the fence. That done, I spent one very long Saturday replanting and remulching the beds and finally powerwashing the patio.



THROUGHOUT THE INTERIOR:
Inside the house, we recarpeted the basement family room, the LR/DR area on the main floor (pictured below; the rest of that level had hardwood already), two sets of stairs, and the two bedrooms and hallway on the second floor. We replaced all the switches, receptacles and faceplates with white ones, replaced any trim that was damaged by the animals, and painted everything. All the ceilings and trim are now true white, and the walls throughout are a neutral tan. I also purchased coordinating hardware, so now every light fixture, cabinet knob, towel bar, doorstop etc. is brushed nickel (selected for it’s cost-effectiveness versus the antique bronze that is our personal favorite but which would have cost us much more).
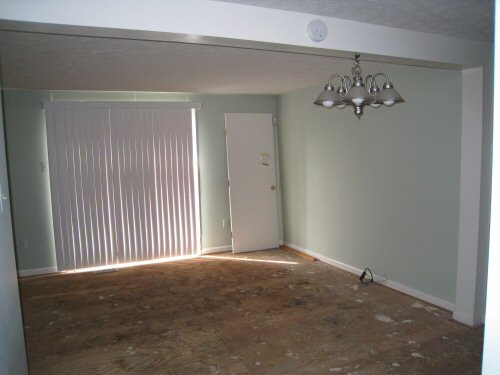
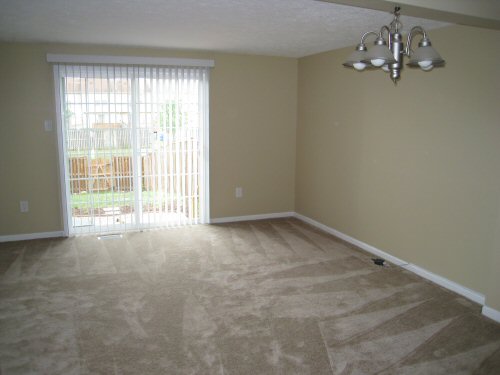
Prior to the recarpeting work, we had to get the pet stains and odors out of the subfloors, so Andy cleaned them all with an enzyme cleaner I found at Petsmart and then coated them with latex sealer.
Prior to painting in the two bedrooms, he primed with Kilz on all the walls and the ceiling, since one of the prior tenants smoked in those two places (but not in the rest of the house, thank goodness!).
The end result is a clean, uniform look to the whole house. Since it’s a small place (about 1300 squ. ft. of living space on all 3 floors), it needs the lighter tones and the whole-house coordination to keep from seeming small and broken-up.
IN THE BEDROOMS:
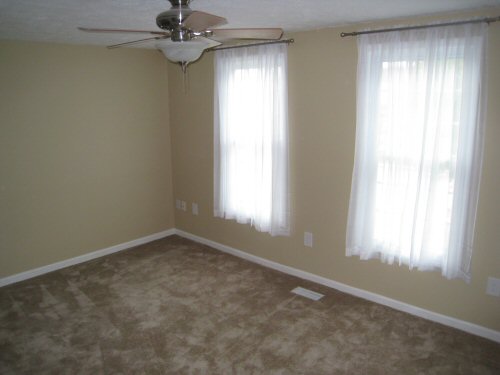
Since we had replaced the windows, we took the opportunity to update the treatments as well and installed brushed nickel double rods and sheers. Our new tenants can select whatever drapes they want to go over the sheers and install them on the unused front rod.
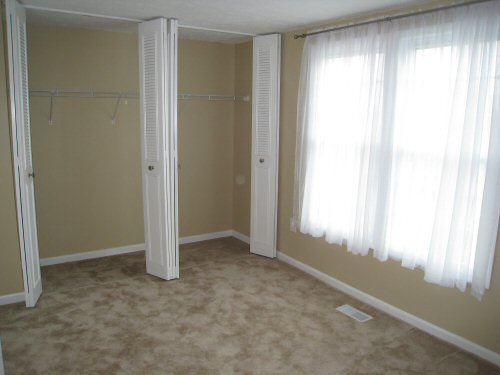
We still have the original tall metal bi-fold doors on the bedroom closets, and for this reno- we needed to keep them since they still work. So we painted them white (they were gray) and changed the knobs to make them look newer.
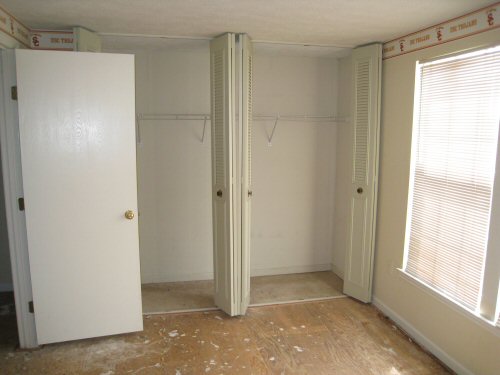
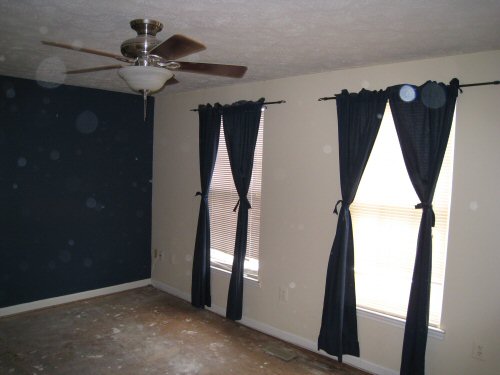
In the master bedroom, we flipped the fan blades, so the lighter wood tone faces down. Just that small change makes the ceiling appear slightly higher!
FULL BATHROOM
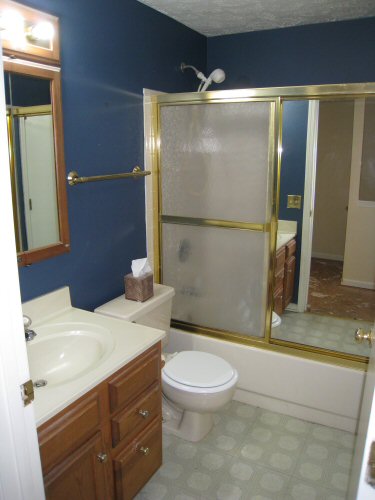
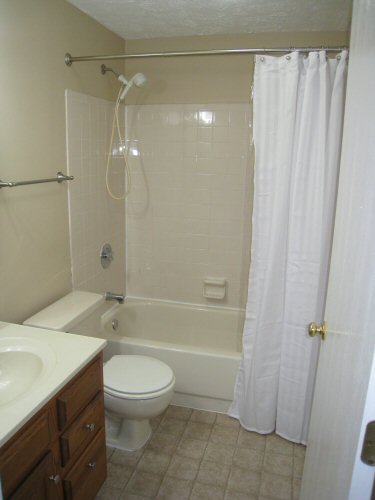
The house has only one full bath, and it was the room that was in the roughest shape; but we managed to turn it around at minimal cost by replacing the vinyl flooring, removing the doors on the tub/shower and replacing them with a rod and curtain, and replacing the fixtures. We will go back “someday” and actually gut and re-do the bathroom, but we were able to stretch this one with a lot of scrubbing and some new caulk.
THE ALL-IMPORTANT KITCHEN:
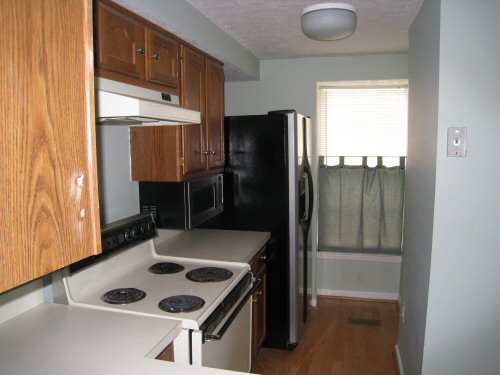
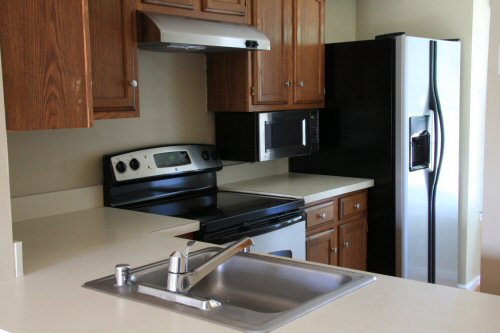
Over the past 4 years, we used replacement appliances as one of our incentives for our renters to re-sign another years’ lease. Not only did it serve as a good tenant-retention mechanism, it also made this summer’s kitchen work fairly minimal. Andy took out our old ceiling fixtures and replaced them with recessed lights, and Fred and I replaced the range and range hood with “Clean-Steel (TM)” to go with the fridge, microwave and dishwasher that had already been upgraded. We plan to replace the cabinets, laminate countertop, and sink and faucet at some future date, but for now I found that a good cleaning with orange oil brought back the cabinets’ lustre, and the countertop, sink and faucet are still in great shape (albeit out-dated). So for now, they remain.
THE BASEMENT (or “Why we’re better than an apartment“)
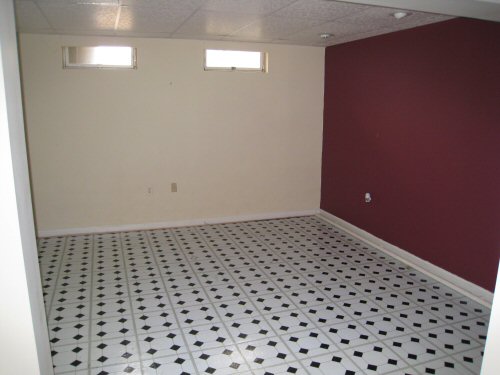
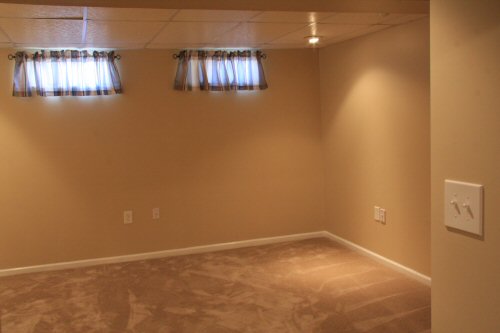
When I purchased this house, the very loud tile pictured below was the only “finish” in the space. I added the accent wall (hey, at the time it seemed very cool to have a red wall!) and covered over the tile with berber carpet I purchased on-the-cheap. But then the aforementioned rental pets destroyed the carpet completely. So this time we recarpeted with the same carpet we used throughout the upper floors, painted this room to match the rest of the house, and then installed valances over the windows to give the basement a much warmer feel. [The area not pictured includes the laundry and utility room and two storage spaces.] For the dozen or so people walking through, the basement family room was the bonus they were not expecting. It made up for the squeeze of a Living Room/Dining Room combo upstairs and also compensated for the fact that the house “only” has two bedrooms. Of all the rooms in the house, this one got the most compliments, which is funny since it’s just a big empty room! We are very glad we gave it the attention we did.
…AND FOR THE SUMMARY AND BOTTOM LINES:
All told, since we did as much of the work ourselves as we could, this renovation cost us about $17, 500. Not bad, considering that includes two contracted jobs – the roof/gutter job (about $3K) and the carpet & vinyl tile ($2600). Andy was definitely our other secret weapon. We did pay him, but he gave us a bargain on his per-hour labor cost at $15.00. Hurrah for good friends!
And how long will it take us to make up the cost? 12-1/2 months. Yep, we’ve rented it for $1400/mo. to a pair of roommates who came very highly recommended by all their references. Oh, and they only have one dog (as opposed to the three, plus two cats who just moved out) and we’re going to be as strict as anyone’s ever heard of about no smoking in the house (they’re non-smokers, so this should be easy).
There was a fleeting evening when we had just wrapped up the work and thought, “What a shame that this could get messed up again. Maybe we should sell!” But now is a horrible time to sell if you don’t have to, so we banished that thought and I listed the rental on a Tuesday night. Our new renters showed up that Friday, applied, and I screened them (credit check, criminal background, employment verification & references) over the weekend. The following Monday morning, they signed their lease (we modified the free lease agreement available on our site), gave me their security deposit and first month’s rent, and I handed over the keys. It was an amazingly fast turn-around! So even though I had to dedicate a lot of time, and our kids were starting to post their own ads for a new, much-more-fun-to-hang-out-with Mama, we’re done, the income has resumed, and we shouldn’t have to do much to this place for years to come.
So yes, it was worth it. But, no, I don’t want to tackle another job like it for a while! 🙂


This is absolutely AWESOME! I am about to close on a foreclosed townhouse myself so this gave me many ideas on fixing up! Thanks a bunch!
So glad we could help, Stacey! Write us (with pix) once you get to working on your new place. It’s a great time to buy, so congrats!
Great work — you really made things nice! Definitely has more of a homey feel than a standard apartment and that’s always important when you’re renting.
Good job on the renovation. My husband and I just purchased a fixer upper townhouse ourselves, and are struggling with the “pets” or “no pets” policy when we lease. Did your renters reimburse you for the cost of the pet and smoking related damage? Do you just consider it the cost of doing business? BTW what area do you live in? We had previous renters that DESTROYED one of our rental properties, so I feel your pain (let a leak go for over a month that collpased a ceiling and our Insurance wouldn’t reimburse the $10,000 worth of damage due to the length of time of the problem). Renter disappeared and we couldn’t sue them for damages since they couldn’t be located to serve them with court order.
@ Tamara – what a nightmare! Yes, we did have our renters pay for the damages. We kept their whole security deposit ($1200), and we could have requested the rest, according to their lease, but we opted not to, since they really WERE good renters aside from the pet issue and had spent 5 years paying us rent, so we figured we had kind of “recouped” the cost somewhere along the line there.
We have since gotten much stricter on the smoking (not allowed in the house at all – and I do check periodically, while I’m changing the HVAC filter or whatever), and we’re charging $25 per month for each pet, which does serve to discourage amassing a bunch of them. And we reserve the right to deny a particular pet if it seems to be causing damage, in which case they’d have to house it elsewhere.