
We’re back with another Pro-Follow update with contractor Steve Wartman. The addition is progressing along, and it’s really starting to take shape. The framing is well underway, and the roof trusses should be delivered early next week. If you’ve missed any of the previous updates, here are links so you can get caught up:
- Day 1: Excavation
- Day 2: Rebar, Inspection
- Day 3: Pouring Concrete Footers
- Day 4: Building the Block Foundation
- Day 5: Plumbing Rough-in
- Day 6: Pouring the Slab
- Day 7: Beginning Rough Framing
- Day 8: More Framing, House Wrap
If you’re not familiar with our Pro-Follows, I spend time with real contractors on actual job sites. I share the progress with you, including Pro-Tips and Pro-Talk that you won’t find anywhere else. Check out our Meet the Pros page to learn more, and become an email or RSS subscriber to never miss an update.
Step 1: Reinforcing and Building Temporary Supports
If you’ve ever done any remodel work, you know that one of the biggest challenges is dealing with the existing structure. Walls aren’t straight, corners aren’t square, joists aren’t level, and the list can go on and on. That’s why often contractors will charge more for a remodel than a comparable new construction.
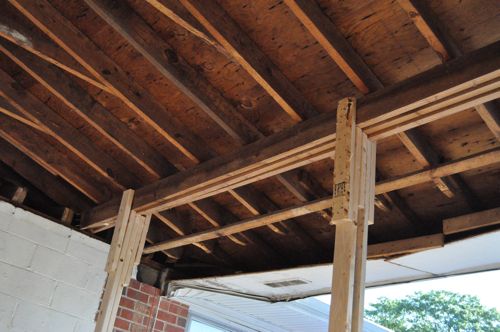
This addition is no exception, and Steve’s crew has had to be creative as they work to connect the new addition with the rest of the house. The process started with reinforcing some framing (like sistering joists) and building some temporary supports. The picture below shows what the guys constructed to support the garage roof while they removed the garage doors, demolished one wall and cut an entryway in the adjacent wall.
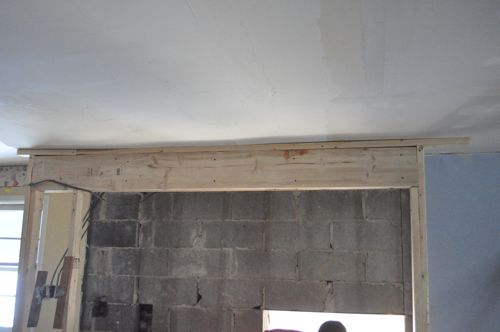
Steve’s crew also built a temporary, 2×10 header just inside the house to support the ceiling while they demoed part of the block wall. If you were with us when Steve and his guys replaced a load bearing header, you’ll recognize that they lined up the temporary support studs with the floor joists below, and the goal was a snug fit. Steve’s crew didn’t actually raise the ceiling at all.
Here’s a picture at some of the framing in the basement, and you can see they’ve beefed up the supports.
Pro-Talk: Joist hangers and the associated nails are sometimes called Tico’s after a popular brand name (that has since gone out of business).

Step 2: Demo Block Wall
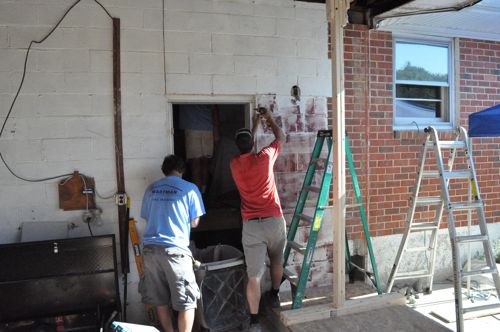
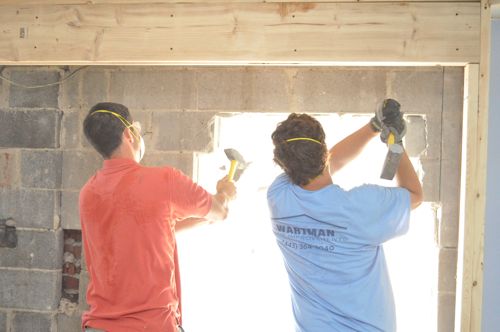
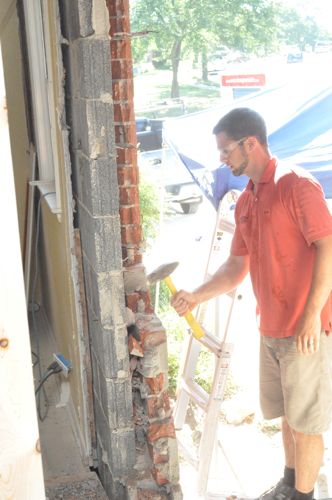
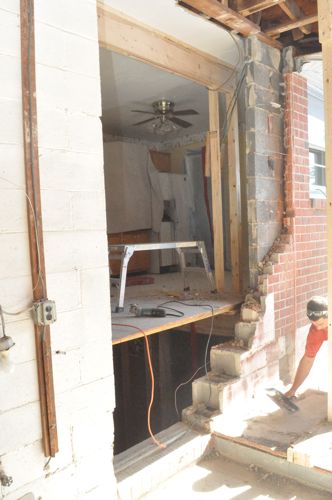
Next came the fun part of pulling out the door framing and knocking out the block wall and brick. If you look closely, you’ll see that they’ve cut a line through the masonry to create a clean edge. This opening will become a stairway into the addition and down into the basement.
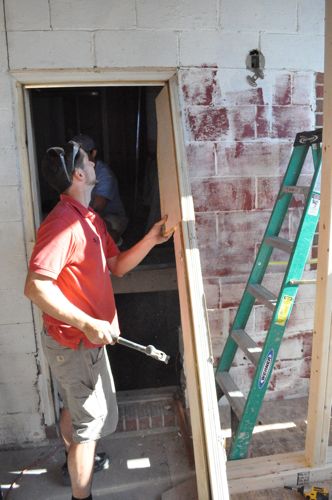
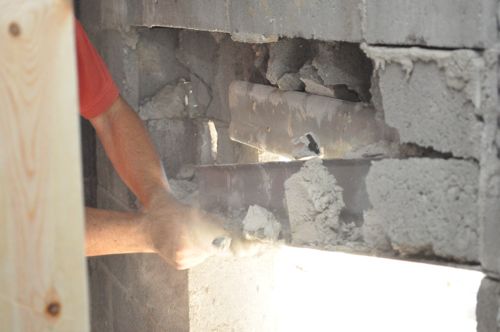
Here’s a picture of the lintel coming out.

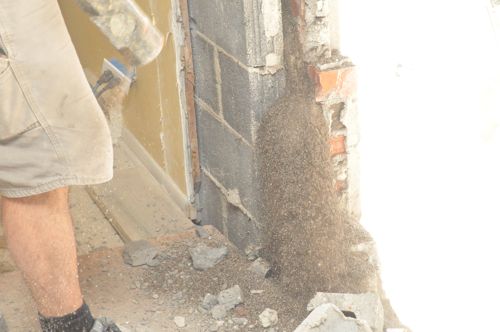
From previous demolition, the guys had already discovered this dark, granular stuff filling the void between the brick and block. No-one I’ve talked to knows what it is, and we suspect it’s some kind of insulator. Either way, it came pouring out from the walls.


Step 3: Build New Header
When the demo was finally complete, Steve’s crew began the process of building a new header across the opening, and first they needed to cut away the existing plate.

Eventually the roof will be replaced so they cut a hole to make room for the new header. They also created a temporary patch with Tyvek house wrap and caulk to prevent rain from getting through.


Here’s a picture of the double-hangers they used to secure the existing framing to the new header.
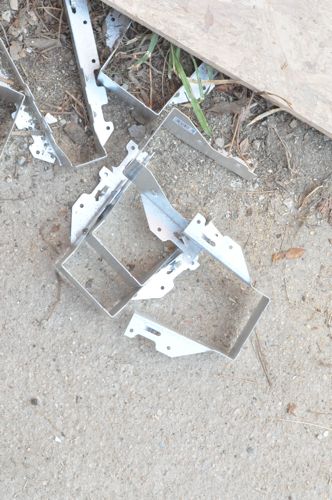
A palm nailer works really well to drive the nails for these hangers because it’s often limited access.

Step 4: Close in Addition
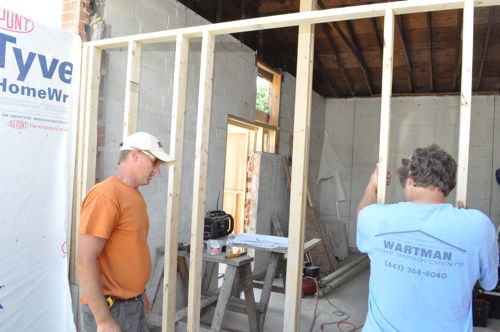
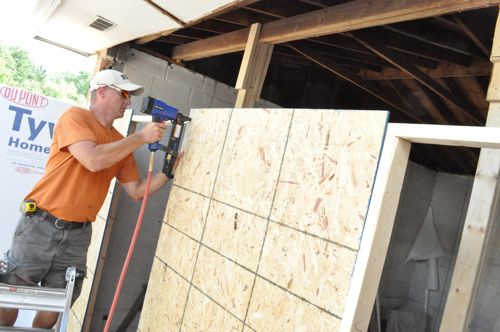
Since the guys created a giant opening, it was really important to frame the rest of the walls and close in this side of the house. Unfortunately, Steve’s crew had to work around some of the temporary supports to get the framing in place.

You can see the support spans right over where the bottom plate needs to be.

As a work-around, the guys modified the support until they could complete the framing and remove the temporary support.
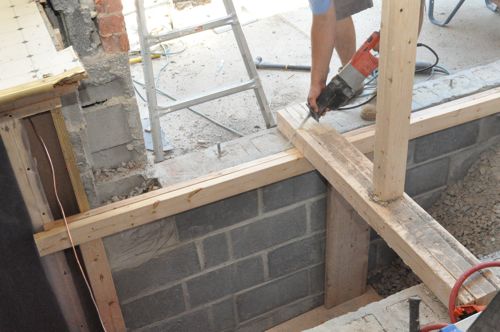


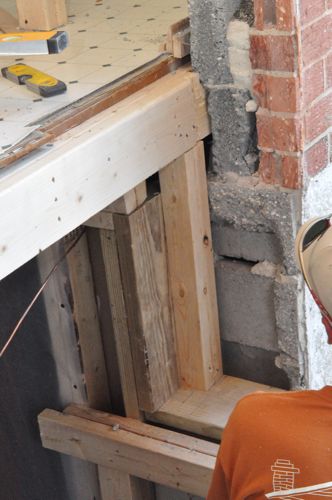
The guys framed out a new wall much like the others (16″ oc, OSB sheathing) and supported the roof with until it gets replaced.
Step 5: Disassemble Temporary Supports
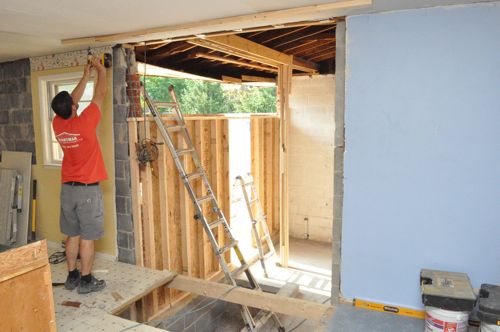
With all the new framing in place, the guys were able to remove the temporary supports they had constructed.

That’s all for today’s Pro-Follow. Yesterday the guys from Luciano Cristofaro Contractors were back to pour some concrete steps so look for a full how-to next week!


Wow, pretty cool project. I’ve never busted through a concrete block wall like that, before….
There’s a first time for everything 🙂
“Walls aren’t straight, corners aren’t square, joists aren’t level”
or as a Hiku:
in most renovations,
Walls aren’t straight, corners aren’t square, joists aren’t level
lists goes on and on
That black stuff coming out of the wall… you aren’t anywhere near an ocean are you? It could be dried Seaweed. I’ve heard of places near the ocean stuffing the walls with dried seaweed but I’m no where near the ocean so I’ve never actually seen it.
We aren’t that close to the ocean (~4 hours) away. However, that’s the best guess I’ve heard so far. Any idea why this house would have it and other houses wouldn’t?
Anybody have other guesses?
Did they have any moisture issues with the brick? Seems like that stuff would block up the weep holes and channels.