
I hope you all had a great, relaxing holiday and a happy new year. I enjoyed the hiatus from OPC and The Better Half, and now I’m eager to get back to business. I’m excited for what 2013 holds and to continue bringing you top-notch Pro-Follows with local professionals. You can even expect to meet one or two new contractors in the coming days as we seek to expand our network to different trades.
Our current Pro-Follow, with contractor Joe Bianco and the kitchen remodel is moving along, and today’s update is going to cover a lot of ground. Since we last left off, the tile has been laid and grouted, cabinets have been installed, and the countertops were installed yesterday!
Tile
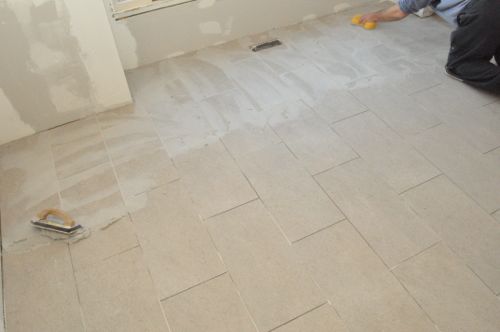
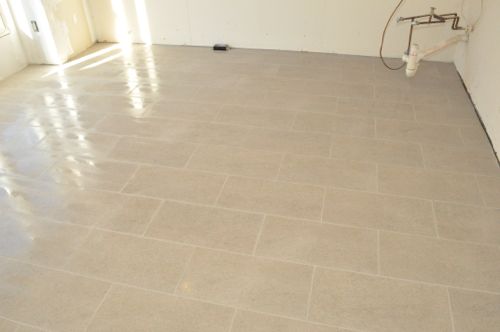
By now you should recognize Jim from Diamond Tile located here in Maryland. Jim tackled evening the subfloor and installing Schluter Ditra underlayment (not to mention previous Pro-Follows). The homeowners selected a beautiful Italian tile and had Jim install it in a broken joint pattern.
Pro-Talk: Broken joint pattern is also sometimes called subway or running brick.
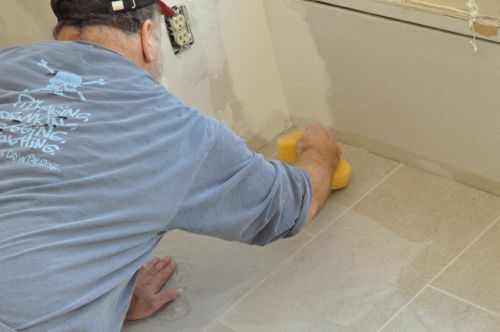
Here’s a look at Jim getting started with the grout, and if you’re interested in learning more, read our Project Guide on How to Grout Tile.
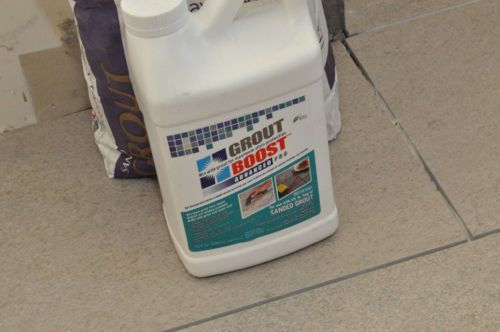
For most tile applications, Jim doesn’t advise any sort of grout sealer. However, in high-traffic areas like a kitchen, Jim uses Grout Boost in place of water when mixing the grout. Grout Boost is designed to repeal dirt, stains, liquids and oils to better protect the grout.
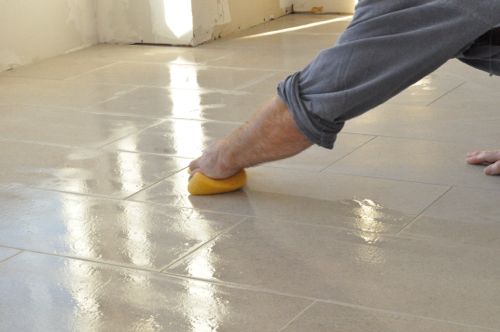
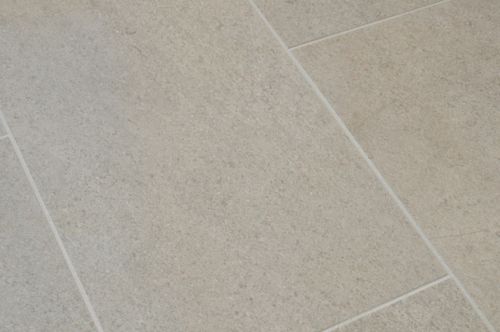
After a few passes with a sponge, the tile is clean and the grout looks great!
Cabinets
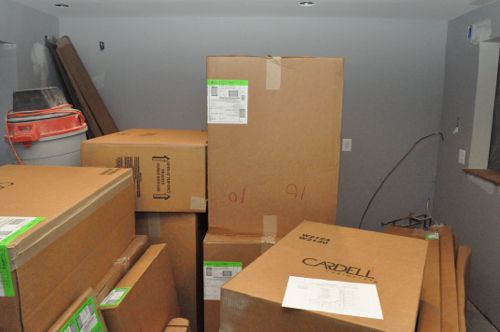
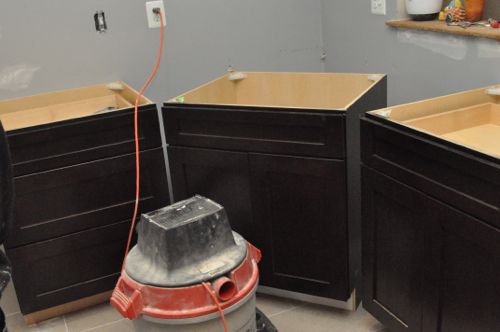
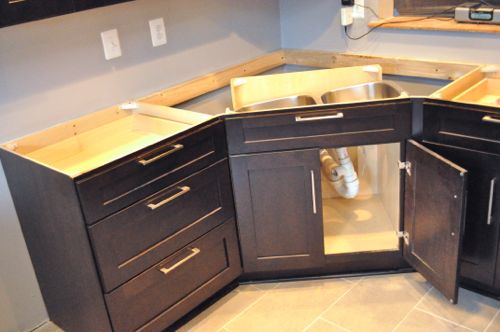
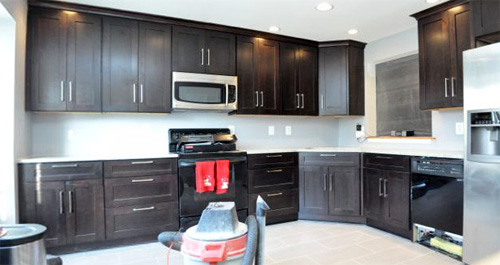
Joe and his crew got all the cabinets installed just before Christmas, and here’s how the kitchen looked the morning of the install.
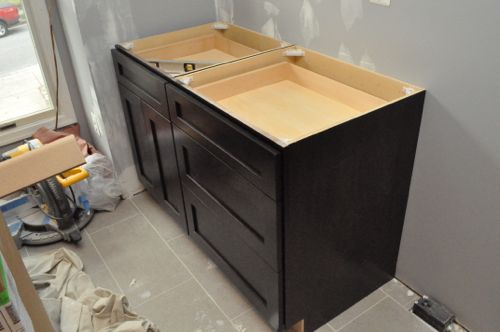
The cabinets are maple with shaker-style fronts.
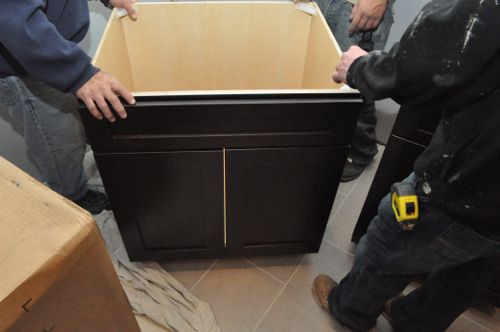
The guys got started by moving each base cabinet into place.
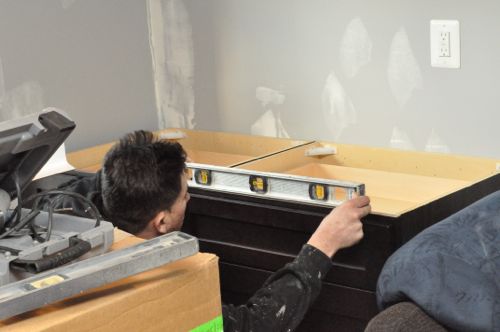
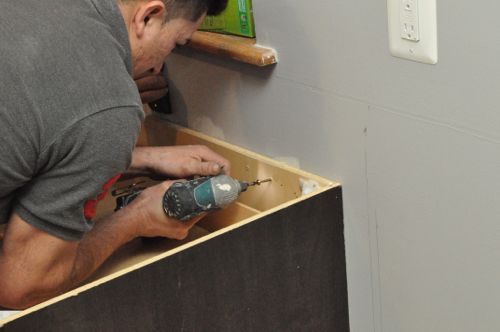
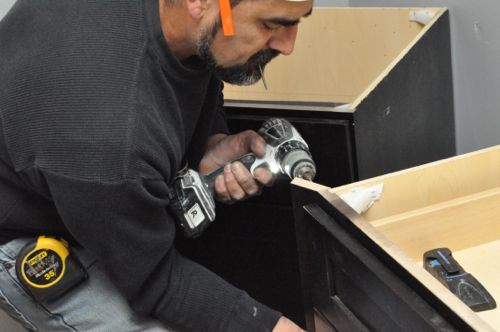
The guys checked all the cabinets for level front-to-back and side-to-side, shimming when necessary. When they were satisfied, they drilled and screwed the face frames together.
After locating studs, the guys anchored the cabinets to the walls.
Pro-Tip: If possible, Joe prefers to add blocking between studs for attaching wall and base cabinets. That didn’t happen in this remodel because the drywall was never replaced.
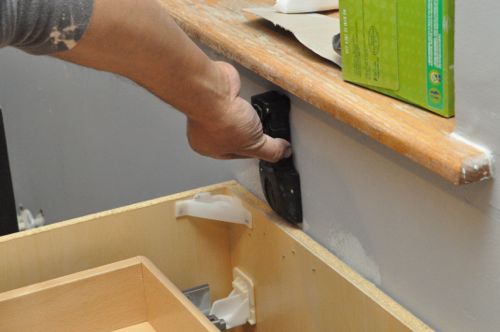
A piece of filler is useful where cabinetry meets a walls because it can be scribed to match the contours of the wall. Also, it provides the necessary space to allow doors and drawers to fully open.
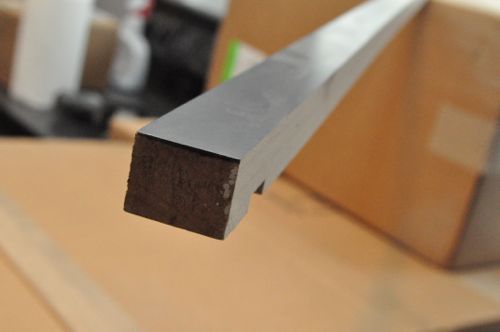
Here’s a look at a piece of filler being nailed to the side of the pantry cabinet.
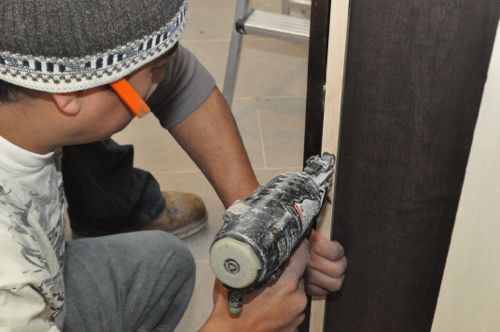
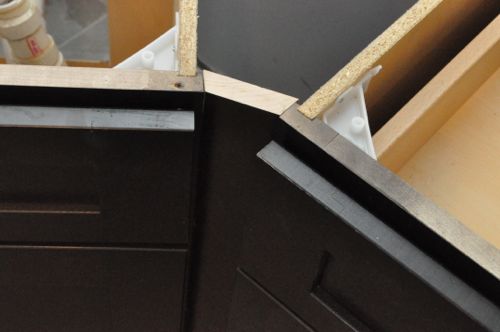
The sink sits caddy-corner, and the guys used filler to “turn the corner”.
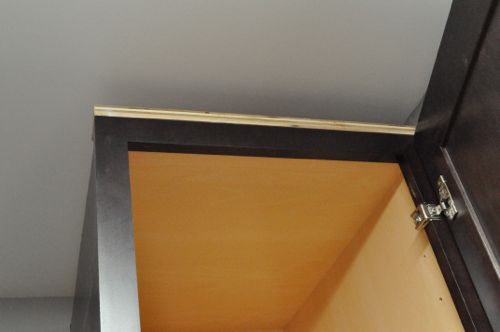
The installers also added a nailer to the top of the wall cabinets to make it easier to attach the crown molding. Needless to say that made this floor to ceiling pantry cabinet a tight fit!
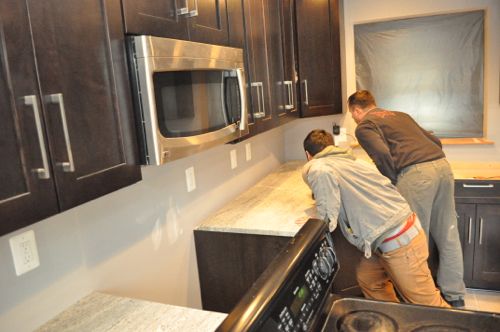
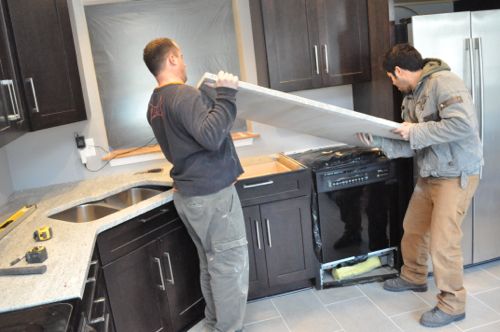
Granite
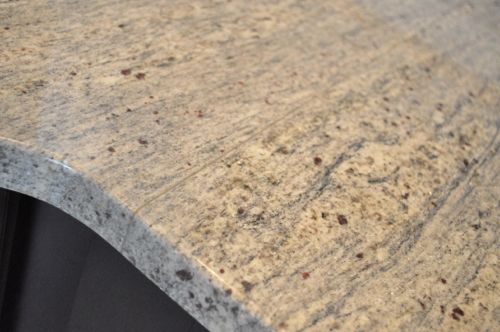
The granite countertops were installed yesterday, and if they look familiar it’s because that’s the same variety that was installed in the basement remodel. Apparently Cashmere White is a very popular choice.
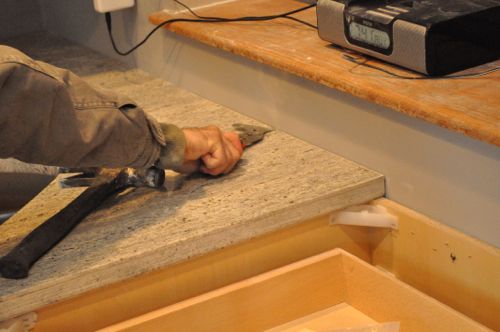
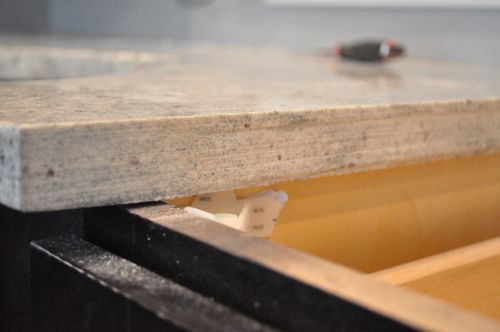
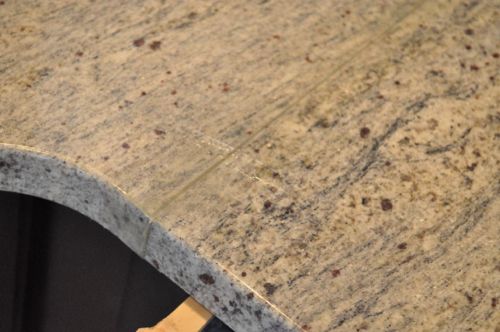
Despite that these countertops were templated beforehand, they were a little long and to account for the excess, the installers cut away some of the drywall. The installers marked the top of the countertop with a knife.
Then the guys moved the countertop out of the way and cut away the drywall.
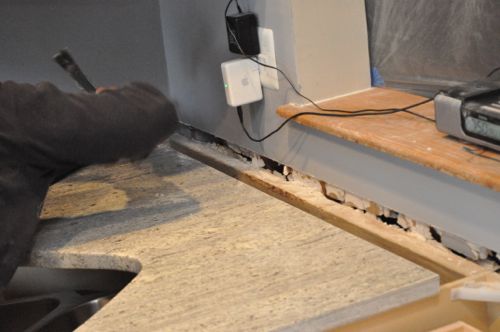
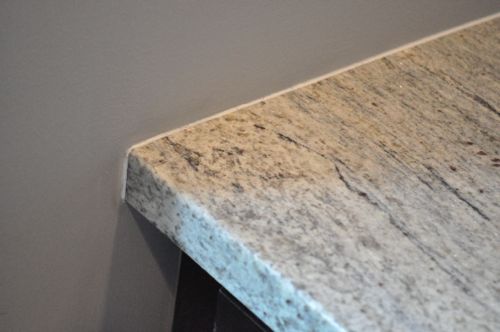
The result is enough room to position the countertop and the cut edge is concealed with caulk.
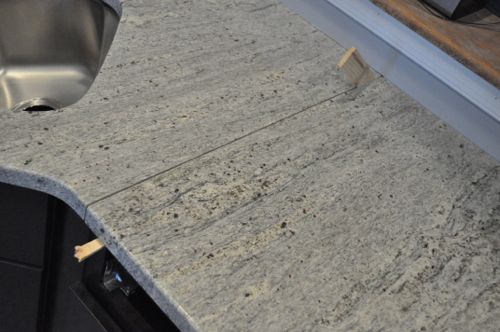
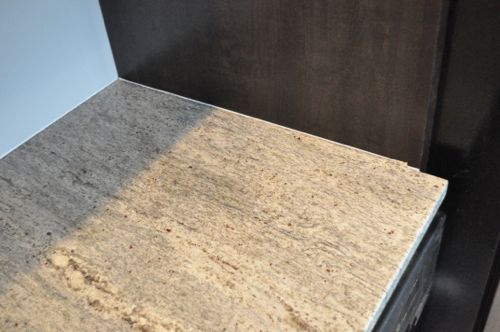
These countertops have one joint, and it was interesting to watch how the installers joined the two pieces.
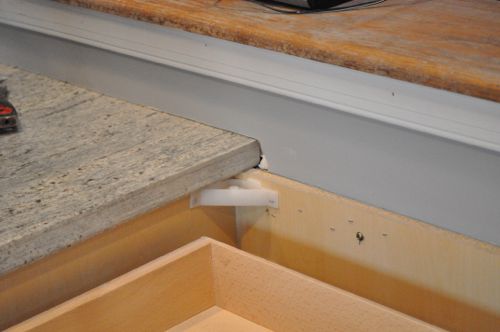
First, they positioned each piece of granite, and as you can see it required shimming.
The guys also placed a shim between the two pieces to provide a small space.
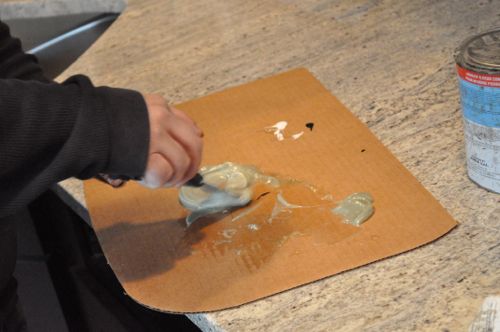
The installers mixed up some epoxy and pressed it into the joint.
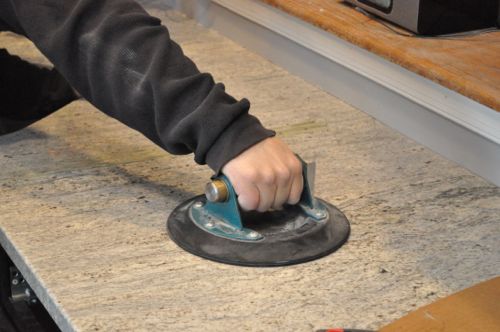
Next, the guys removed the shim separating the two pieces of granite and attached a vacuum cup to pull the countertop tight against the adjacent piece.
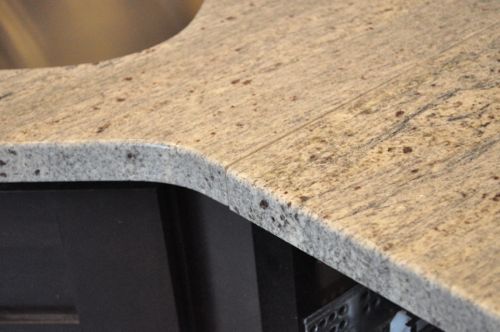
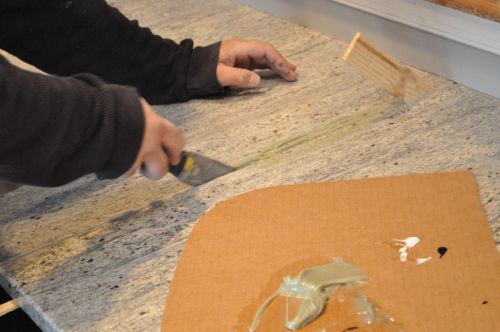
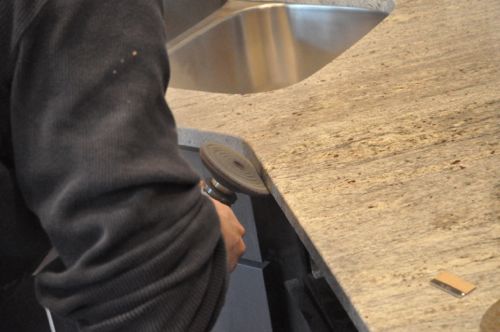
After the epoxy dried, the excess was cut away with a razor blade. The installers used a series of polishing pads to ensure a perfect transition along the edge of the countertop.
The guys used clear silicone where the granite and cabinets met. They used a white, paintable caulk along the walls.

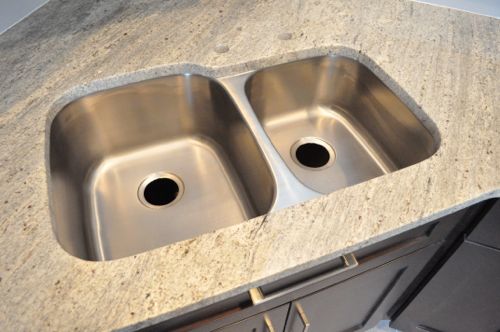
Next, they attached the sink to undermount brackets and cut the holes for the faucet and dispenser.
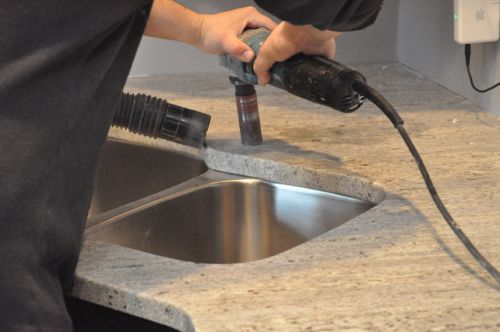
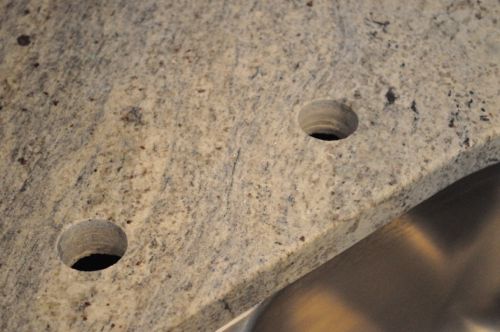
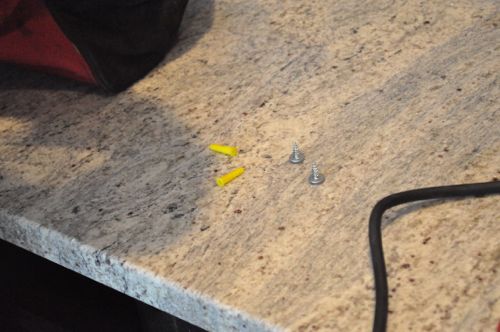
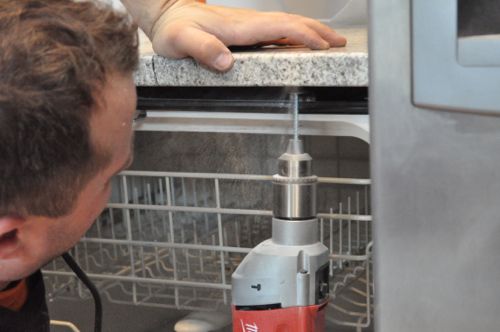
Lastly, the guys drilled holes for plugs and screws to attach the dishwasher.

This kitchen is just about finished. The plumber is scheduled for today to connect the refrigerator water line, dishwasher, faucet and disposal. Joe also has some trim to complete and a few odd-n-ends. Look for a final walkthrough and recap soon!

Interesting how different counter-top installers handle a piece needing to be custom fit. In the basement they used a grinder to cut it off and here just cut out the drywall. On an interior wall it won’t matter but I’d be mad if I had air-tight drywall and they punched into it.
Love the black cabinetry.
Great point!
aside from the air seal, what about fire safety? the drywall is a part of fire containment (thats why all garages attached to houses have drywall installed and taped now).
Yeah – Definitely a “no no” for fire safety. That said, I’ve seen it done lots of times.
It is still a fire safety issue even though there is already a window between the kitchen and the next room right above it?
Is there anyway the homeowner would know they did this besides the installers telling them? Surely there is no visible/functional difference, fire concerns aside…
There’s definitely no visible difference. The cut is concealed behind the caulk.
The kitchen progress is amazing! Love the cabinets you selected.
I like that they tiled before installing cabinets. A lot of folks tile afterwards to save money on tile. Like Jeff, I would also be annoyed if the counter installers wanted to cut into the drywall. I’d be tempted to make them cut the counter down.
Beautiful! It’s interesting to read the comments from others. I get great tips from them too!
I like the idea of an undermount sink- but I don’t care for stainless. Has anyone ever seen an undermount sink in white porcelain?
Can’t say that I have in person, but this is one on another site…
http://www.builddirect.com/Porcelain-Sinks/bathroom-sinks-Oval-Undermount/ProductDisplay_9639_P1_10055351.aspx
You could always do a farmhouse style sink if you like porcelain. You still get the convenience of having it mounted lower than the counter tops for easy cleanup.
corian is another choice, the sink is seamlessly integrated with the countertop.
I personally really like soapstone.
Some of the “granite” sinks can be undermounted and are available in white.
Wow so nice I wish my kitchen looks this good one day.
Beautiful color on the cabinets. Love the maple with the dark stain. Tiles looks good too.
Like everyone else I think it looks great. I like the article’s attention to detail on little things like how they joined the counters. I found that interesting.
Seems like an odd shape for a sink though (one longer than the other). And not only that but I would guess it’d be more difficult to match it if they ever needed to replace it.
Doesn’t look like they sealed the countertops.
I wouldn’t have expected the installers to seal the countertops. However, sometimes a sealer is applied when the granite is manufactured.