
Before & After series: A few weeks ago, we announced our 5th annual Before & After series supporting Habitat for Humanity. Every week for the summer, we’re featuring a before and after story on The Better Half, and today is the very first one. I encourage everyone to stop by and check it out.
I’m sure you’re all very curious about what’s going on with the addition, and I won’t keep you waiting any longer. If you’re not a regular reader, our latest Pro-Follow has been tracking Steve Wartman and his crew through the process of building an in-law addition. Here’s the progress so far:
- Day 1: Excavation
- Day 2: Rebar, Inspection
- Day 3: Pouring Concrete Footers
- Day 4: Building the Block Foundation
- Day 5: Plumbing Rough-in
Since I was attending the annual Milwaukee media event and Bosch media event last week, this update won’t have the same level of detail. However, I’ll work to answer any questions or track down the answer if need be.
Step 1: Site Level of Concrete
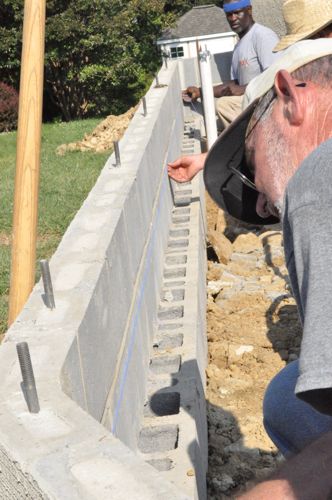
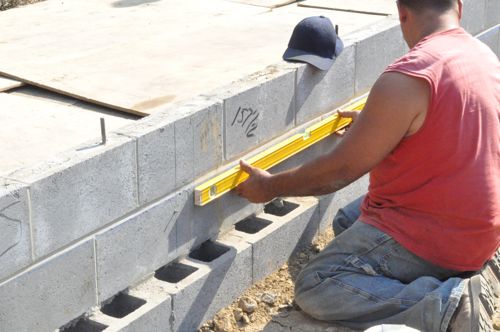
If you remember, Steve brought in Victor and his crew from Luciano Cristofaro Contractors for the foundation. Before pouring the concrete pad, Victor and his team used a transit to site lines around the foundation.

Next, they snapped chalk lines to act as guides to ensure the concrete would be level and poured to the appropriate height.
Step 2: Compact Dirt and Stone
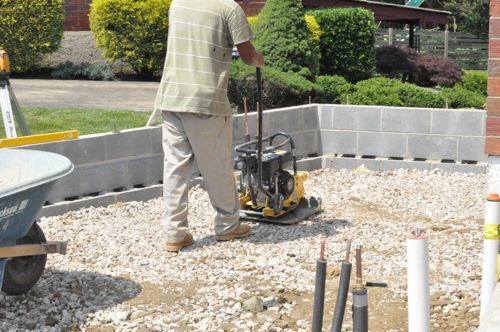
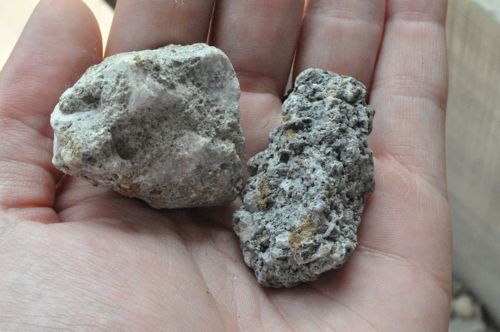
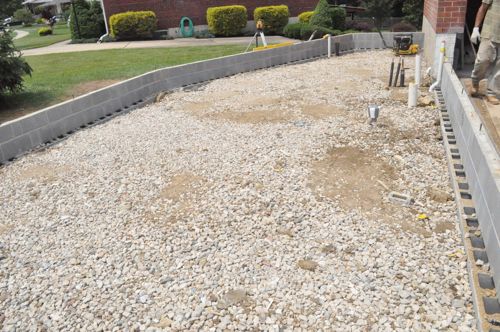
Victor’s guys used a plate compactor over the dirt and again after spreading stone.

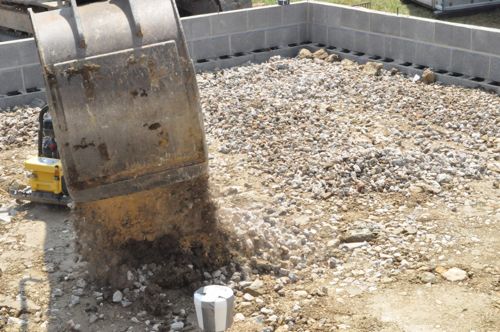
It turned out the stone was actually recycled concrete.
Step 3: Lay Plastic Sheeting
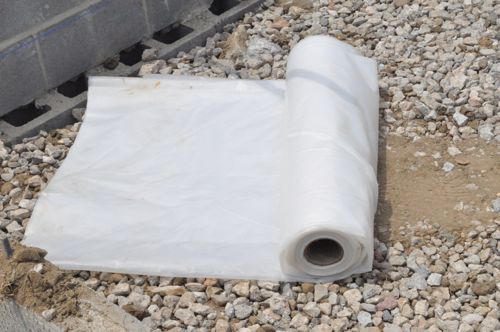
To prevent vapors and gasses from coming through the slab, the guys put down a layer of plastic sheeting.
Step 4: Install Wire Mesh
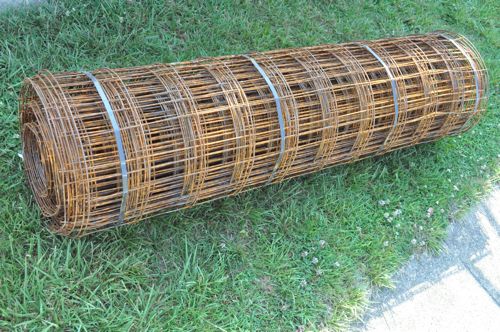
To reinforce the concrete, Victor’s team used wire mesh.
Step 5: Pour Concrete
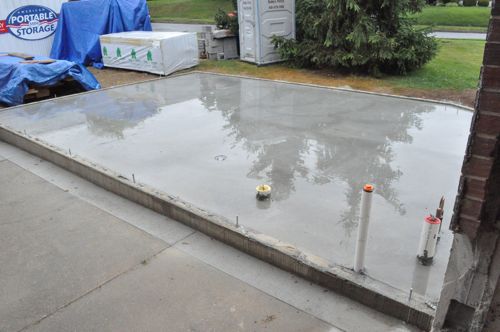
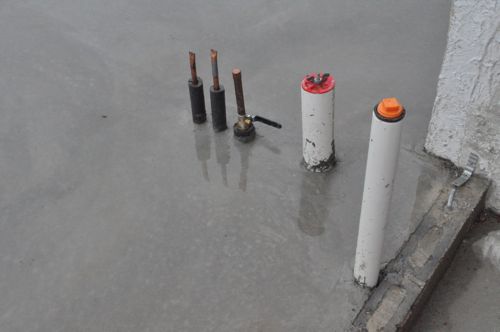
These pictures were taken days after the concrete had set. It looks glassy because it was raining at the time. If you’re looking closely, you’ll notice that final course of block was removed and the J-bolts reset.
Editors Update: I erroneously assumed that since the top course of block had been removed, that some sort of miscommunication took place. I’ve just learned that was not the case. When the inspector checked out the foundation, he indicated some requirements about insulation. Instead, Steve opted to remove the top course and regrade the soil if necessary.

Step 6: Finish Parging
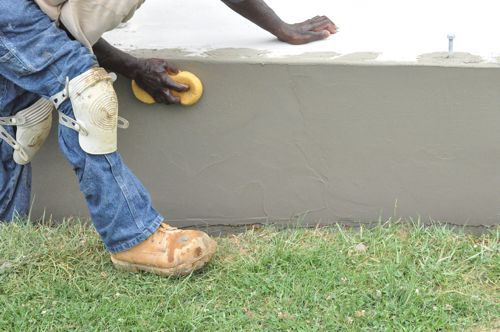
Last time we left off with the parging, the guys had applied the scratch coat. This time, they troweled another coat of mortar and used a sponge to give it a slight texture.

Step 7: Install Sill Plate
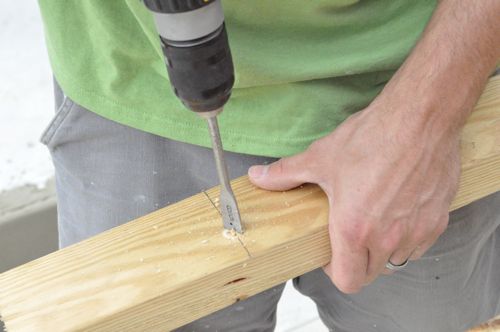
The sill plate is the bottom member that attaches to the foundation. The guys are using pressure-treated 2×4’s and anchoring them with the J-bolts. To install the sill plate, they mapped out the exact location of the J-bolts and used a spade bit to drill holes.
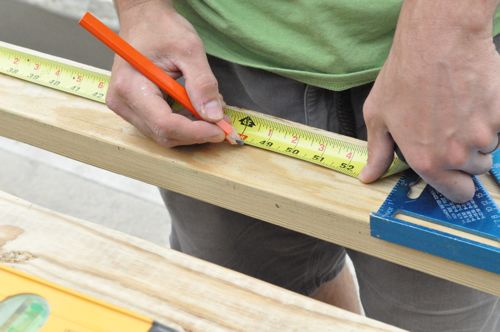
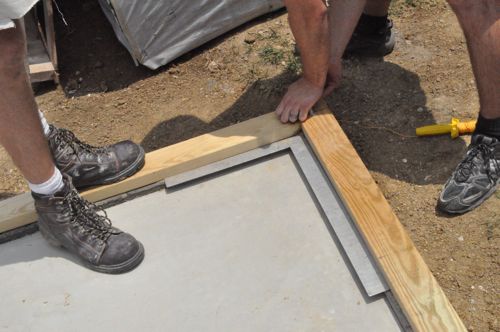
Steve’s crew used string lines to make sure the sill plate was straight.

They also used a framing square to ensure that all the corners were square.
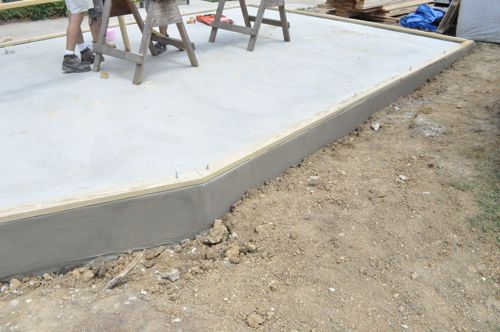
After “dry-fitting” the boards, they pulled them off and swept the foundation clean.
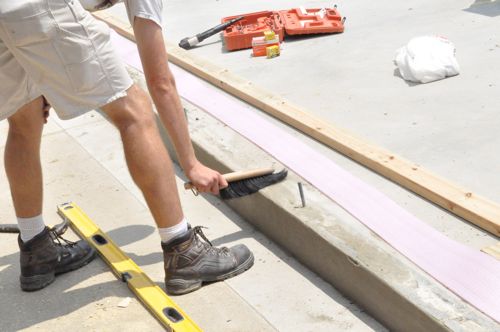
Next, they put down FoamSealR between the foundation and the sill plate to prevent tiny air leaks.

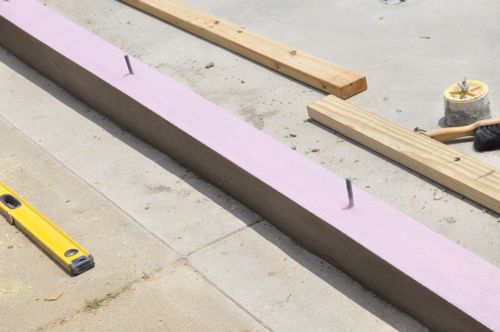
The guys moved the sill plate back in place and tightened down the nuts (rechecking everything as the went).
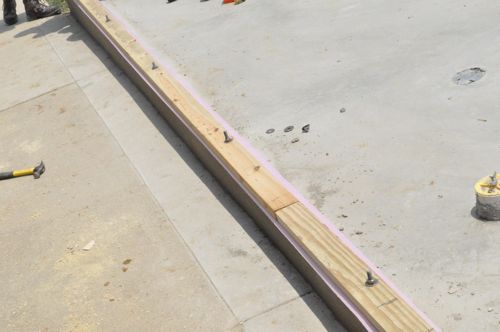
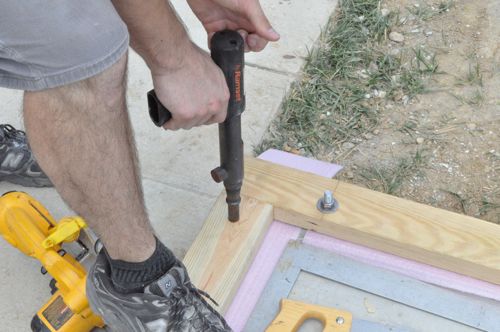
Next, Steve’s crew used a powder-actuated nailer to further anchor the sill plate.
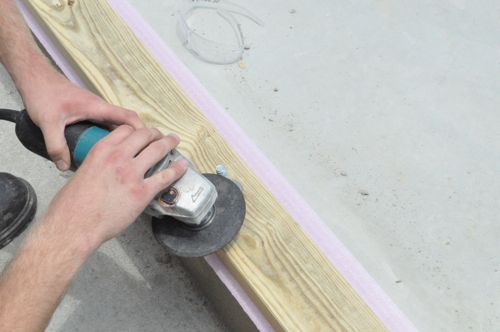
Lastly, they trimmed the bolts with a grinder and used a utility knife to trim the excess FoamSealR along the exterior.
That’s it for this update. I’m excited to get into the framing for this addition. Look for another Pro-Follow later this week.


Yikes, that seems like kind of a big flub to have the foundation too high!
I just got some more information about this, and it turns out my description wasn’t accurate. Check the Editors Update to see why this wasn’t really a mistake at all.
One of my favorite parts of a job is when the dust changes. Instead of being dust from dirt it will now be saw dust. When it goes from being a hole in the ground to resembling a structure.
One thing I’ve wondered is that if using sill seal does the bottom plate still need to be pressure treated? It’s no longer in contact with concrete/masonry.
I thought about that too, and obviously keeping it PT is erring on the safe side. I’ll ask the guys when I get a chance.
I had the same thought when I saw that sill lumber. A bit redundant I guess with the sill gasket.
I asked about the sill sealer, and Steve said that sometimes people use it to avoid PT lumber. However, any amount of water can cause series problems. Also, the IRC stipulates using a PT bottom plate.
This is pretty interesting for me to see. I enjoy the explanation of what it takes for a project to get started. While I can’t see myself ever performing this work it certainly helps to know the proper steps. With a better education of how it is supposed to be done I feel I can be a better informed customer down the line in working with a foundation crew and ask better questions. Thanks. Personal side note I have stained concrete before but never parged it would be interesting if the next time that is done if y’all could explain a bit more about that process for the lesser experienced.
The process for parging wasn’t too difficult. They applied a thin coat of mortar with a trowel, and then used a scratch rake over it. That rough texture provides a surface for the next coat (also just mortar) to go over. Again, they used a trowel to spread a thin layer. Next, they used a wet sponge to dress it up. That’s all.
What happened to the foundation wall as shown in the first picture under step 6? It looks like there is a broken cinder block jutting out on an angle from the wall.
That is just a whole block that they didn’t cut because it’ll be buried anyway. No need to make it look nice since it’ll be covered in dirt.
Why do they use a powder-actuated nailer instead of an air-powered nailer? I would think you can get enough pressure with air to penetrate the concrete.
I’m not convinced that a regular nail gun + regular nails would do the job (at least not consistently), and I bet that’s the reason we have powder-actuated nailers at all.
I take it the flub was that the blocks were one level too high?
Check out my response to Reuban, and read the Editors Update to learn more about why this wasn’t a “flub”.