
It’s finally time to close the book on Fred & Kim’s basement remodel. I’ve been holding off on this recap because a few minor elements were on back-order and have just now been installed. In case you weren’t with us when we started this Pro-Follow, Fred and Kim hired Joe Bianco, professional contractor and president of SDG Home Solutions, to finish their basement. Joe has been involved in a number of Pro-Follows, tackling projects ranging from bathroom remodels to kitchen makeovers and more.
All of our Pro-Follows are created by showcasing the work of an expert contractor with years of experience in the field. Their knowledge and expertise is an unparalleled resource for completing home improvement projects the right way. If you enjoy our Pro-Follows, become an email or RSS subscriber and never miss an update!
This basement remodel included some very interesting aspects like checking the basement with a mold-sniffing dog, replacing an exterior door and flashing an already-built deck. It also provided the opportunity to create a very comprehensive guide for how to install a tile floor. I hope you’ll follow those links for the full articles.
Finishing the Basement
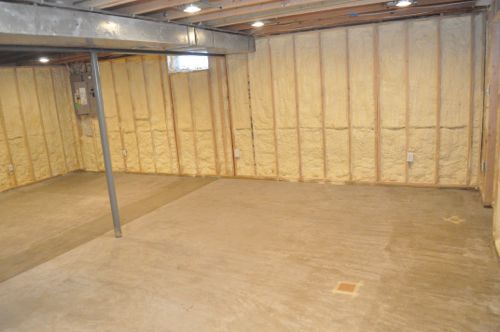
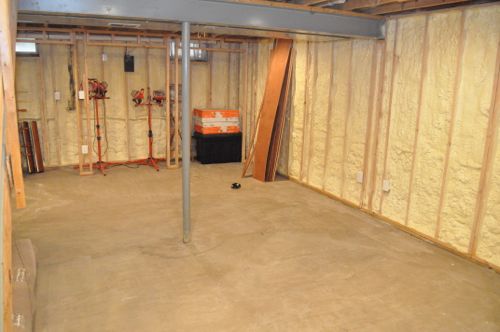
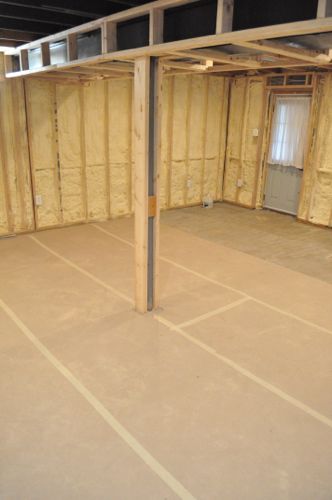
Fred did most of the framing and electric himself (with help from a licensed electrician). The basement is very well insulated with closed-cell foam, and you can learn more about that by watching our video about Installing Spray Foam Insulation. Here’s how everything looked when Joe began work:
Fred also installed over 1,000 sq. ft. of electric radiant heat and embedded the wires in self-leveling mortar (SLM) throughout the entire basement. When the radiant flooring is turned on, the basement gets nice and warm very quickly.
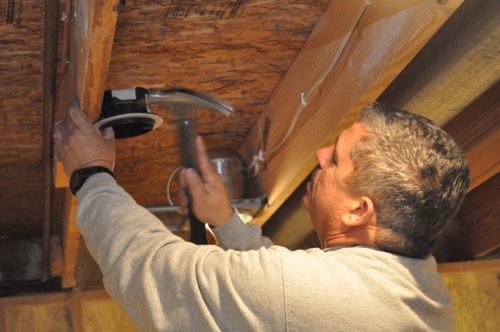
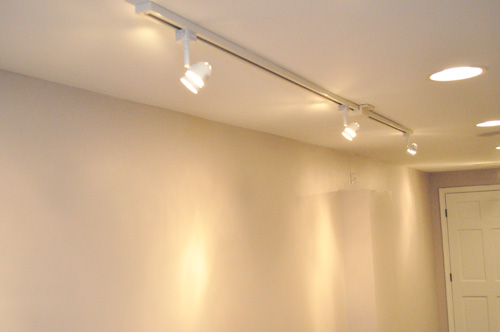
Joe brought in Russel from ETC Electric to tackle a short list of electrical odds-n-ends including some track lighting and junction boxes.
The plumbers from Drain Relief relocated a few valves, replaced some hose bibs and ran a new line for the refrigerator water supply.

The framers didn’t have too much rough framing to complete either. Joe had them frame around a bulkhead and stairs, frame in support poles, ensure drywall nailers in all the corners and frame around some plumbing.
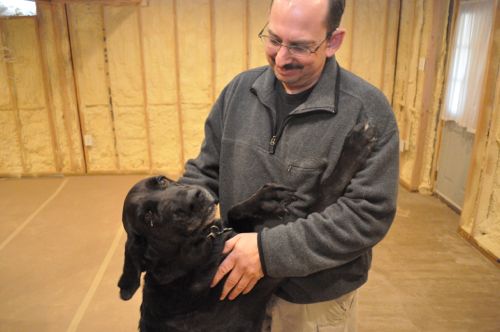
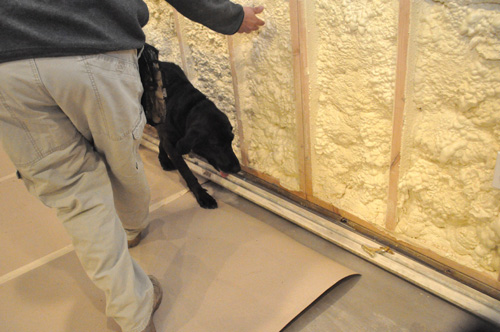
Soon after the framing was completed, Joe brought in Dave Marcelli from Mold Trackers, LLC to determine if there was any mold in the basement. Fred and Kim were concerned about a leaky ledger board, and they wanted to address any mold before covering the walls with drywall. Fortunately, Dave (and Sam) didn’t find any mold problems.
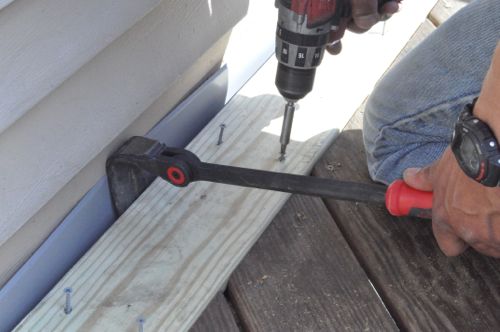
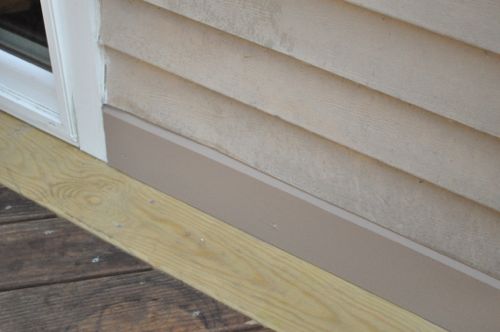
A deck ledger board should be flashed (waterproofed) when it is first installed so flashing an existing deck is no easy task. I thought Joe’s solution to flash and install a PVC “baseboard” was a good one.
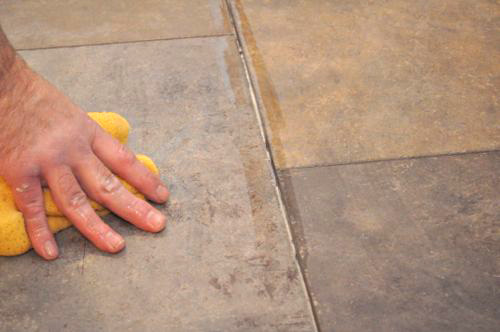
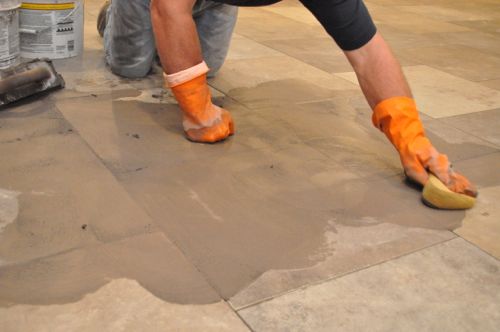
I think the best part of this Pro-Follow was partnering with Jim and Rich from Diamond Tile to show how they laid the tile floor. The guide I developed from working with Jim and Rich is very detailed and walks you through every step for successfully installing a tile floor. Bookmark that article if you’re ever planning on installing tile.
Finished
Here’s a look at the completed basement remodel. It looks really good, and Fred and Kim were very impressed with Joe’s attention to detail. I know they’re very ready to start using the space.
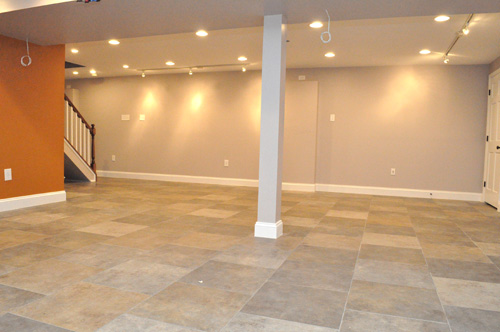
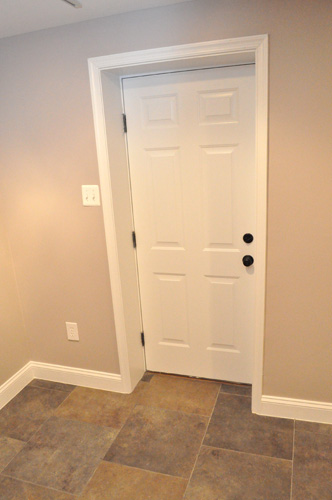
Those dangling wires are speaker wires for whenever Fred and Kim decide to setup a TV area, and that door in the background is actually the access to the electrical panel.
Fred and Kim love central american artwork, and the track lighting will enable them to better show it off.
The foosball table is already setup and ready to go.
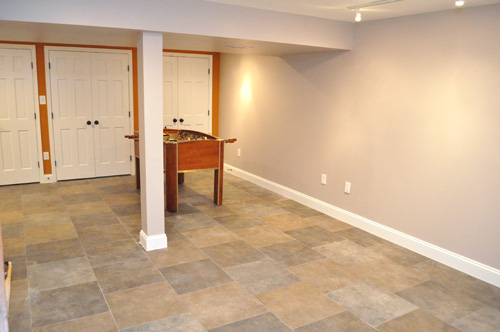
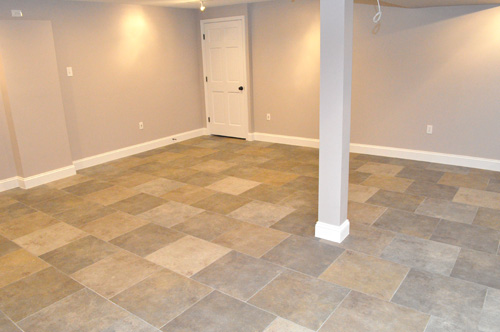
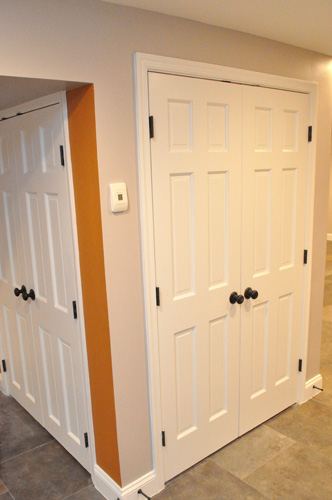
Previously the basement was used for storage, and Fred and Kim incorporated some closets to keep a little bit of that storage space.
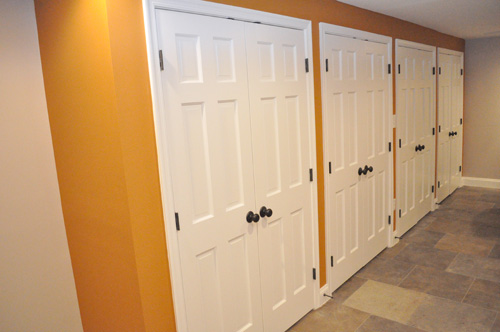
The HVAC unit and water heater are situated in the middle of the room and two sets of doors provides plenty of access.
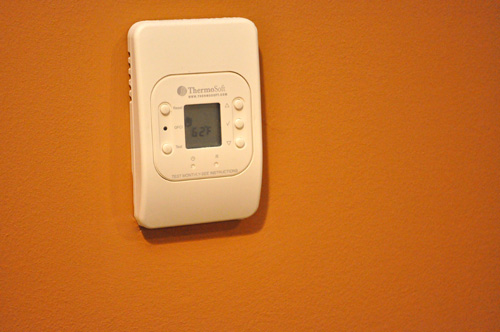
This is one of the thermostats for controlling the radiant flooring.
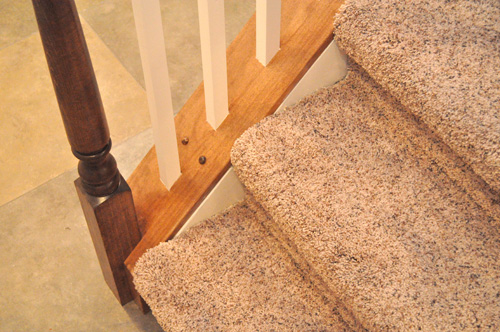
Here’s a look at the stairs. The rail and newel post were one of the last things to be installed.
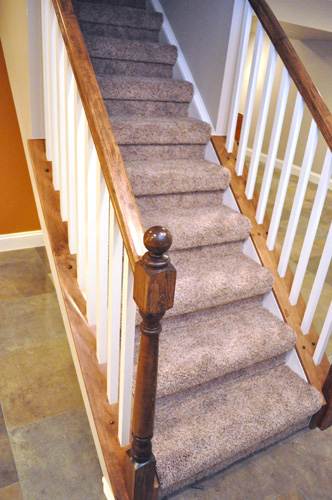
The stairs are the original stairs to the basement, but you wouldn’t recognize them with all the work that’s been done. The treads have been padded to meet height requirements and extended to create that slight overhang. Risers were added, and either side of the staircase was framed out to support the railing. Joe stained, painted and installed the railing himself.
I hope you’ve enjoyed this Pro-Follow series. I don’t have the next one lined up yet, but look for more to come this summer. Next week I’ll be out of town, and I have some excellent guest contributors lined up.

The basement has really come together nicely in the end. That’s a fantastic job by Joe and I know I learned a lot related to tile installation. Thanks!
Nice! How about showing us the space after it’s been furnished? Love to see it in use.
Normally that’s a little difficult. Since this is Fred & Kim’s house, I might be able to work that out.
This looks awesome. Everyone did a great job on this!
looks great!
what about code issues accessing the electrical panel behind the door?
and…
Fred and Kim love central American artwork, and the track lighting will enable them to better SHOW it off.
Thanks for catching the missing word- I’ve fixed it.
I’m not sure what code issue you referring to about the door. I know it’s important that the space not be used for storage which is why it’s so shallow. Can you elaborate?
I thought there were code issues with obstructing access to the electrical panel, (I want to put mine behind cabinet doors in the basement) but re-reading about it, I think the issues were with the panel being behind the door when OPEN, i.e. opening the door covers the panel. so…. just ignore that I guess.
I understand. Yeah an obstruction would be a problem but providing access behind a panel, cabinet door, or full door isn’t a problem (that I know of).
the basement looks great and I can’t wait to see it in person….the fussball table sure gets around…….James helped move it out of the basement they year they got it an stuck it upstairs…..glad to see it has a home now.
Sweet! Love to see a project finished (since it obviously happens so rarely in my house haha). Sort of random question that the thermostat got me thinking about: Can one of those newfangled Nest thermostats handle a radiant heat setup?
I cant imagine why it wouldn’t, its supposed to figure out how long it takes to get the room up to temp, and then kick on early enough to ge tit there by the time you get home (or whatever).
but in general I thought you were supposed to keep large mass radiant heat setups at a relatively stable temperature…
No, the Nest wouldn’t work. Electric radiant heat has 110 or 220V AC coming into the thermostat (depending on the size of the system) and then channeling it out to the radiant wire for heating duties. Nest operates on lower 24V (just like every other HVAC thermostat) and only signals to the HVAC unit when to activate heating or cooling cycles and also fan control.
Very creative in keeping the electrical panel, HVAC, & water heater concealed. The space is aesthetically appealing. When the art is hung, it will almost look like an art gallery.
Nice to see it all complete. I was curious how they were going to finish off the stairs. I’d also like to see some “in use” photos.
I took some in-progress photos but missed a few “steps”. I didn’t want to try and show how the steps were finished without being able to share the full story.
I’ll try and get some in-use photos when I can.
It looks fantastic! I really like the radiant heating in the floors. 🙂
Very polished look! I love the look the doors and stairs add to the room…very classy. I’m sure Fred and Kim are excited to use it and I’m excited for them!
This project really turned out great and shows why it is often smart to hire the professionals. I’m sure the homeowners will love their heated floors. One question: The space looks very large and open, so why were the stairs made to be such a steep rise? Or is that my old, arthritic knees talking? Thanks for sharing all the projects.