
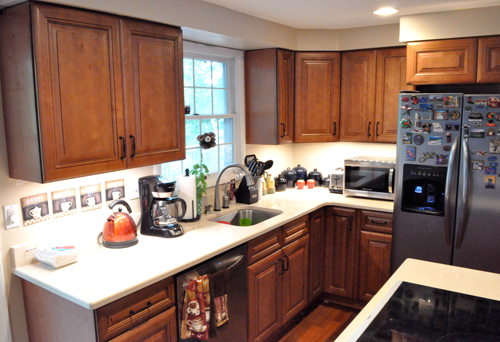
Imagine you have a beautiful kitchen complete with new cabinets and polished Zodiaq countertops. The stainless steel wall oven and dishwasher look at home next to the innovative Delta ToucH2O faucet, and the new cooktop is impressive to say the least. Your kitchen has it all… except handles for all the cabinet doors and drawers.
I just described Fred and Kim’s kitchen for the past four months. Since they chose to assemble their own cabinets, some of the little things (like pull handles) haven’t been at the top of the priority list. And I don’t blame them. I still haven’t “finished” the quarter round after installing my hardwood floors a few years ago.
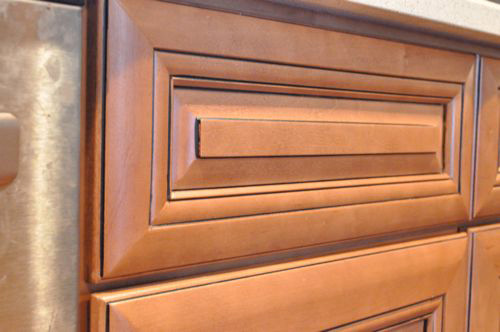
For this project we’re using kitchen cabinet hardware provided by Direct Door Hardware. I’m pleased to say that all the handles arrived in perfect condition and none of the screws were missing.
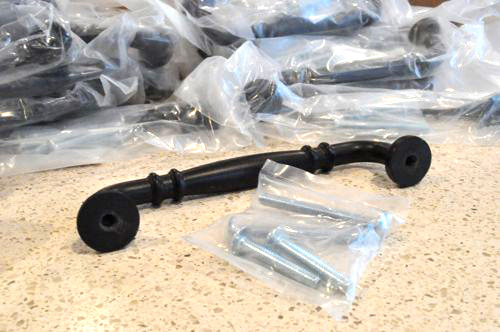
Installing Kitchen Cabinet and Drawer Handles
The biggest challenge to installing cabinet hardware is keeping everything consistent. You want all the handles or knobs to be in the exact same position on every door and drawer. In addition, handles are even more demanding because they require two holes. Oh, and did I mention you have to repeat the process about thirty times? That’s why it’s important to create a template.
My Cardboard Template
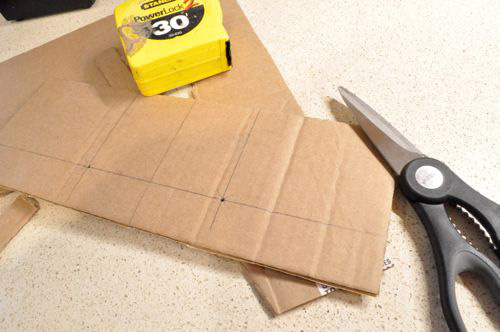
I grabbed some scrap cardboard and began measuring where I wanted the holes to be. My goal was to center the handles on all the drawers and place them about three inches from the bottom on the cabinet doors. The beauty about a good template is that all the work is done up front. After I checked all my measurements a couple times, the hard part was done. I punched two holes in my template for marking where to drill.
You can see these handles measure 4″ from the center of one hole to the other.
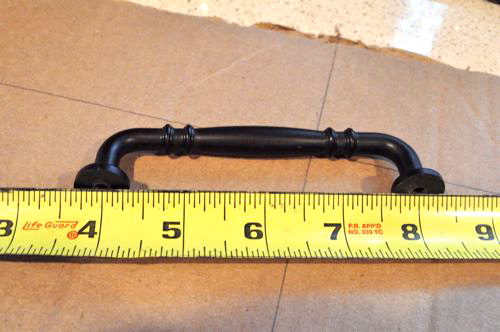
Just checking to see that everything lines up,
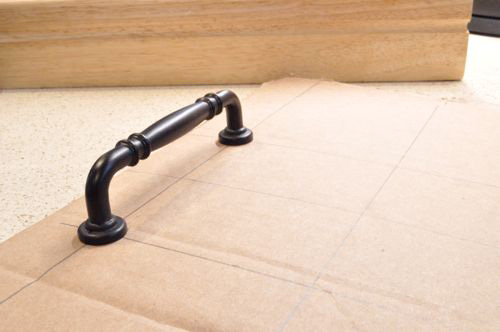
and the finished template.
Tape the Face
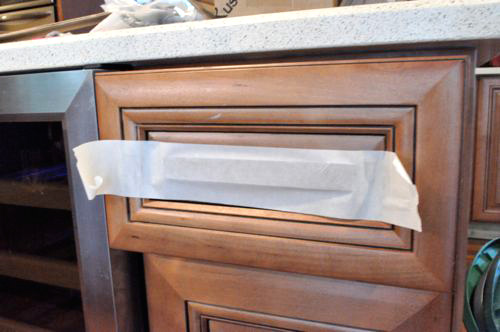
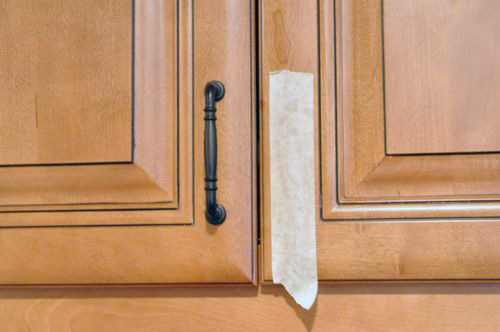
The next step in this project is to put a piece of masking tape over the area to be drilled. This is important because it helps prevent tear out (when the drill tears away bits around the hole), and it also makes for a nice surface to mark the holes.
Mark the Holes
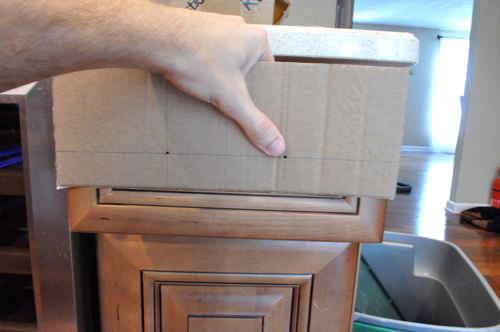
I used the edge on the drawer face as a landmark and went around marking all the holes to drill.
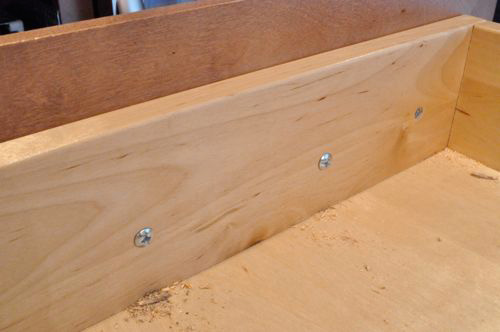
This picture shows the two holes have been drilled and the screws are showing through.
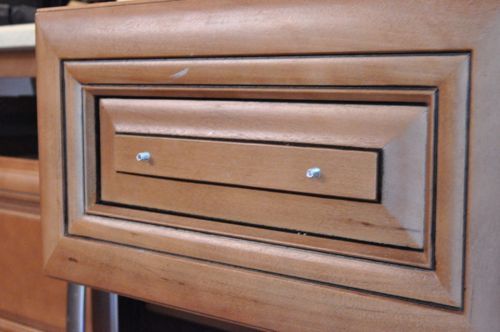
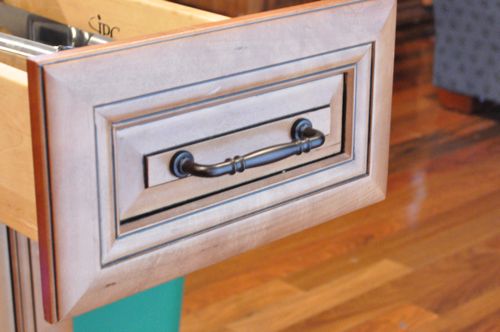
From there it’s a simple process to tighten all the screws, and if your template is true, everything lines up really nicely.
For the cabinet doors, I modified the template slightly.
Voila!
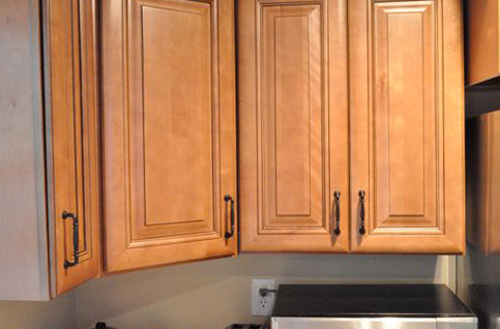
Pay no attention to the two missing handles over the fridge. I forgot about those :(. I’m glad I still have my template.
When have you found a template to come in handy? Ever install cabinet hardware before?


I know the feeling! We didn’t install handles on our kitchen cabinets for over a year!
The handles look great! And thanks for the tip about the masking tape; I would never have guessed, but I bet that’ll prove incredibly handy for future reference!
Hey! Another new face! Welcome to the site AarthiD! Really glad to have you here.
Looks great! I see you only had a few drawers to do (no tip out tray under the sink?). I am also glad to see that I am not the only one that thinks appliance handles are good towel holders.
I am torn on doing this myself, I have some really nice looking natural (light) cherry cabinets from the mid 90s, and they don’t have handles… well, they have handles, but they are routed into the edge of the doors/drawers. They are a raised panel, and the center of many drawers are really skinny, but I guess the same applies to the ones you were working on as well, and it doesn’t look too awkward. I guess I will keep thinking about it, its completely functional for now, and there is no going back once holes are drilled.
Nope, no tip out tray here. These cabinets were build-it-yourself style from InStockKitchens. While Society Hill is the nicest line they offer, that wasn’t one of the features. But we saved about $4,000 off of what Home Depot would have wanted for a comparable set-up, so not having a few things we’d like (such as the fold-out sink drawer) is OK.
I do believe you can retrofit them… its just a matter of finding the hinges and baskets. Since I am guessing those front panels on the sink are not part of the cabinet frame (right?).
Rockler has them 🙂
http://www.rockler.com/product.cfm?page=58
thank you! we were at a friend’s open house today for brunch and we discussed tip out trays…only we didn’t know what they were called.
I’m going to look into putting one in my kitchen.
Good tip – unfortunately, the fronts are screwed in with 4 screws from the back side of the cabinet, and the undermount sink gives less than 2″ clearance. Baskets *might* fit, but they’d be tight, and would now require a ton of work. I wish I had been motivated to look at this before hand, although even then with the extra work and our timetable I might have skipped it.
another great tip thanks
Smart! I need to replace some handles on an old dresser drawer but those already have the holes from the old ones. Will keep this in mind for future though!
Just gorgeous. Thanks for the tips. I”m going to try some new handles on an old piece of furniture.
I recently installed cabinet handles in our kitchen and bathrooms, and a template definitely makes life easier! Great tips.
I recently made over my mom’s kitchen. We replaced the sink/cabinet unit and they did not come with handles. My husband had a grand idea of making a large X with string on the drawers to find the center and measure out from there. We didn’t use a template. I’m sure it would have helped.
We chose to not add handles to the doors under the sink in order to keep them a little more clean.
So far, we like it OK without the handles.
Those cab’s look really sharp with the hardware! Nice choice.
Ooo — I like this method – the X to find the center. Very nice and would be super-easy that way for knobs.
Template is always wise nice kitchen! one day ours will look new again *prays to the lotto gods*
This is great in a pince, but i’m wondering? They sell templates for like $4 at Home Depot…is there really any advantage to using this?
Wouldn’t these templates only work for HD cabinet lines? Can you link to one? It didn’t take that long to make my template but the HD one may be a little more accurate. I’m curious to see what they offer.
Ethan, sorry i didn’t see your response…forgot to check the trackback option
http://www.homedepot.com/h_d1/N-5yc1v/R-202200666/h_d2/ProductDisplay?langId=-1&storeId=10051&catalogId=10053
There was a mistake on my e-mail address. The right one is alexisherrera2807@gmail.com. Sorry.
Very nice cabinets! Great way to install handles too. We purchased to plastic things that worked for all the knobs on the doors, but not all the drawer pulls since the border was thicker on the larger drawer fronts. Took us over seven years to finally measure them by hand and install the rest of the pulls.
Yes we are that slow.
Kitchen Looks great, and a template is a great way to quickly and accurately layout holes.
Never installed handles for the first time, but maybe one day! I use masking tape as a template when hanging pictures or other items with two hangers on the back. Just put a piece along the entire backside of your object and mark where the hangers are. Then remove the tape and position it along the wall where you want to hang your item and nail through the dot you marked…no more guessing if the holes are level or having to re-nail when I guessed wrong!
Templates work great for those repetitive tasks where the same features are needed on multiple surfaces, and their use saves so much time. The use of tape was a new idea for me.
I am refinishing an Ethan Allen dresser with new hardware, and the paint has been stripped. However, the original hardware is a strange spacing. The holes are about half an inch off of standard (I guess 4 inches is standardish). I guess EA doesn’t want anyone unauthorized finishing their product. Can I fill the old holes with putty and just reapply paint over them? What if I decide to stain? Is there a putty out there that takes stain? The wood is light colored (birch or ash, maybe?).
Actually, Kim is working on refinishing some dressers and will be going through a lot of what you mentioned! Look for the post coming soon…
A couple years ago we refinished a china cabinet and added handles. Never occurred to us to make a template. Let’s just say we ended up patching and redrilling a hole. Now we know…
They look clean and well-crafted. I love the handles and the cabinets as well.